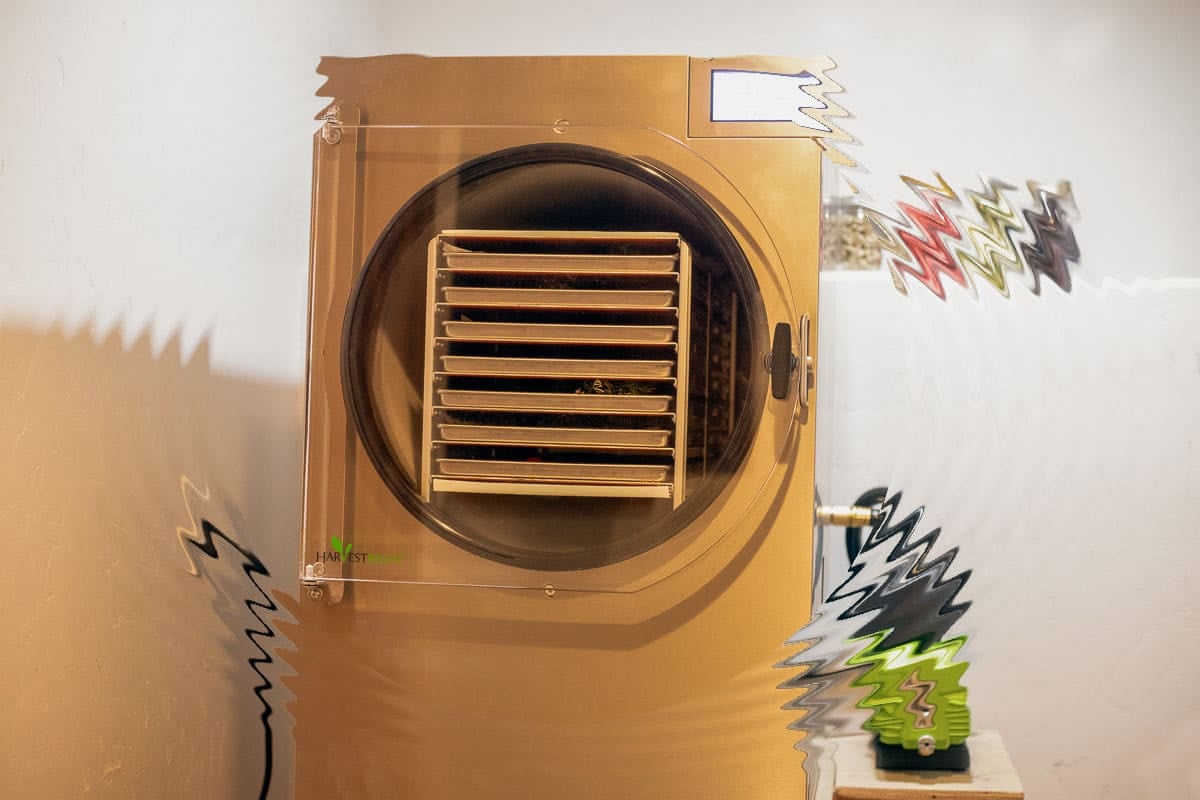
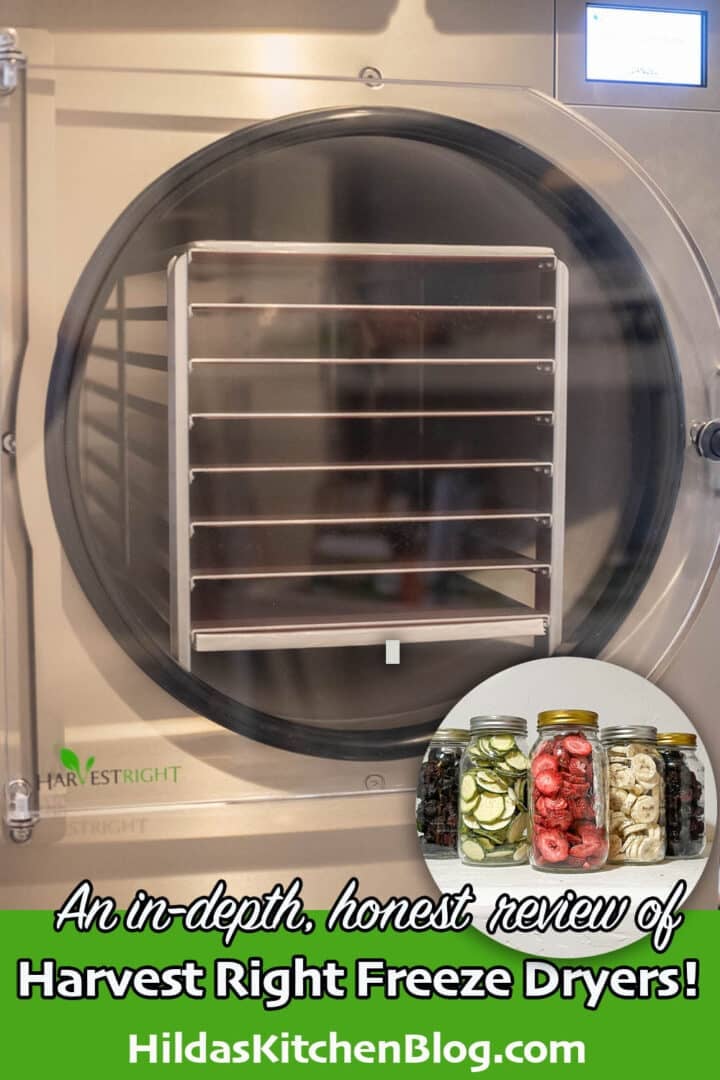
If you're on the fence about whether or not purchasing a Harvest Right Freeze Dryer is right for you, you're in the right place! I'm about to dish out everything you need to know in this Harvest Right Freeze Dryer Review!
Would you like to save this recipe?
I have wanted to own a freeze dryer for years now, but I always thought it was a frivolous purchase or one that I couldn't afford. Then, about a year ago, my friends Dave & Lori purchased one. I got to see firsthand how amazing Harvest Right freeze dryers really are!
After they brought over some freeze dried goodies to try (huckleberry ice cream, freeze dried powdered eggs, freeze dried apples, banana chips, freeze dried Skittles, and cucumber chips) I started to consider it more seriously.
When a local church held a freeze drying class, I decided to attend it to learn more. The class was very informative and I left there wanting a freeze dryer more than ever.
Recently, I contacted Harvest Right to ask about their affiliate program. Before I knew it, I was a proud owner of a Harvest Right freeze dryer and a part of their affiliate program.
As a Harvest Right affiliate, I earn a small commission from any purchases made that originated from a link click on this blog.
Now, onto my detailed harvest right freeze dryer review!
Jump to:
- The History of Freeze Drying
- Why Get A Harvest Right Freeze Dryer?
- Other Benefits of Freeze Drying
- How Freeze Drying Works
- What Comes With Your Purchase?
- What Size Freeze Dryer Should You Get?
- Preparing For Your Freeze Dryer
- Ready, Set, Go...OK, Not Really!
- The Bread Run
- Quick & Easy Freeze Drying Steps
- Reconstituting Freeze Dried Food
- Recommended Accessories
- Freeze Dryer Pros & Cons
- FAQs
- Pro Tips
- A Final Word, or Two...
- Related Posts
- 💬 Comments
The History of Freeze Drying
Did you know that freeze dryers were invented by Jacques-Arsene d'Arsonval, a French physician, in 1906? During WW II, freeze drying was used to preserve blood serum and other medical supplies, to keep them from spoiling.
In the 1960s, NASA began feeding their astronauts freeze dried food in space. By the 1970s, the military was using freeze dried food to feed the troops. It wasn't until 2013, when Harvest Right introduced the first affordable and made for home use freeze dryer.
Since then, freeze drying has come a long way and Harvest Right has continued to be the leader in the industry. Today, many people use freeze dryers as a way to store food, both short and long term. How long, you ask? If properly processed and stored, freeze dried food has a shelf life of 25+ years!
Why Get A Harvest Right Freeze Dryer?
In 2020, when COVID reared its ugly head, many of us became painfully aware that we were ill prepared for any kind of an emergency situation. During that time, we witnessed empty grocery shelves for the first time in our lifetimes. It was a wake up call to say the least!
Could you imagine how welcome a years worth (or even a few months worth) of nutritious, freeze dried food would have been? What about the next time, will you be prepared? I'm in the process of preparing...
Another thing that sometimes happens during a natural disaster is the loss of power. This means your refrigerated food will be no good, unless you have a generator. Luckily, freeze dried fruits, veggies, and meals can be reconstituted just by adding water. So freeze drying is another step in emergency preparedness to ensure peace of mind!
It's true, purchasing a freeze dryer is a costly investment, but you'd be surprised at how quickly you can make up the cost. Freeze drying the excess from your garden, buying in bulk when you find a good sale, freeze drying eggs, or freeze drying full meals are just some of the ways to do it!
Other Benefits of Freeze Drying
When I first started looking into freeze drying, I was amazed to learn that of all the food preservation methods (freezing, canning, and dehydrating), freeze drying retains the most nutrients!
Dehydrated food retains 60% of its nutritional value, canned food retains 40%, while freeze drying retains a whopping 97%! Freeze dried food also retains its shape, texture, taste, and aroma!
Other preservation methods may shrink, toughen, or leave your food freezer burned. In contrast, freeze dried food is lightweight, delicious, and in most cases, it can be rehydrated very close to its original texture.
I think many people have misconceptions about the taste and quality of freeze dried foods, I know I did. All you have to do is sample some of these freeze dried foods to see for yourself how good it is!
I also love that freeze dried food takes up less room to store than fresh, frozen, or packaged foods. Freeze drying also frees up room in your freezer! That's such a plus in our home, especially with hunting season upon us!
How Freeze Drying Works
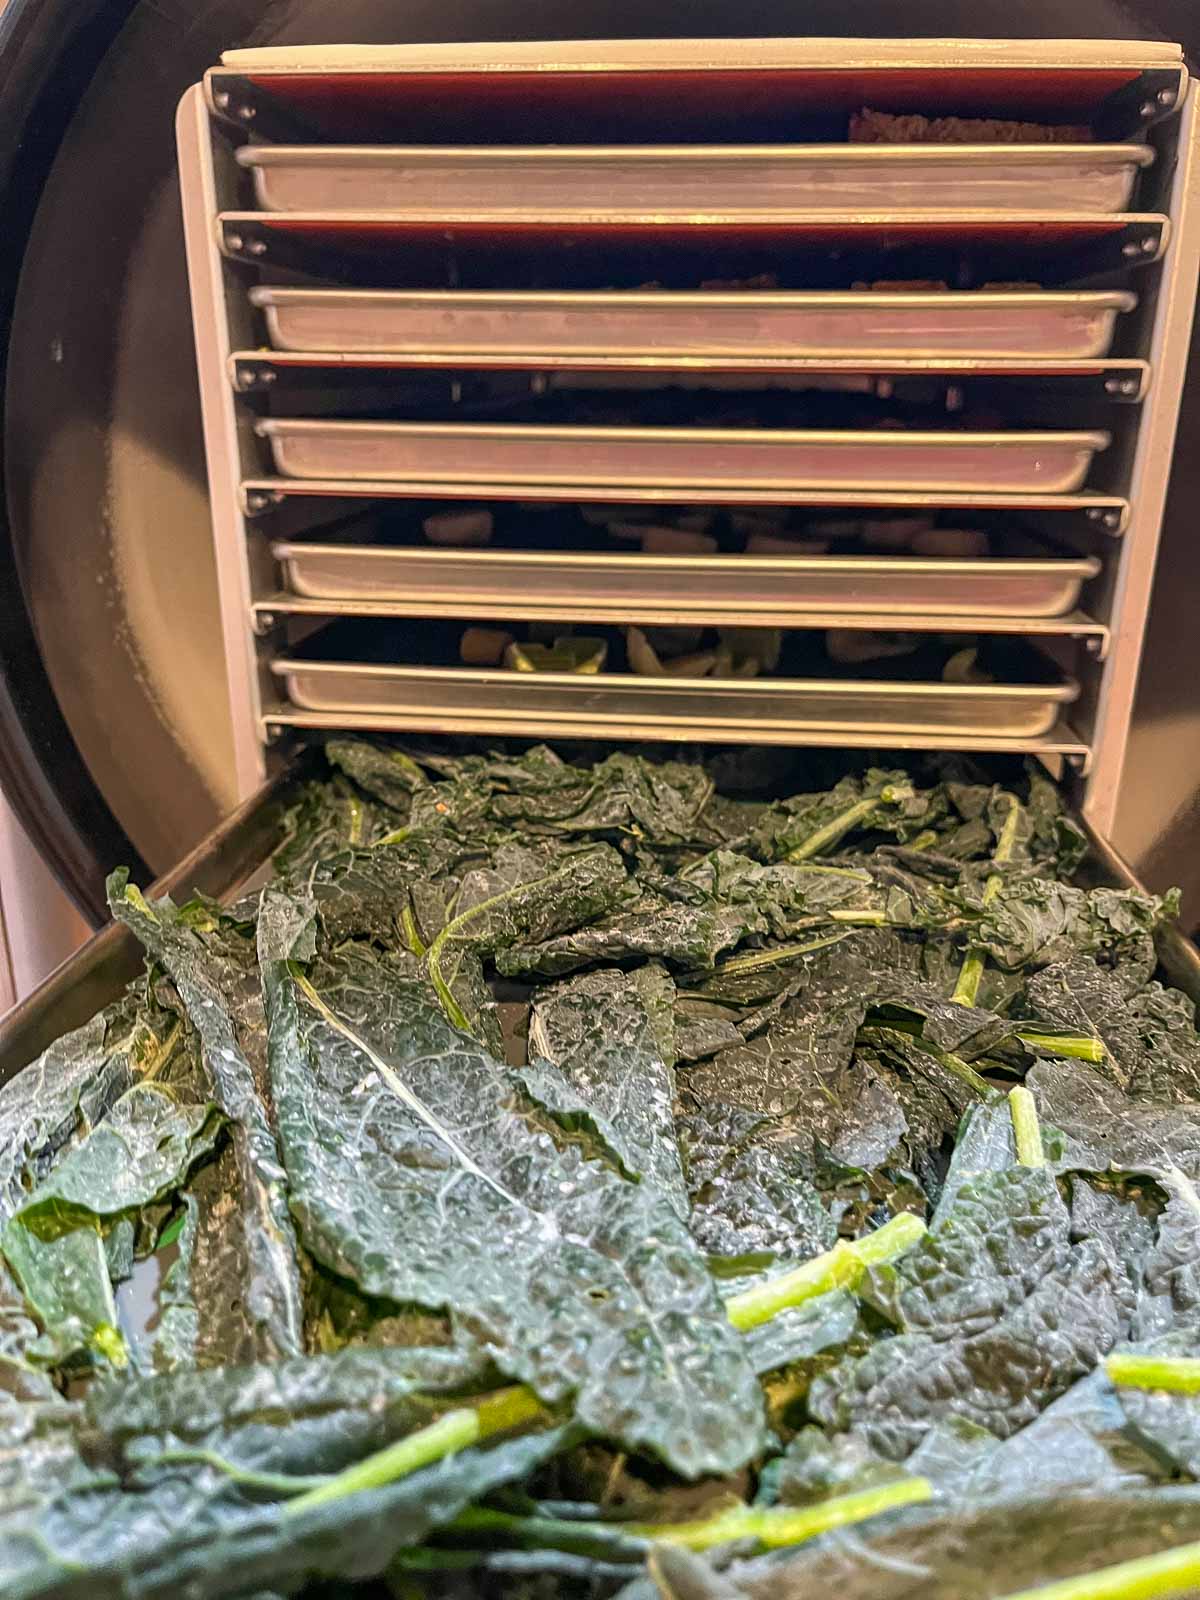
The freeze drying process is pretty simple. The freeze dryer freezes the food to -40° F. The vacuum pump then creates a vacuum inside the freeze chamber.
The trays slowly warm up, which results in "sublimation." Sublimation is the process in which a solid, in this case ice, is converted to a gaseous state and drawn from the food under a significant vacuum during the drying phase. This process results in light, crisp, and perfectly preserved food.
The entire process can take anywhere from 20-36 hours. This time can be reduced by pre-freezing the food before adding it to your freeze dryer.
Once the process is complete, sensors will alert you with an audible tone. If your food is not completely dry, there is an option to add more drying time. Two hours is the programmed time, but you can easily adjust the extra drying up or down as needed!
What Comes With Your Purchase?
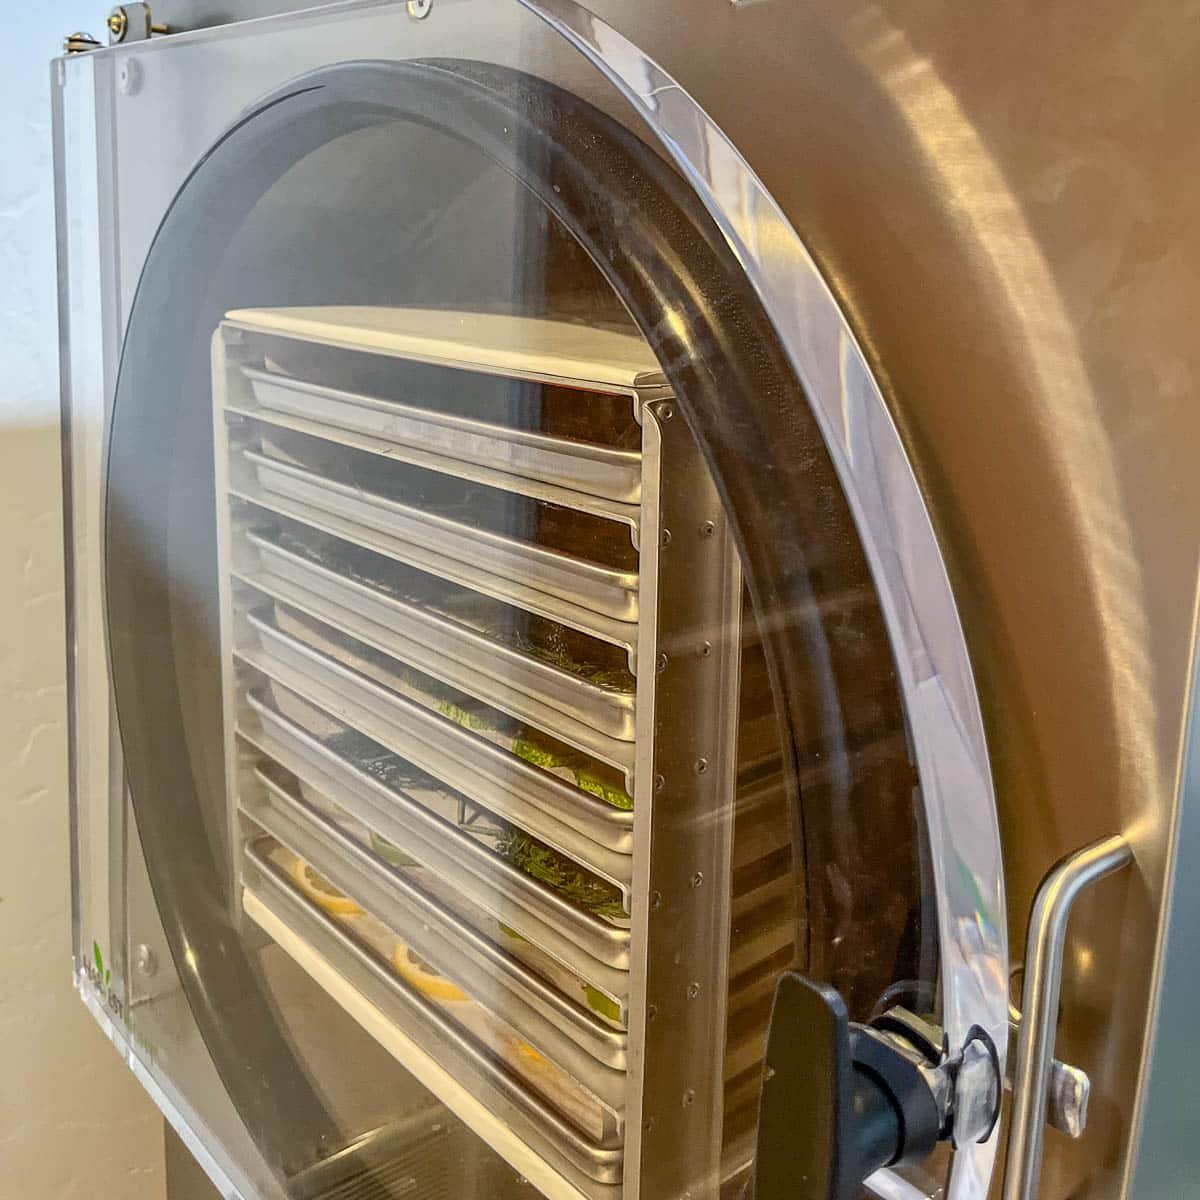
Your Harvest Right Freeze Dryer comes with everything you need to get started in freeze drying and preserving your food! Here is a complete list of what will be included in your box:
- Freeze dryer with stainless steel trays: The number of trays you get will depend on the size of the freeze dryer you purchase. You get 4 trays with a small freeze dryer and 7 trays for an extra large. The larger the freeze dryer, the larger the trays, and the more food you are able to process in one batch!
- Oil Pump: There are 3 oil pump options: a basic oil pump, a premier oil pump (usually included with your purchase), and an oil-free pump at an additional cost. Be aware that if you purchase an extra-large freeze dryer, you do not have the option to upgrade to an oil-free pump, which, by the way, costs twice as much as the premier industrial vacuum pump.
- Oil & filter: You will use the oil filter to filter the oil every 20-25 batches of food you run through your freeze dryer. The process takes 2-3 minutes to complete.
- Impulse sealer: The impulse sealer is handy to seal your mylar bags and to reseal them once opened.
- Mylar bags: Speaking of bags, you will get 50 gallon-sized bags with your purchase. These bags do not have a sealing strip. You'll eventually want to buy more Mylar bags in various sizes, including ones that can be resealed without a sealer.
- Oxygen absorbers: 50 oxygen absorbers are also included in your purchase. You'll need to add one to each bag before sealing it.
- Freeze drying guide: Finally, you'll receive a simple freeze drying guide, which includes a few basic recipes.
What Size Freeze Dryer Should You Get?
Choosing the right-sized freeze dryer requires some thought. There are advantages to both the smaller freeze dryers and the larger ones. Here are some points to consider:
While the larger freeze dryers can process a lot more food in one batch, they do use up more energy and require more space to house them. Do you have space on your countertop? Knowing the dimensions might help you decide which size to buy:
Product Dimensions
- Small: 17.4″ W x 21.5″ D x 26.8″ H
- Medium: 19″ W x 25″ D x 29″ H
- Large: 21.3″ W x 27.5″ D x 31.3″ H
- X-Large: 24.3″ W x 37.4″ D x 35.6″ H
Another thing to consider is how much food you intend to freeze dry. Do you plan on storing enough food for your family for a month, a year? What is your family size? Answering these questions can help you decide if you need a small, medium, or large freeze dryer.
Batch Sizes
- Small: 6-10 lbs
- Medium: 10-15 lbs.
- Large: 18-27 lbs.
- Extra Large: 40-50 lbs.
Then there's the cost of a freeze dryer. It can cost anywhere from $2300 to $5000, depending on the size you get.
Cost
- Small: $2695
- Medium: $3195
- Large: $3895
- Extra Large: $5,295
Did you know Harvest Right offers a layaway plan? There's a word I haven't heard in a long time... Basically, you pay $250 to lock in the price, then pay whatever you want, when you want, interest-free, until it's paid off! Unfortunately, it doesn't ship until it's paid in full, bummer, I know...
As far as weight is concerned, here are the specifics:
Total Weight
- Small: 91 lbs
- Medium: 119 lbs.
- Large: 143 lbs.
- X-Large: 258 lbs.
I reached out to Harvest Right to ask how the noise level compares between the various model sizes. Their reply was that there is no noticeable difference and that the noise level is very similar across all of their models.
Lastly, you may want to think about what color you prefer. Not all sizes come with the 3 color options (white, black, and stainless steel). For example, if you choose an X-Large freeze dryer, it only comes in stainless steel.
Preparing For Your Freeze Dryer
While you wait for the freeze dryer to be shipped, you need to figure out where your freeze dryer will live.
I often joke about everything we buy has to be "Scott-sized." My husband, Scott, is 6' 4", so guess what size we ended up buying? Yes, you guessed it, a Scott-sized X-Large!
Things to Consider
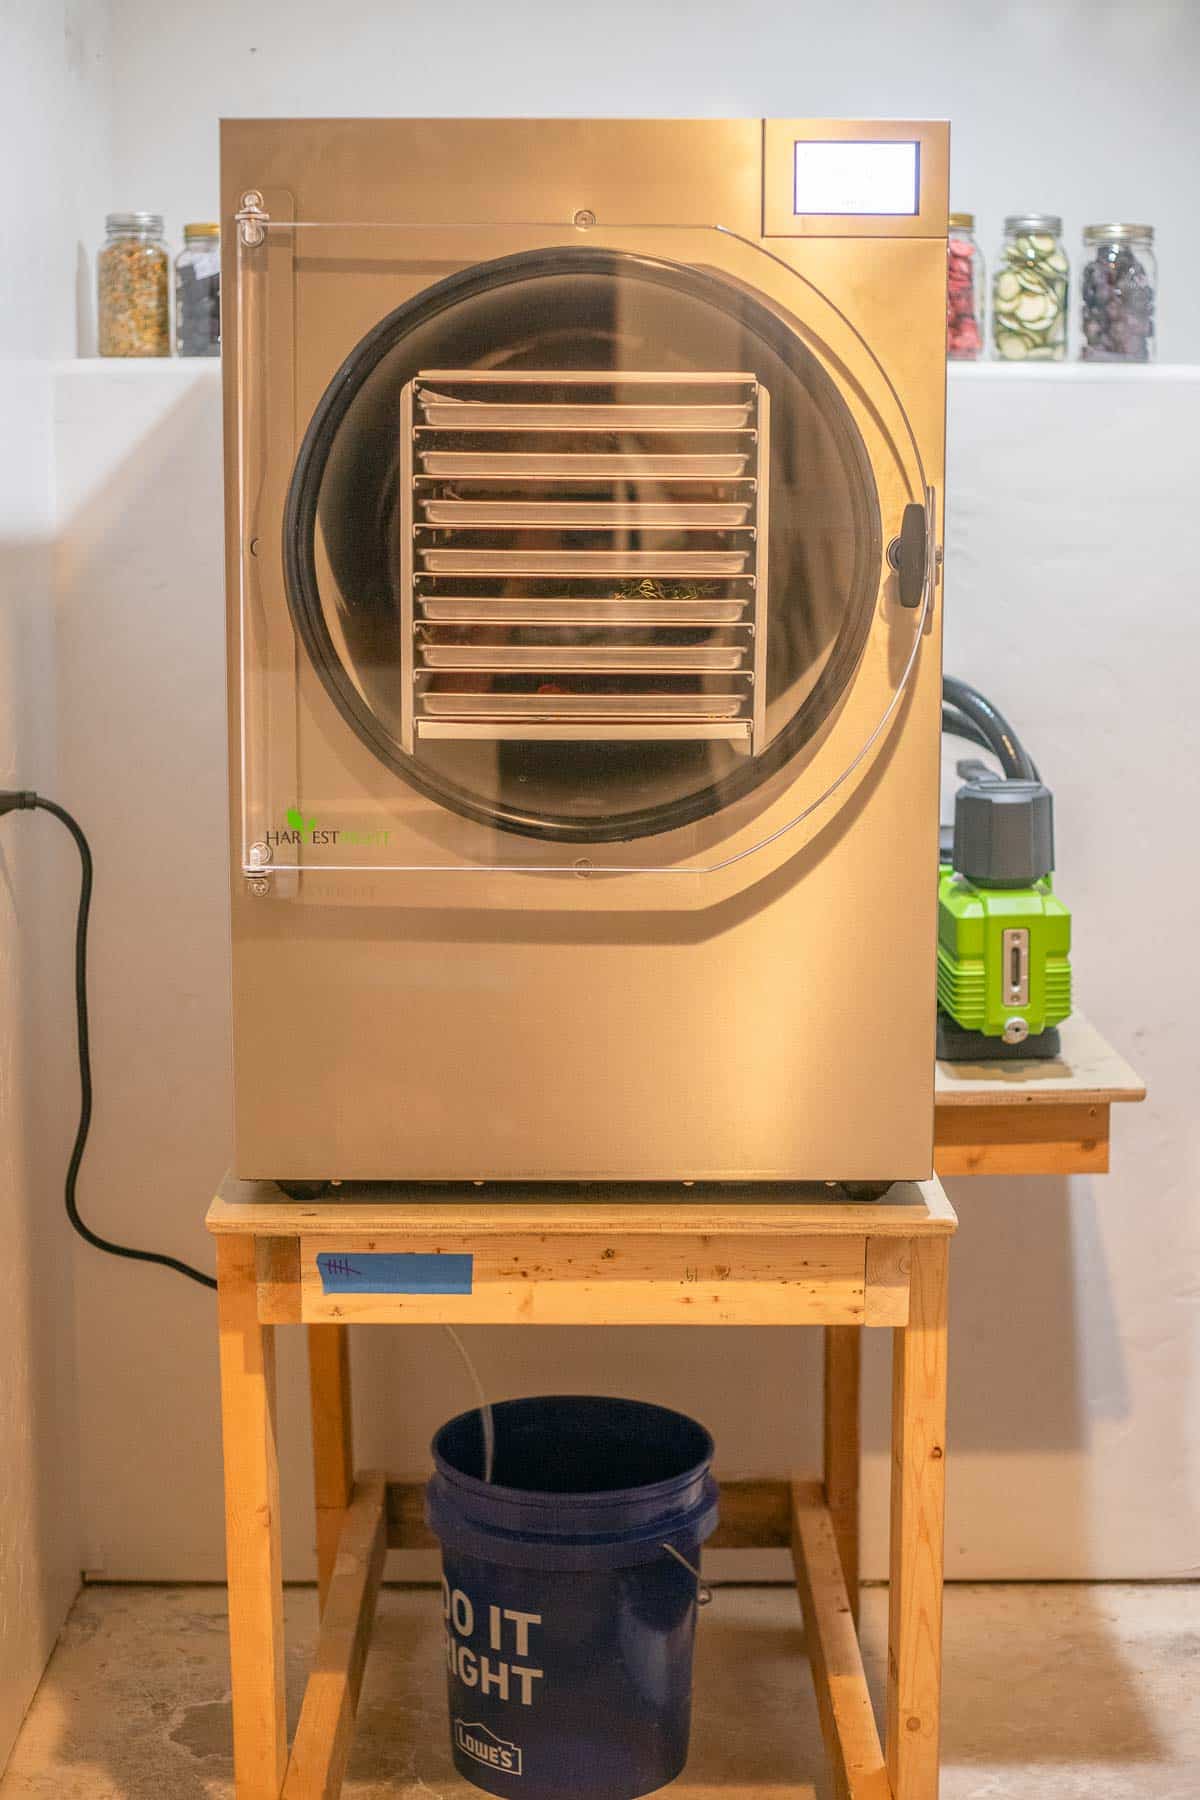
- First, you need a 110-volt outlet to plug your machine into. A dedicated 20-amp circuit is required for the large or an X-large freeze dryers.
- Running the machine is a bit noisy, see the video towards the top of this post. It's somewhat similar to running your washing machine or a clothes dryer. You may want to house your unit in the basement or the garage.
- Another thing to consider is the heat that the freeze dryer puts out while being used. We chose a small area under the house to place the freeze dryer. Unfortunately, we did not realize that it would generate so much heat! My homemade wines are also housed down there. See the problem? Now we keep the door open to vent the area while freeze drying. According to the Harvest Right website, a temperature of 35℉ to 90℉ is ideal for operating the freeze dryer. When the outside temperature is hotter, the freeze dryer has to work harder and longer.
- You'll want to set up the machine on a sturdy counter or a table so that it's easy to operate. You can set the freeze dryer either next to a sink or have a bucket under your unit for the liquid from the drain tube to drain into.
- Finally, you want an area large enough to maneuver as you insert and remove the loaded trays. A table or counter space to prep the trays, fill, and seal the bags would be ideal!
Ready, Set, Go...OK, Not Really!
The day has finally come, your freeze dryer has arrived, and you are ready to start freeze drying! Before you start slicing those bananas and strawberries, you have some work to do!
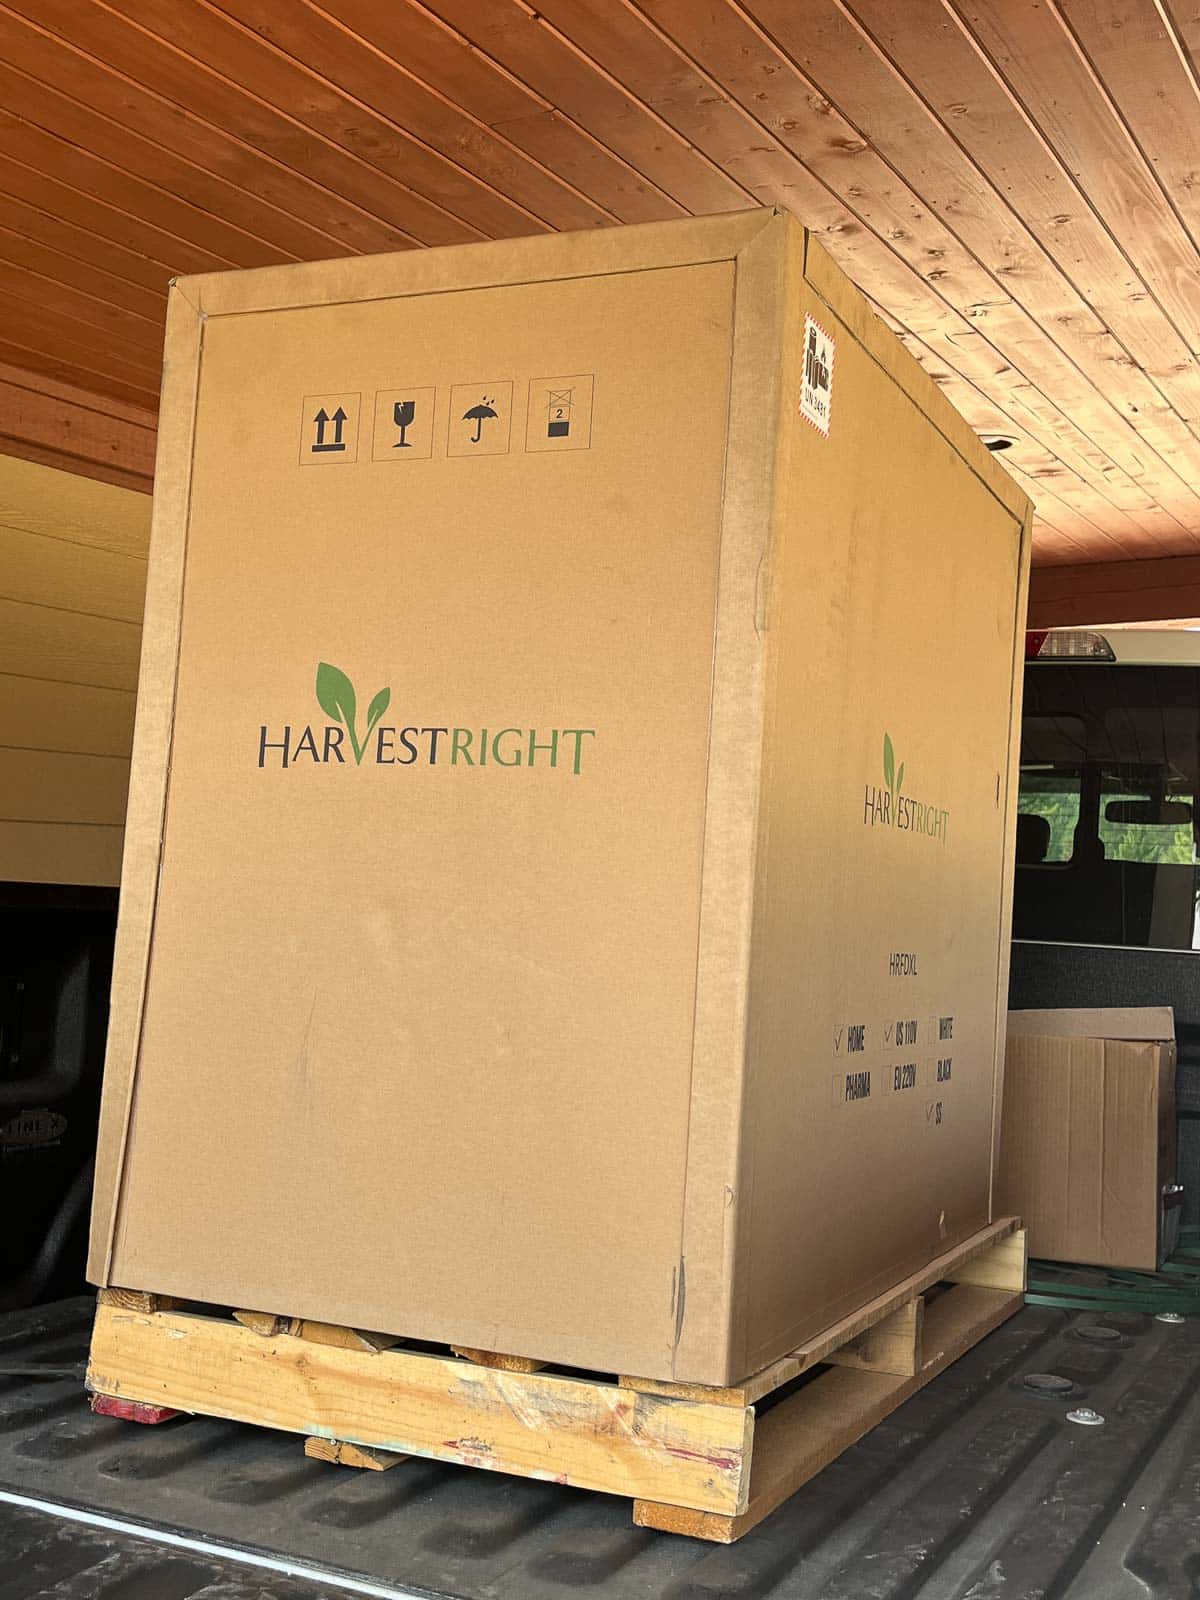
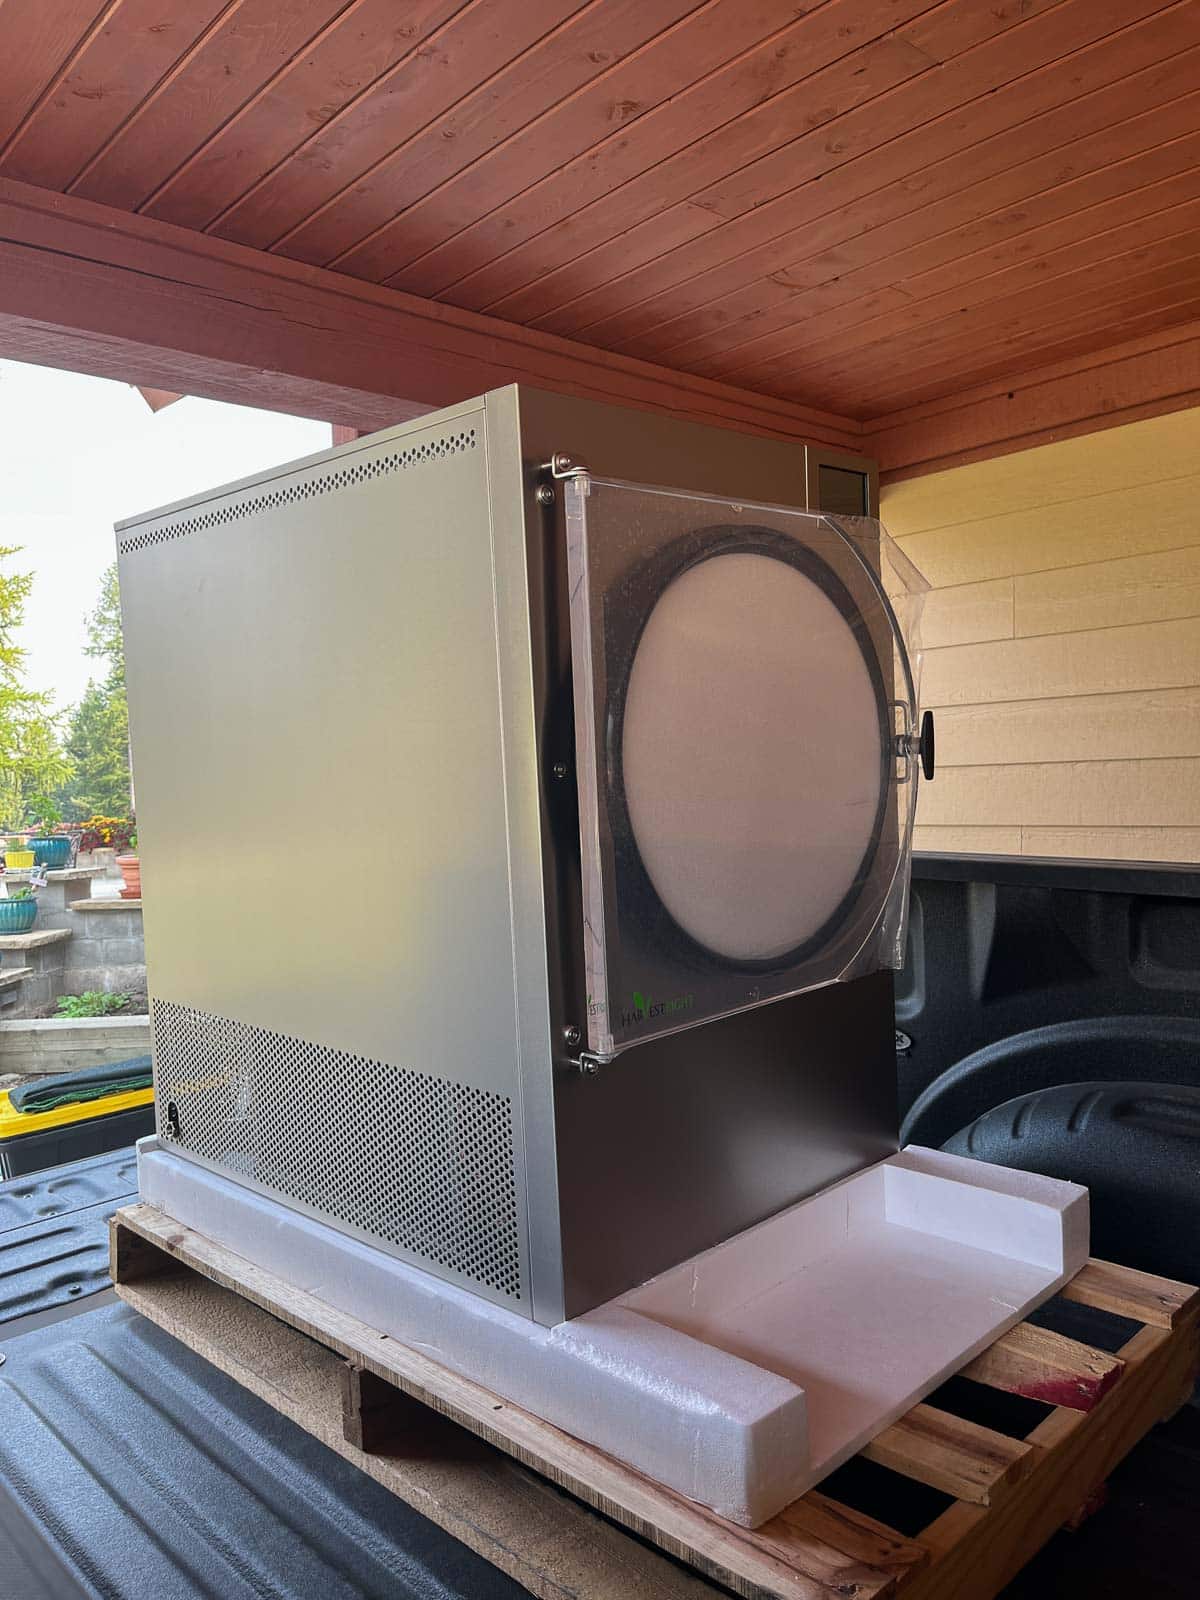
Like other appliances with refrigerant, your Harvest Right Freeze Dryer will need to be upright and level for 24 hours prior to being used. Waiting is hard, I know, but as the saying goes, "good things come to those who wait!"
You also need to install the shelves and attach the vacuum pump and drain hose to the freeze dryer. The assembly is pretty easy, but if you get stuck, here's an installation video explaining how to do it!
The Bread Run
The first batch you need to run is known as "the bread run." Basically, you'll load your trays with some moistened bread and run a cycle to remove any manufacturing-type odors. This test run also allows you to make sure that the machine is working properly. You'll know it is if the bread is dry, crispy, and airy.
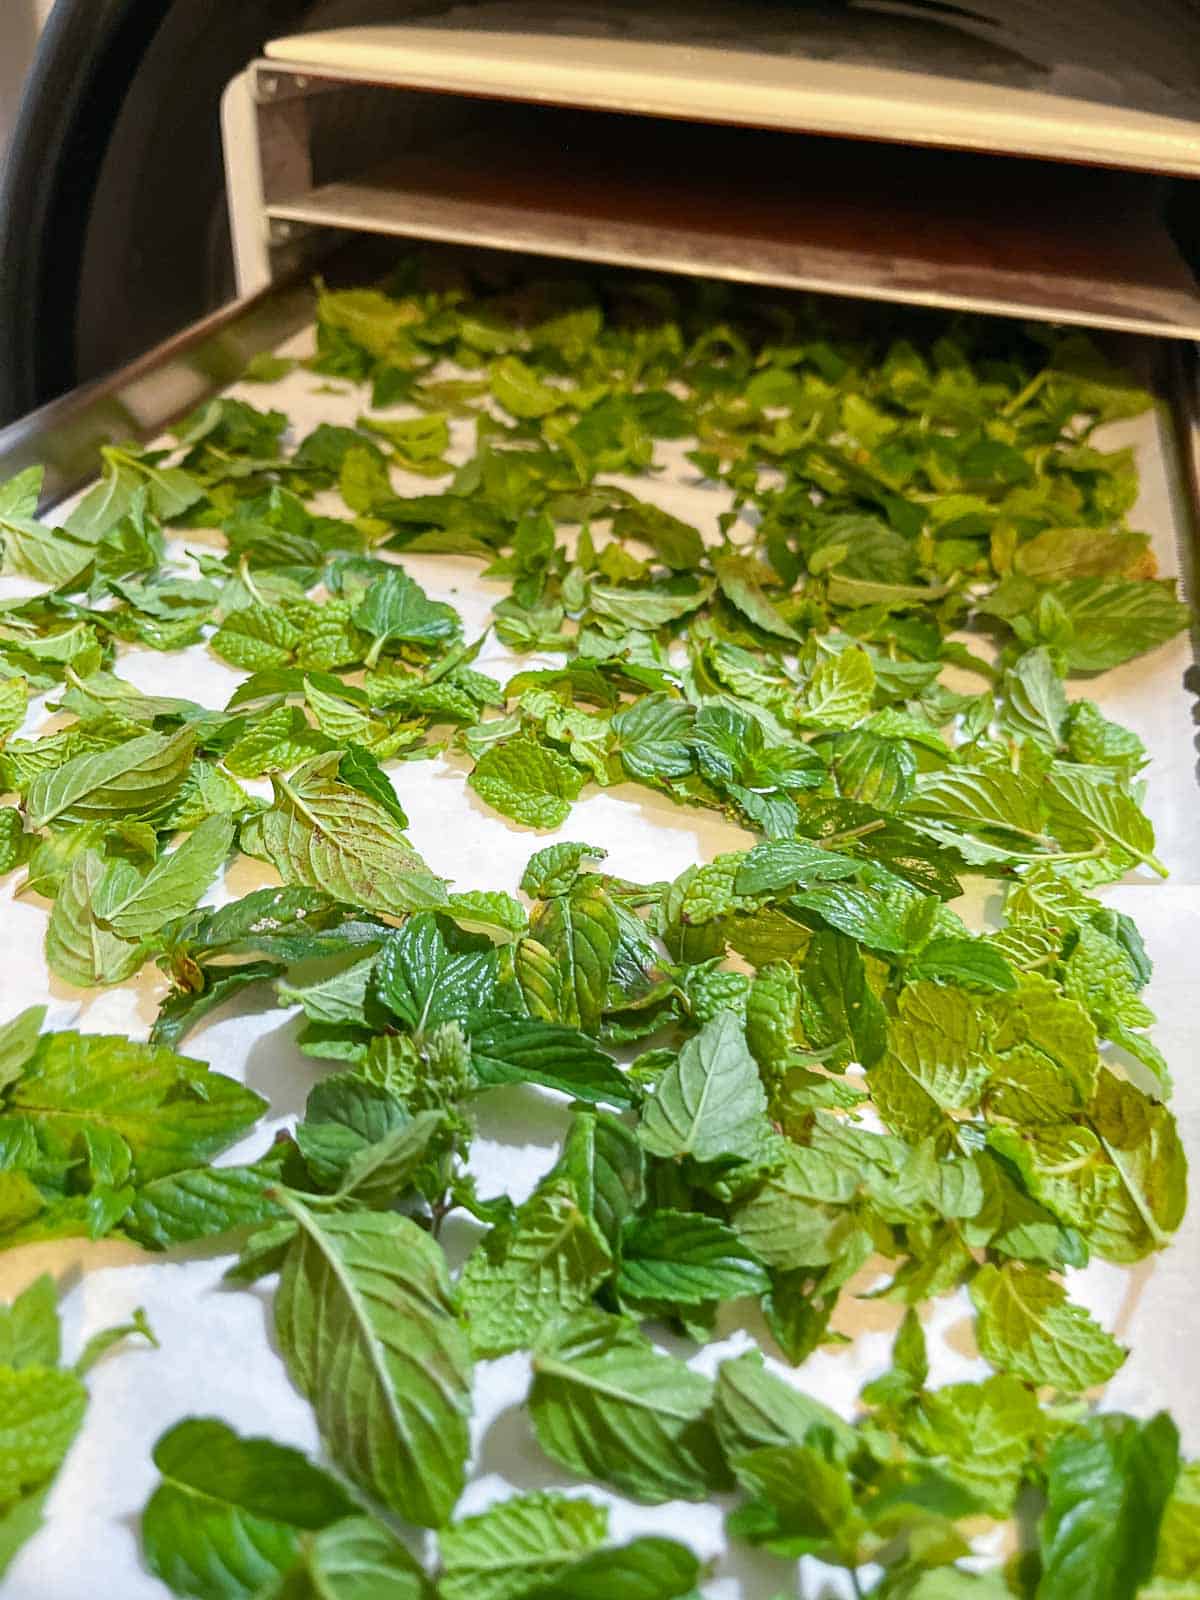
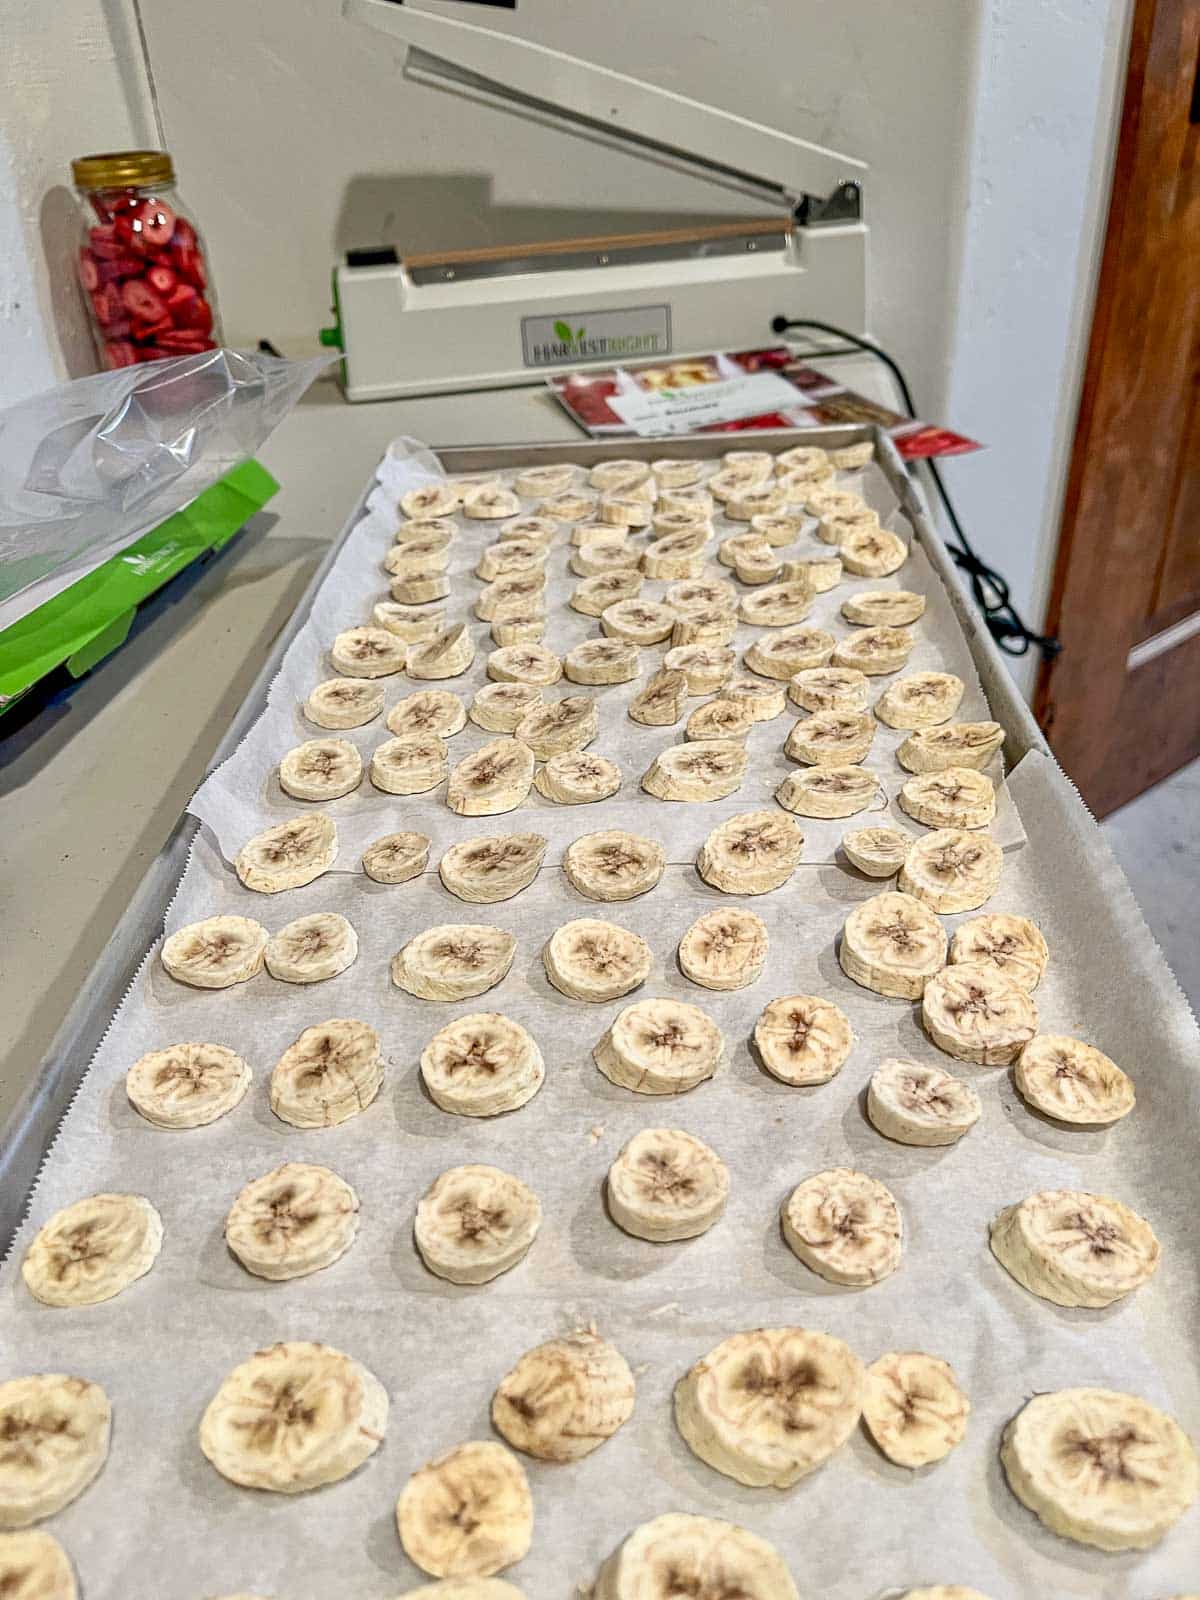
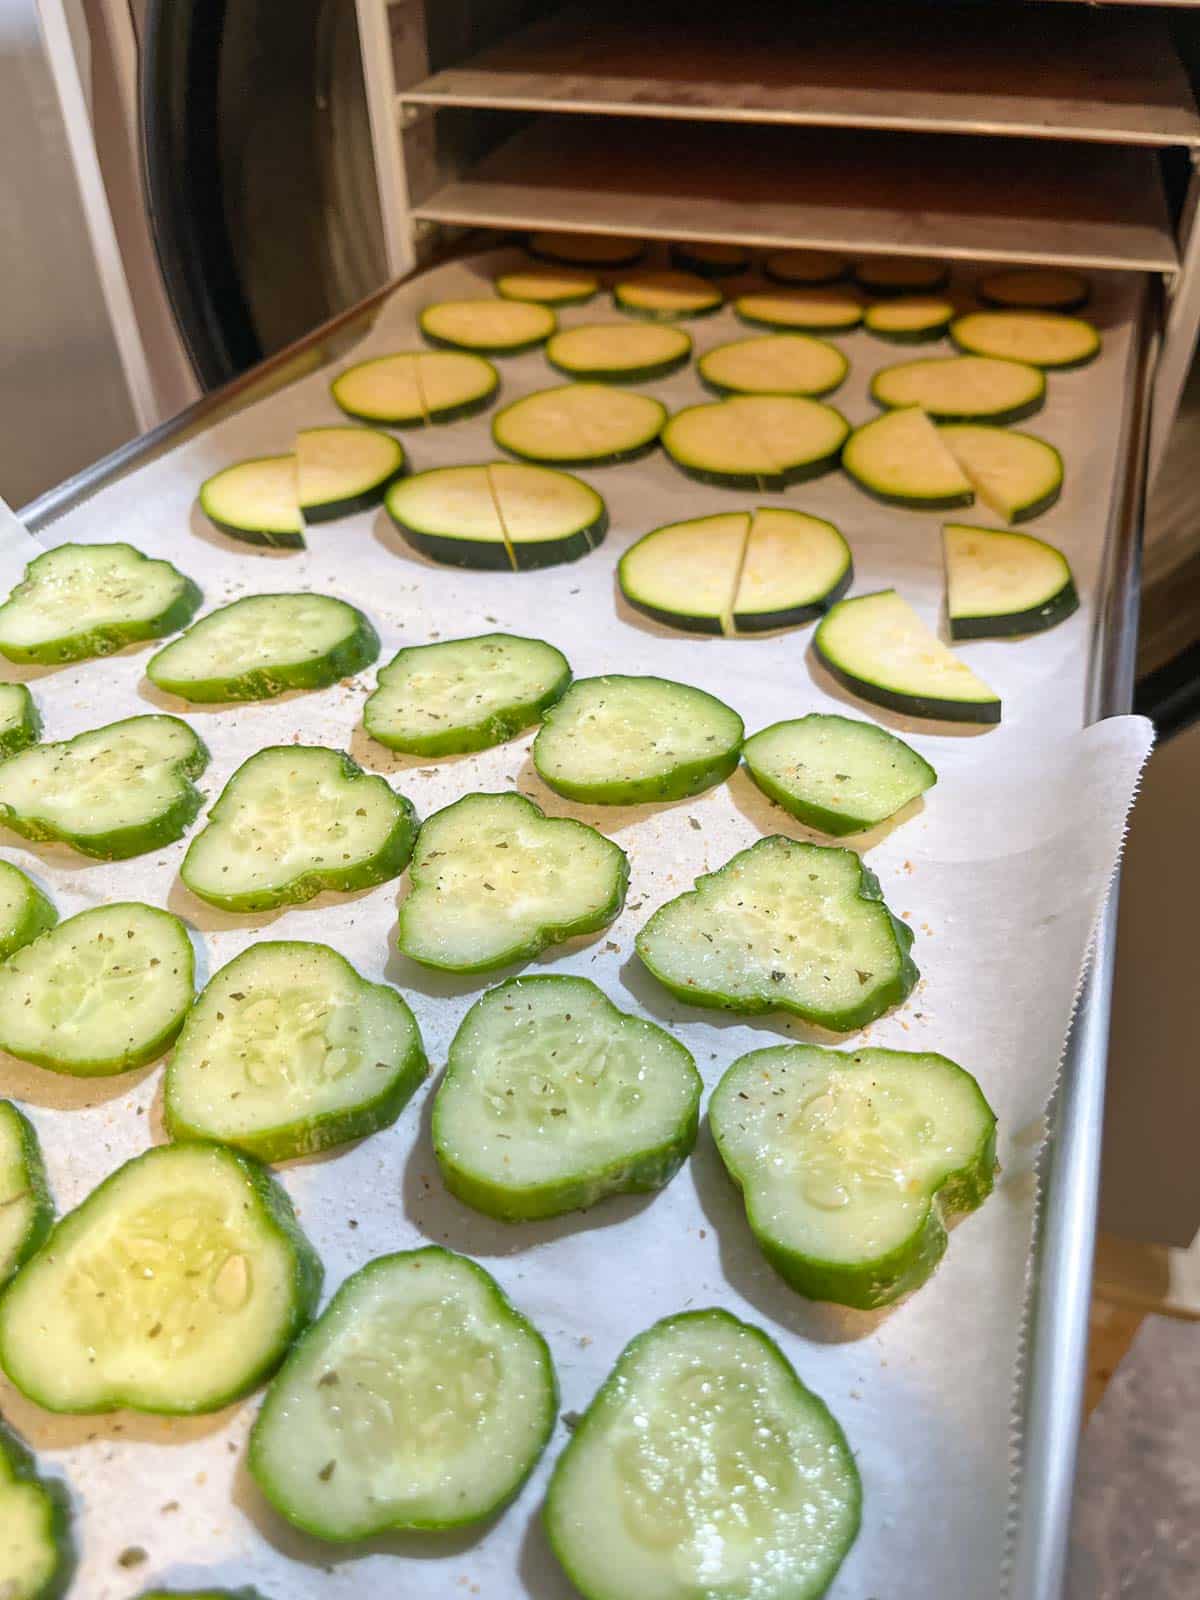
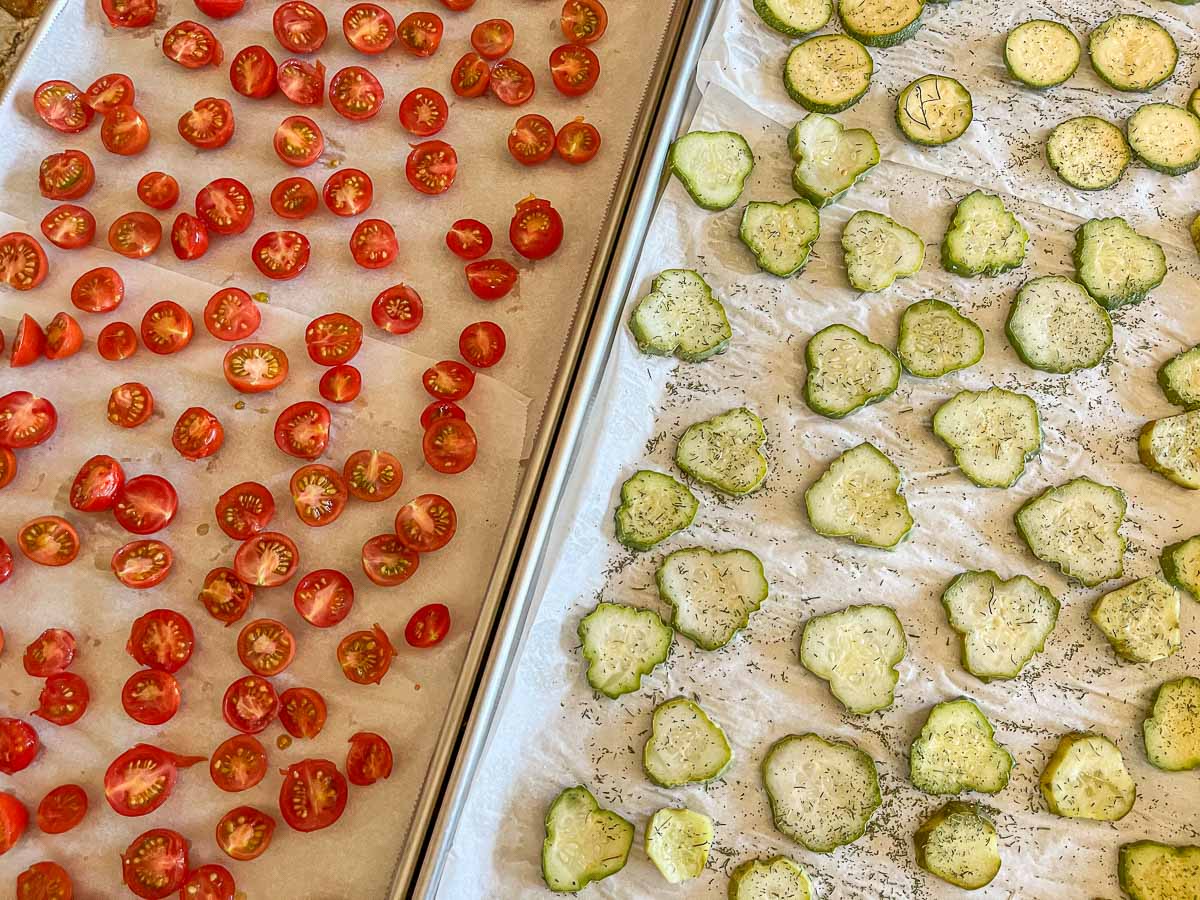
Now, toss out the bread and grab those bananas and strawberries, or whatever you plan on freeze drying first! I started with freeze drying bananas and have moved on to freeze drying the excess from my garden. We're talking tomatoes, cucumbers, zucchini, various herbs, I'm even planning on freeze drying potatoes!
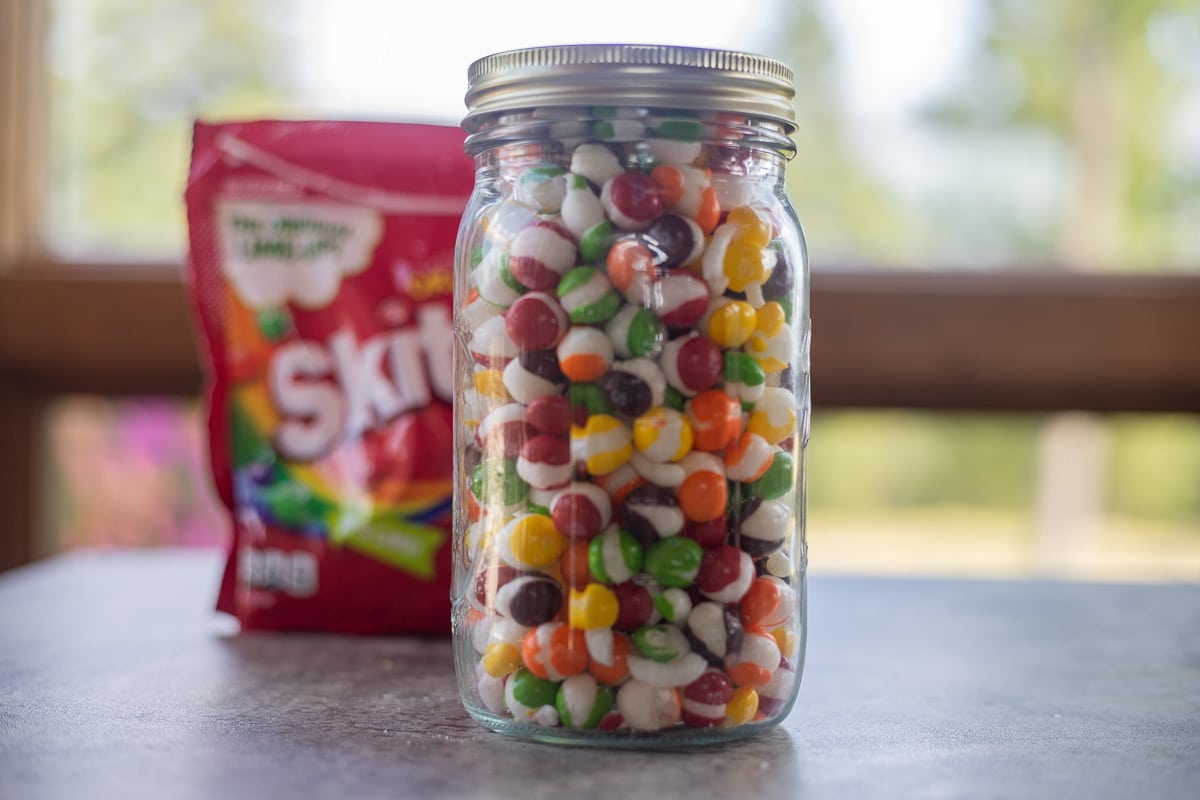
I even freeze dried huckleberry banana bread and made freeze dried skittles recently. Did you know that was a thing? Well, it is! You'll pay around $25 for a 1 pound bag on Amazon, or make your own for a fraction of the cost!
Quick & Easy Freeze Drying Steps
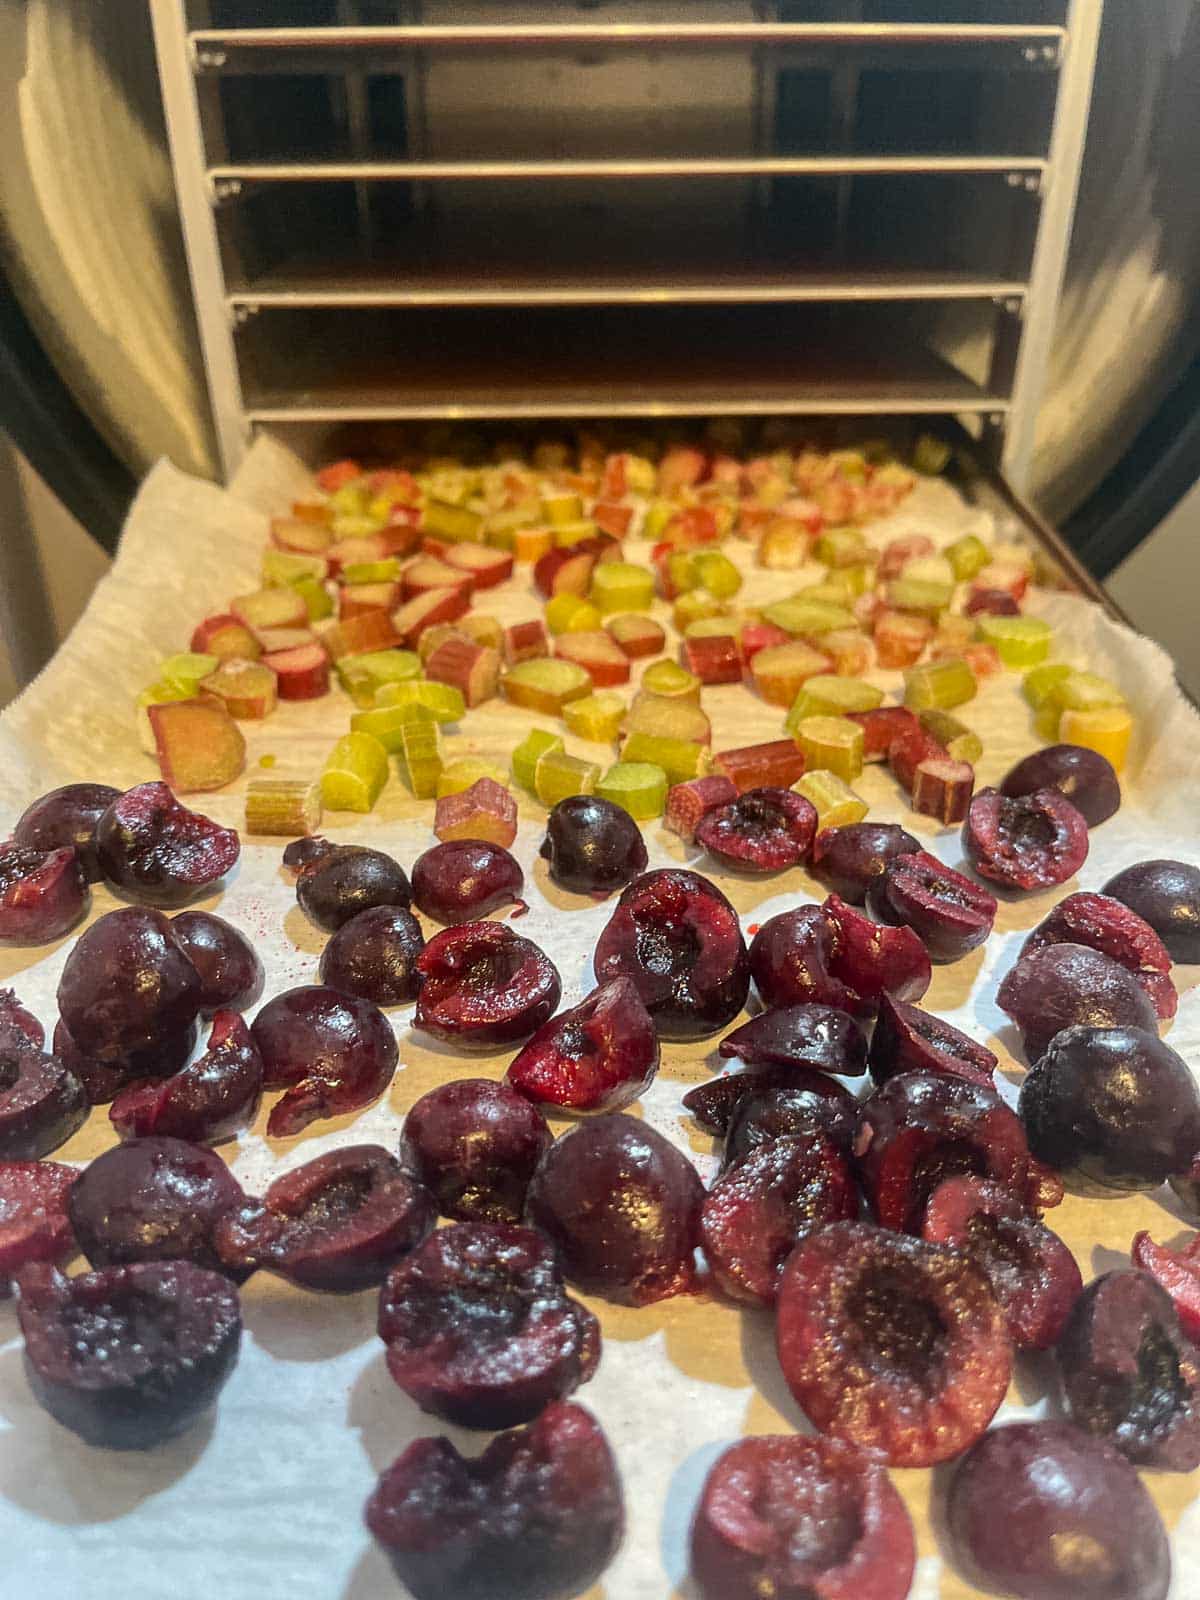
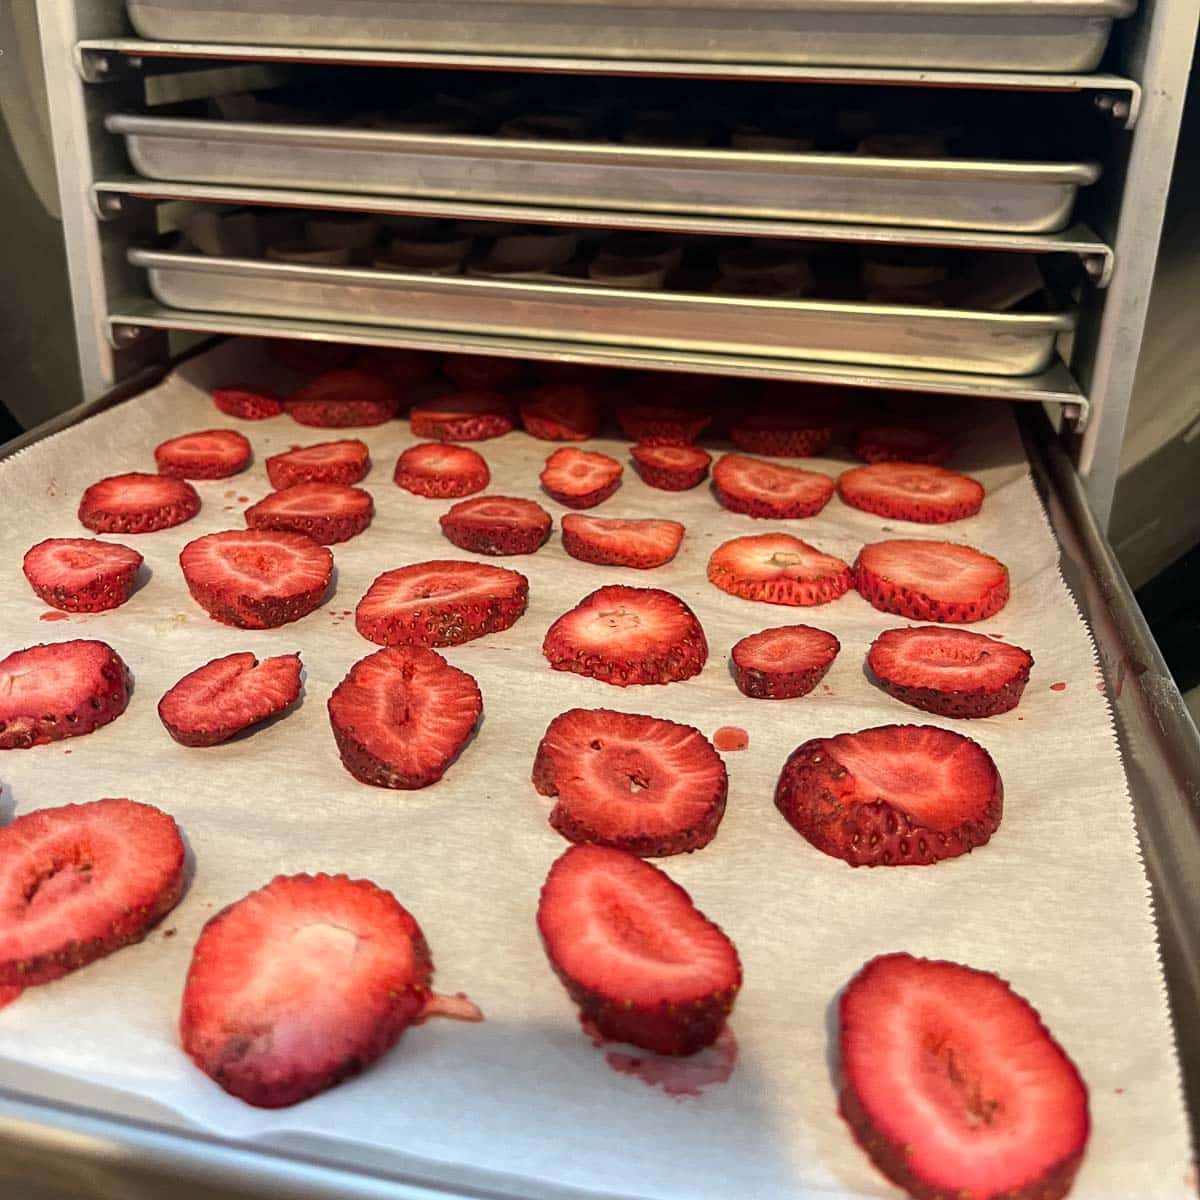
- Line your trays with parchment paper or silicone mats and add fruit, vegetables, or whatever you plan on freeze drying. Make sure the food does not exceed the height of the trays.
- Select "start" from the screen menu. You will see the following prompt: "Cooling vacuum chamber. Wait 15 minutes before loading trays."
- After 15 minutes, you will see the following: "Load trays into freeze dryer & close drain valve." Go ahead and load your trays, then turn the lever on the drain valve so that it's perpendicular to the hose. If it's left open, the freeze dryer will not be able to form a vacuum or proceed.
- Select "continue," and the display will switch to "freezing." Eventually, the display will change to "drying" with a status bar showing the progress.
- When the process is complete, you will be notified with an audible sound. You will need to open the drain valve, which will release the vacuum and allow the door to be opened. Check to see that the food is completely dry and snaps easily in two.
- If some of the pieces are not completely dry, you'll want to put those trays back into the freeze dryer. Next, close the drain valve, and choose "additional drying time." The default setting is set to 2 hours, but you can adjust the time either up or down, as needed.
- Another way to determine if the freeze dried food is completely dry is to weigh it after the first drying cycle. Next, add extra drying time, then weigh the food again. If there is no difference in the weight, the food is done drying! If the weight is less, dry again until there's no difference in weight between the drying cycles.
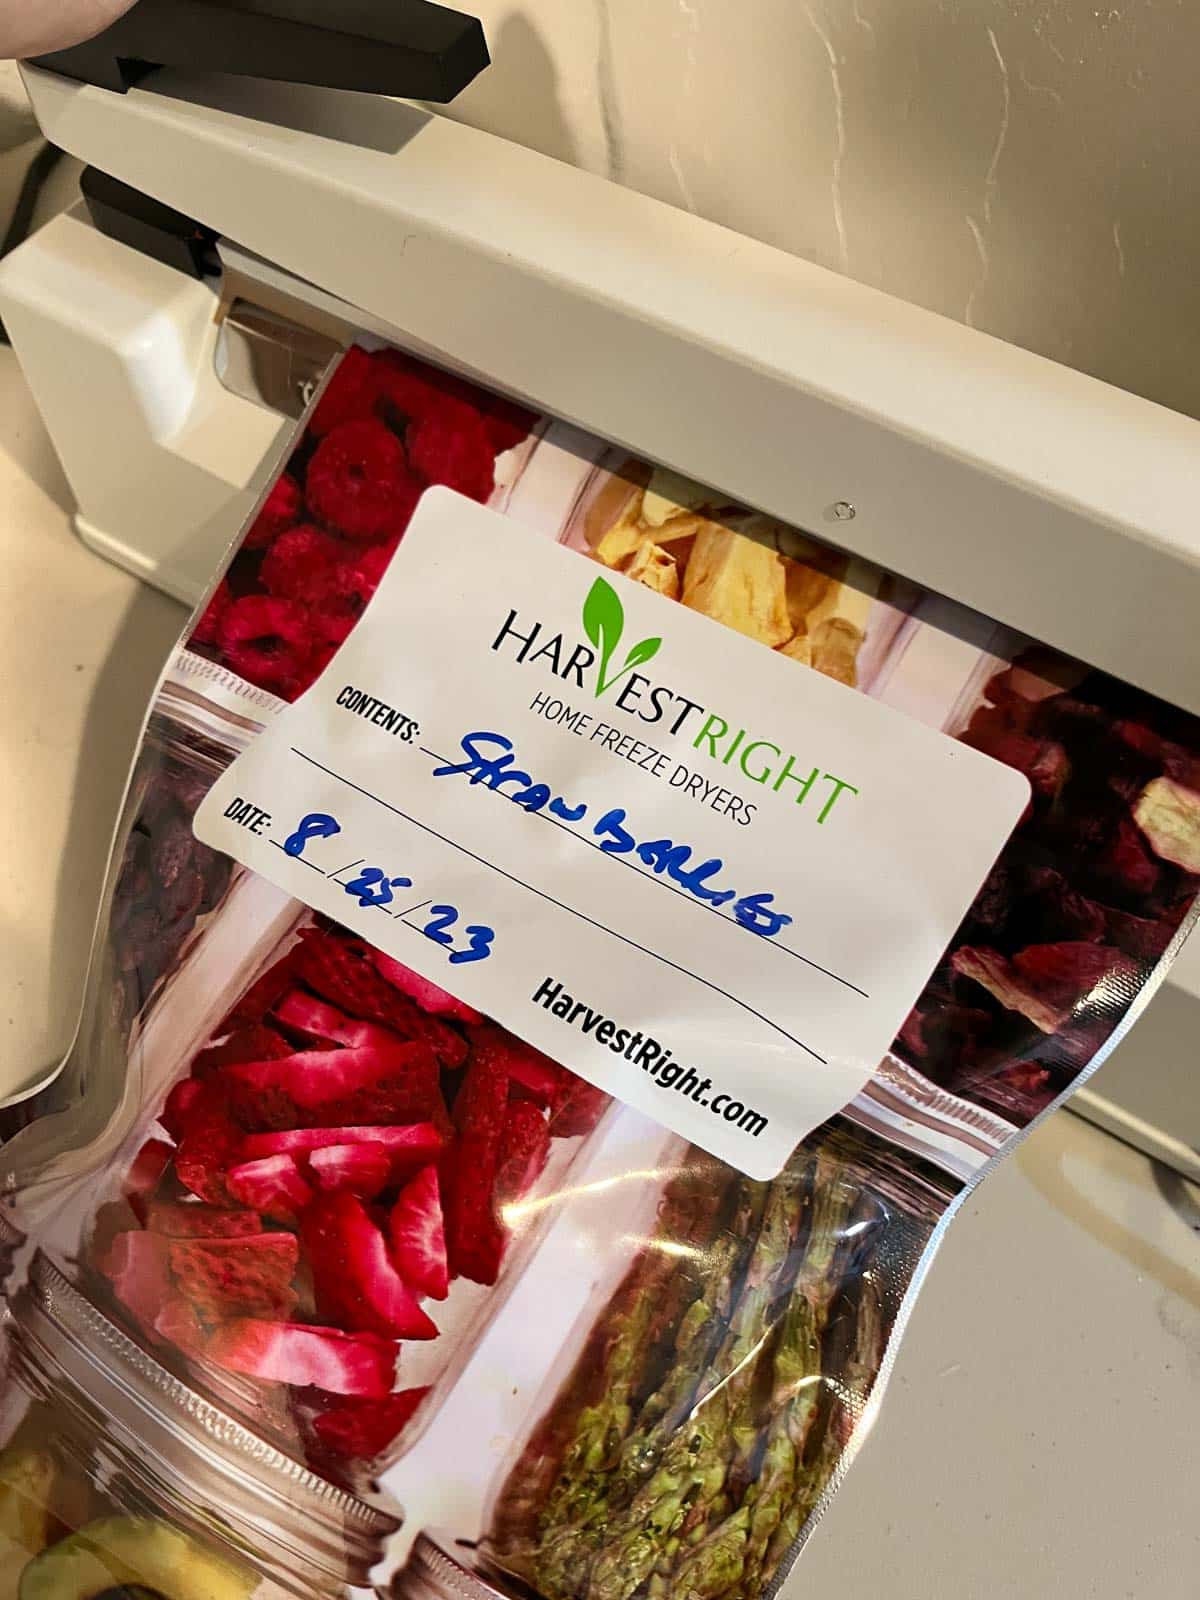
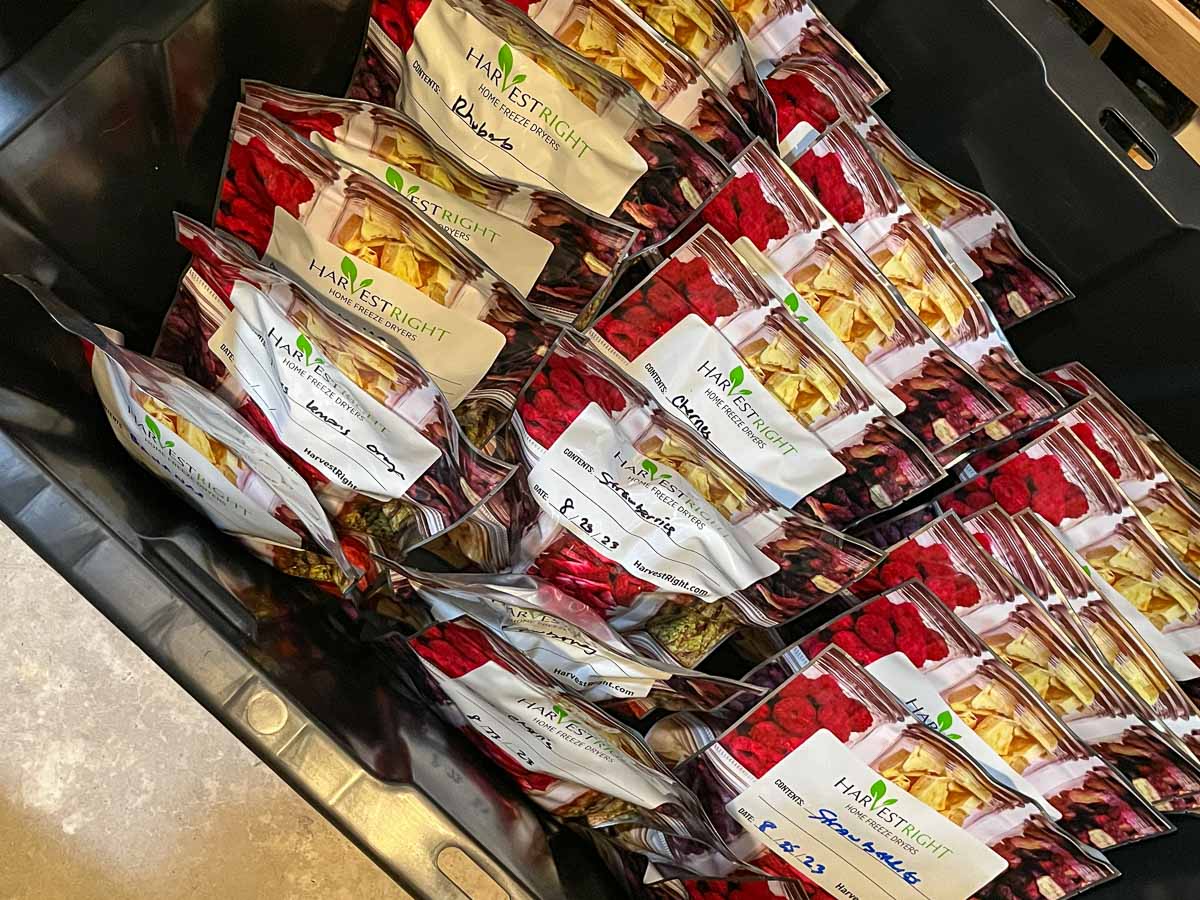
- The final step is to package the food into Mylar bags or mason jars and toss in an oxygen absorber. This needs to be done fairly quickly before the food begins to absorb moisture. It's helpful to have the bags already labeled with the contents of the bag and the date before sealing with your impulse sealer.
Reconstituting Freeze Dried Food
Reconstituting freeze dried food is rather simple. All you have to do is add water. Some food requires a specific amount of water, for example, eggs, while other food, such as meats or veggies, needs to soak in a bowl of water until they absorb the required moisture to bring them back to their original glory!
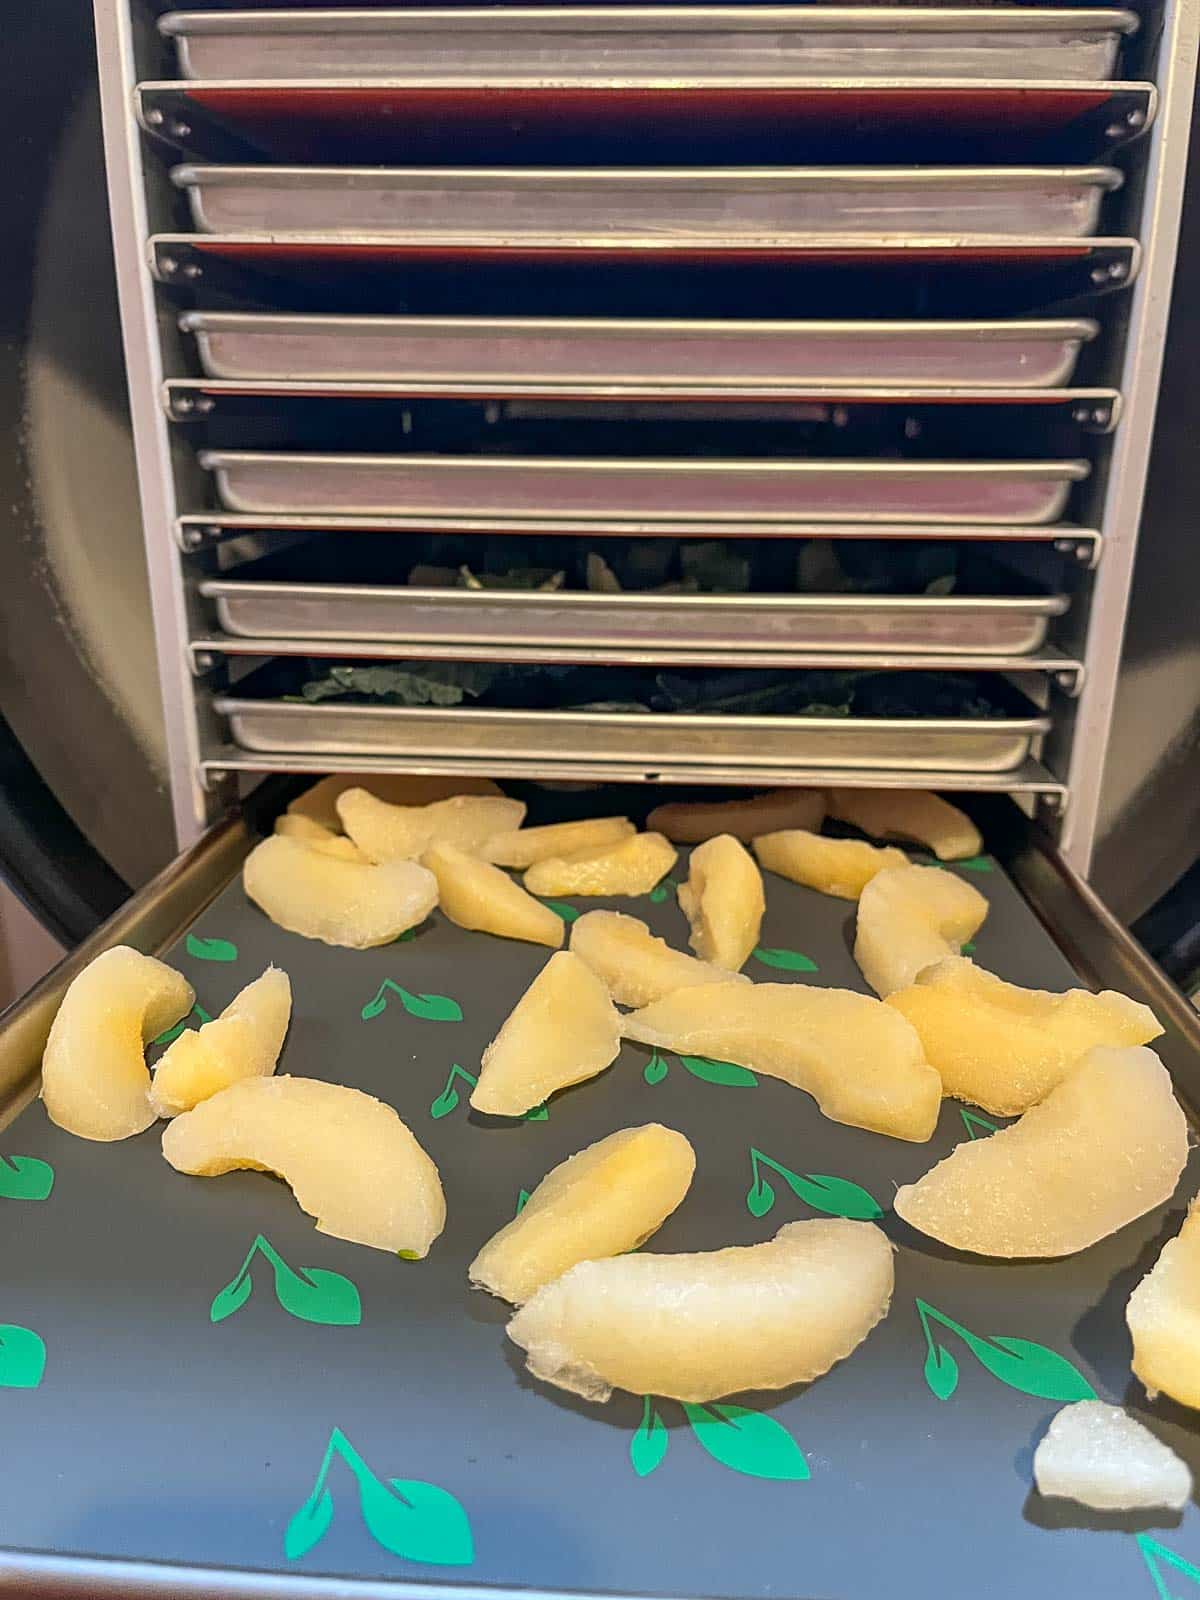
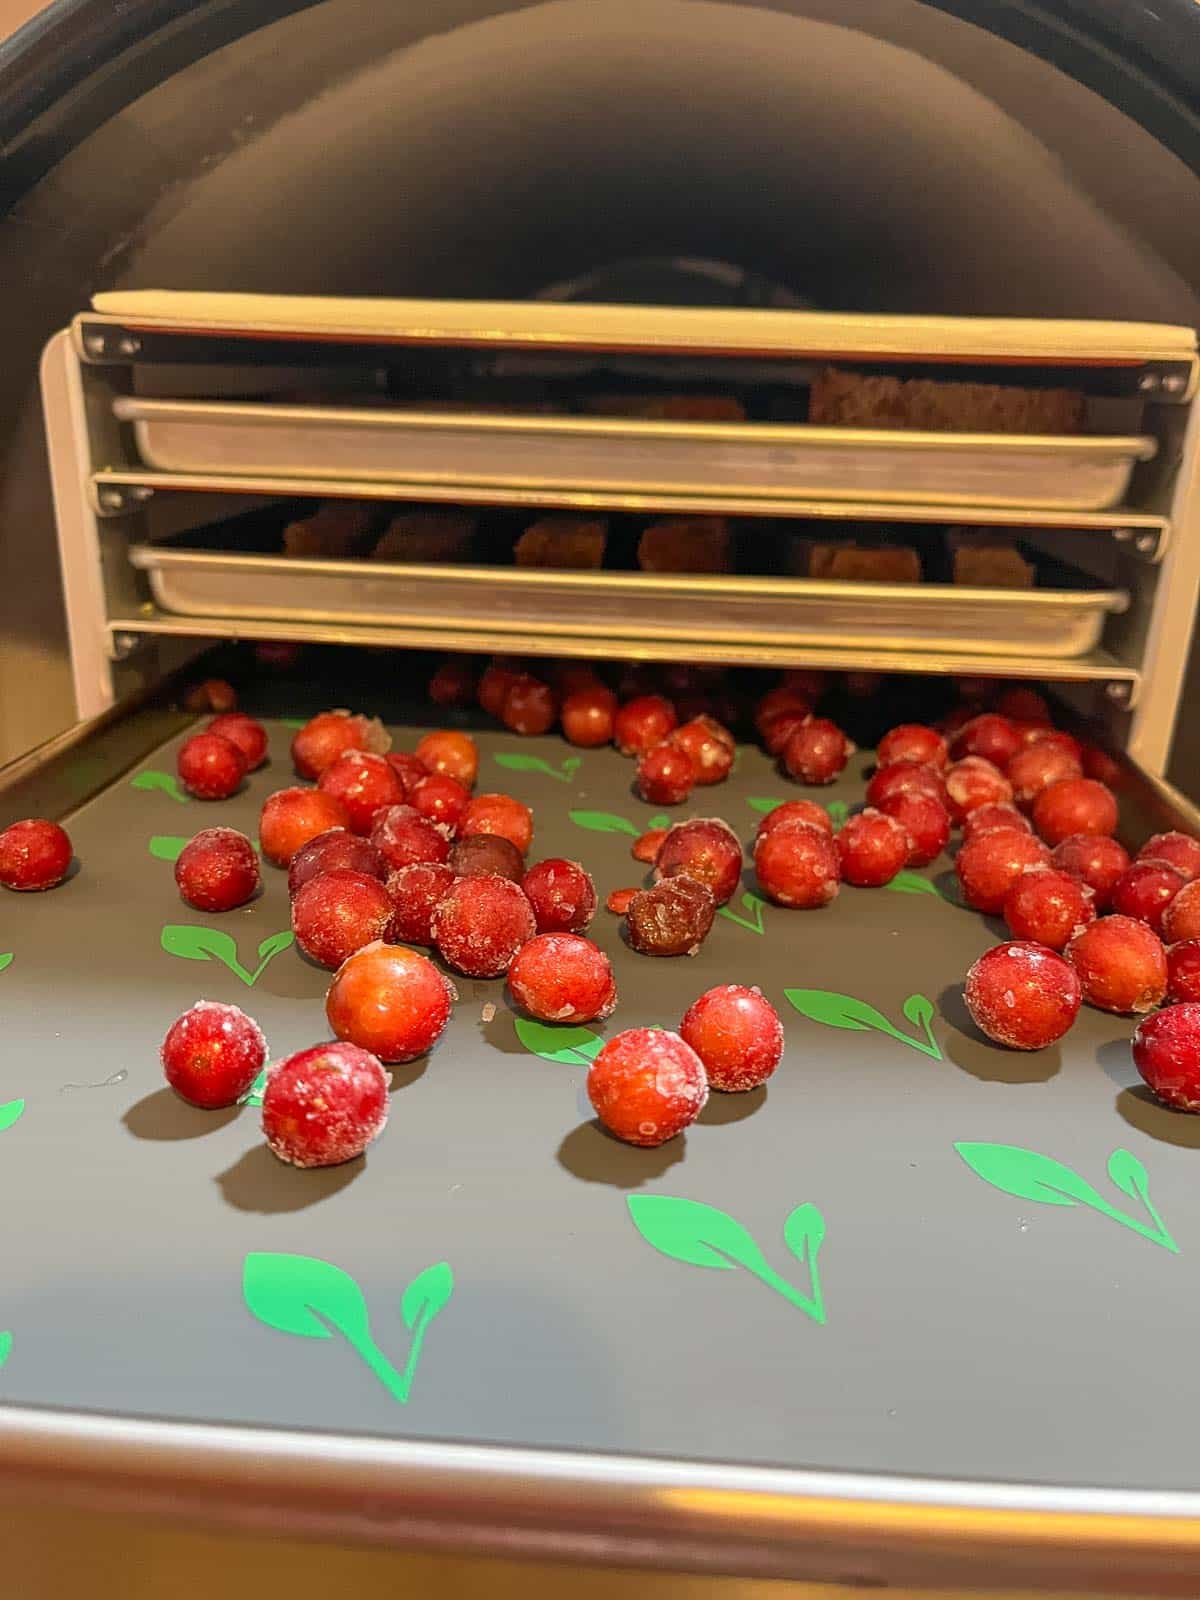
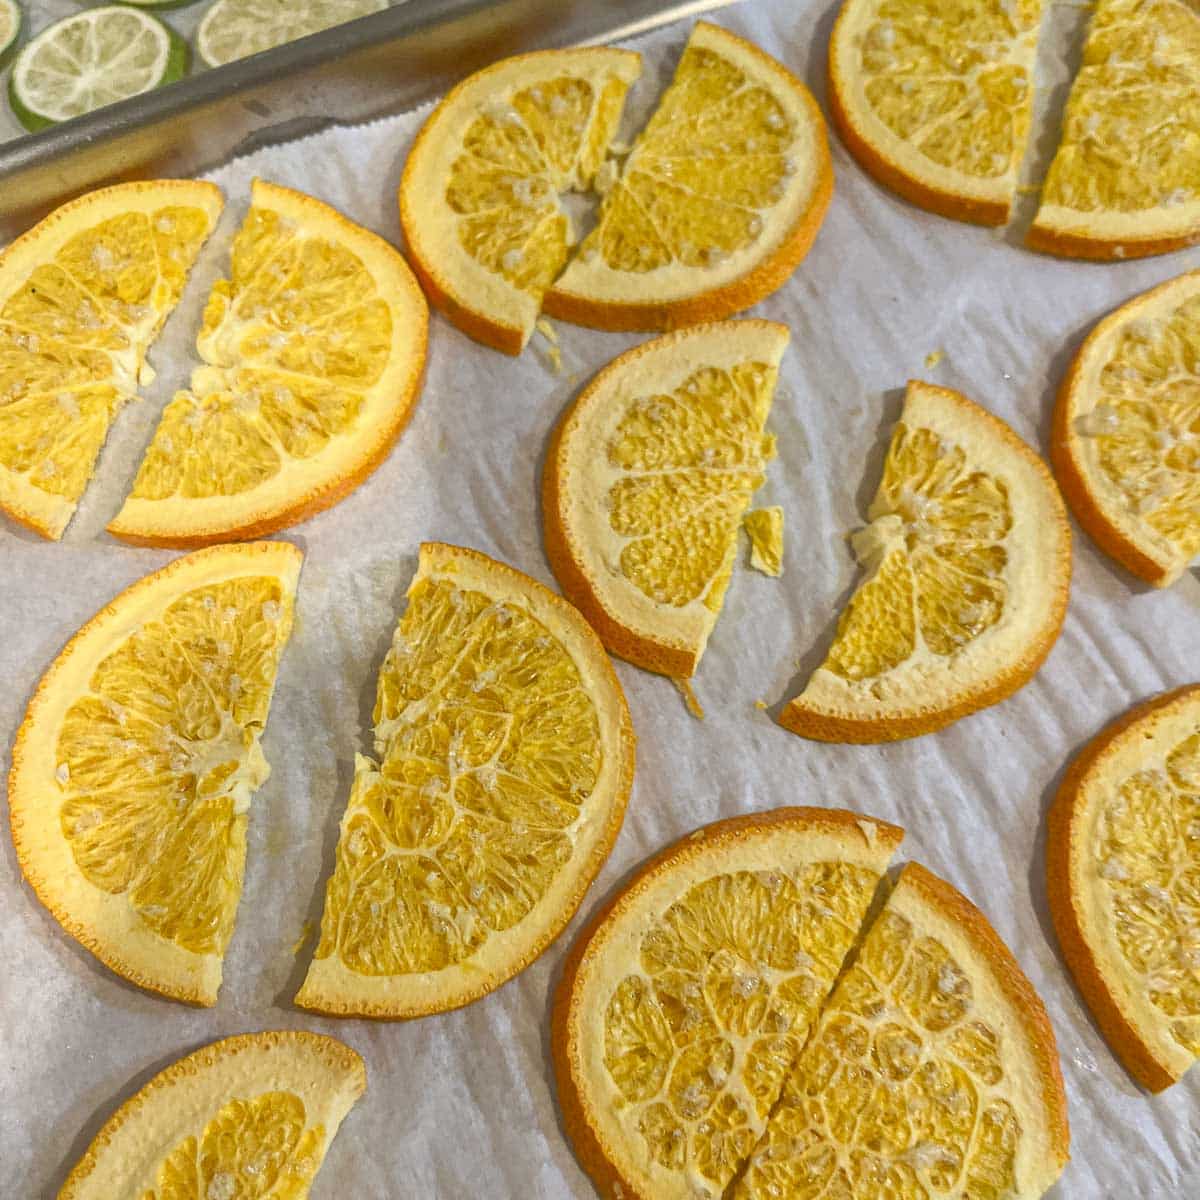
Not all freeze dried foods need to be reconstituted. Banana chips, cherries, apple slices, cheese cake, banana bread sticks, and freeze dried strawberries are some examples.
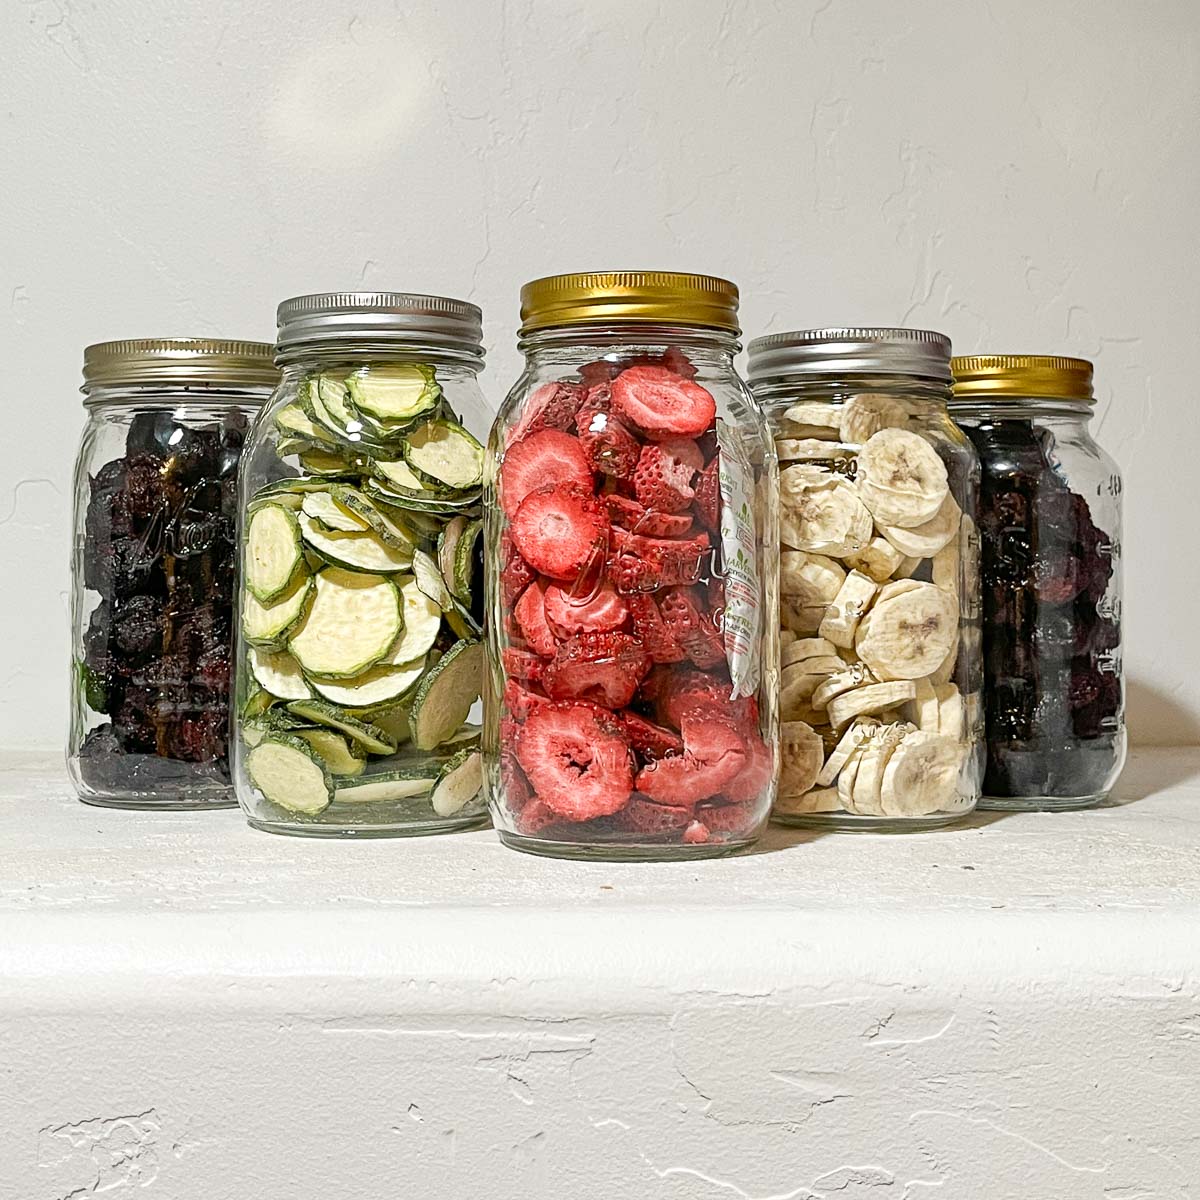
Fruits like Cherries, strawberries, and bananas make excellent snacks!
Recommended Accessories
As mentioned above, your freeze dryer comes with everything you need to get started. However, as you begin to use your freeze dryer, you'll notice that there are other things you wish you had. What more could you possibly want or need? Well, I'm glad you asked...
Silicone Mats: These heat and cold-resistant mats are dishwasher safe and can be used to line your trays for easy cleanup. They also save you money in the long run, eliminating the need to continually purchase parchment paper.
Tray lids: Lids are great for stacking the trays in the freezer, especially when pre-freezing food. Want to know a secret? The lids can also be used as extra trays! Many people choose to purchase an additional set of trays to pre-freeze food and have it ready to go. But you can do the same with these lids, as they easily slide through the freeze dryer tray shelves.
Silicone Molds: Silicone molds come sized to fit your trays and are great for freeze drying things in one-tablespoon portions. Think yogurt, smoothies, liquids, and even eggs!
Freeze Drying Book: Although your freeze dryer will come with a small recipe book, it doesn't have a ton of recipes. I looked around and finally decided to purchase a copy of The Only Beginner Freeze Drying Book You'll Ever Need." Not only is it a great guide, with detailed information, but it also contains some great recipes!
Locking Freeze Dryer Corner Tray Stackers: These tray stackers lock in place and allow you to stack your trays while filling them or pre-freezing the food. You can purchase these here: FreezeDryingSupplies.com
If you're the forgetful type, you might consider getting a No Suck Kit! It does not allow the water in the bucket to get sucked back up if you forget to dump out the water between batches.
Freeze Drying Tray Dividers: These freeze drying tray dividers are adjustable and come in handy when you want to portion your freeze dried food.
Freeze Dryer Pros & Cons
Pros
- Freeze dryers are amazing machines and are excellent for long-term food storage in case of emergencies. They're also great for freeze drying food for everyday use and snacking.
- Freeze dried food retains most of its nutrition and retains its texture, shape, and flavor!
- Home freeze dried food is a lot cheaper to make than purchasing prepackaged freeze dried food.
- Compared to other forms of preserving foods, freeze dried food has a much longer shelf life! Frozen food is good for up to 2 years, canned food can be good up to 3 years, dehydrated food can last up to 5 years, while freeze dried food is good for up to 25 years!
- Freeze drying eliminates waste, whether we're talking left-over meals, food that gets freezer burned, or a garden harvest that you can't consume fast enough. All these foods can be freeze dried instead of being tossed out!
- Freeze drying frees up space in your freezer!
Cons
- The cost of freeze dryers makes them out of reach for those on a tight budget.
- Freeze dryers use up energy, resulting in higher electricity bills.
- Each batch takes 20-36 hours to complete.
- Freeze dryers put out heat and make noise while running.
- You need to purchase air-tight containers, such as mylar bags or mason jars, on a continual basis to store your freeze dried food.
- You need to purchase totes to store the mylar bags for long-term storage to keep rodents out.
FAQs
According to the Harvest Right website, the average cost of running a freeze dryer can range somewhere between $1.25-$2.80 per day.
Absolutely! Freeze dried food costs a lot when purchased. For a fraction of the price, you can prepare your own freeze dried food and have an emergency food supply that will not deteriorate and can be safely stored for 25+ years!
Almost most foods can be freeze dried. This includes veggies, fruits, and herbs. Eggs, dairy, spices, leftovers, soup, pasta, desserts, snacks, and many other meals can be safely freeze dried.
Although most foods can be safely freeze dried, there are some foods that are not recommended for freeze drying. Foods high in fat, jams and syrups, chocolate, nuts, and alcohol shouldn't be freeze dried.
Eggs are very easy to freeze dry. They can be freeze dried raw or scrambled and cooked before freeze drying. This makes them an excellent food option while camping, hunting, and anytime you want a quick, nutritious meal!
Freeze dried food has a shelf life of 25+ years when stored properly in mylar bags and stored in a dark, cool location.

Pro Tips
- Don't forget to empty the bucket after each cycle; otherwise, the water can get sucked up into the machine the next time you use it, which is never fun!
- You'll also need to keep track of how many cycles you run through your freeze dryer. Unless you have an oil-free pump, the oil needs to be filtered after every 20-25 batches. You can slap a piece of blue painters' tape somewhere and make hashmarks after each cycle, or use this notepad, which comes with a pen.
- Try to consume food with a higher fat content within 5 years.
- The impulse sealer doesn't do the best job of sealing the bags, so you may need to do it a few times before the bag is sealed. Always check the seal before continuing with the next bag. I prefer these resealable bags, which come in various sizes and also include oxygen absorbers!
- If you're looking for helpful information and videos to get you started with freeze drying, check out our friend Brian's YouTube channel, Live.Life.Simple. He has way more experience with freeze drying than I do!
A Final Word, or Two...
Freeze drying won't work for everyone, I get it. If you are limited on space, I don't recommend a freeze dryer. If you are strapped for cash and struggling to pay your bills, you don't need the added expense of a freeze dryer!
However, if you have the room and the money to spend on a freeze dryer, I can't recommend them highly enough! If food security is something you're striving for, you can't go wrong with purchasing a Harvest Right Freeze Dryer.
Freeze Dryers are fun and easy to use. They're also very efficient. I'm having the best time experimenting with mine! They can also provide peace of mind, knowing your family's food needs are met, if and when the next disaster strikes!
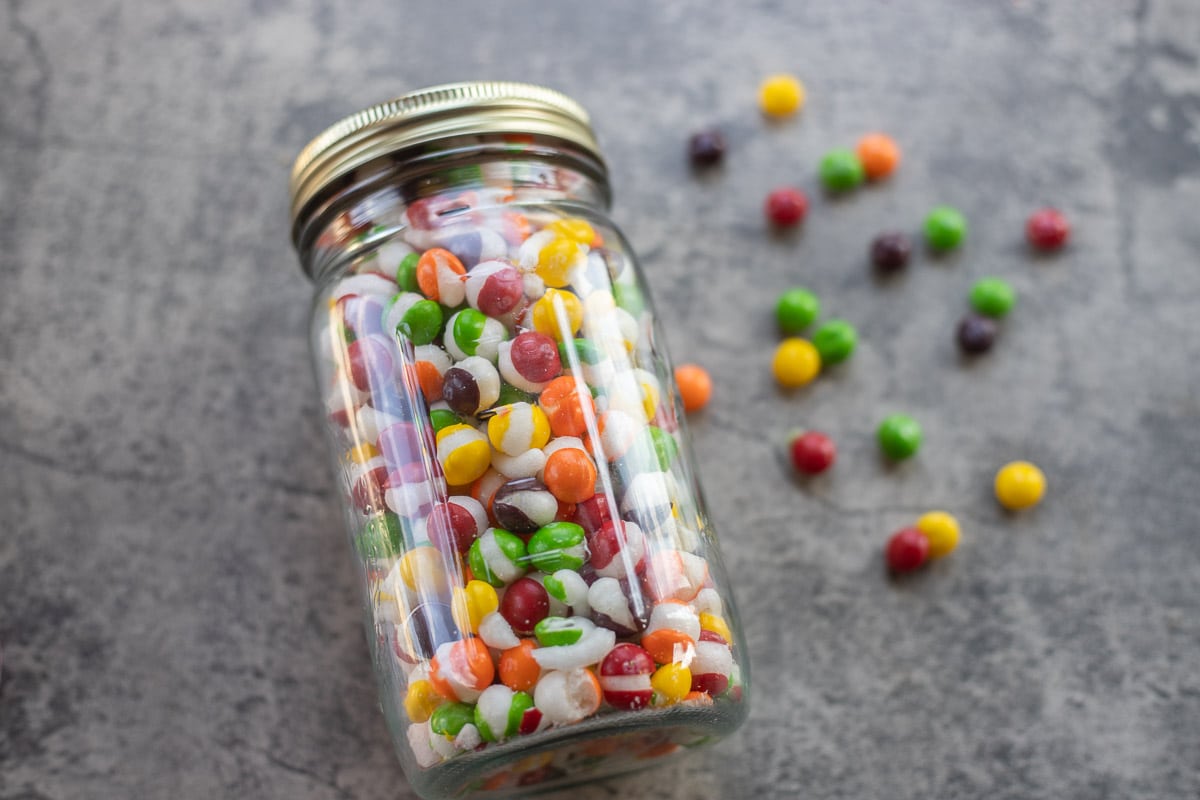
My final, FINAL words to this looooooong Harvest Right Freeze Dryer Review, Freeze Dried Skittles!!! You gotta try'em!
Related Posts
If you've enjoyed reading this Harvest Right Freeze Dryer Review, bless you! 🙌 It might be my longest post ever! You may want to check out these other product reviews and informative articles!
Stay in touch with me through social media @ Instagram, Pinterest, TikTok, and Facebook. Don't forget to tag me when you try one of my recipes!



Jennifer says
Hilda....This was an informative and very thorough review....I appreciate the time you spent on it!
Hilda Sterner says
Thank you so much, Jen! I really appreciate it! This one definitely took a while to write!
Sarah says
Hilda, thank you for taking the time to document your experience thus far as you dip into the Freeze Drying Life! There are plenty of us asking a host of questions before we pull the trigger on such an investment, and I'm happy to say you answered them all! Now I feel confident that if/when I decide to pull the trigger on this commitment, I had known enough to set realistic expectations beforehand. Thanks again.
Hilda Sterner says
Thank you so much, Sarah. That means a lot to me and I'm glad I could help!