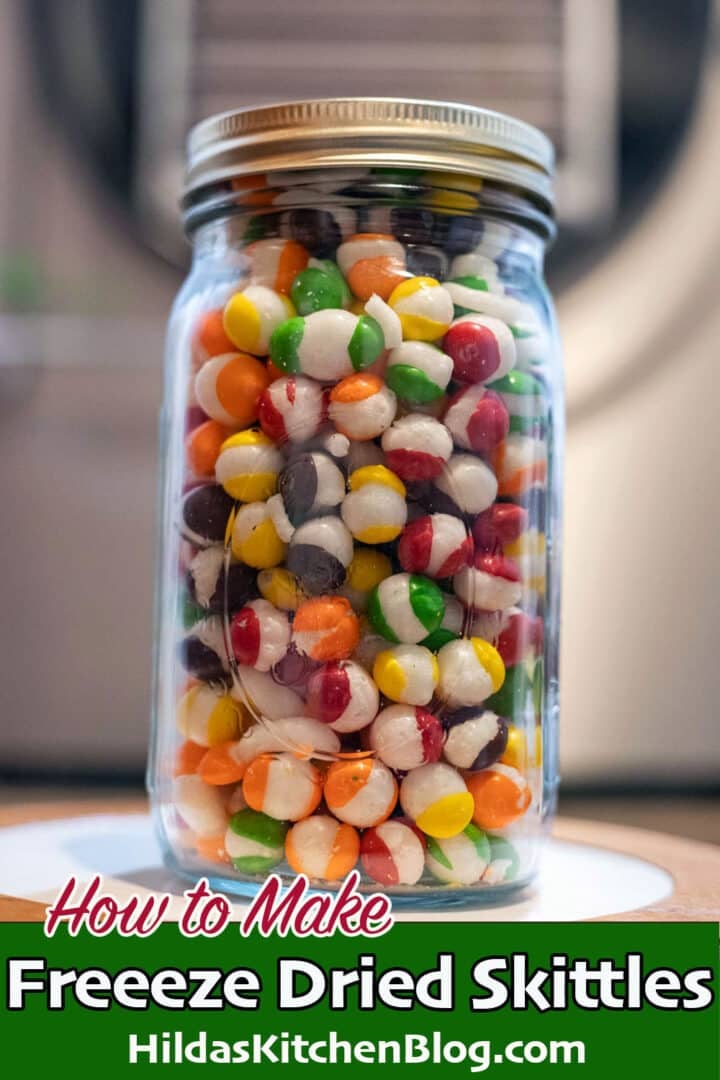
Have you ever tried Freeze Dried Skittles? They're all the rage! Once freeze dried, the Skittles' soft and chewy texture becomes crunchy, light, and airy. If you're new to freeze drying, check out my freeze dried candy post, too!
Would you like to save this recipe?
As a Harvest Right affiliate, I earn a small commission from any purchases made that originated from a link click on this blog.
Freeze dried candies are really popular right now. You may be surprised to know that you can freeze dry anything from Jolly Ranchers and Lifesavers to gummy worms, jelly beans, and taffy. You can even make freeze dried Starburst! In this post, we'll focus on freeze drying Skittles.
You can buy freeze dried Skittles on Amazon, Etsy, and local farmers' markets, but did you know you can make them yourself for way less?
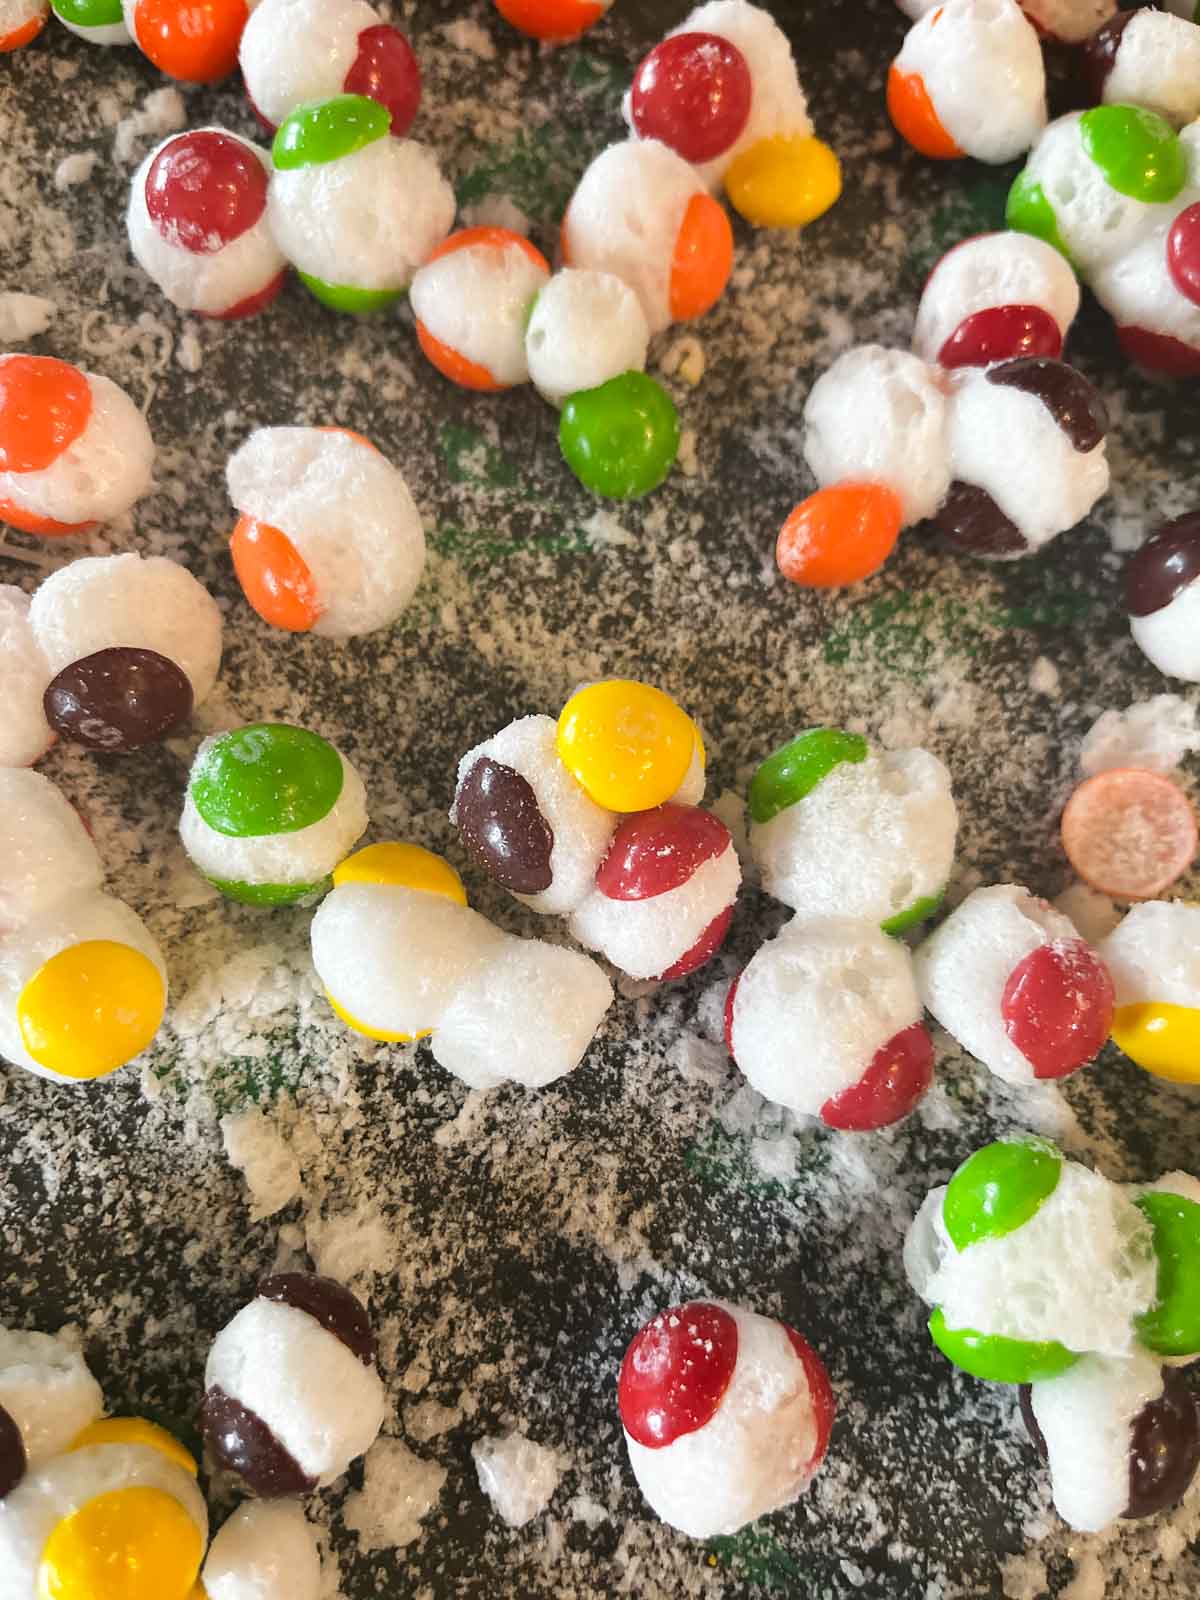
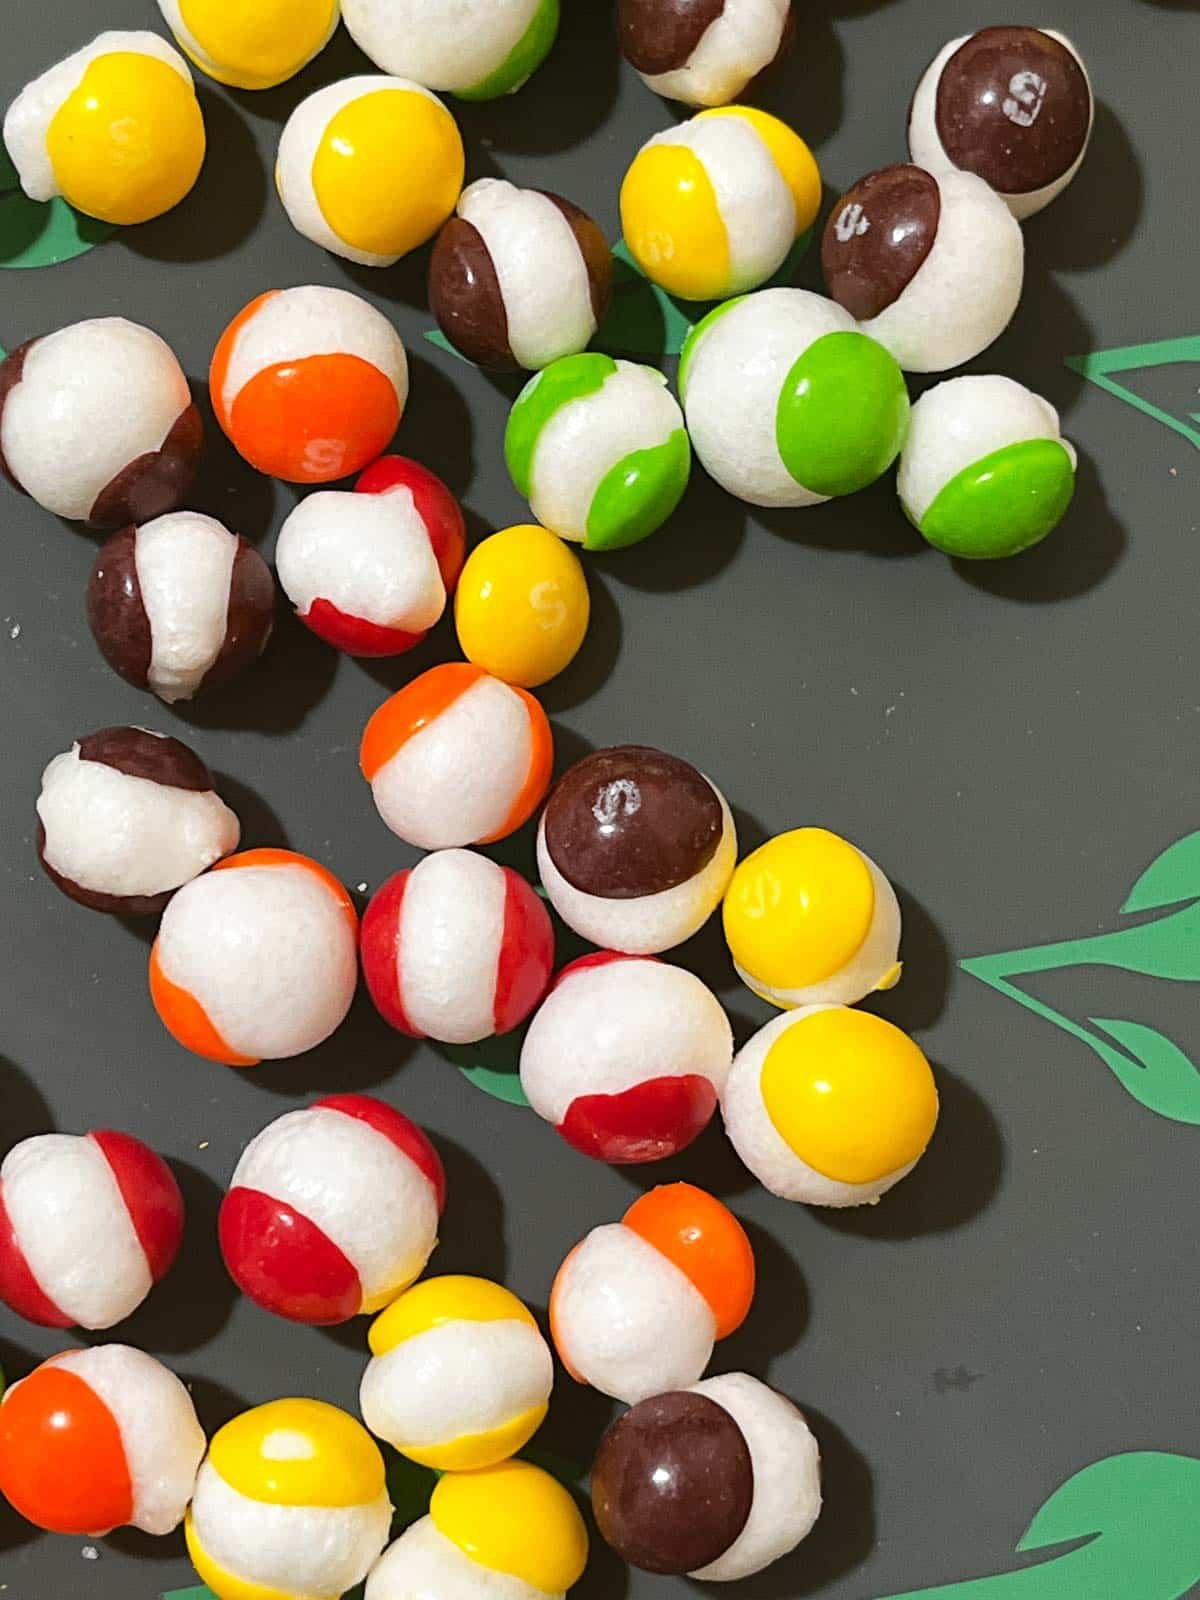
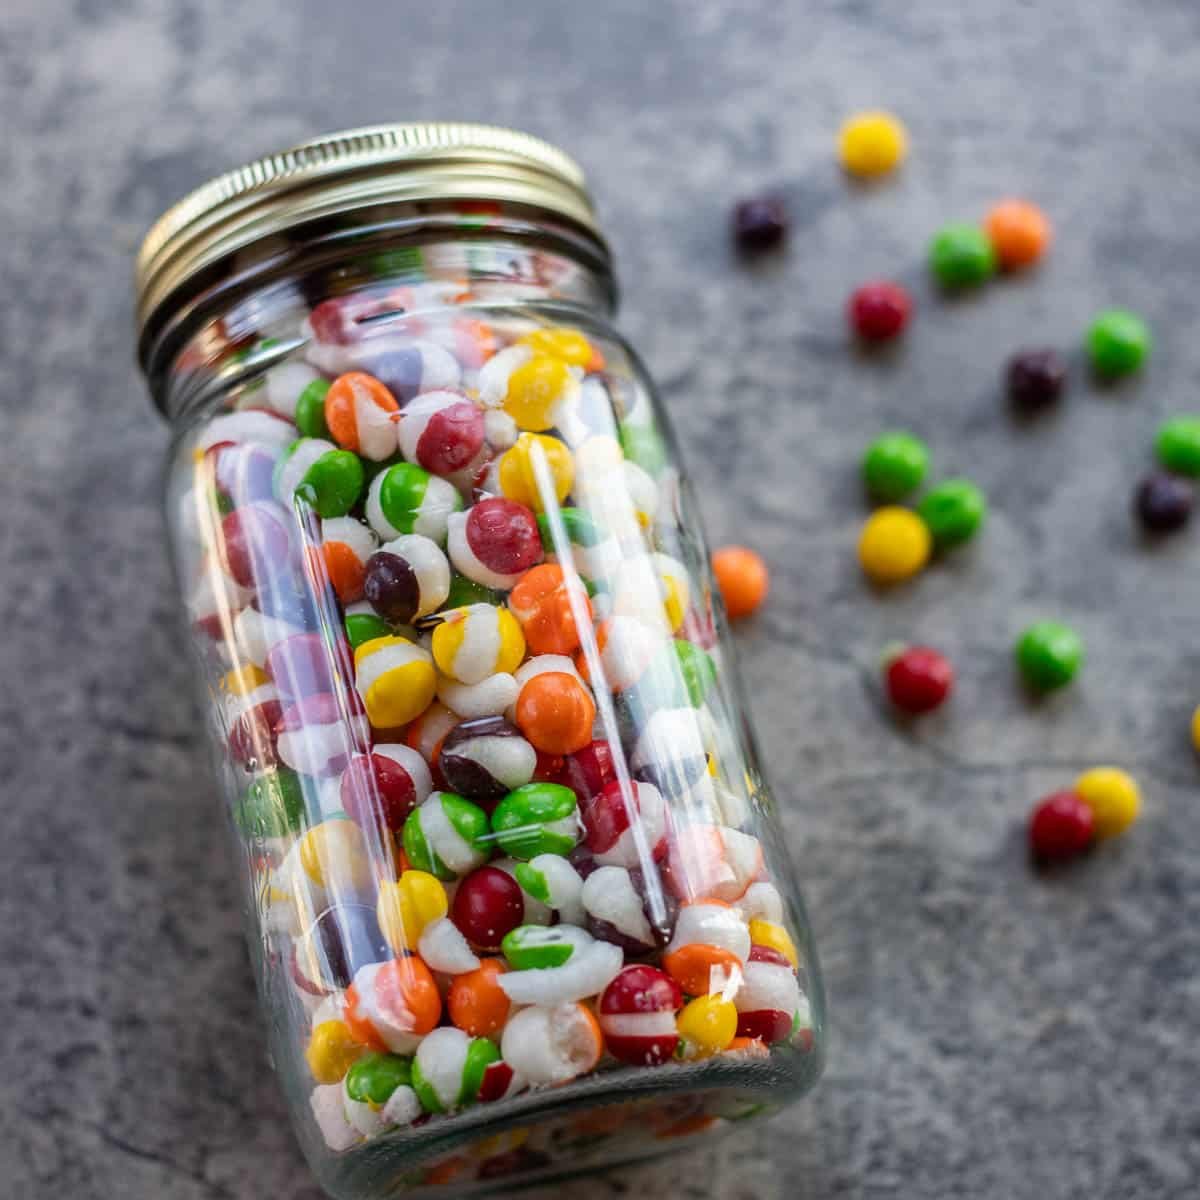
Freeze dried Skittles expand to the size of marbles and their familiar chewy texture becomes light and crunchy. However, they retain their unique flavor and are a delight to the taste buds!
If you don't have a freeze dryer, maybe you have a friend who does? I finally purchased mine after trying some of the freeze dried foods that my friends were making. Yes, it was a pricy decision, but I regret nothing!
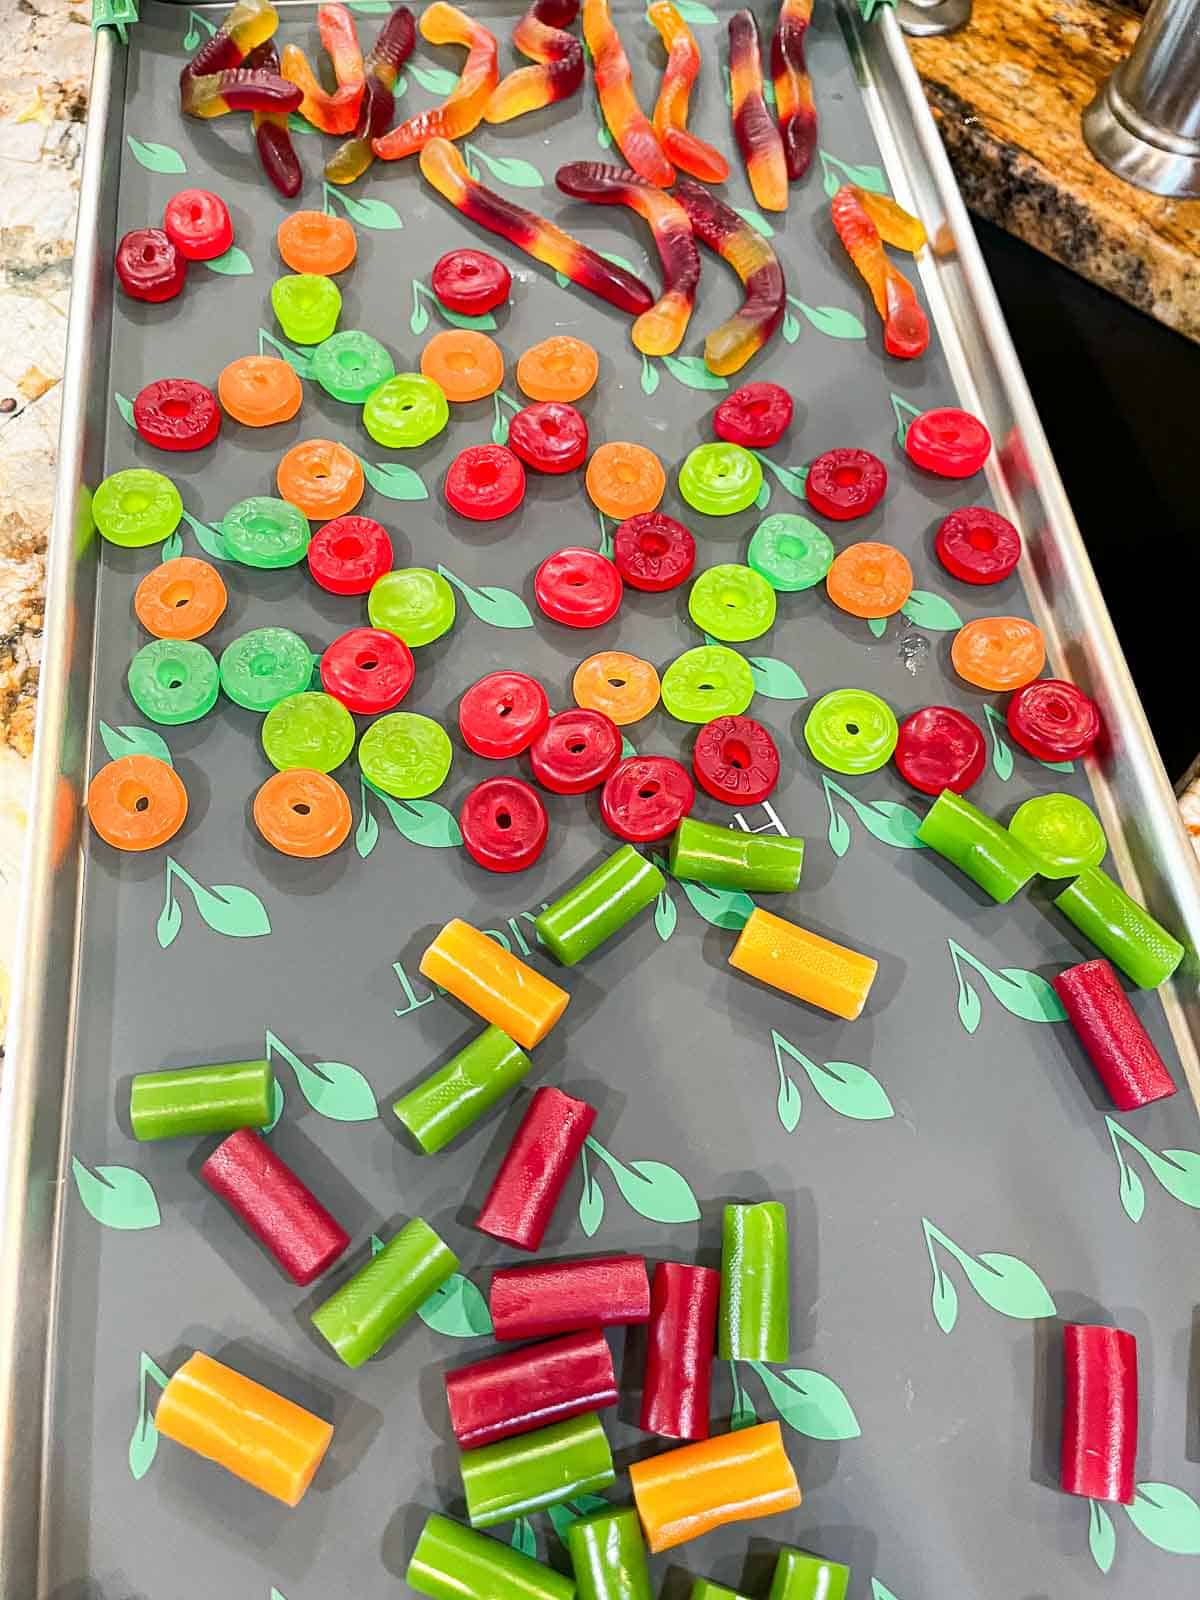

Gummy worms, Life Savers, and Australian licorice before and after being freeze drying.
Jump to:
😍 Why You'll Love This Recipe
- Freeze drying candy couldn't be any simpler, especially when using the candy mode option.
- Freeze dried Skittles still have the same amazing flavor, but with a new twist! Their texture is totally different.
- Freeze-dried candy is a big hit with kids of all ages! They're the perfect treat for movie nights, sleepovers, camping, and more!
- You can even sell freeze dried candy as a side hustle, or to pay off your freeze dryer!
🛒 What You Need For This Recipe
🔖 Ingredients & Substitutions
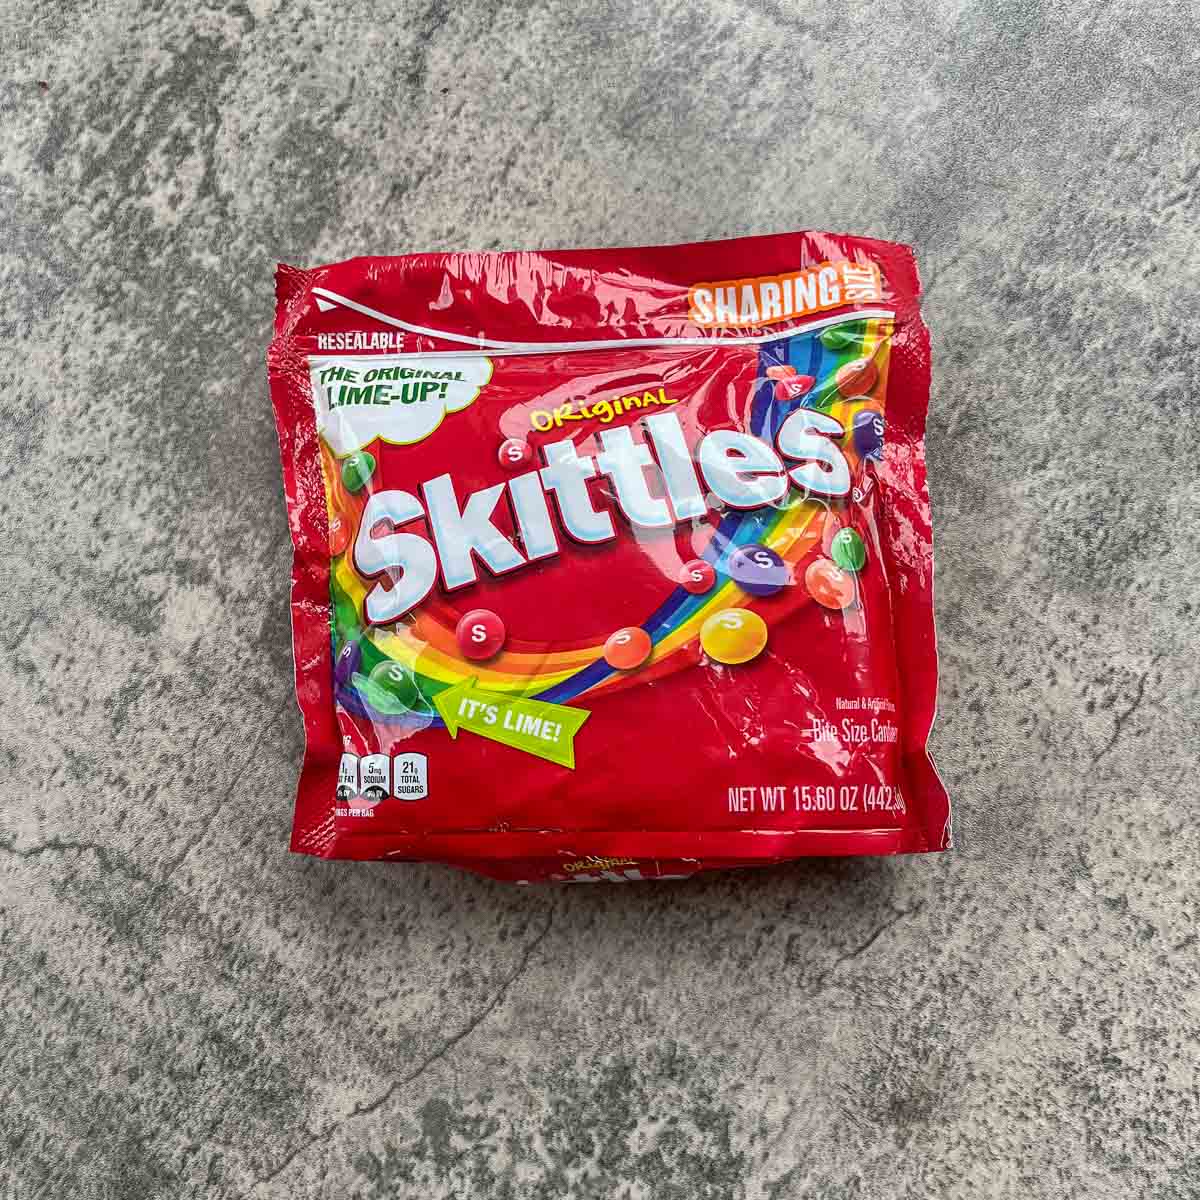
All you need to make freeze dried Skittles is .... Skittles! What are Skittles? Skittles are bite-sized candies in a rainbow of fruity flavors. The flavors include strawberry, grape, green apple, orange, and lemon.
I purchased a 15.6 ounce bag, but if you want to make a larger batch, you can purchase a 3.3 lb party-sized bag.
🔪 Helpful Tools
- freeze dryer (I used an extra-large Harvest Right freeze dryer)
- mylar bags or quart-sized mason jars for storing your candy
- oxygen absorbers to help preserve your freeze dried Skittles
- mason jar vacuum sealer (paid link) to seal jars.
🍬 How to Freeze Dry Candy
Before we go into the specific freeze drying instructions, I'd like to point out that there's more than one way to freeze dry candy. And no, you can't use a clothes dryer to make them, as some viral TikTok videos suggest. You need a freeze dryer to make them.
You can do a normal freeze drying cycle, which can take 20+ hours, but why waste so much energy, time, and money?
Harvest Right freeze dryers now have a candy mode! Candy mode allows you to adjust the heat setting from 125°F to somewhere between 135°F and 150°F. This setting skips the freezing time altogether! This means you can freeze dry candy in only a couple of hours!
Another option is to add 2 hours of extra drying time after you are done processing other food through the freeze dryer. All you have to do is load your candy trays and freeze dry them for 2 hours. It's that simple!
I'm using a Harvest Right freeze dryer, version V5.4.24. The candy mode setting is only available on version 23 or higher.
🍭 Freeze Drying Instructions
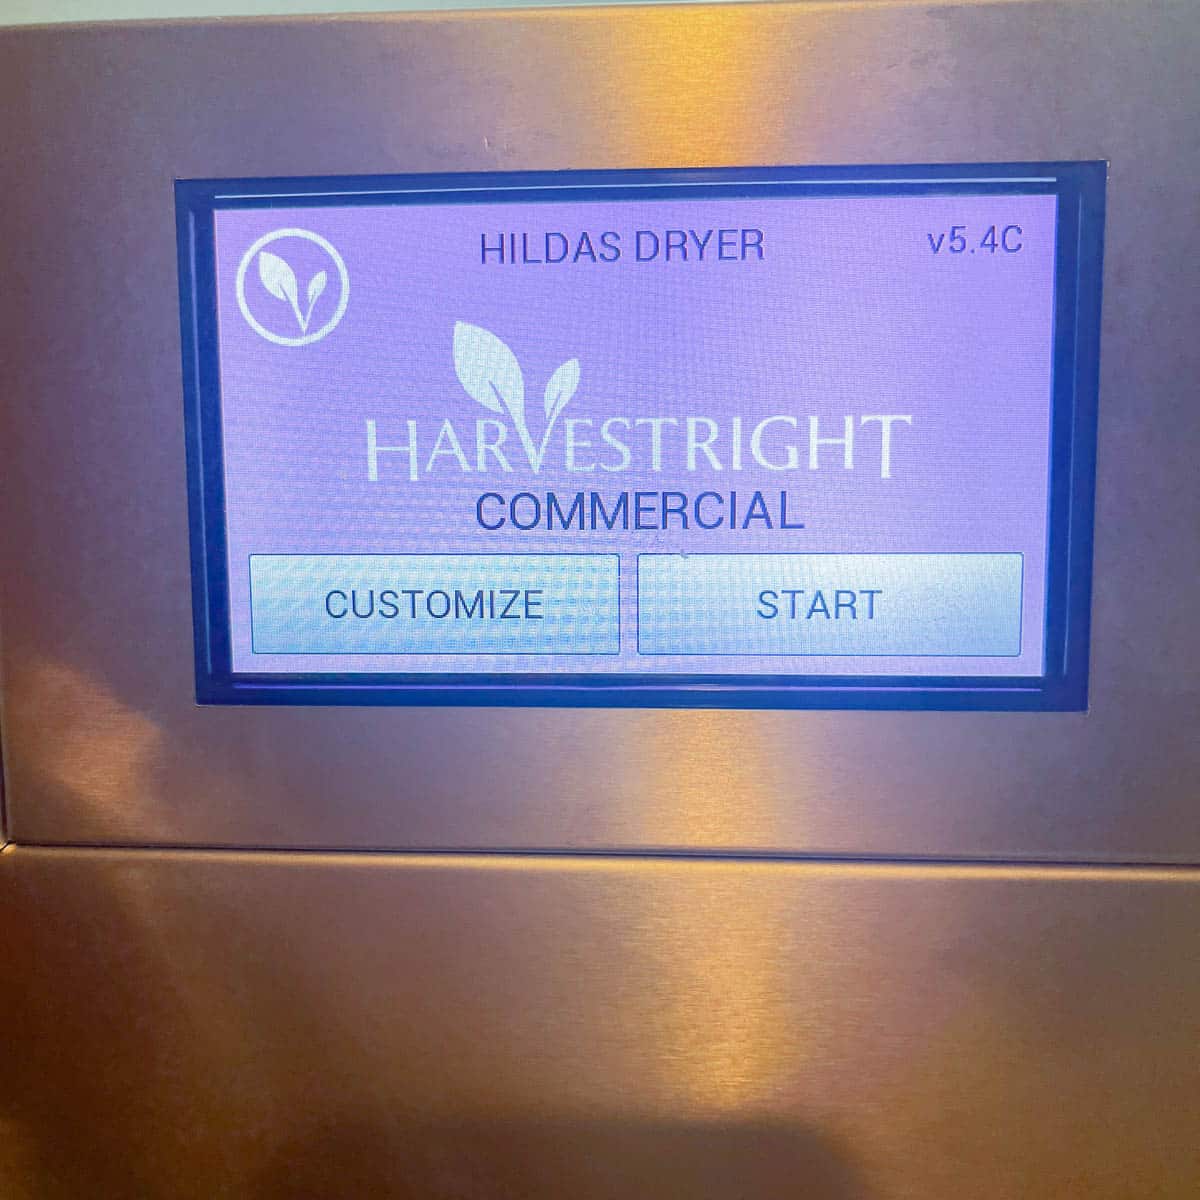
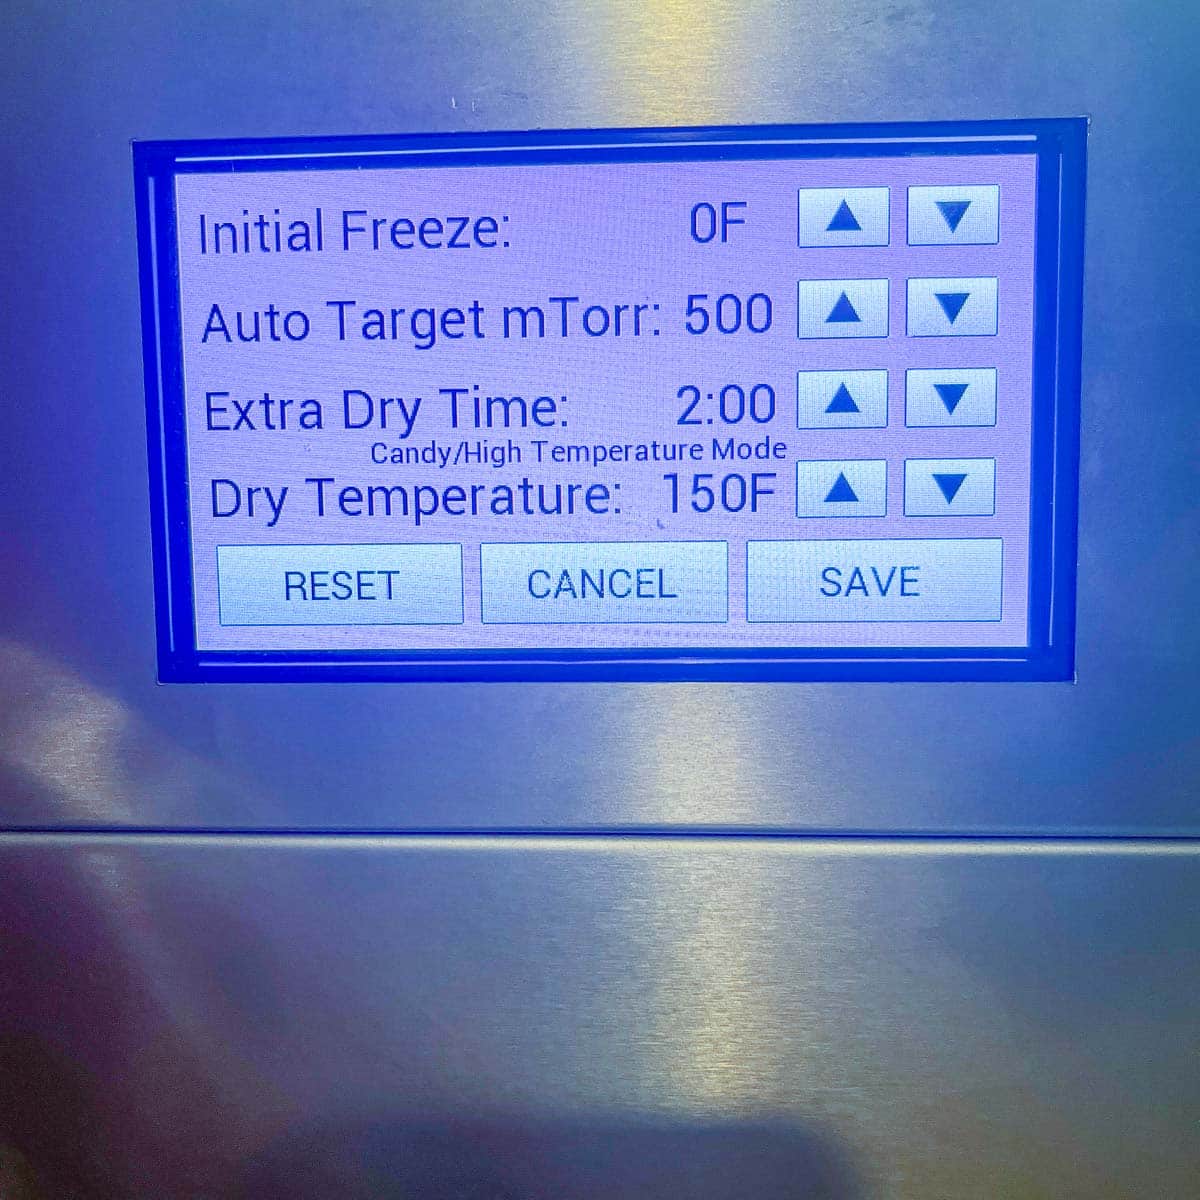
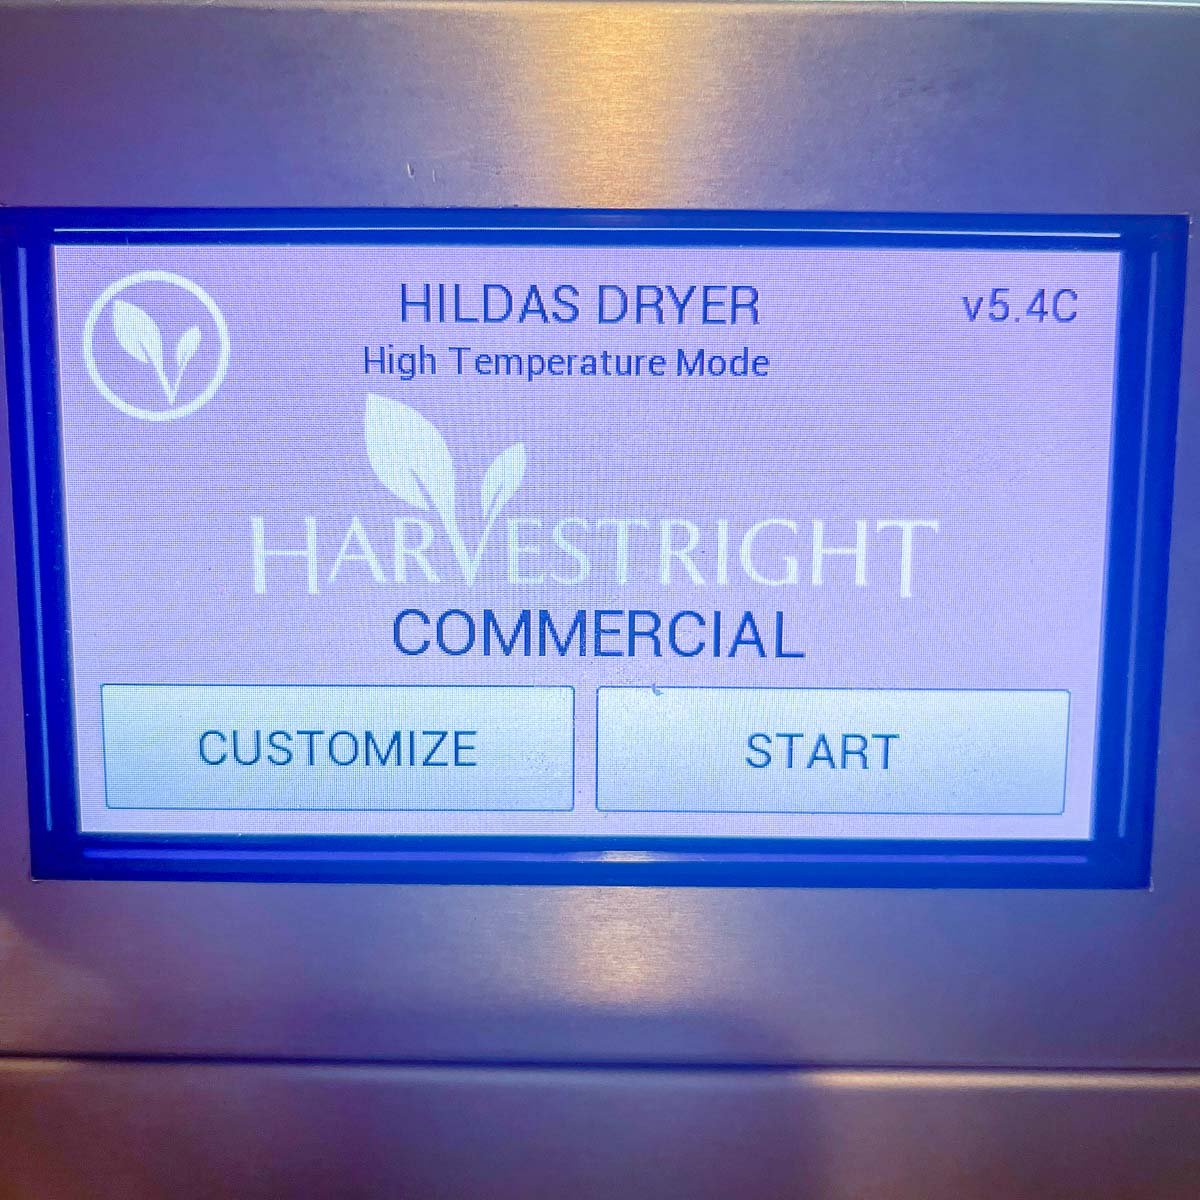
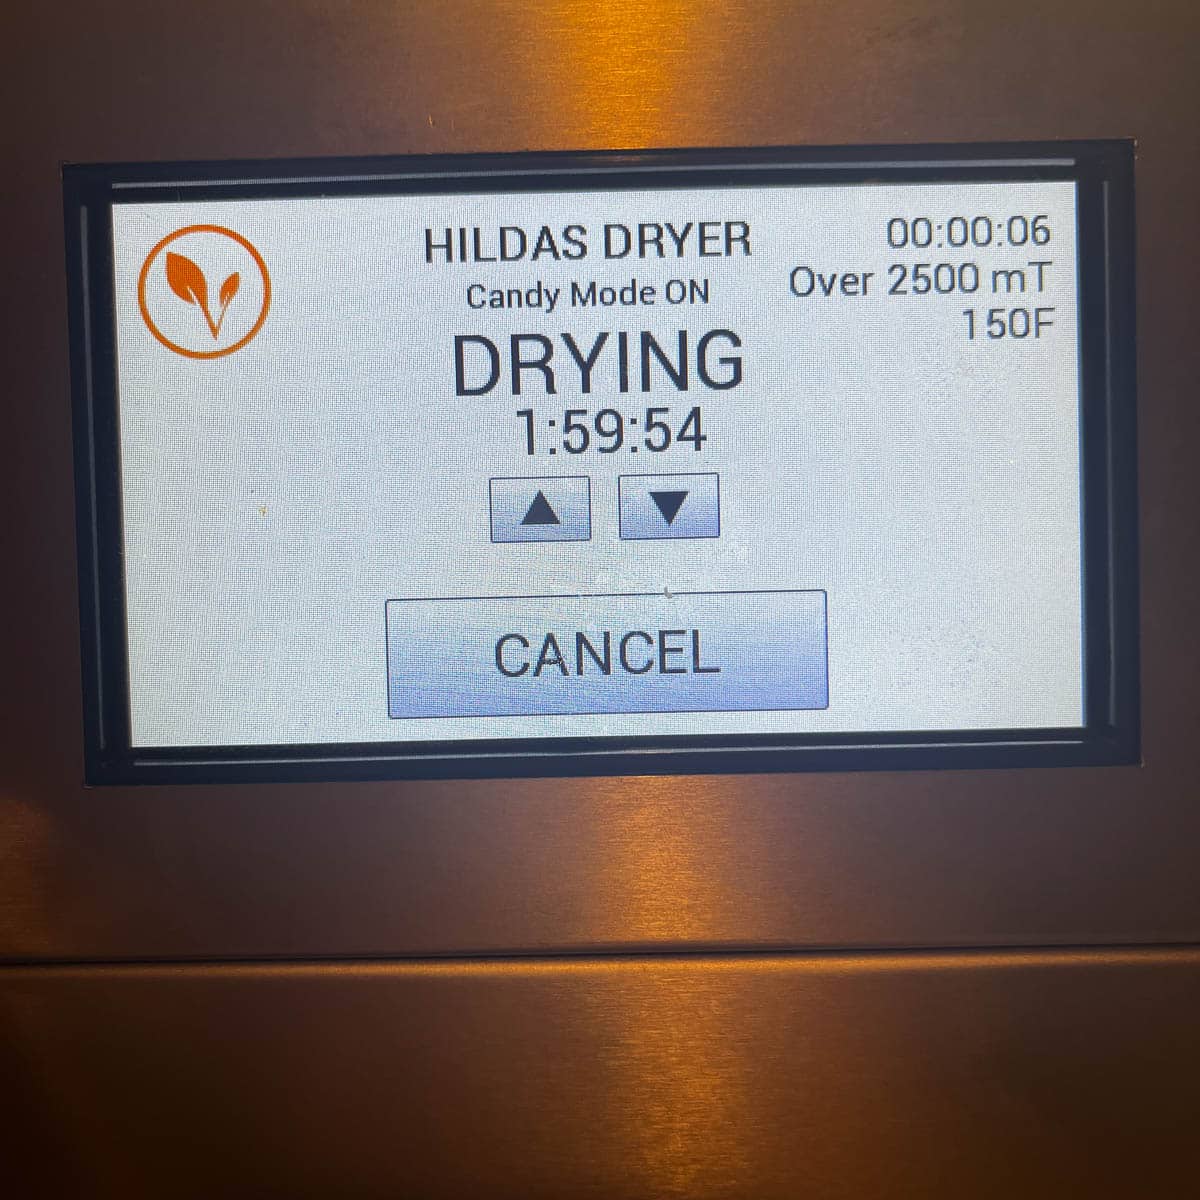
Step 1: Turn on your freeze dryer and select Customize. On the next screen, use the up and down arrows to adjust the drying temperature somewhere between 135°F and 150°F (I chose 150°F) and save. This will activate the candy/high temperature mode. Select start on the next screen.
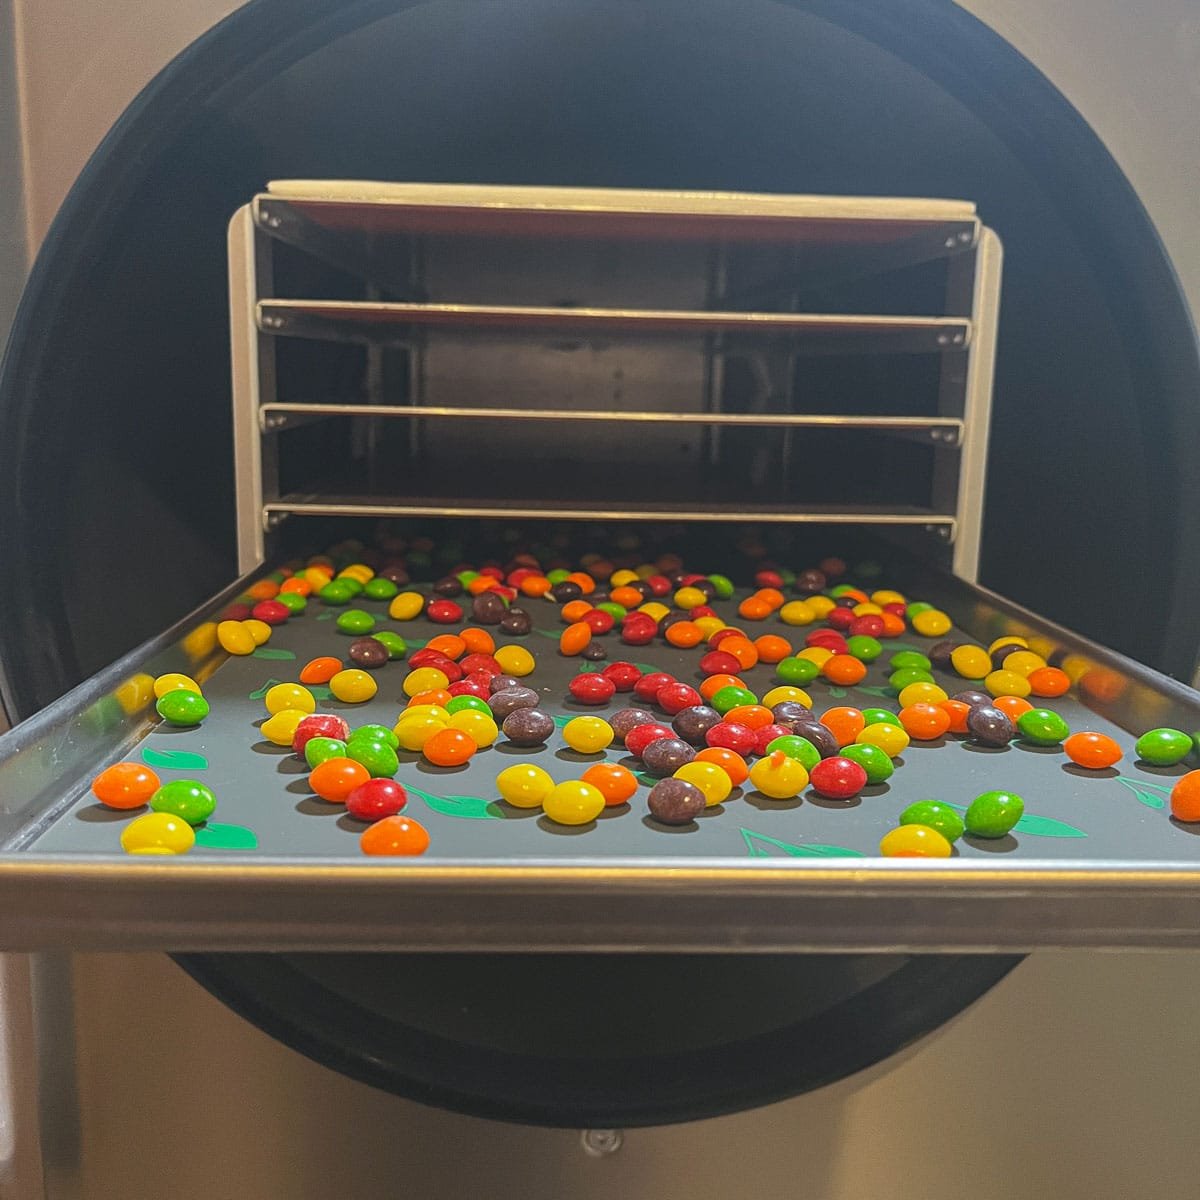
Step 2: While your freeze dryer goes through the 15-minute cooling cycle, pour Skittles onto your lined freeze dryer trays. Do not overcrowd the trays; otherwise, the Skittles will stick together.
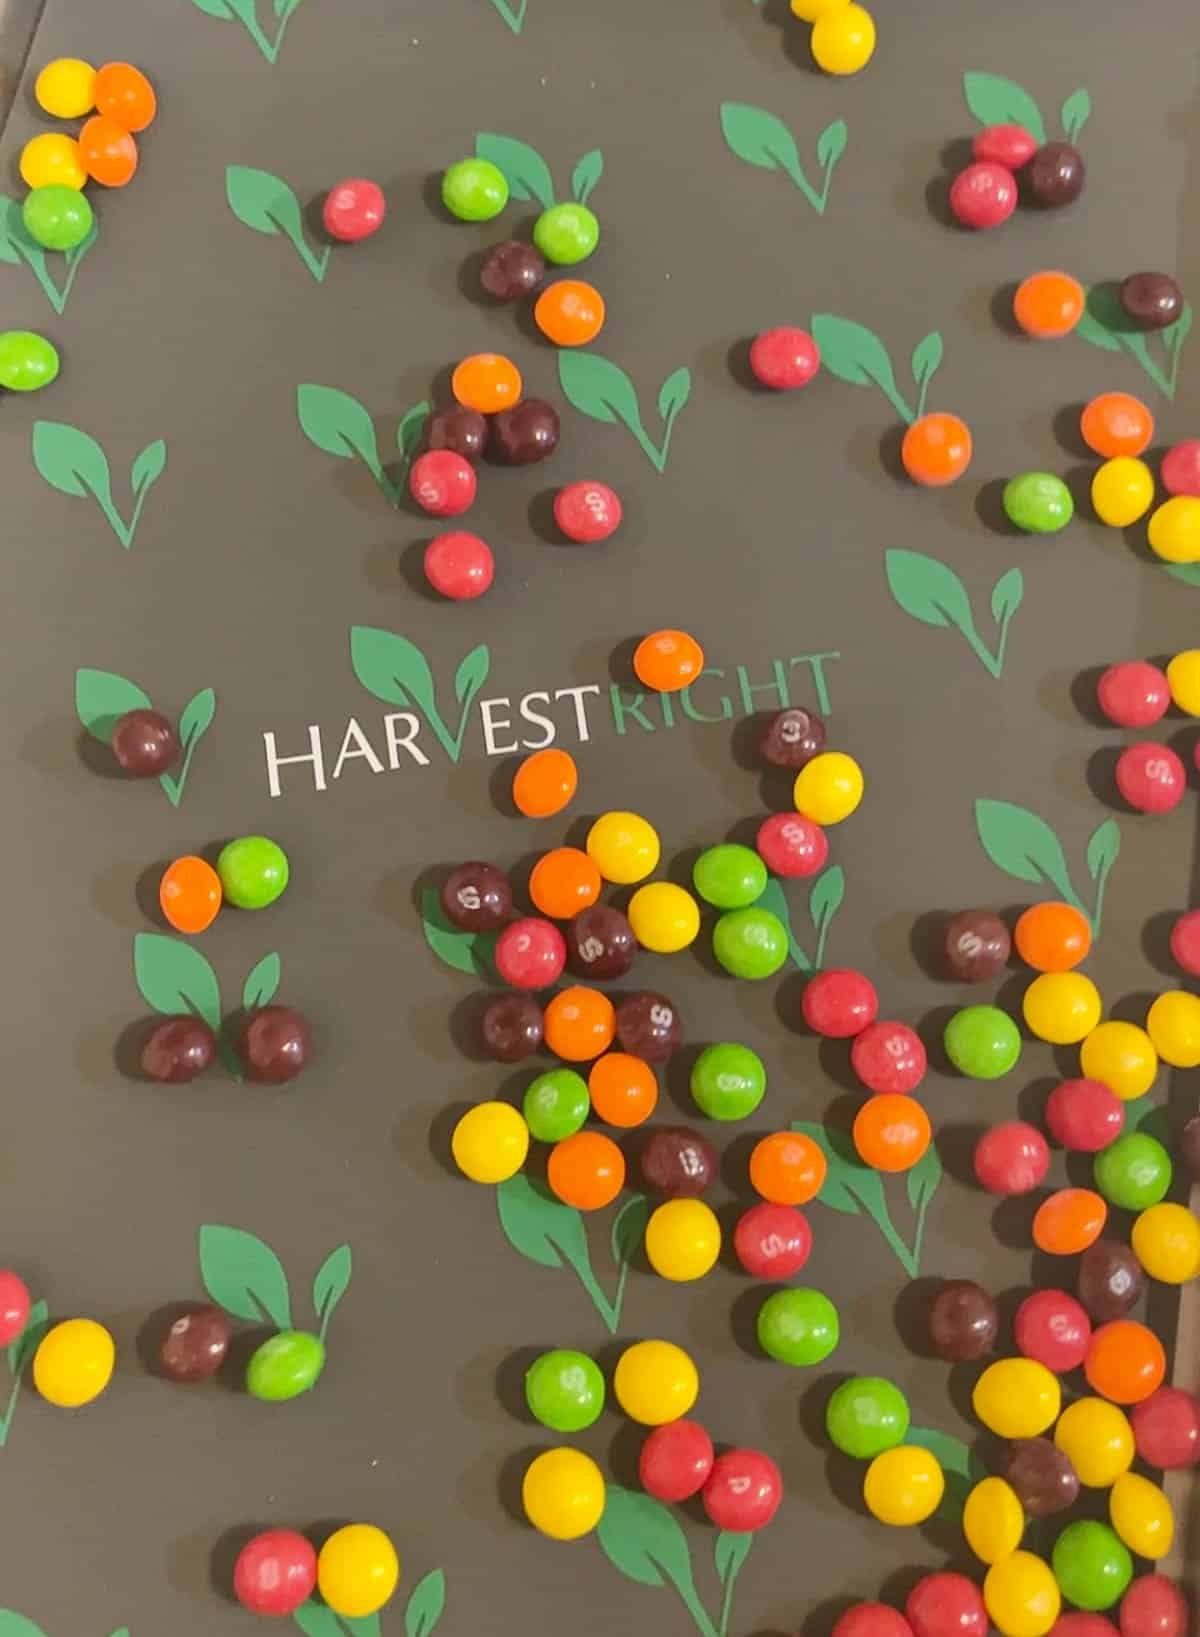
Pro Tip: Silicone liners or parchment paper will keep the candy from sticking to your trays and make for easy cleanup.
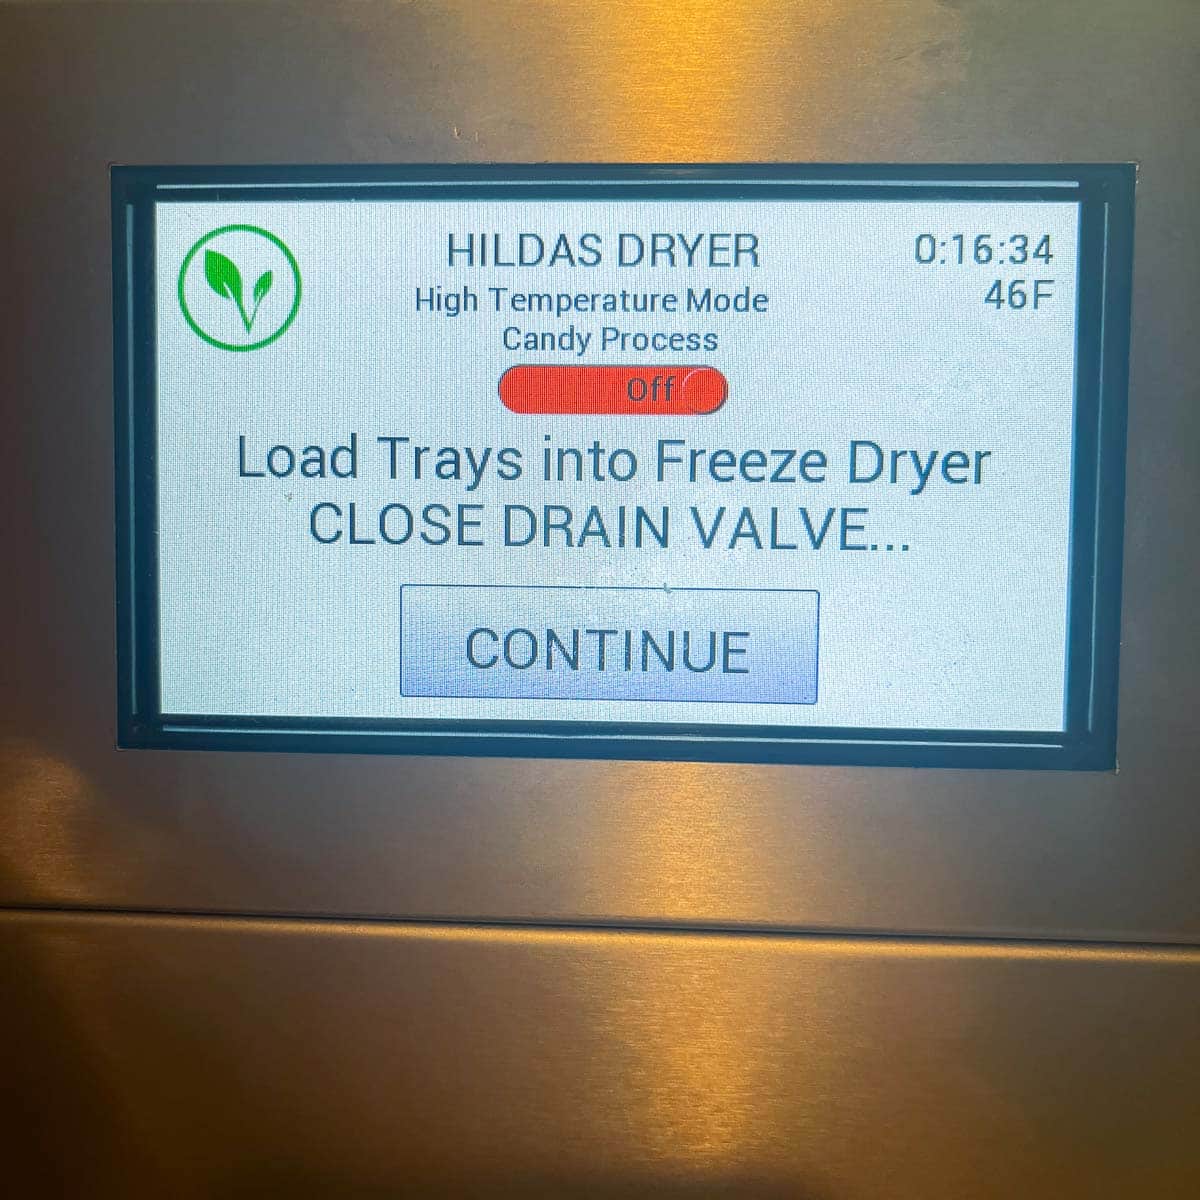
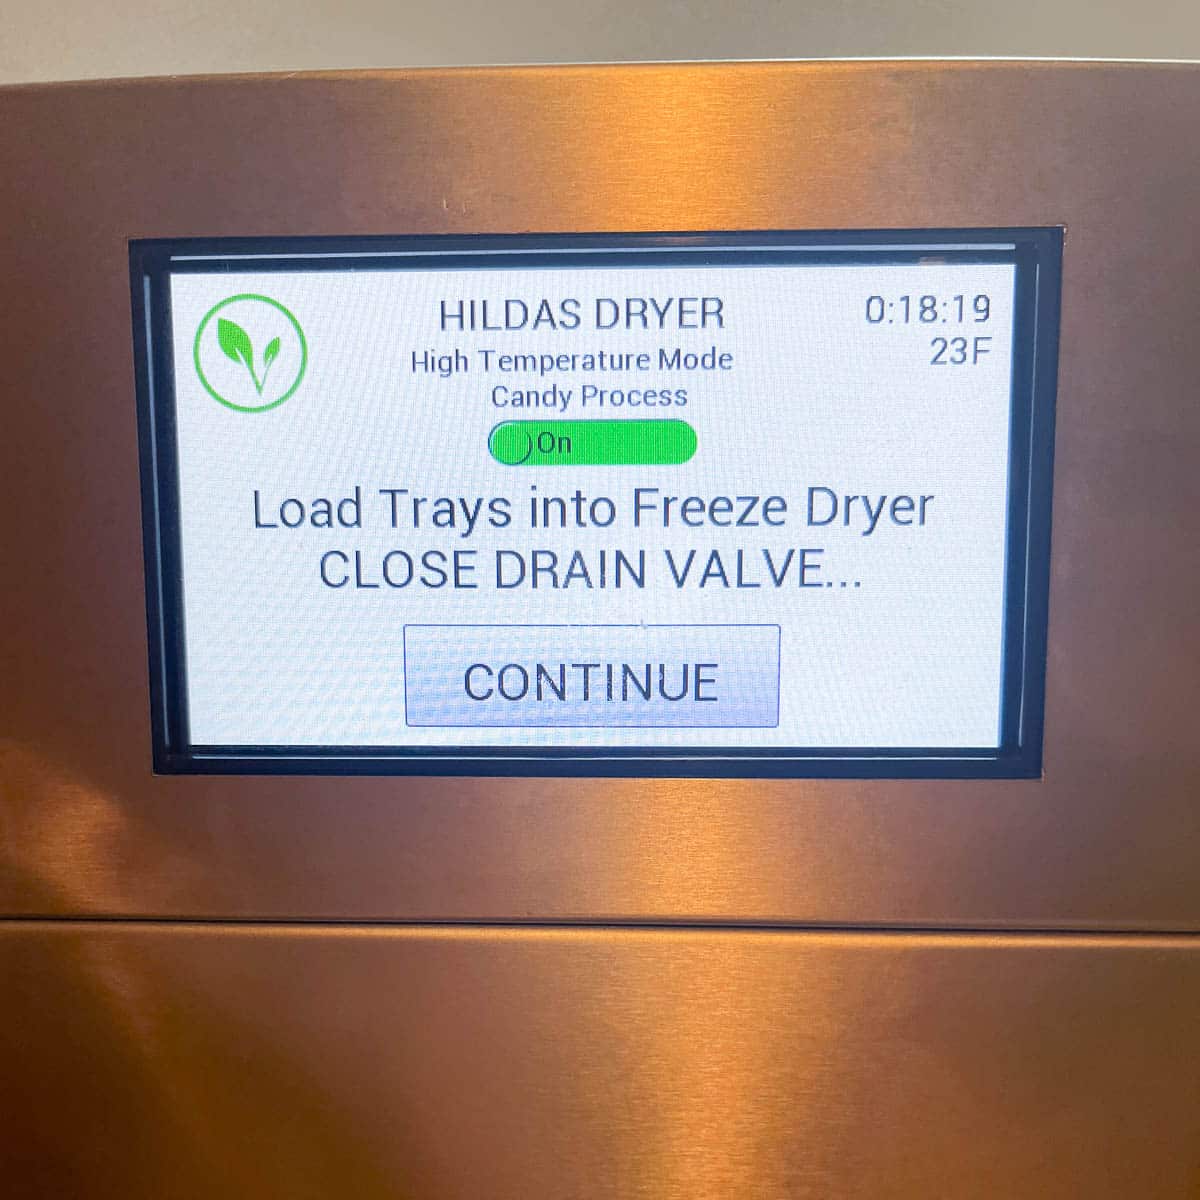
Step 3: When the cooling cycle is complete, load trays into your freeze dryer. Close and lock the door, then close the drain valve. Select continue, then touch the red slider bar to turn on candy mode. Notice the button will go from red to green. Click continue.
Step 4: Next, you'll be given the option to warm trays. You can choose skip or start. I choose to skip this step, see why in the pro tip below.
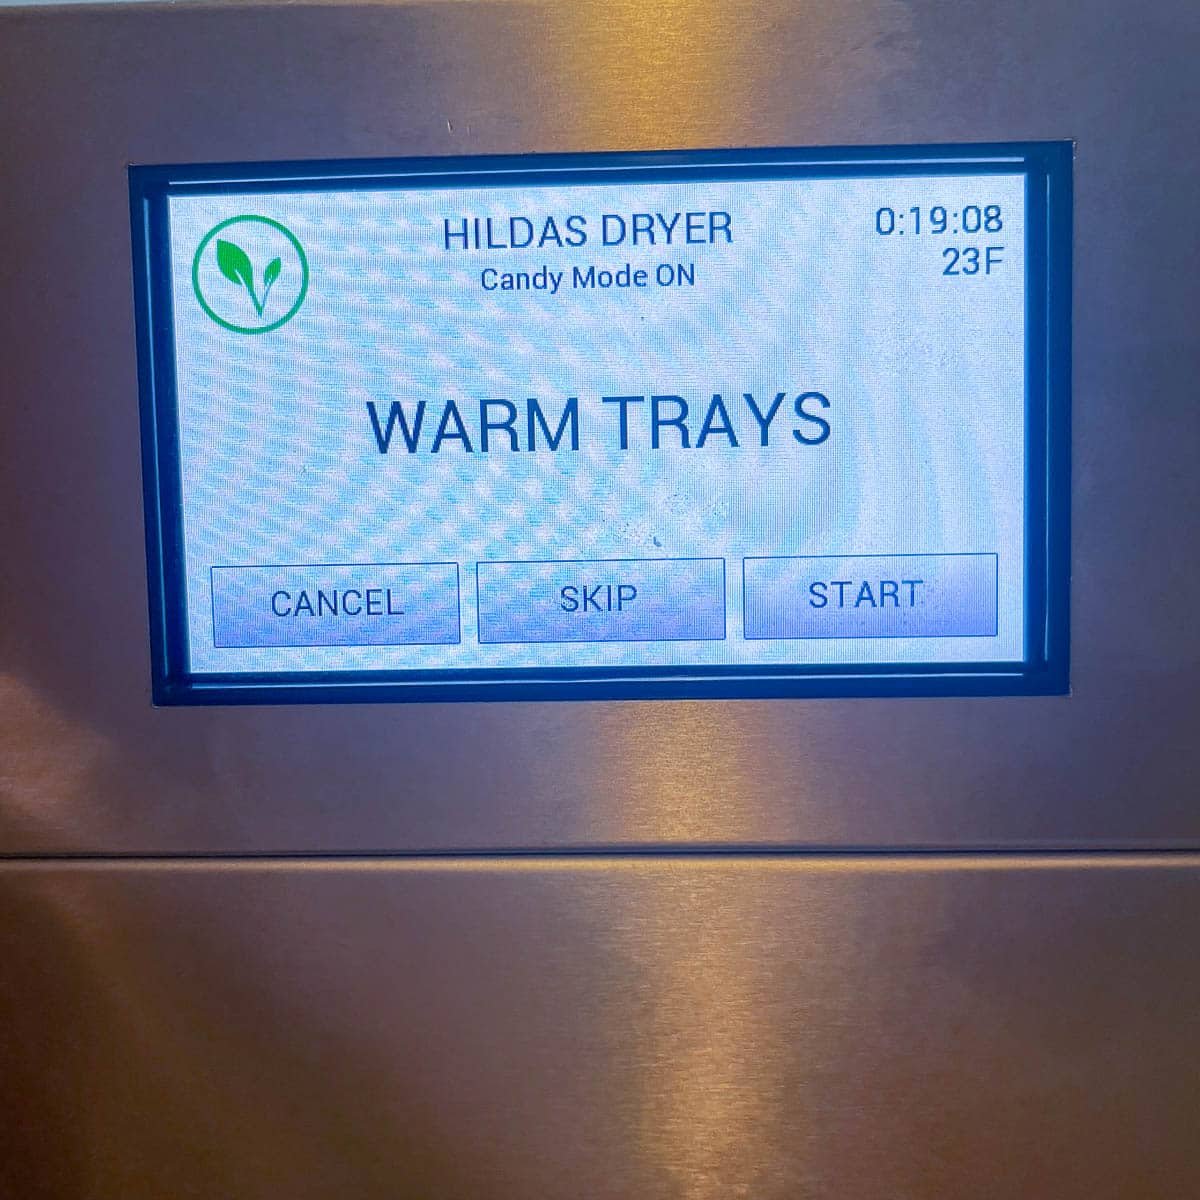
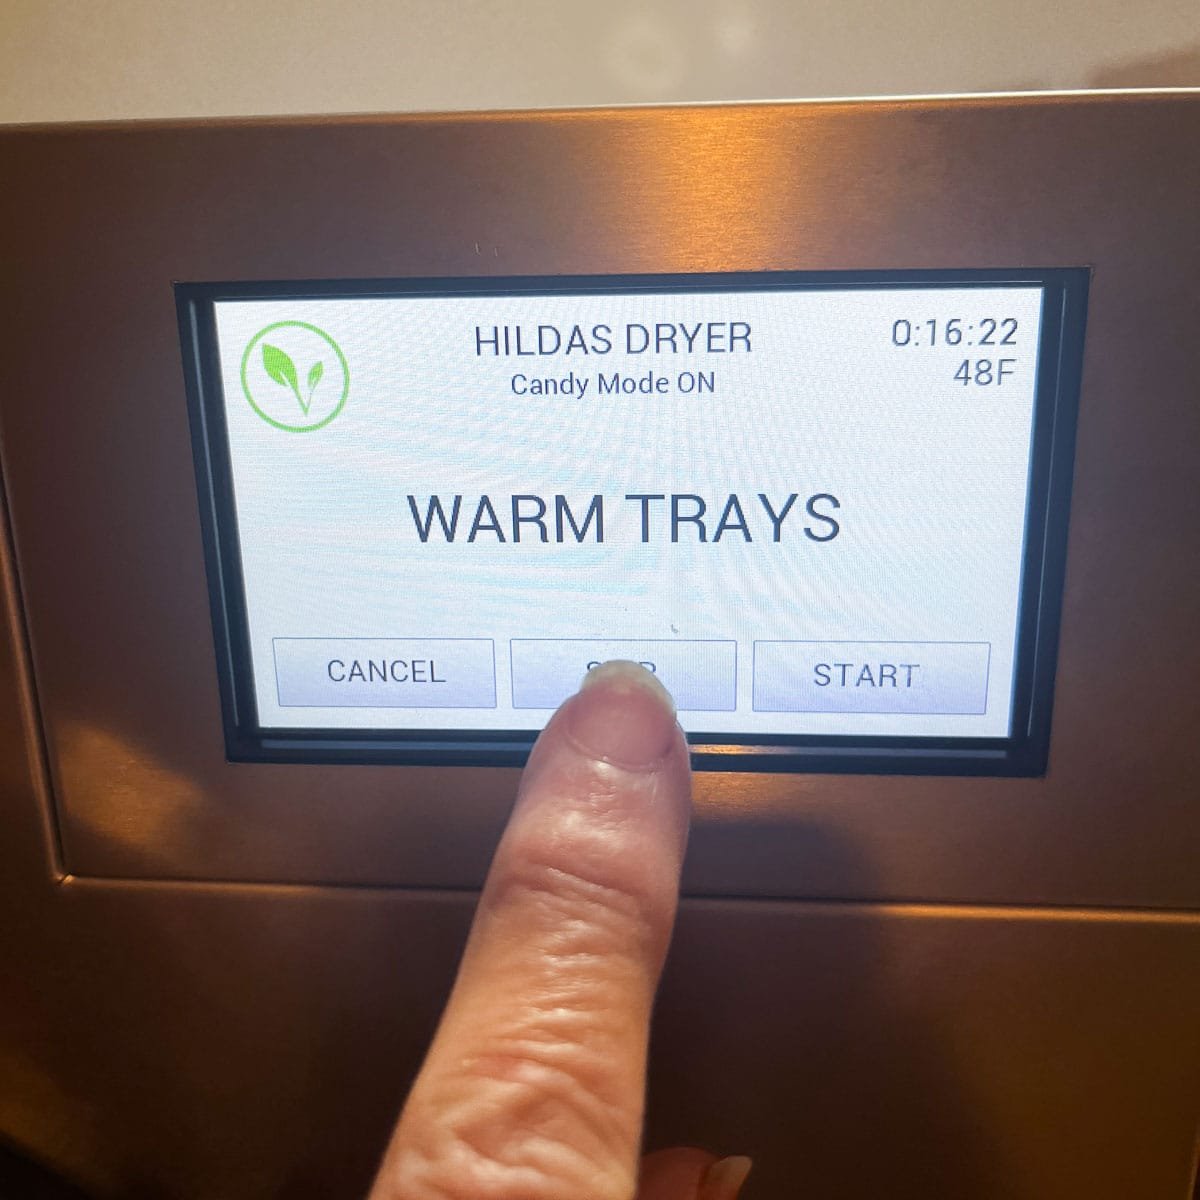
Pro Tip: Although I was expecting the warming cycle to be 5 minutes (as suggested in some YouTube videos), mine took over an hour to reach 150°F. There was no option to reduce this time. Also, most of the Skittles disintegrated and turned into powder, so I don't recommend warming the trays.
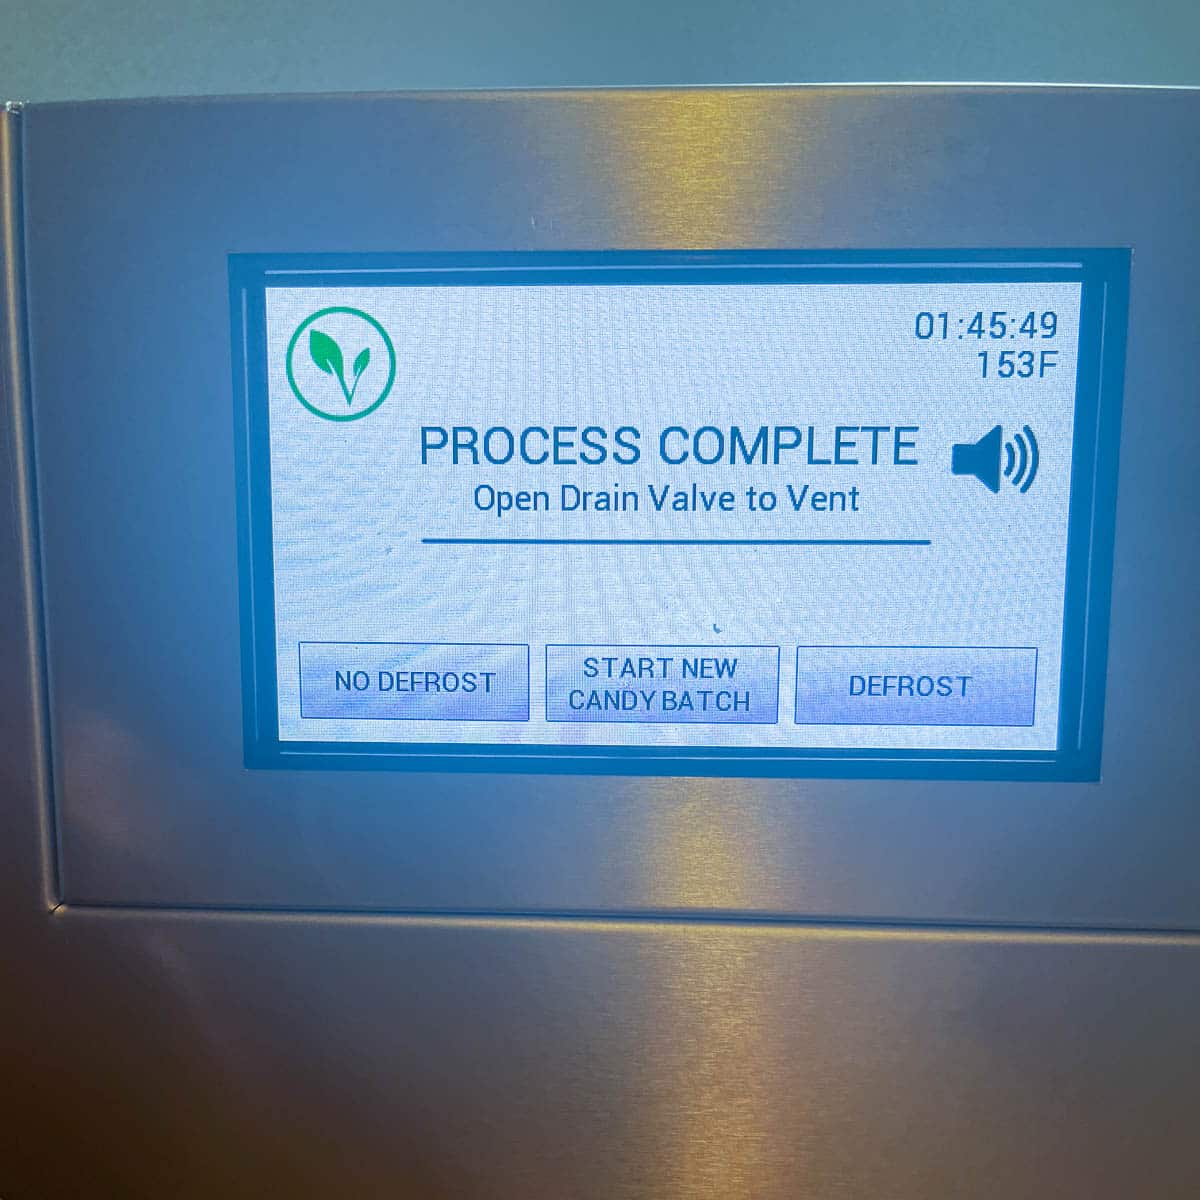
Step 5: The next screen will show you the default drying time of 2 hours. This time can be adjusted up or down, but I recommend 2 hours. Each tap brings the temperature down by 30 minutes, so tap gently! When the time is up, you will be notified that the process is complete. You can defrost or start another batch.
Pro Tip: You can run up to 5 batches back to back without having to defrost the freeze dryer.
Step 6: When the time is up, open the drain valve, then open the door and remove the trays. The Skittles outer shell should have popped, expanding the center. If needed, select extra drying time.
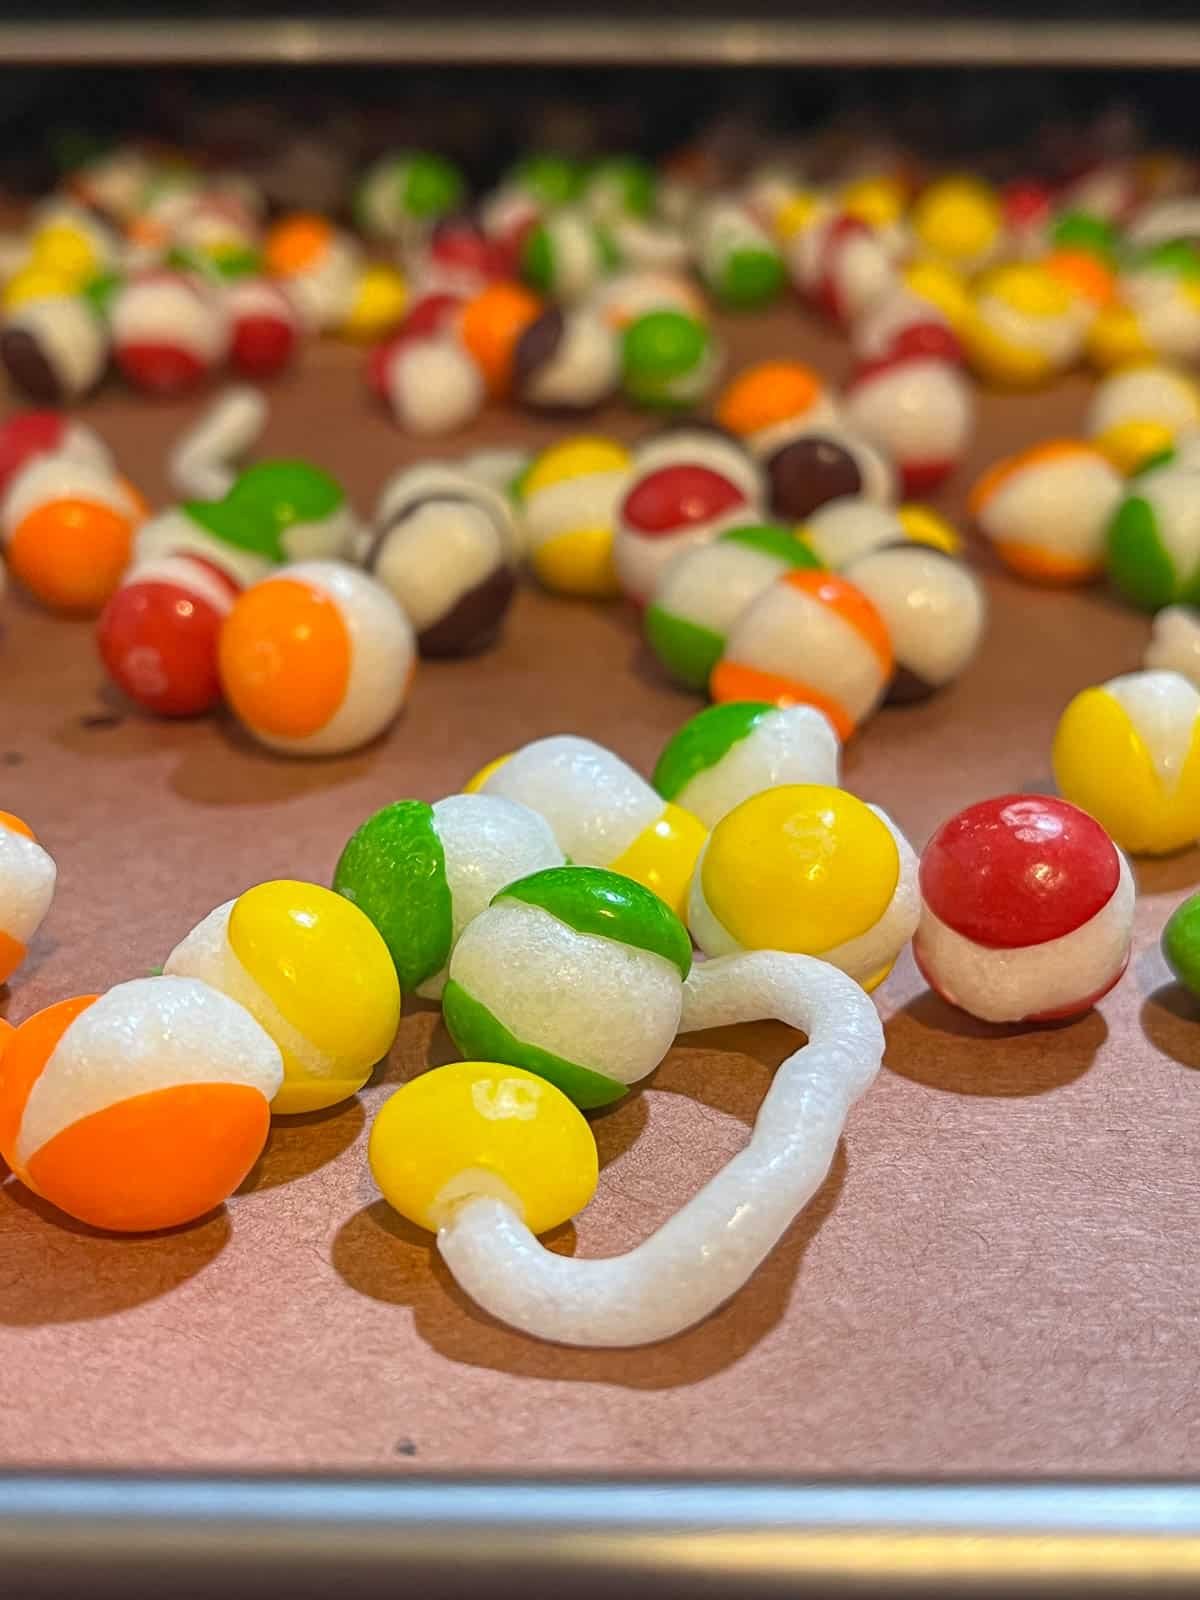
Pro Tips: It's not uncommon for some of the Skittles' filling to ooze out into a long strand during a full freeze-drying process of 12+ hours.
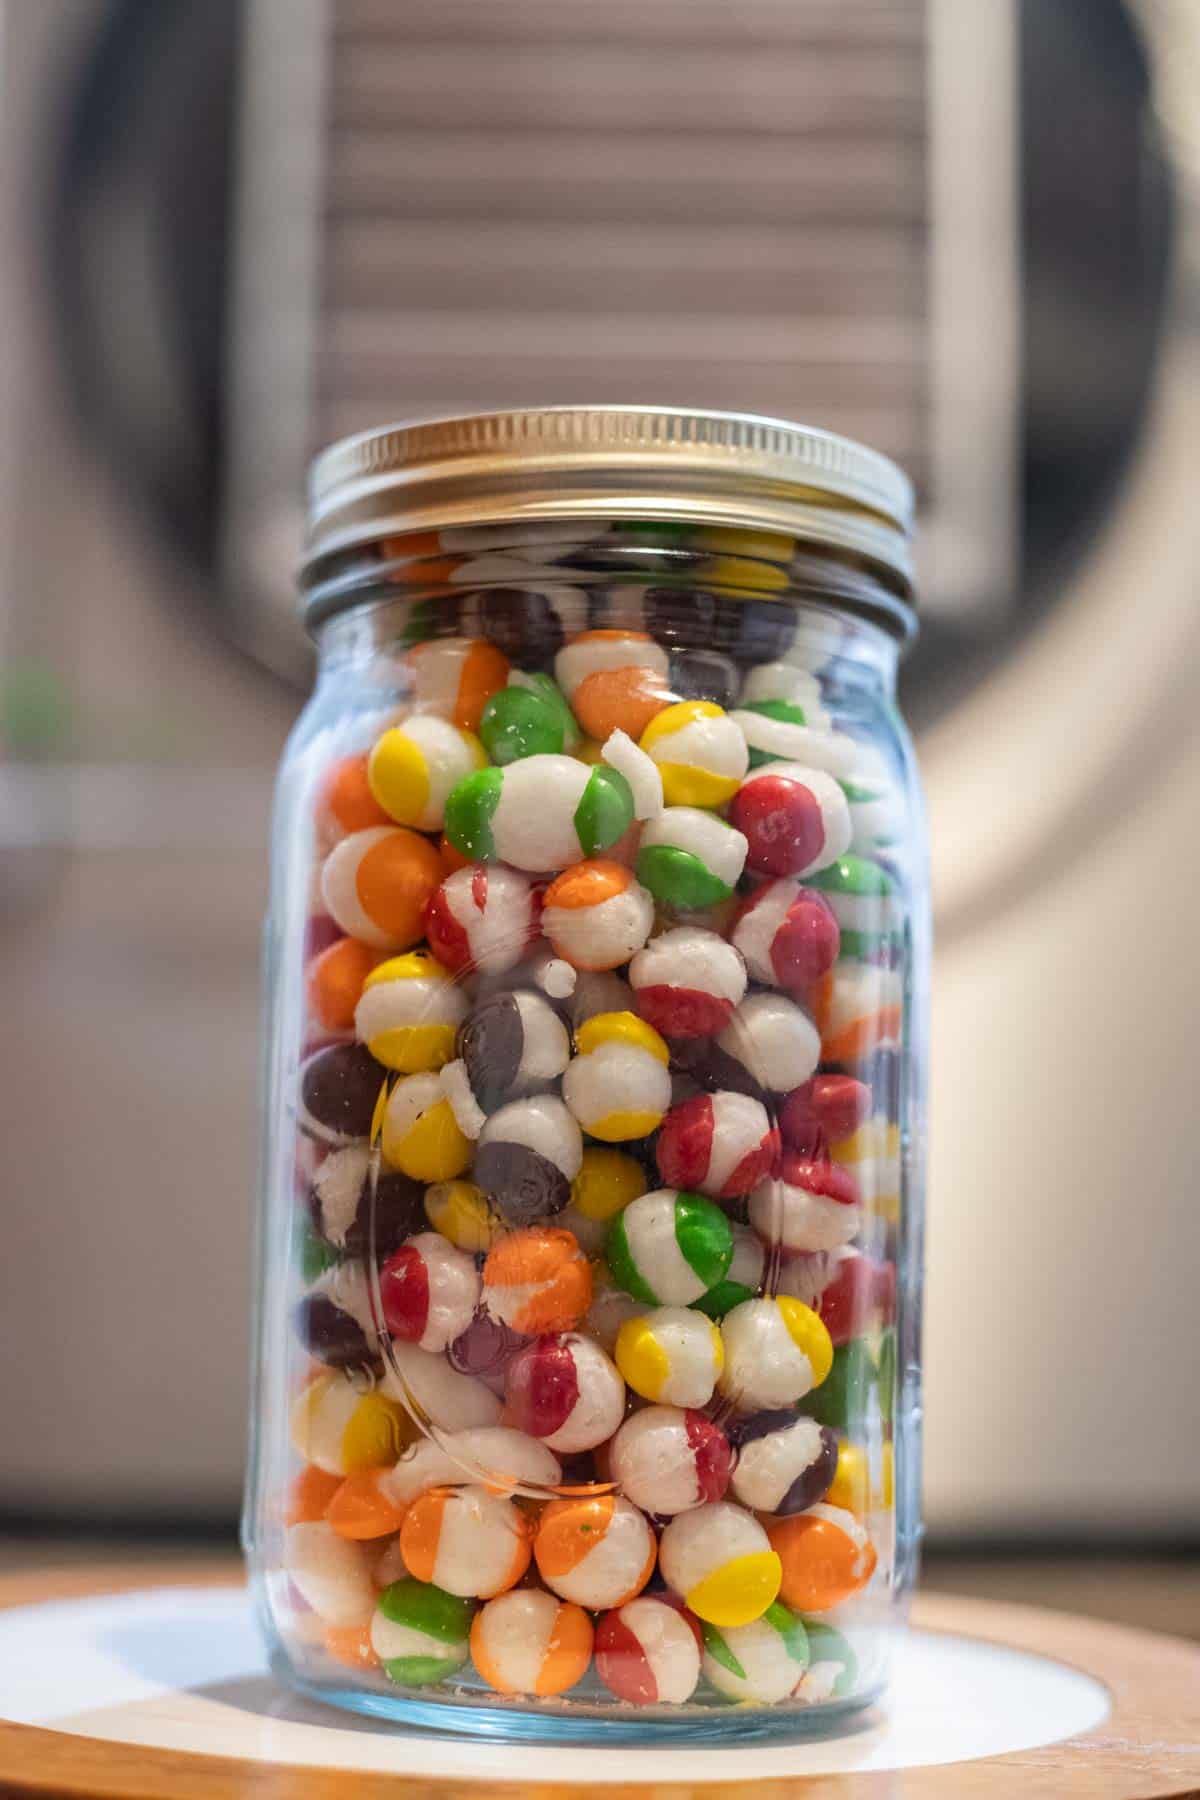
🫙 How to Store Freeze Dried Candy
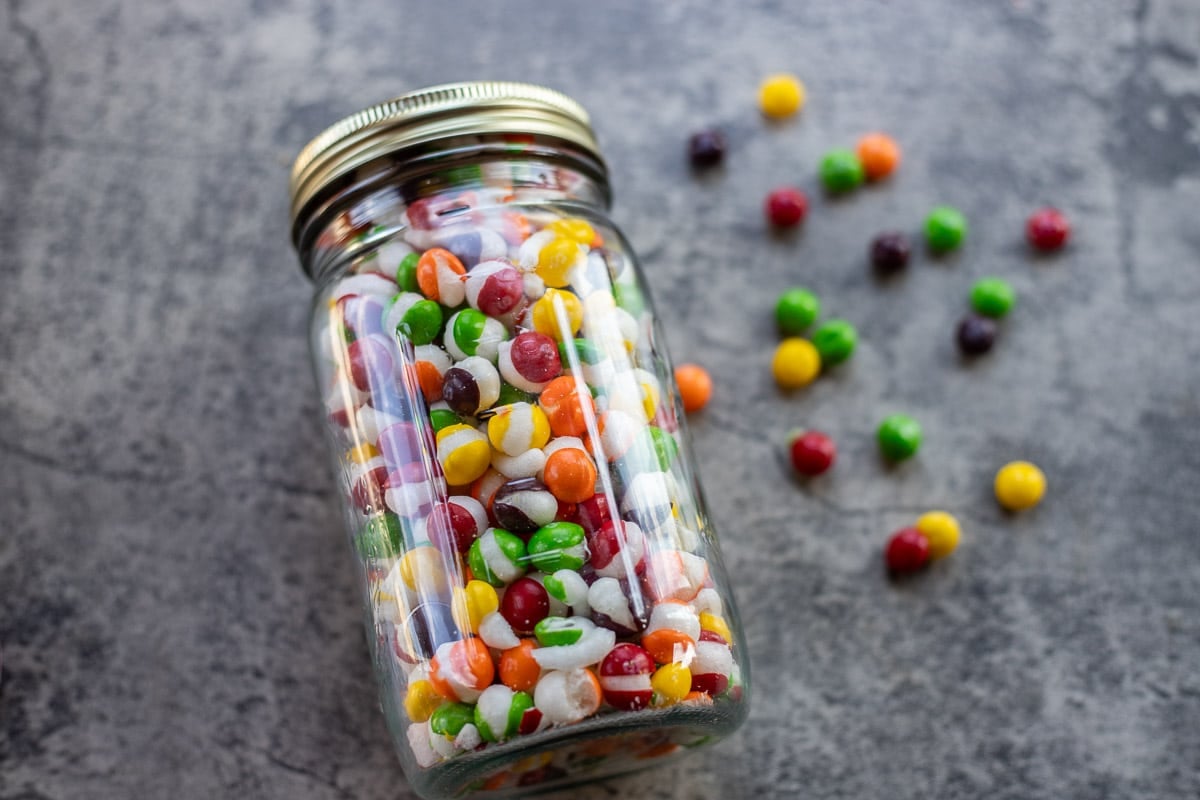
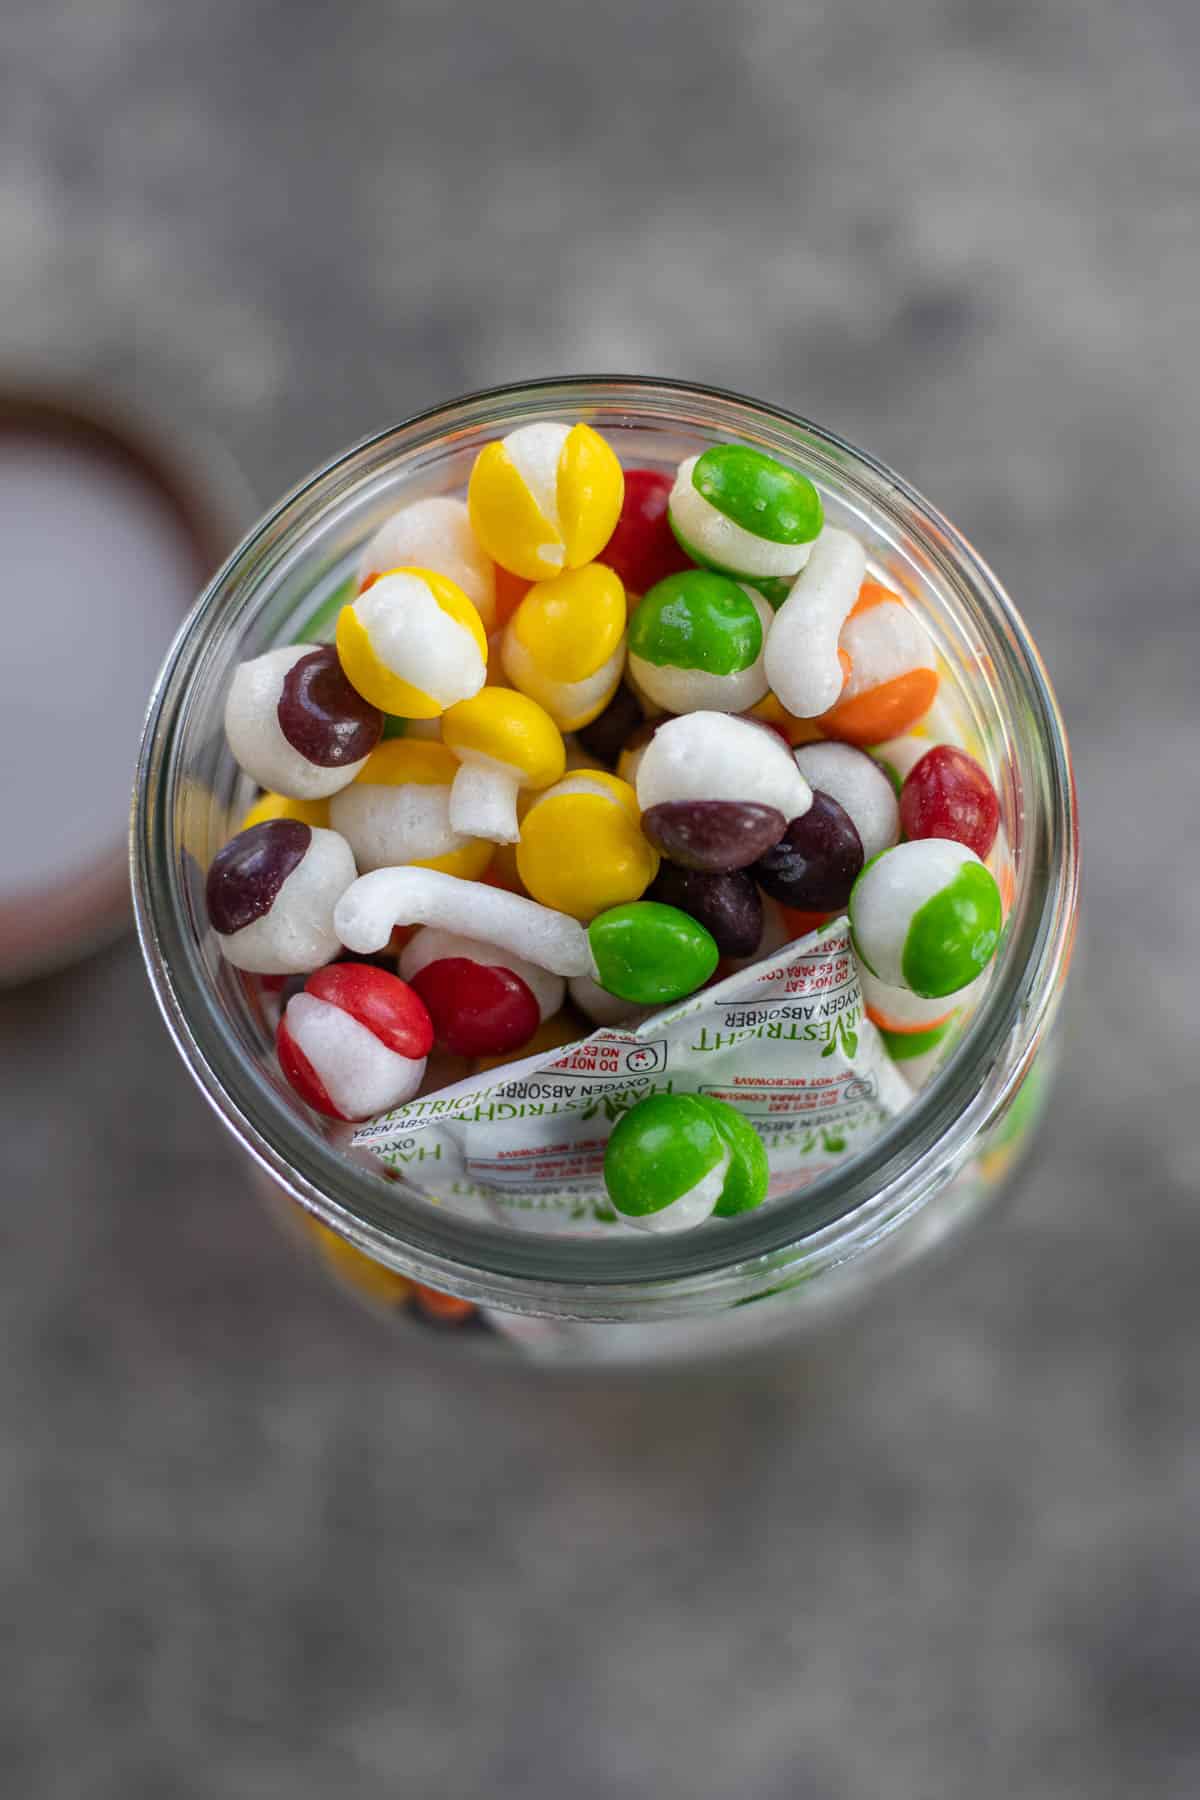
Add cooled freeze dried Skittles to mylar bags or mason jars and toss in an oxygen absorber before sealing. For longer storage, store in mylar bags and keep in a cool, dark location.
Want to learn more about purchasing a freeze dryer? Check out my detailed Harvest Right Freeze Dryer Review!
🤷🏻♀️ FAQs
Freeze dried Skittles are popular because they are a novelty. Freeze dried candy gives you a unique and new way to enjoy your favorite candy. It's also fun! Kids especially get a big kick out of seeing their favorite candy in a totally new form and with an unexpected texture.
Freeze dried Skittles are not necessarily better, but they are different! Freeze dried Skittles puff up like popcorn, and their texture changes from chewy to light, airy, and crunchy.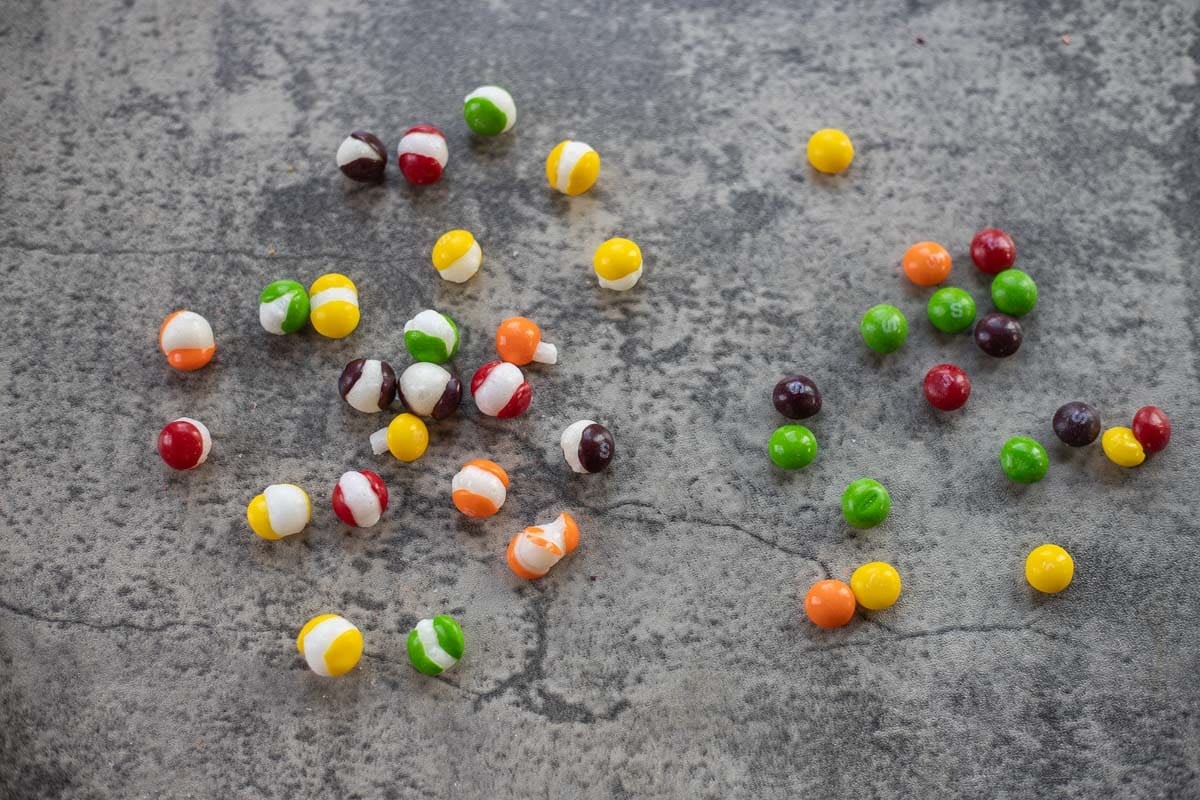
👩🏼🍳 Pro Tips
- When buying oxygen absorbers, choose the ones that are individually packaged. Avoid the ones that come in a pack of 10 or more because once the packaging is opened, they begin to deteriorate.
- When stored properly, freeze dried Skittles can last anywhere from 10-25 years!
- Both regular Skittles and sour Skittles can be freeze dried, so try both and see which ones you prefer.
- I tried 3 different batches (30 minutes, 1 hour, and 2 hours). Some of the Skittles did not expand and get properly freeze dried using the 30-minute and 1-hour options, so I recommend sticking with 2 hours.
- Crushed Skittles can be used as an ice cream topping!
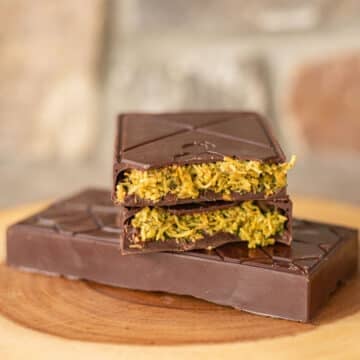
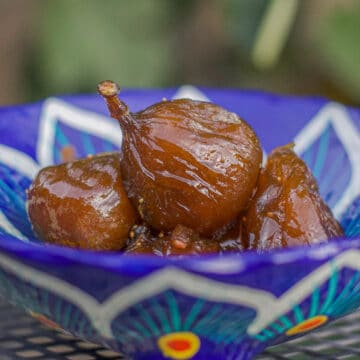
🍫 Related Recipes
Did you make this recipe?
📖 Recipe
Would you like to save this recipe?
How to Make Freeze Dried Skittles
Ingredients
Equipment
Method
- Turn on your freeze dryer and select customize. On the next screen, use the up and down arrows to adjust the drying temperature somewhere between 135F-150F (I chose 150F) and save.This will activate the candy/high temperature mode, Select start on next screen.
- While your freeze dryer goes through the 15 minute cooling cycle, pour Skittles onto your lined freeze dryer trays. Do not overcrowd the trays, otherwise the Skittles will stick together.
- When the cooling cycle is complete, load trays into your freeze dryer. Close and lock the door, then close the drain valve. Select continue, then touch the red slider bar to turn on candy mode. Notice the button will go from red to green. Click continue.
- Next, you'll be given the option to warm trays. You can choose skip or start. I choose to skip this step, see why in pro tip below.
- The next screen will show you the default drying time of 2 hours. This time can be adjusted up or down but I recommend 2 hours. Each tap brings the temperature down by 30 minutes so tap gently! When the time is up, you will be notified that the process is process complete. You can defrost or start another batch.
- When the time is up, open the drain valve, then open the door and remove the trays. The Skittles outer shell should have popped, expanding the center. If needed, select extra drying time.
- Add cooled freeze dried Skittles to mylar bags or mason jars and toss in an oxygen absorber before sealing. For longer storage, store in mylar bags and keep in a cool, dark location.
Nutrition
Video
Notes
- Silicone liners or parchment paper will keep the candy from sticking to your trays and make for easy cleanup.
- Although I was expecting the warming cycle to be 5 minutes, as suggested in some YouTube videos, mine took over an hour to reach 150F and I did not see an option to reduce this time. Also, some of the Skittles disintegrated and turned into a powder, so I don't recommend it.
- I tried 3 different batches (30 minutes, 1 hour, and 2 hours). Some of the Skittles did not expand and get properly freeze dried using the 30 minute and 1 hour option, so I recommend sticking with 2 hours.
- When buying oxygen absorbers, choose the individually packaged versus the ones that come in a pack of 10 or more. Once the packaging is opened, they begin to deteriorate.
- When stored properly, freeze dried Skittles can last anywhere from 10-25 years!
- Both regular Skittles and sour Skittles can be freeze dried, so try both and see which one is your favorite!
- You can run up to 5 batches back to back without having to defrost the machine.
Kezia says
Thank you so much for adding pictures of your customized settings. This helps me so much. I am new to the freeze drying world and I’m trying to get the hang of it so nice to find a blog that I could read through. Hope you do more freeze drying tips. Thank you.
Hilda Sterner says
Hi Kezia,
You're very welcome, thank you so much for your comment! I am posting more freeze drying posts, however, it's on my new homesteading blog. You can find them here: https://montanahomesteadharvest.com/category/freeze-drying/
Julie says
Thank you, Hilda- your article really helped me trouble shoot my skittles process! They were getting way too big and merging into each other, and skipping the tray warming made them turn out perfectly.
Hilda Sterner says
Hi Julie, So glad to hear that I could help. Thank you for your comment!
Kynda says
I tried freeze dried Skittles for the first time tonight. They were crunchy but the shells felt tacky/sticky to me... I can't believe that that is how they are supposed to feel.
My settings were 145 degrees for 3 hours. I did warm the trays, but it only took a few minutes... nothing past 5 minutes or so.
I use a Harvest Right Medium.
Thank you for helping me brainstorm.
Hilda Sterner says
Hi Kynda,
If they feel tacky at all, you can just add additional drying time. That's what I do.
Lori Ross says
I Love Hilda's recipes! They are easy to follow and I especially like when she tell's you not to do something and gives you the reason why. I would have warmed my trays had she not warned me in advance. Thanks Hilda for all your work to make our lives easier:)
Hilda Sterner says
Thank you, Lori, I'm glad my detailed posts aren't overkill. I hope the kids enjoyed the freeze dried Skittles!