Have you ever tried pineapple chips? These sweet, dehydrated pineapple slices have an intensely concentrated pineapple flavor and don't require added sugar. Not only are they super easy to make, but they are also absolutely delicious! You can also use your dehydrator to make dehydrated orange slices!
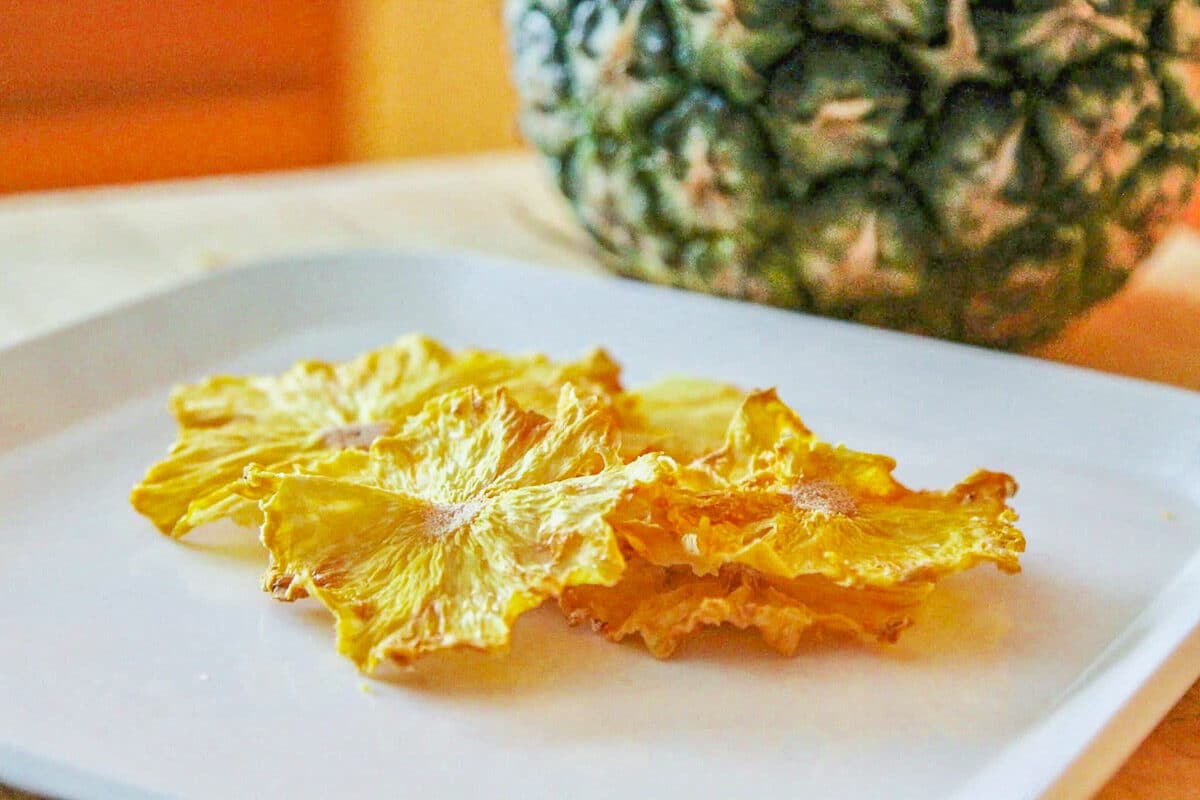
I love anything pineapple! Whether it's fresh pineapple or pineapple and habanero chutney, count me in! My daughter, Nena, feels exactly the same way
Last fall, my daughter, Nena, tried pineapple chips for the first time; it was love at first bite. Afterward, she kept asking me to find out where to get more. What's a mother to do? I looked online and found that they were ridiculously priced.
So I thought, how hard can it be to make dehydrated pineapple chips myself? After all, I'm a food blogger, for crying out loud! Turns out I was right; with the right gadgets, they are super easy to make!
Jump to:
😍 Why You'll Love This Recipe
- Making dehydrated pineapple chips couldn't be any easier!
- Dehydrated pineapple chips make a healthy snack option.
- Making pineapple chips is way cheaper than buying them!
🛒 What You Need For This Recipe

🔖 Ingredients & Substitutions
All you need to make pineapple chips is a pineapple! Don't you love 1 ingredient recipes?
🔪Tools Required
- mandoline slicer or a sharp knife
- dehydrator
🍍 How To Make Pineapple Chips?
Step 1: Slice the top and sides off of the pineapple with a sharp knife. Leave the bottom intact. You will need a non-slippery surface to hang on to as you slice the pineapple.
Would you like to save this recipe?
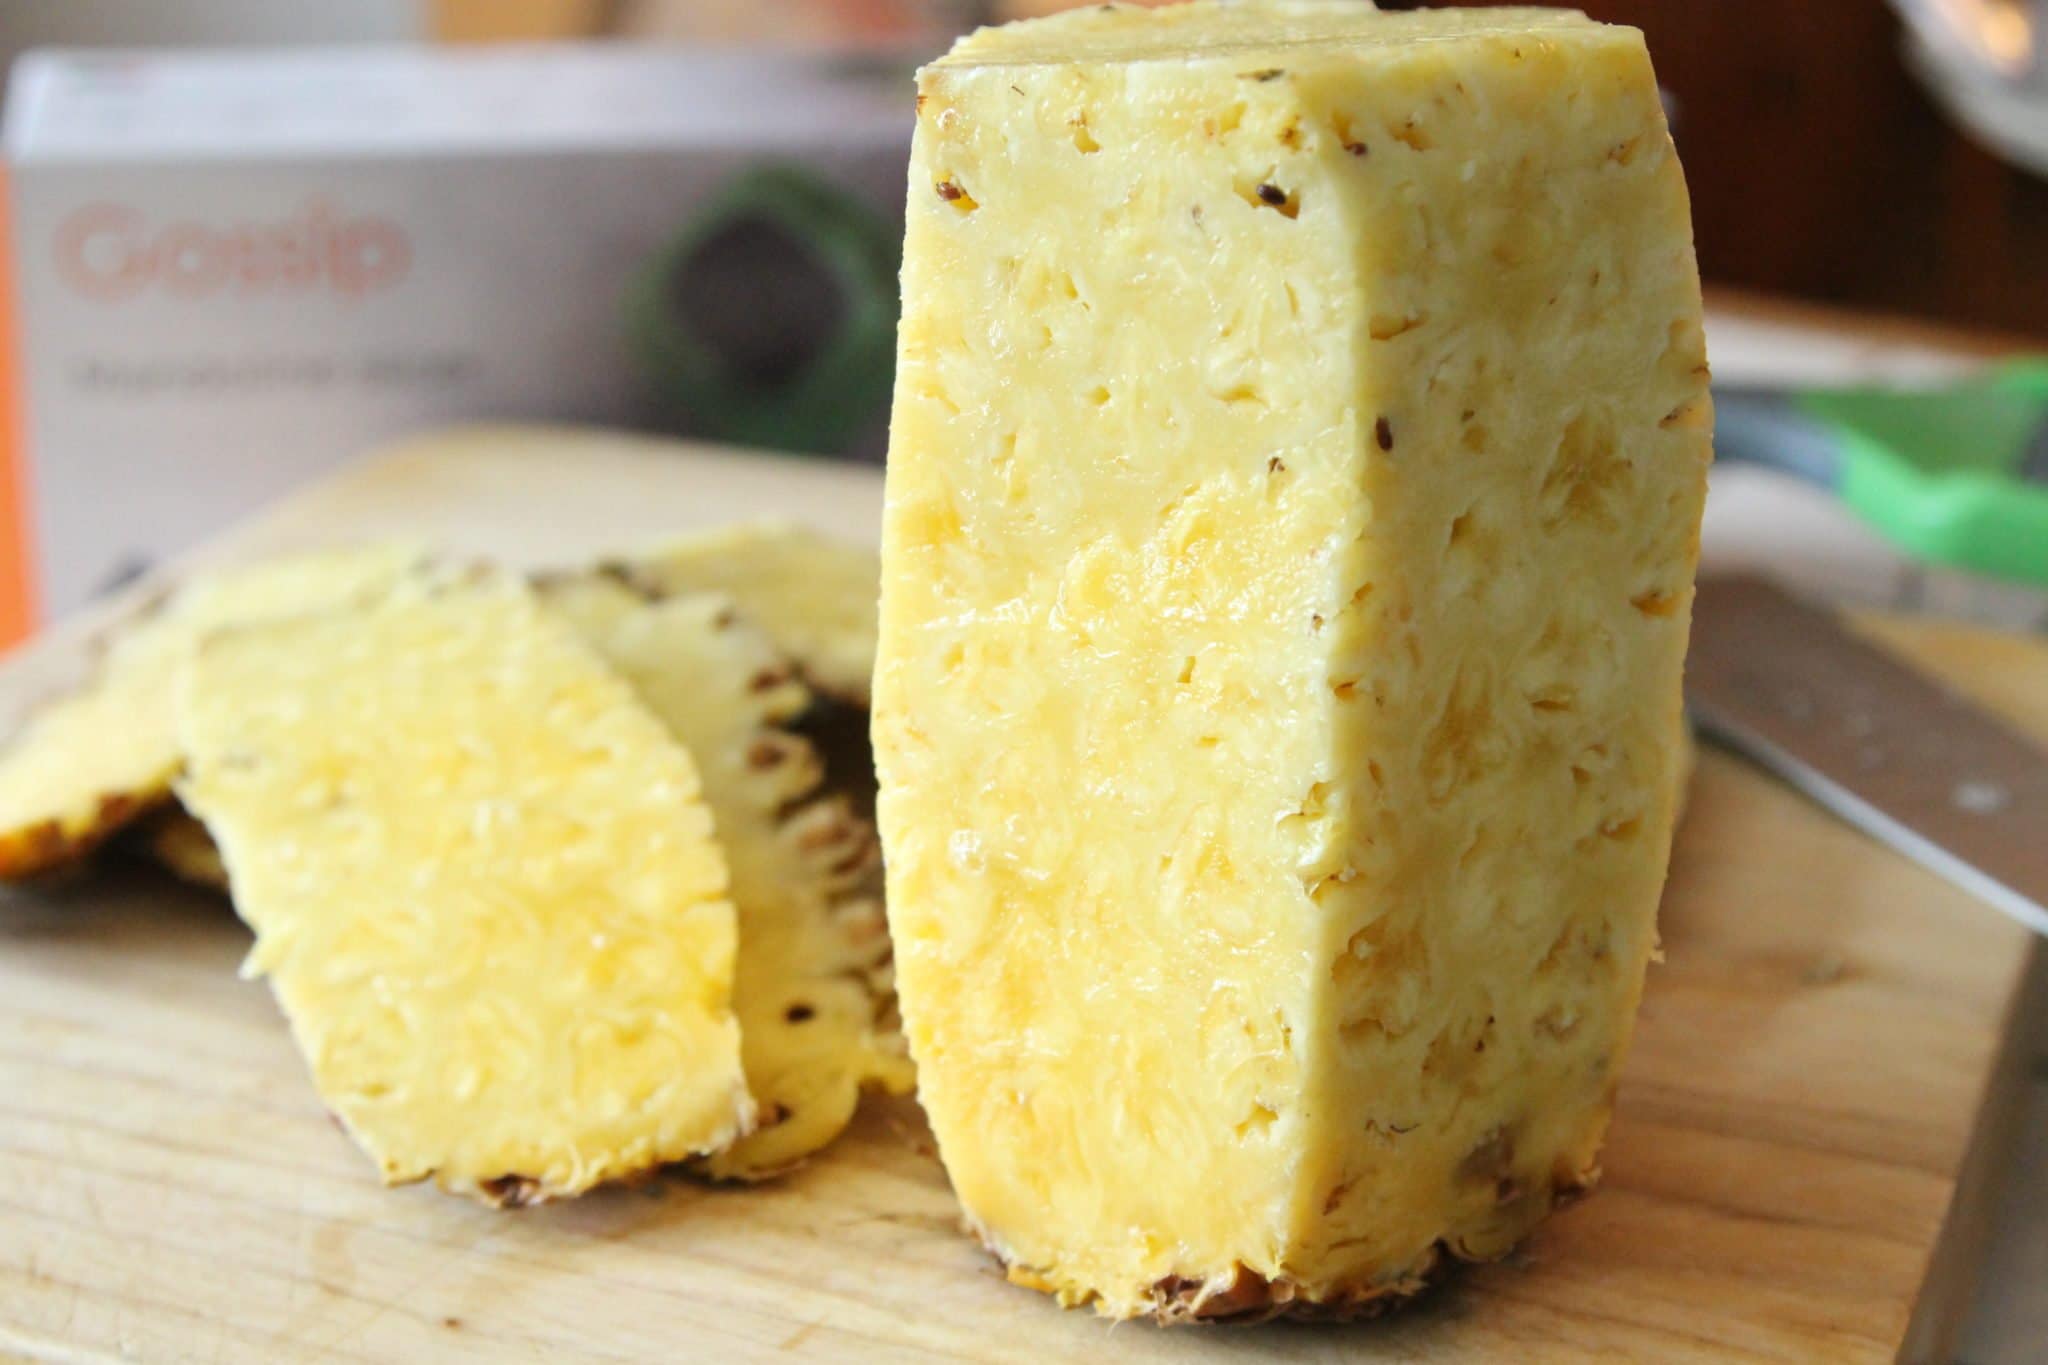
Pro tip: You can also slice the bottom and use the mandolin finger guard to slice the pineapple which is even safer!
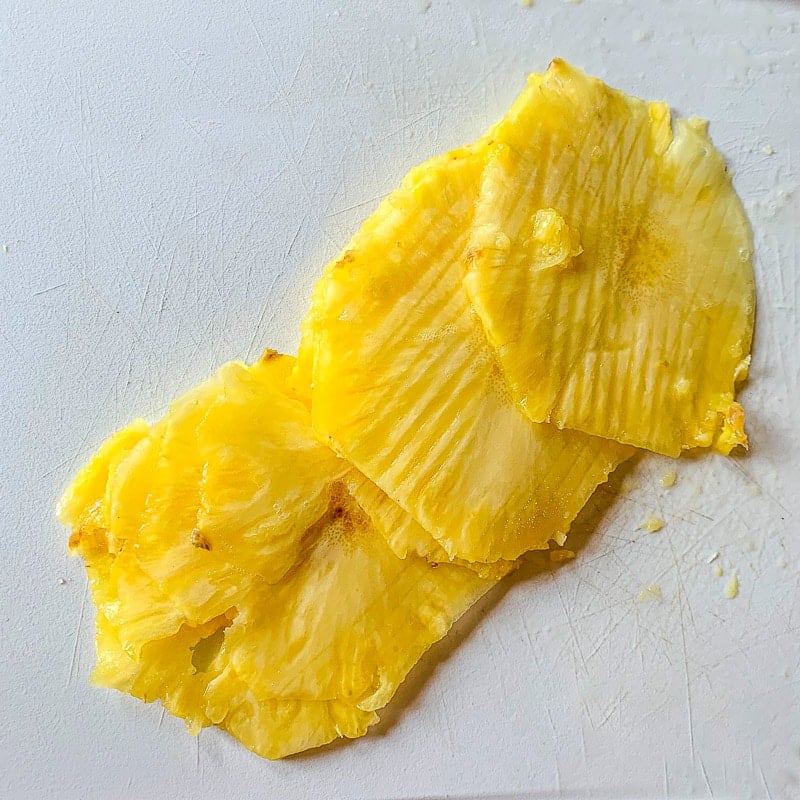
Step 2: Using a mandoline slicer, slice the pineapple into thin slices. If you don't have one, you can use a sharp knife instead. Just be sure to cut the slices as thinly and evenly as possible.

Step 3: Place the slices on the dehydrator trays leaving some space between the slices for air circulation. Once the trays are full, cover with the dehydrator lid and choose the vegetable/fruit setting (135 degrees F).
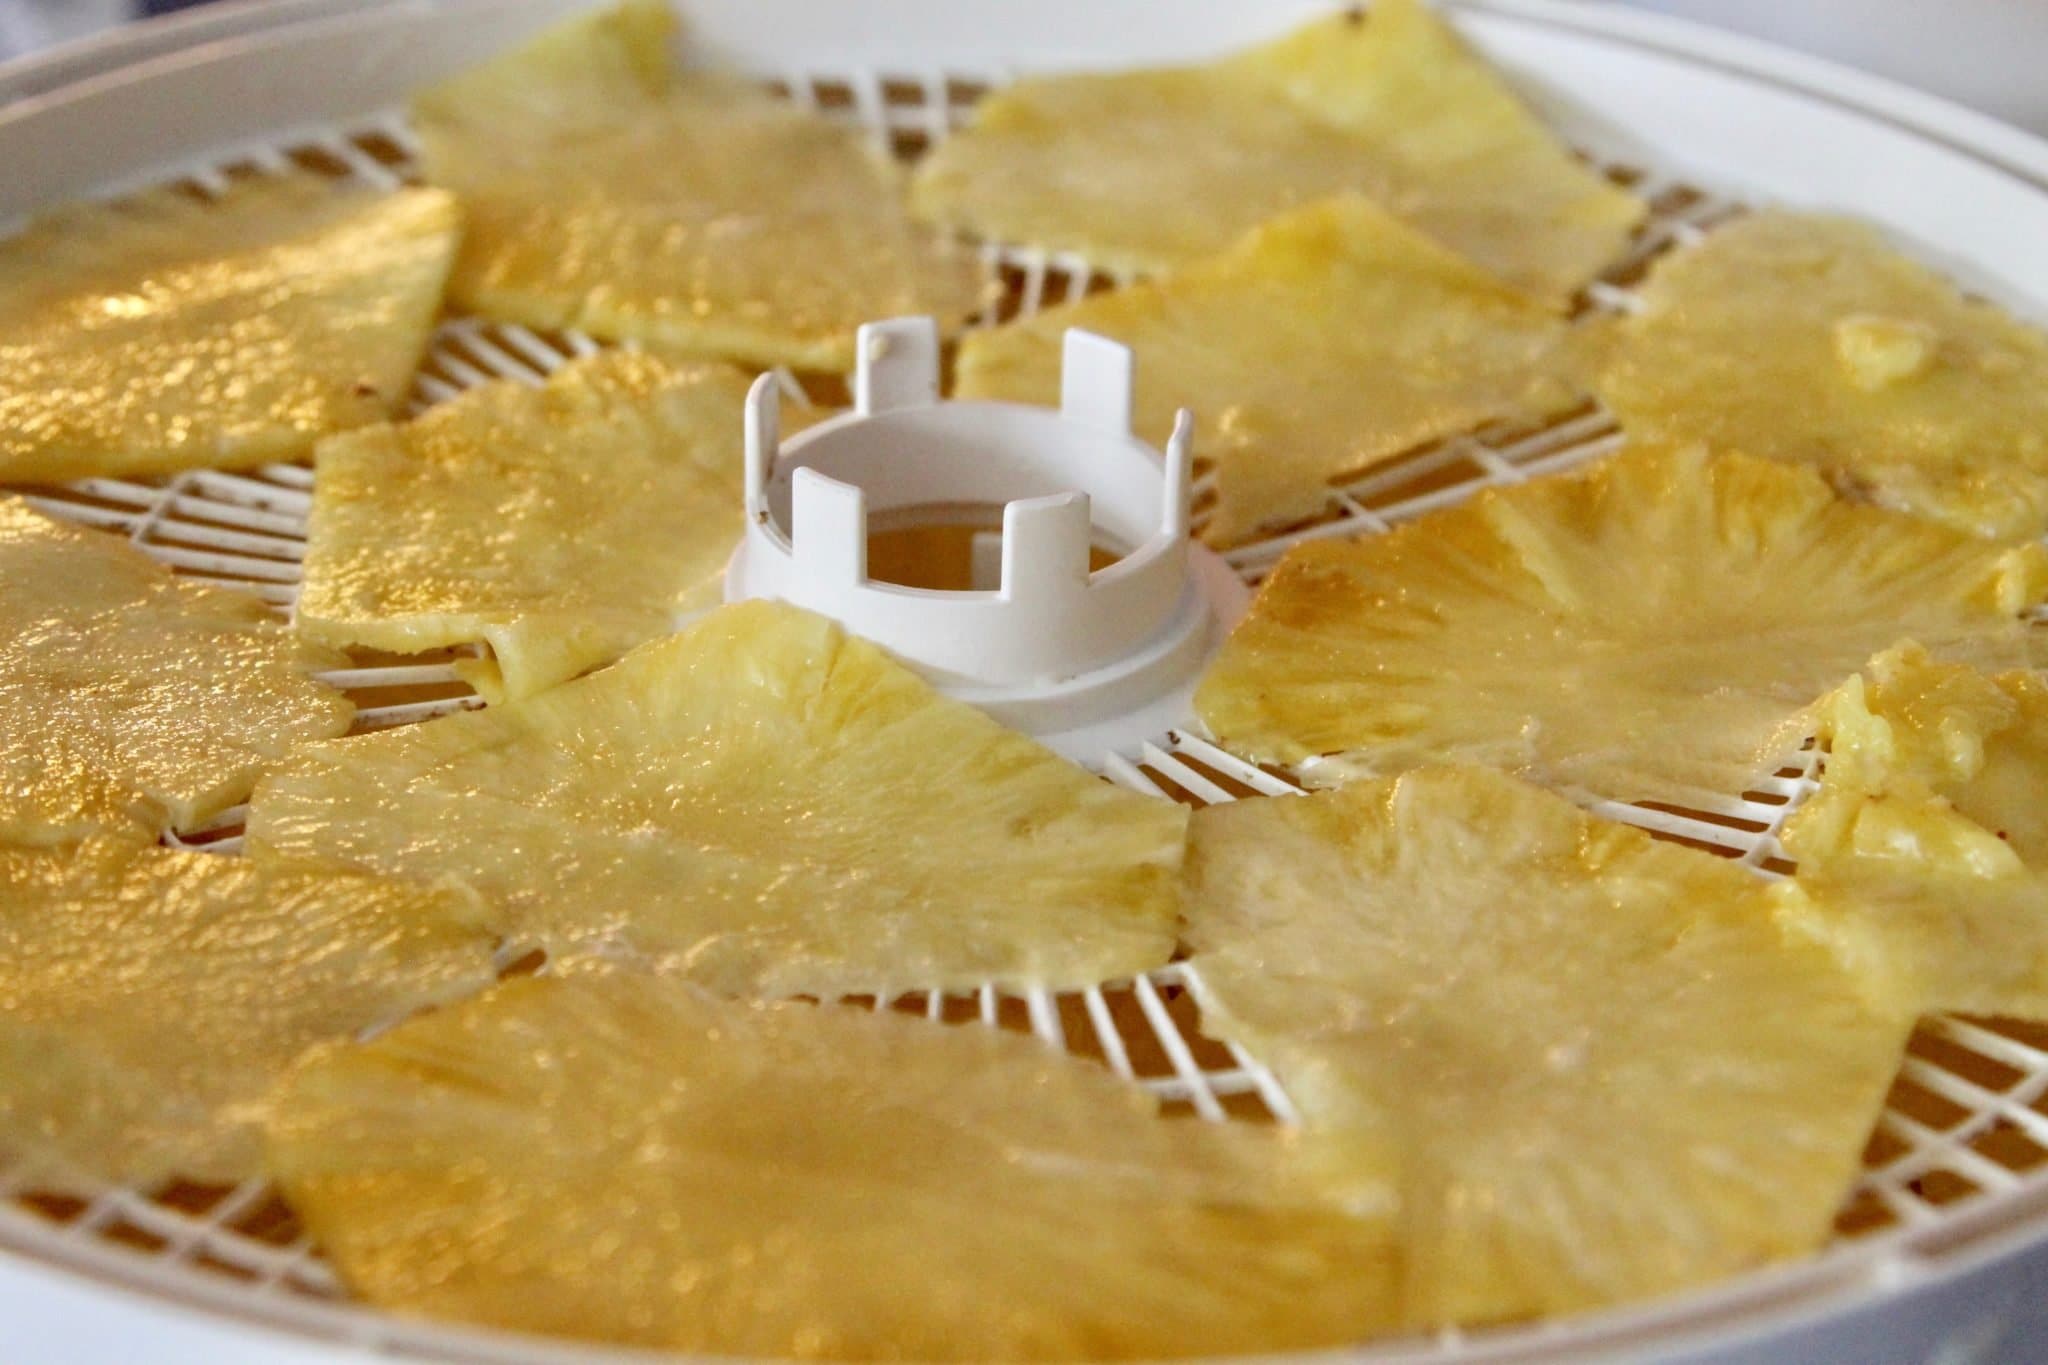
Step 4: After 2 hours, flip the pineapple chips to the other side. My pineapple chips were ready after 4 hours, but start checking them every 30 minutes after 3 hours. I like my pineapple chips on the crispy side but if you want them to be pliable, take them off sooner.
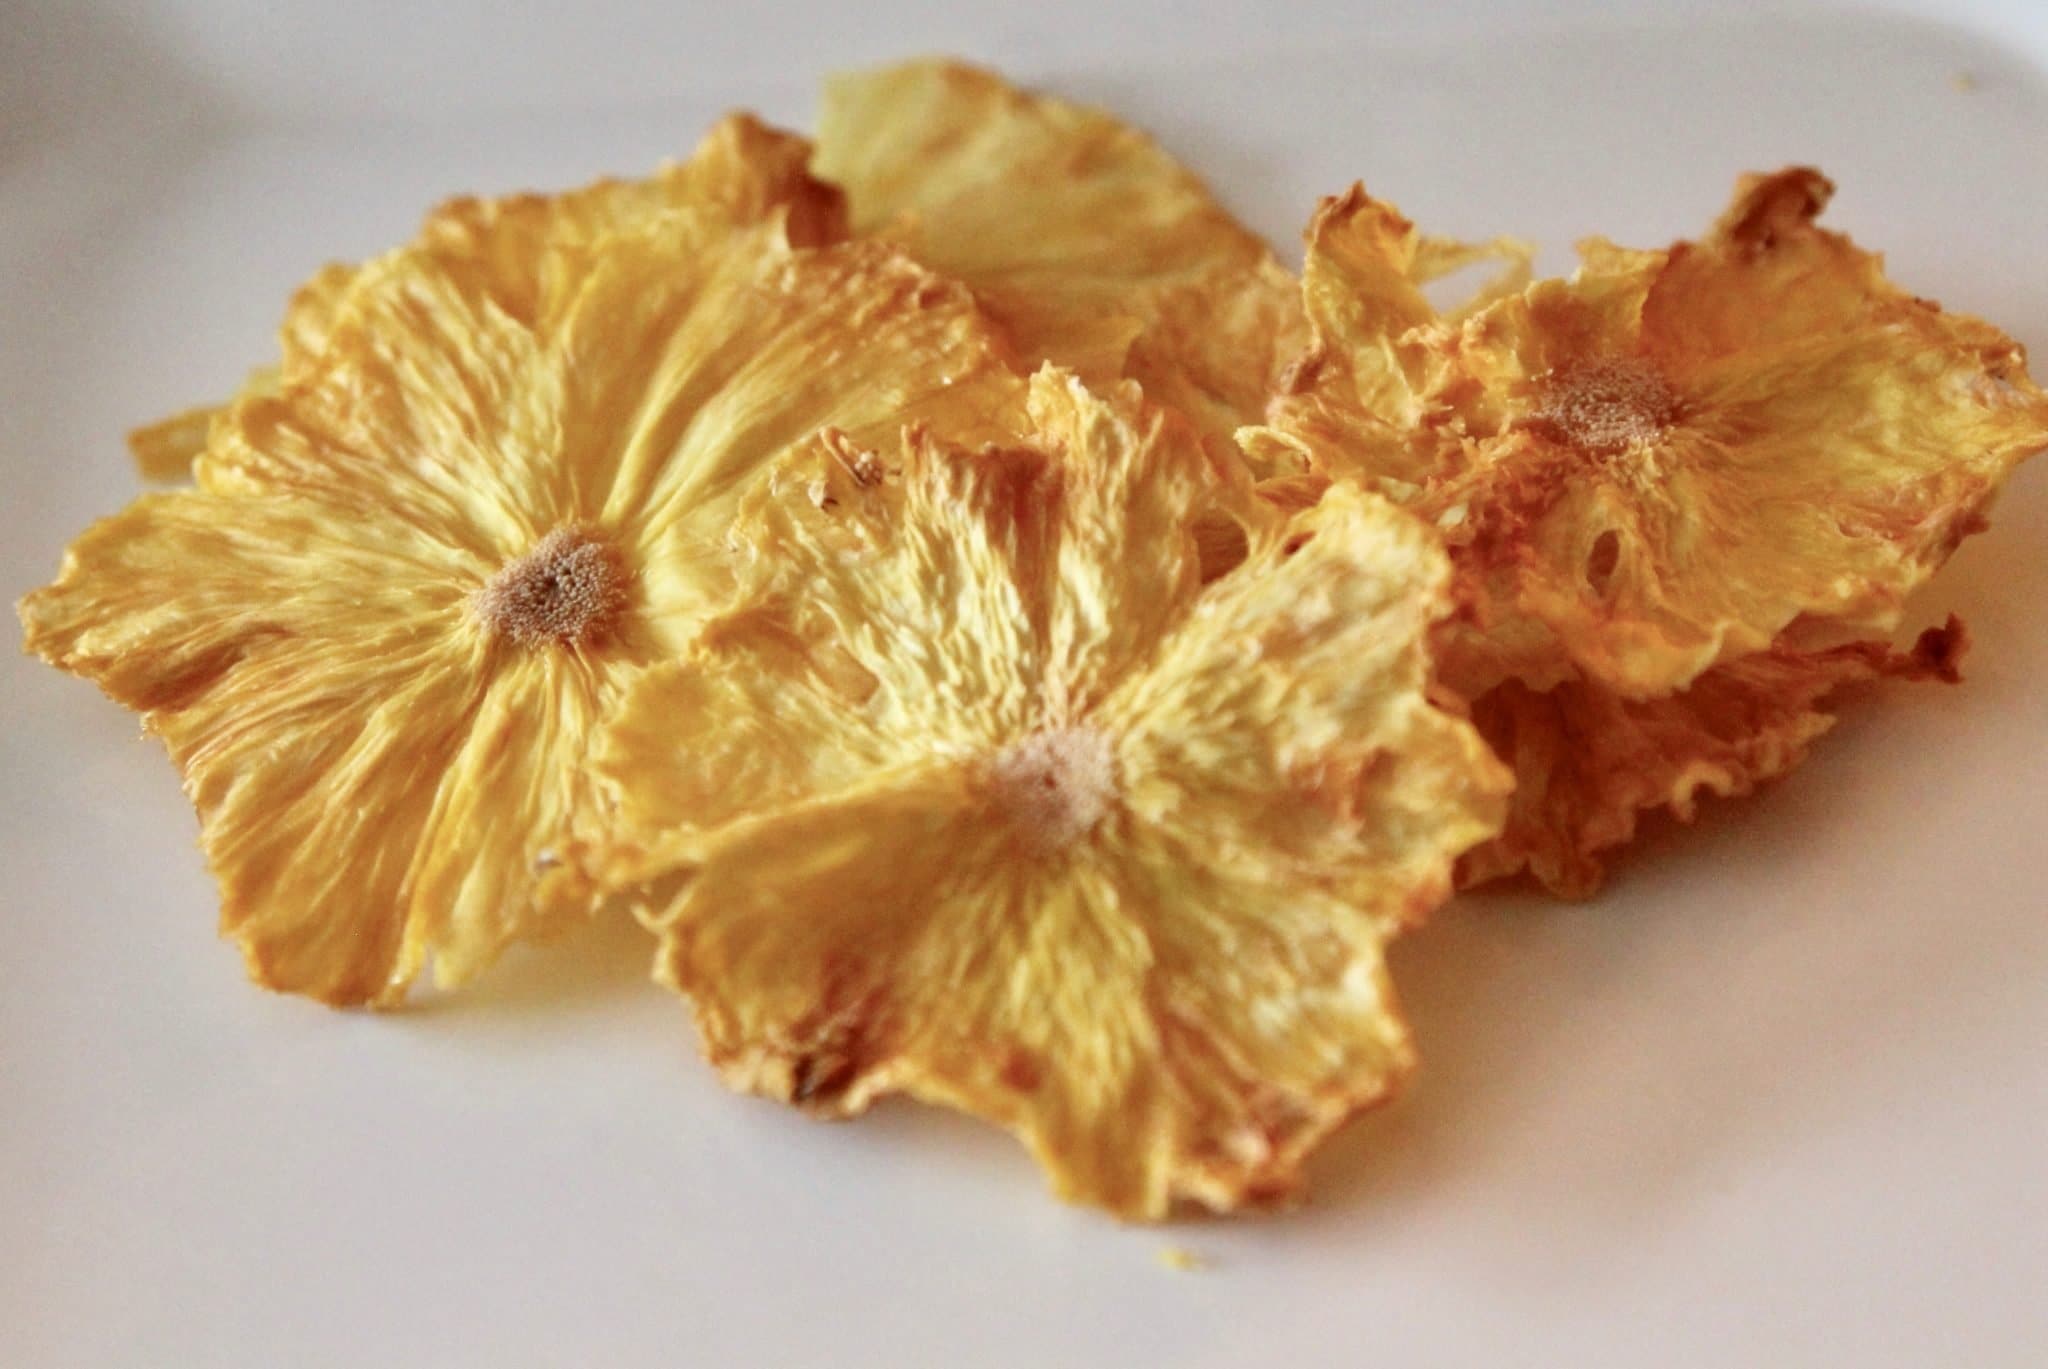
Once the dehydrated chips have cooled off, place them in a ziplock bag and keep them in the refrigerator to keep them from going bad.
🤷🏻♀️ Recipe FAQs
If you cook the sliced pineapple too long, they will dry out and be crunchy. If you don't want them to be crunchy, try cooking them for less time next time.
You can always continue to dehydrate them if they're too soft. Remember, you won't know what the exact texture will be until they are completely cool.
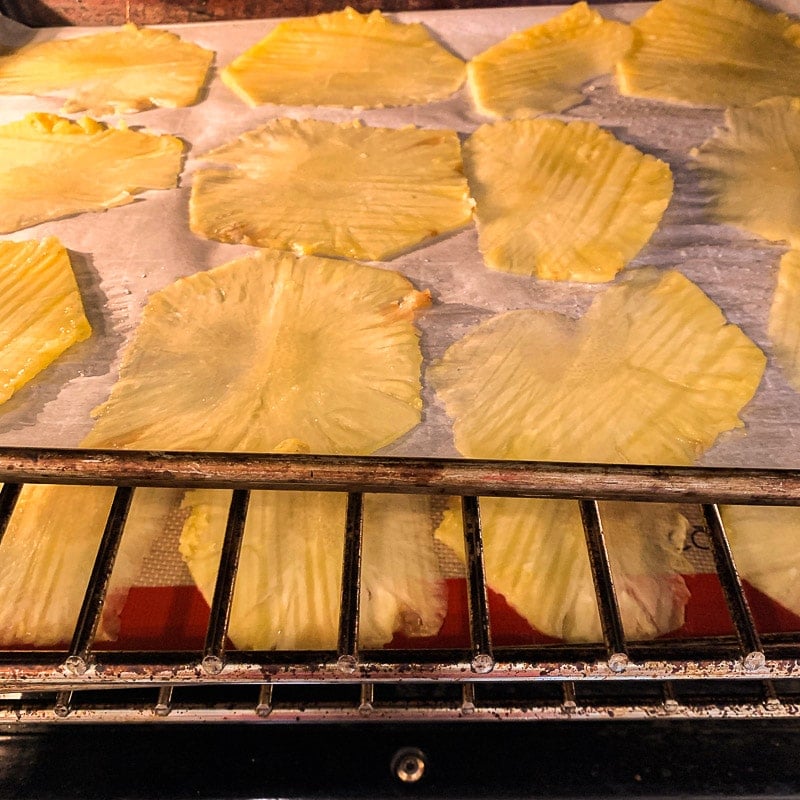
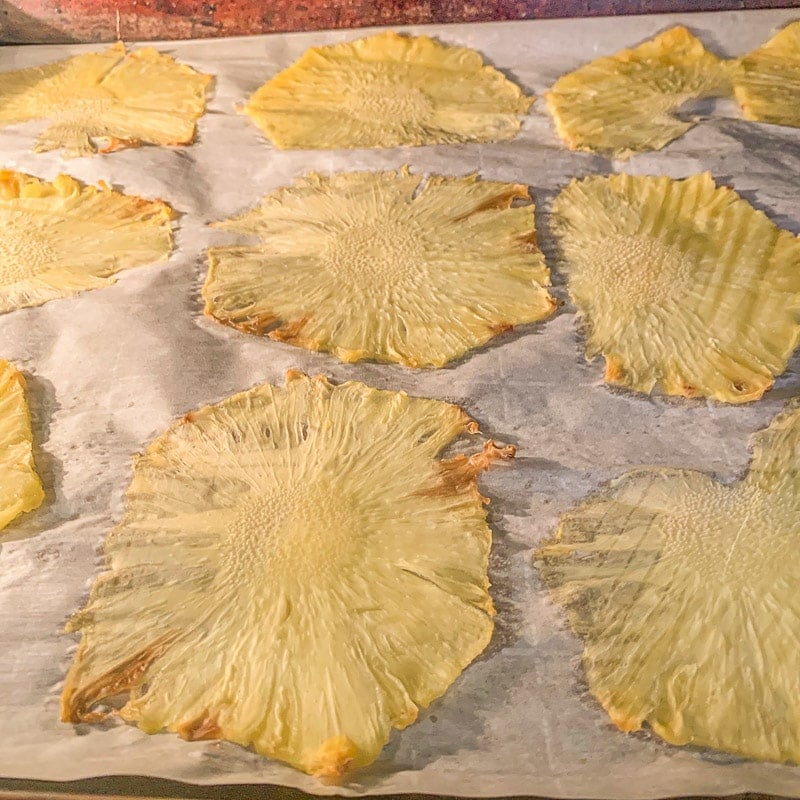
Yes, you can make dehydrated or dried pineapple chips in the oven. To make pineapple chips in the oven, place the sliced pineapple on trays lined with parchment paper and bake at 250 degrees F for 2-4 hours (check them every 30 minutes). Once they feel dry to the touch, gently flip them over to the other side.
👩🏼🍳 Pro Tip
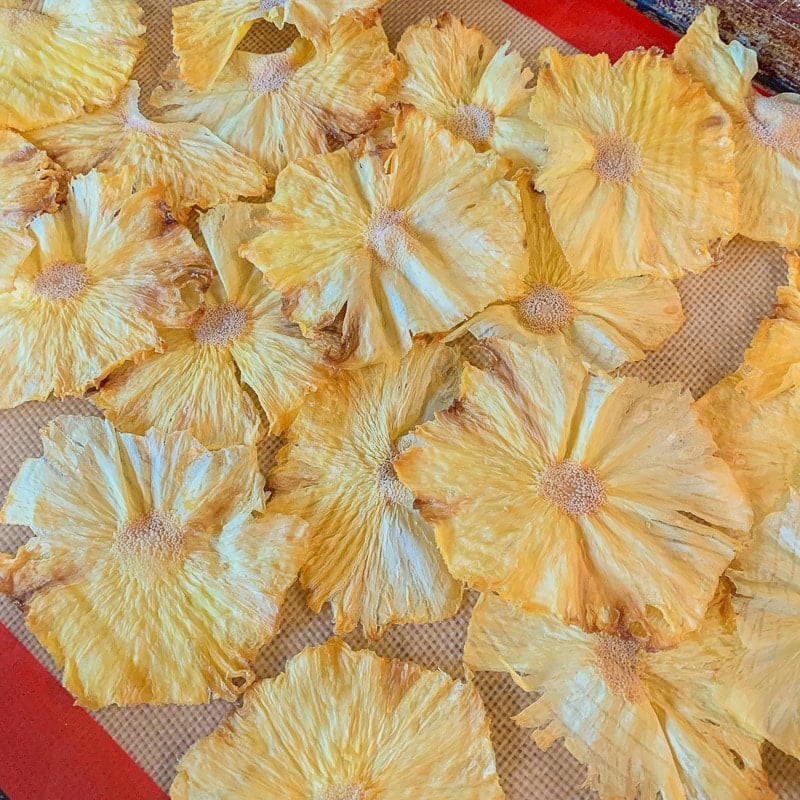
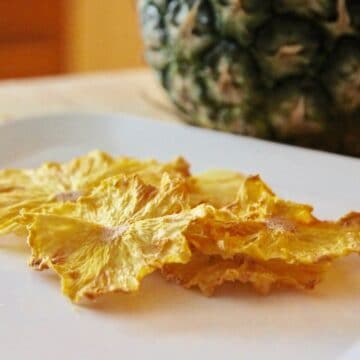
- The chips will get crisper as they cool, so don't expect them to be crisp before removing them, or you'll overcook them. They're almost too beautiful to eat... get over it, and eat them!
- Don't you think these pineapple chips look like pressed poppies? If you like to bake, you can use them to embellish this carrot cake with pineapple and coconut or cupcakes.
- Pineapple chips dried in the oven might end up having burned edges compared to the ones dried in the dehydrator.
🍉 More Dehydrator Recipes
📖 Recipe
Dehydrated Pineapple Chips
Equipment
Ingredients
- 1 medium ripe pineapple
Instructions
- Slice the top and sides off of the pineapple with a sharp knife. Leave the bottom intact. You will need a non-slippery surface to hang on to as you slice the pineapple.
- Using a mandoline slicer, slice the pineapple as thin as possible. If you don't have one, you can use a sharp knife instead. Just be sure to cut the slices as thinly and evenly as possible.
- Place the slices on a dehydrator, leaving some space between the slices for air circulation. Once the racks are full, cover with the dehydrator lid and choose the vegetable/fruit setting. On my dehydrator, it's set to 135.
- Begin checking the pineapple chips after 3 hours. Mine were ready after 4 hours. The chips are supposed to be crispy, but if you prefer them more pliable, remove them sooner.
- The chips will get crispier as they cool, so don't expect them to be crisp before removing them, or you'll overcook them. They're almost too beautiful to eat... get over it, and eat them!
Notes
- The chips will get crispier as they cool, so don't expect them to be crisp before removing them, or you'll overcook them. They're almost too beautiful to eat... get over it, and eat them!
- Don't you think these pineapple chips look like pressed poppies? If you like to bake, you can use them to embellish this carrot cake with pineapple and coconut or cupcakes.
- To make pineapple chips in the oven, place the sliced pineapple on trays lined with parchment paper and cook at 250℉ for 2-4 hours (check them every 30 minutes). Once they feel dry to the touch, gently flip them over to the other side.
- Pineapple chips dried in the oven might end up having burned edges compared to the ones dried in the dehydrator.





VixenVena says
These pineapple chips are amazing!!! Pineapple is so good.
Hilda Sterner says
Thank you, easy too, right?
Mike says
May I ask the conversion of the pineapple before peeling and after dehydration
Hilda Sterner says
Hi Mike,
That's a hard question to answer. It's going to depend on the size of the pineapple and how thin or thick the slices are. If the pineapple is too large, you might have to cut each slice in half, or it might be too large to slice with a mandoline, which means you'd have to slice it with a knife. Most likely, the slices would not be as thin as if using a mandoline. I've never really measured how many slices I get, but I'm sure it's never the same amount. It's usually a few small ziplock bags worth. Sorry I couldn't be more helpful!