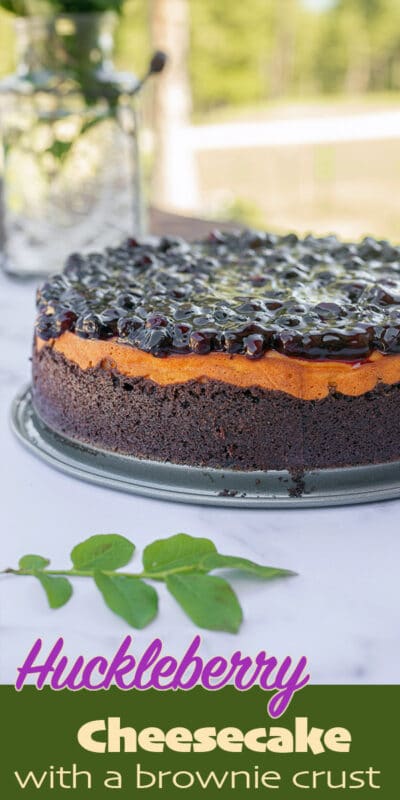
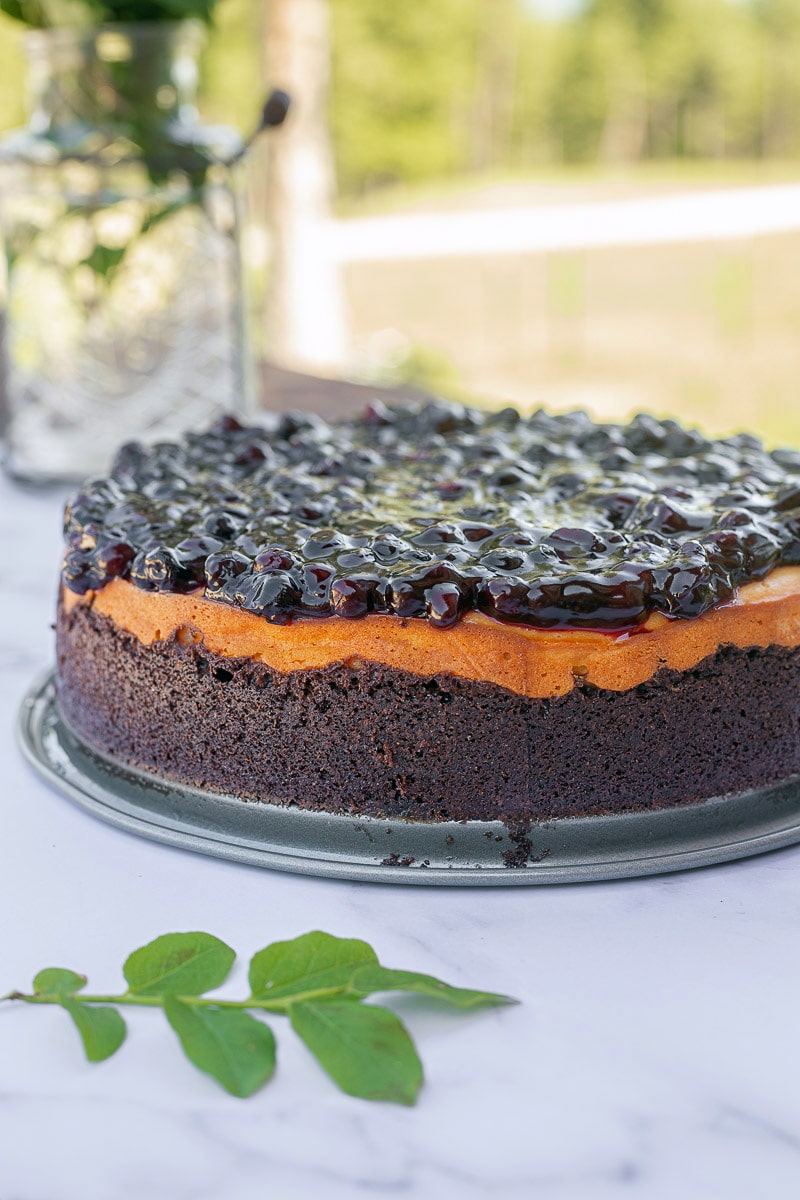
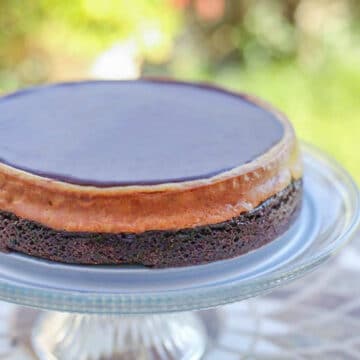
A rich huckleberry cheesecake with a delicious brownie crust, but that's not the best part. No, the to-die-for huckleberry topping is definitely my favorite part of this huckleberry cake recipe. If you want to go over the top, drizzle the sliced pieces with some huckleberry sauce!
Would you like to save this recipe?
Last week, we celebrated Scott's birthday. A couple of weeks before that, we celebrated mine with some Kahlua Coffee Cheesecake, which is my absolute favorite!
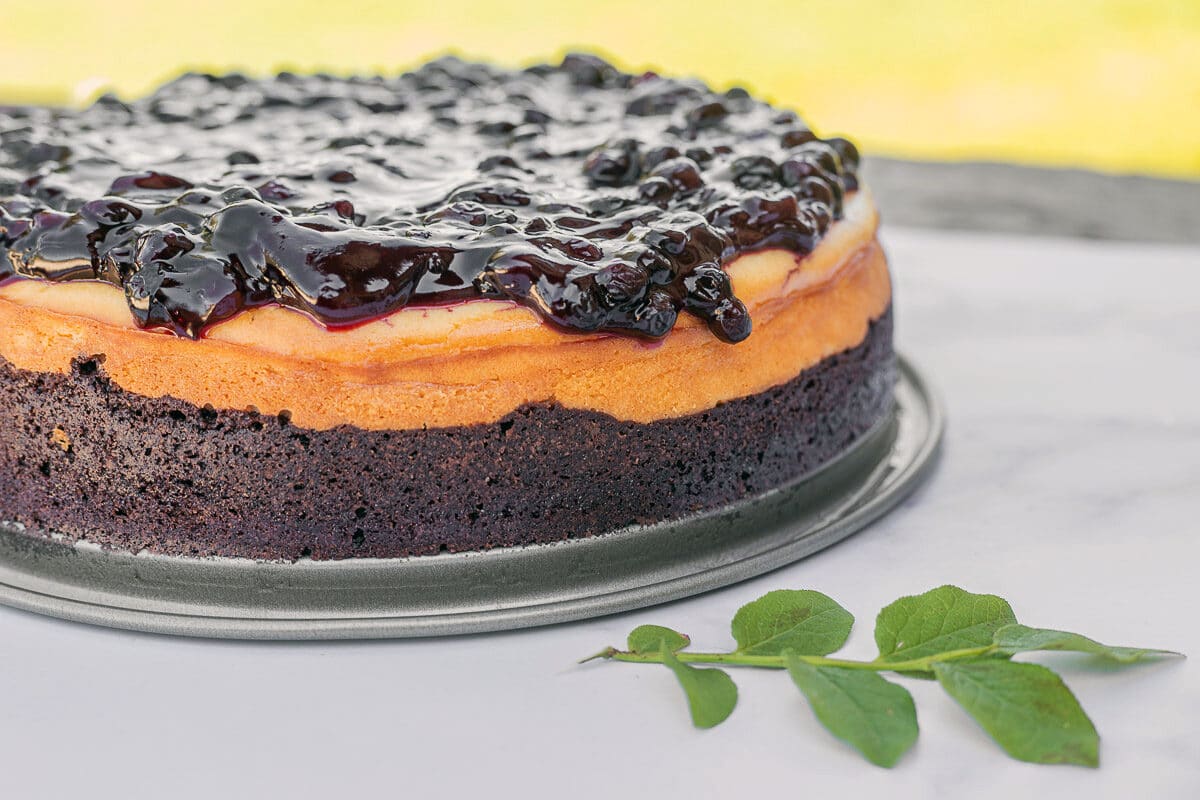
I borrowed ideas from a few of my other cheesecake recipes to make this huckleberry cake recipe. I used the same brownie crust from my Kahlua cheesecake because it seems to be a real crowd-pleaser.
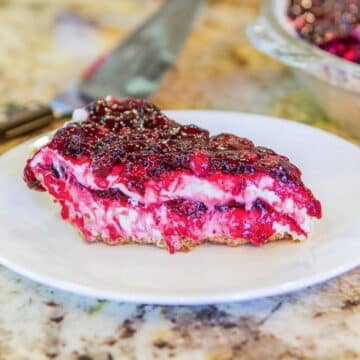
Next, I adapted the huckleberry topping from my no-bake Berry Cheesecake recipe by leaving out the cinnamon and the cardamom. I did not want those flavors to compete with the taste of the huckleberries.
Finally, the decadent cheesecake layer brings it all together and results in an unforgettable cheesecake experience!
You didn't know there was such a thing as a "cheesecake experience," did you? You will after having a slice of this huckleberry cheesecake, I promise!
To take it to a whole new level, serve it with a scoop of huckleberry ice cream!
Jump to:
🔖 Ingredient & Substitutions
- Huckleberries - Huckleberries are mainly found in Oregon, Washington, Montana, and Idaho. If you don't have enough huckleberries, you can substitute blueberries instead. Although huckleberries are more tart than blueberries, the substitution still works.
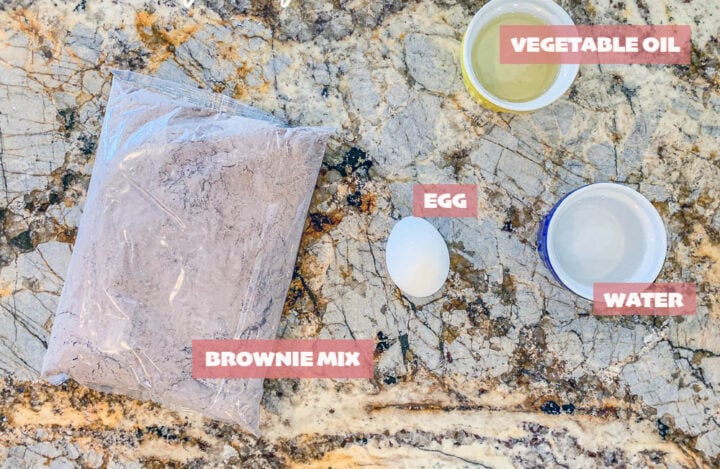
- Brownie Mix - I prefer using Ghirardelli brownie mix because I have yet to find a better-tasting mix. If you would like to use a different mix or make your own, feel free to do so and adjust the brownie mix layer as needed.
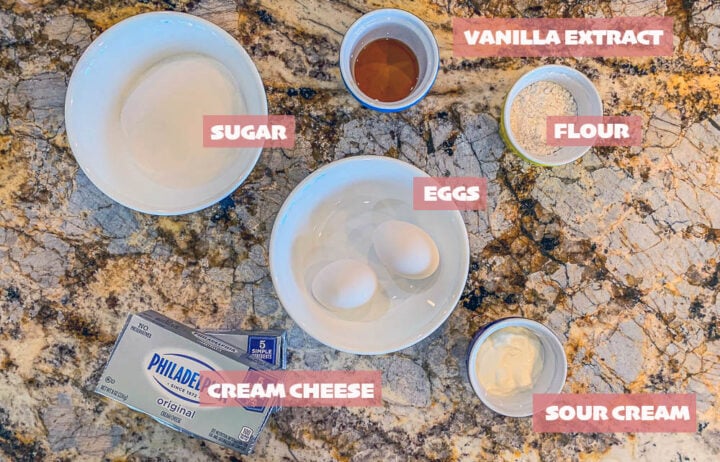
- Sour cream - The sour cream gives the cheesecake a great flavor, so be sure to include it!
- Flour - The small amount of flour helps to keep the cheesecake from cracking and gives the cheesecake a firmer texture. Who likes a runny cheesecake, am I right?
🥮 How To Make Huckleberry Cheesecake
Preheat oven to 325°F.
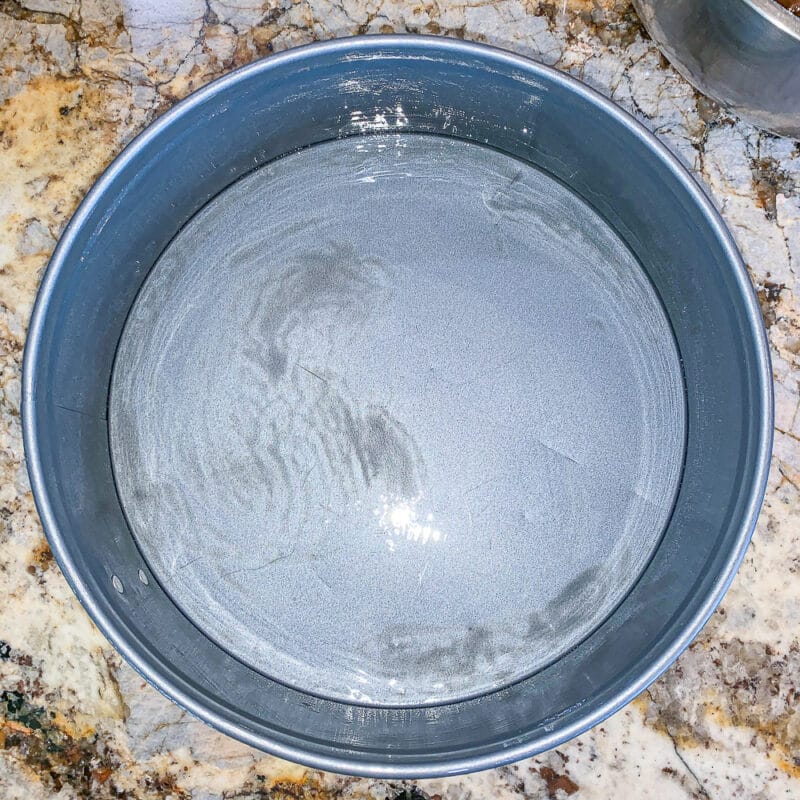
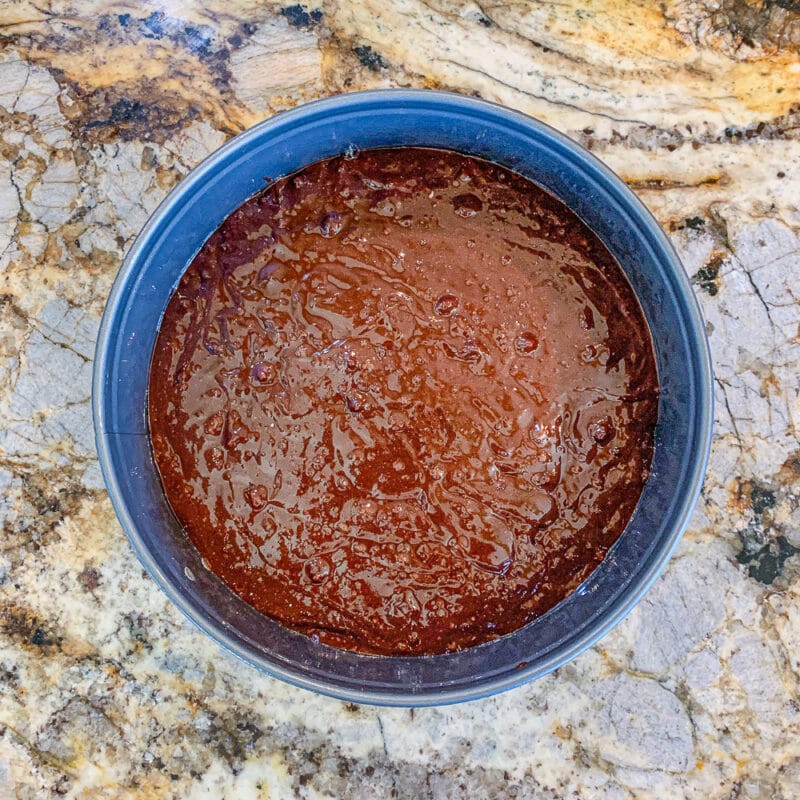
Brownie Layer: Prepare brownie mix according to box instructions. Pour into a greased, 9" spring-form pan. Bake for 15 minutes.

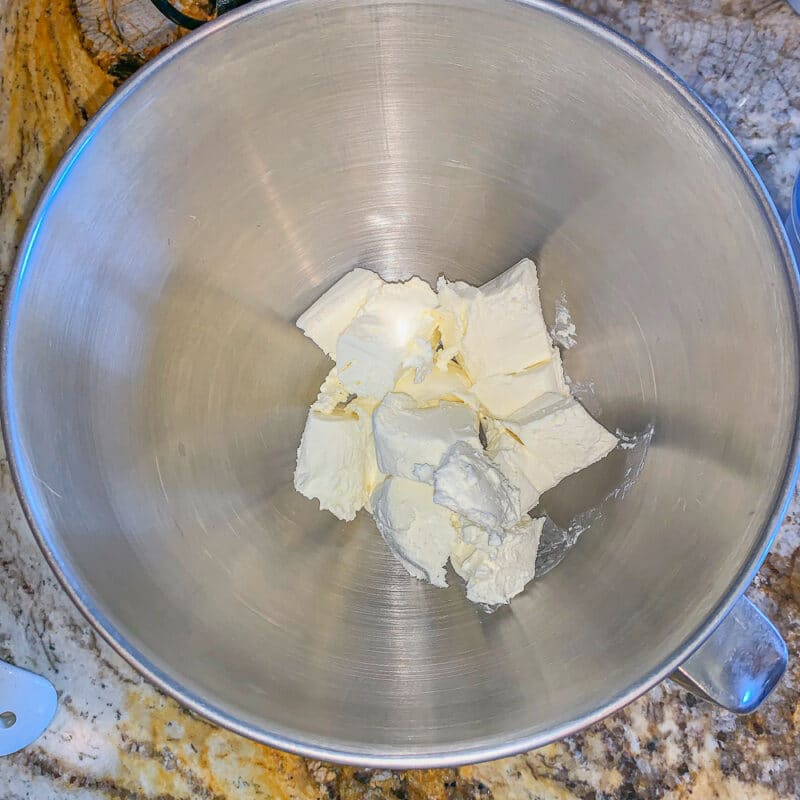
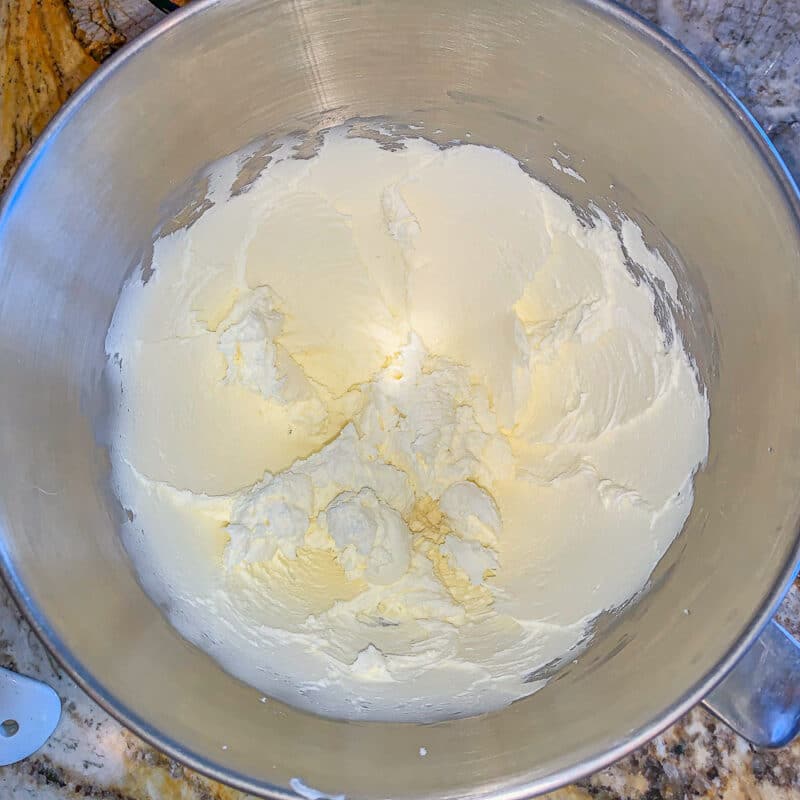
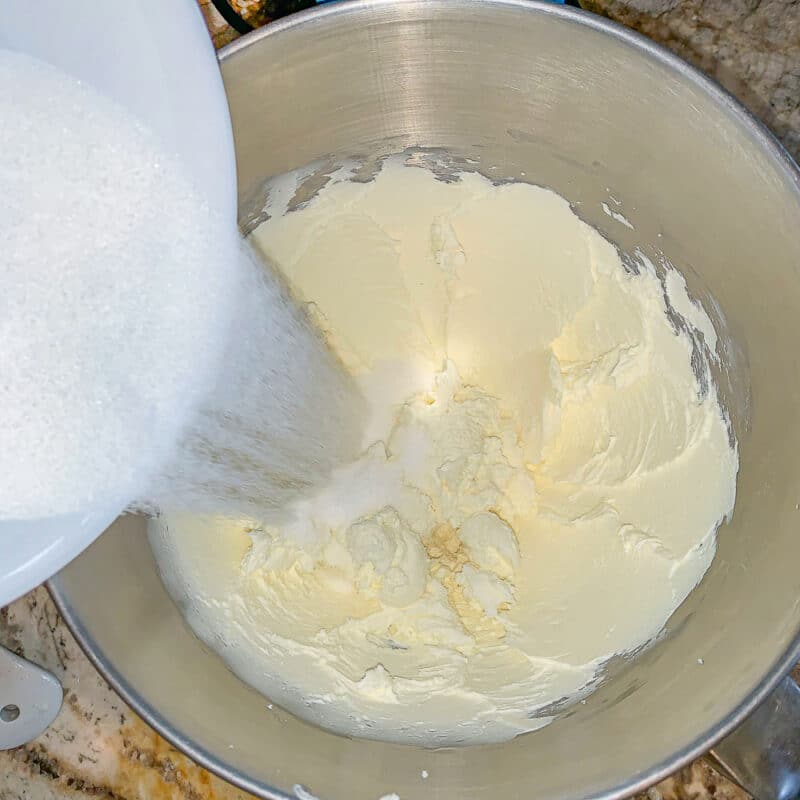
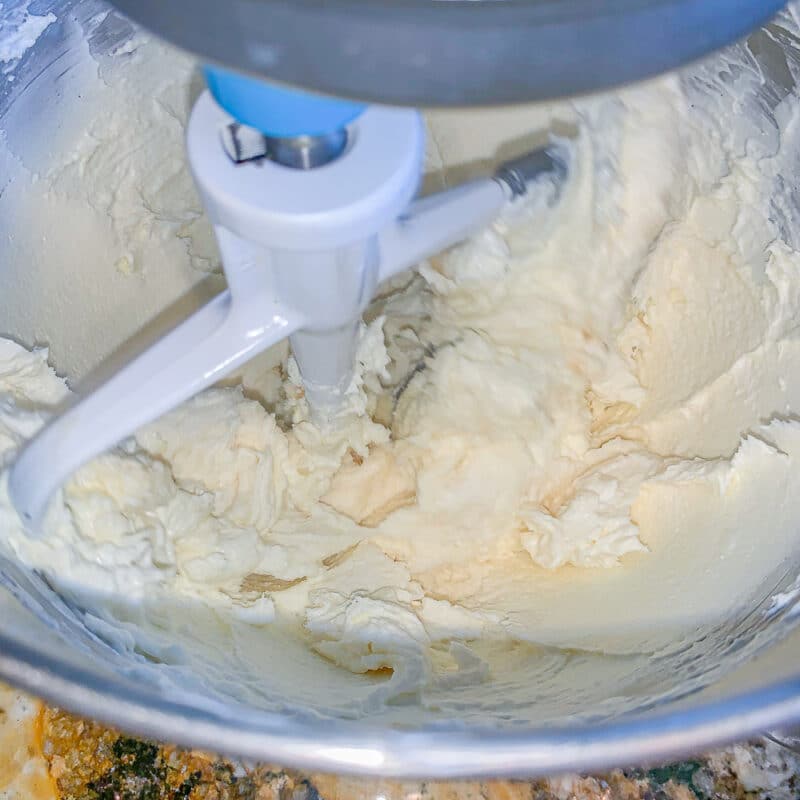
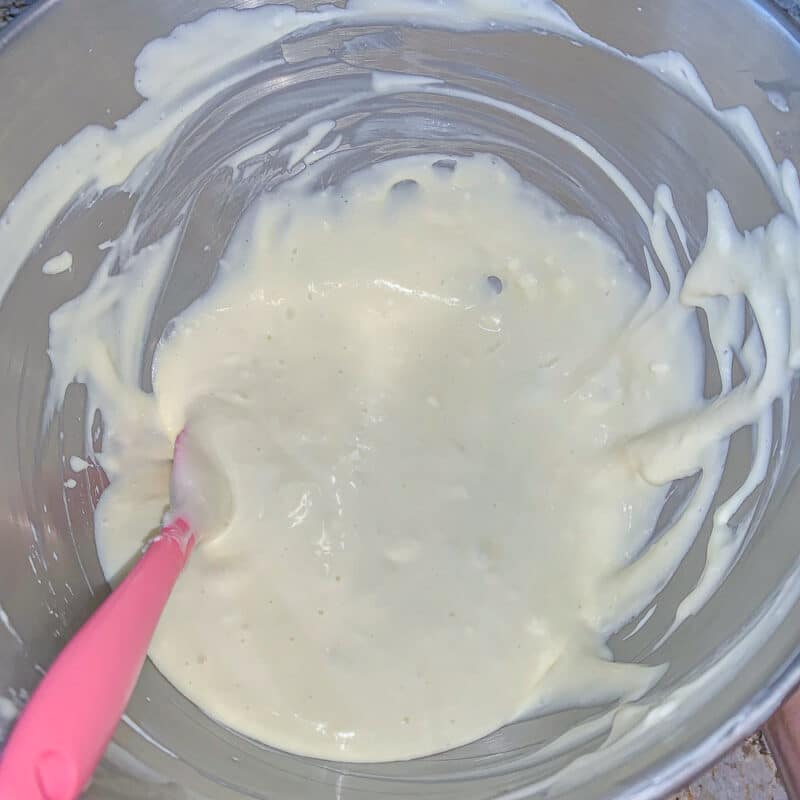
Cheesecake: Beat cream cheese in a stand mixer until light and fluffy. Add sugar, flour, sour cream, and vanilla. Mix to combine.
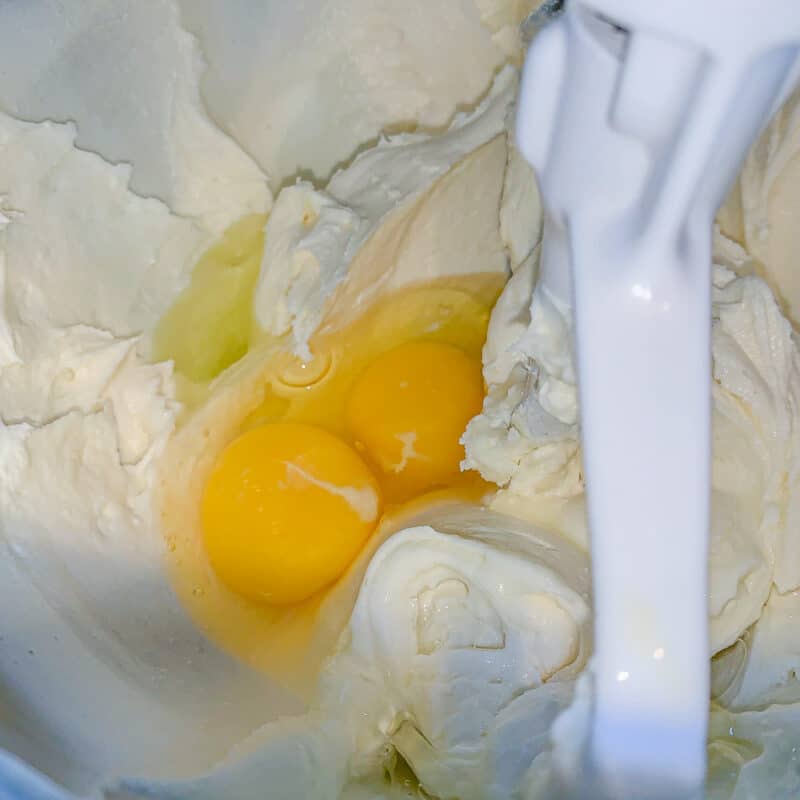
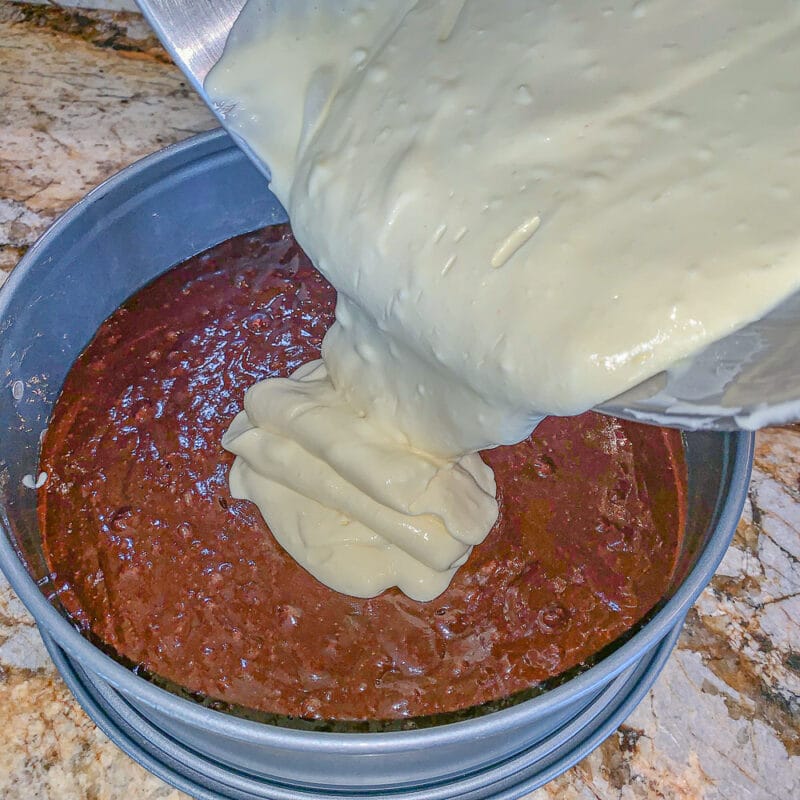
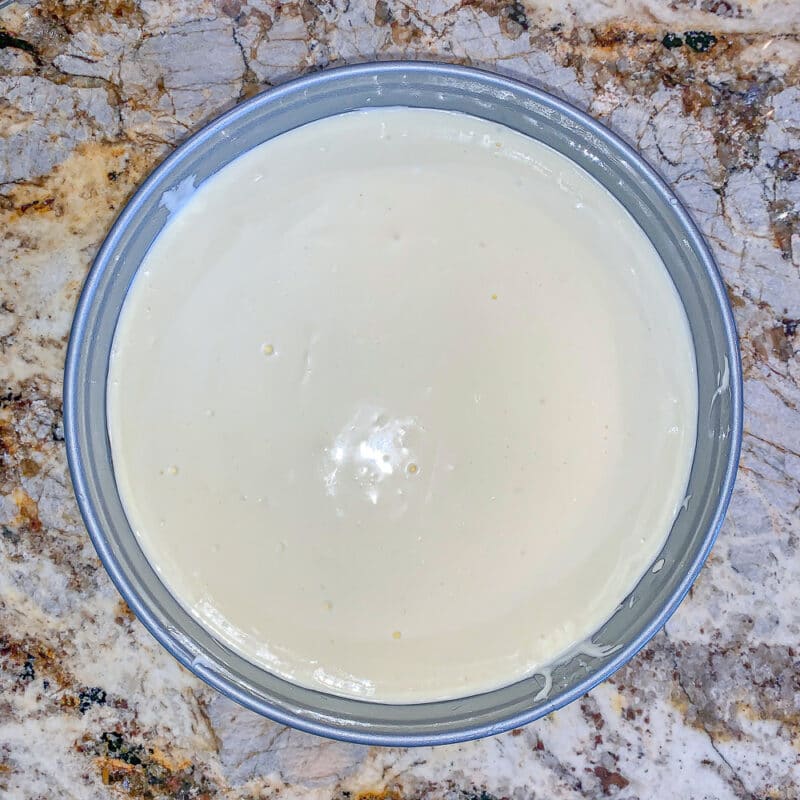
Add eggs and beat until the mixture is smooth and all the ingredients are incorporated. Scrape the sides and the beater as needed. Pour the batter over the brownie layer after the brownie layer has baked for 15 minutes.
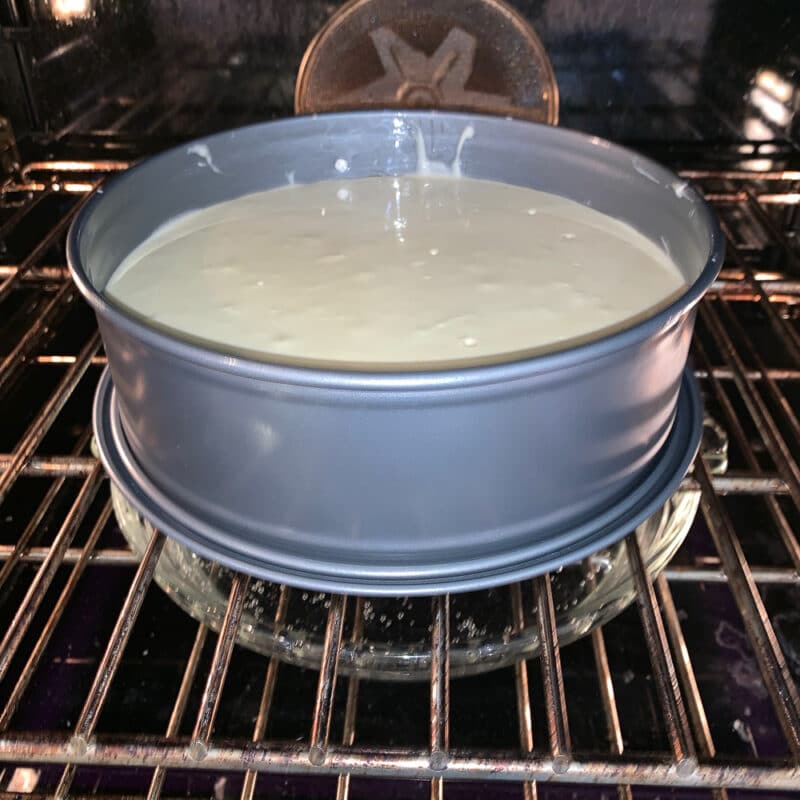
Place on the middle rack of the oven. Add a pan, partially filled with water, under the cheesecake. This "water bath" allows the cheesecake to bake without cracking.
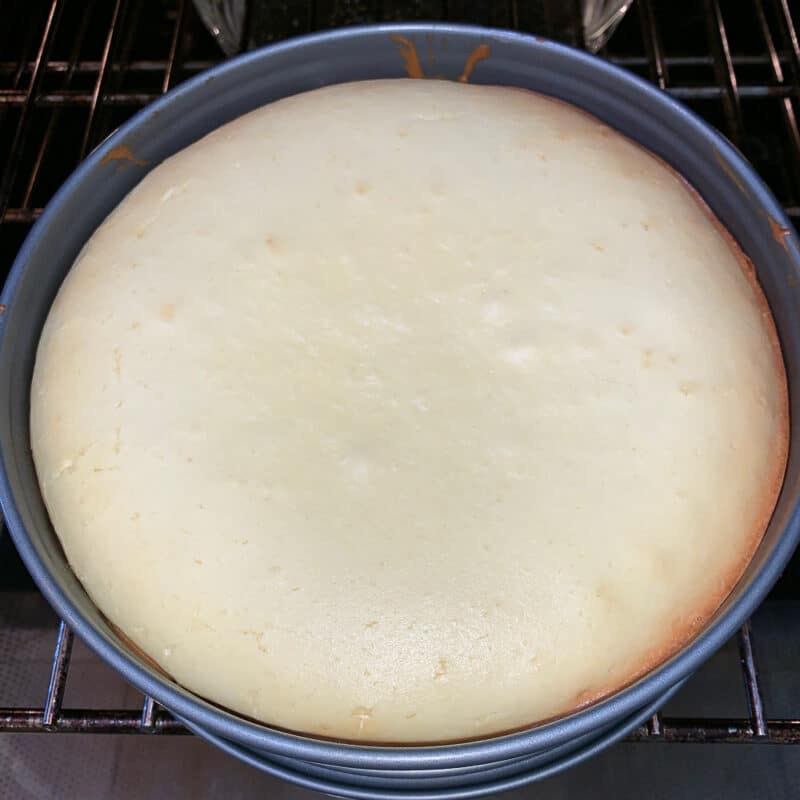
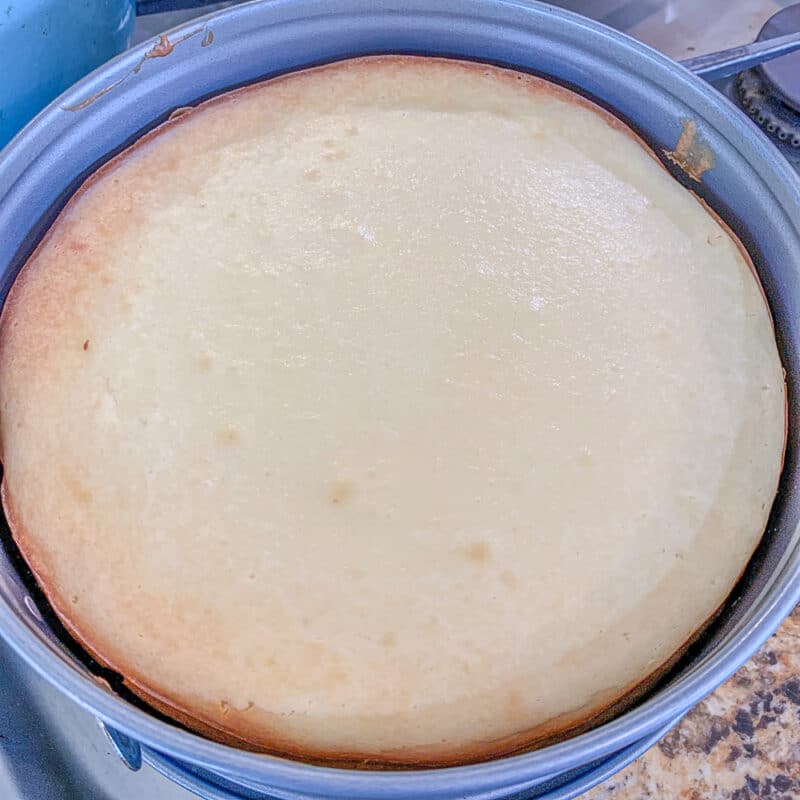
Bake for one hour, or until the cheesecake is no longer jiggly in the center. Cook longer as necessary, checking every five minutes, until it's done.
Remove the cheesecake from the oven, and allow it to come to room temperature on the counter.
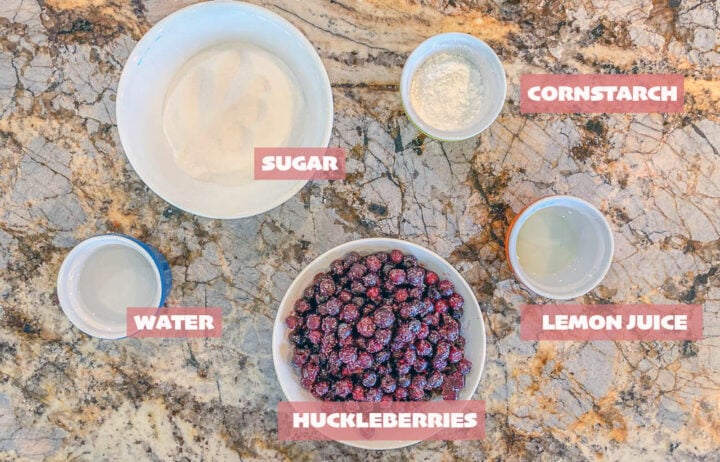
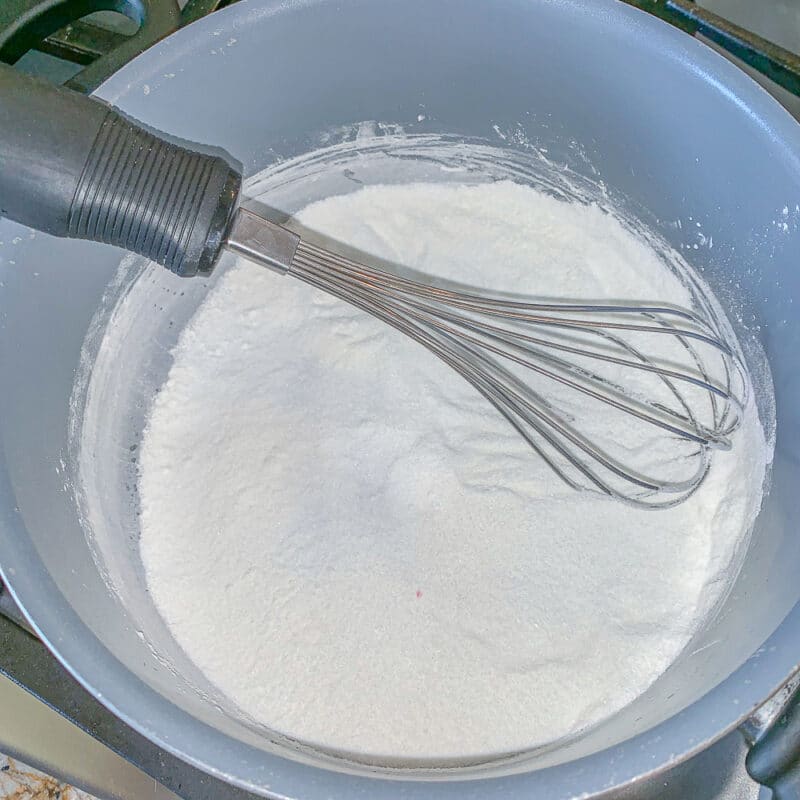
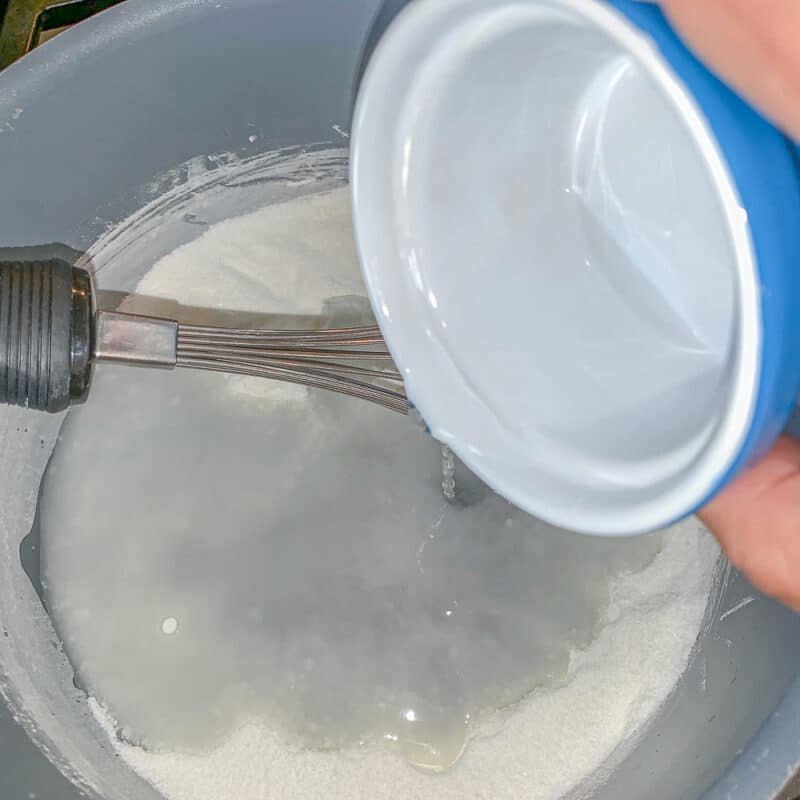
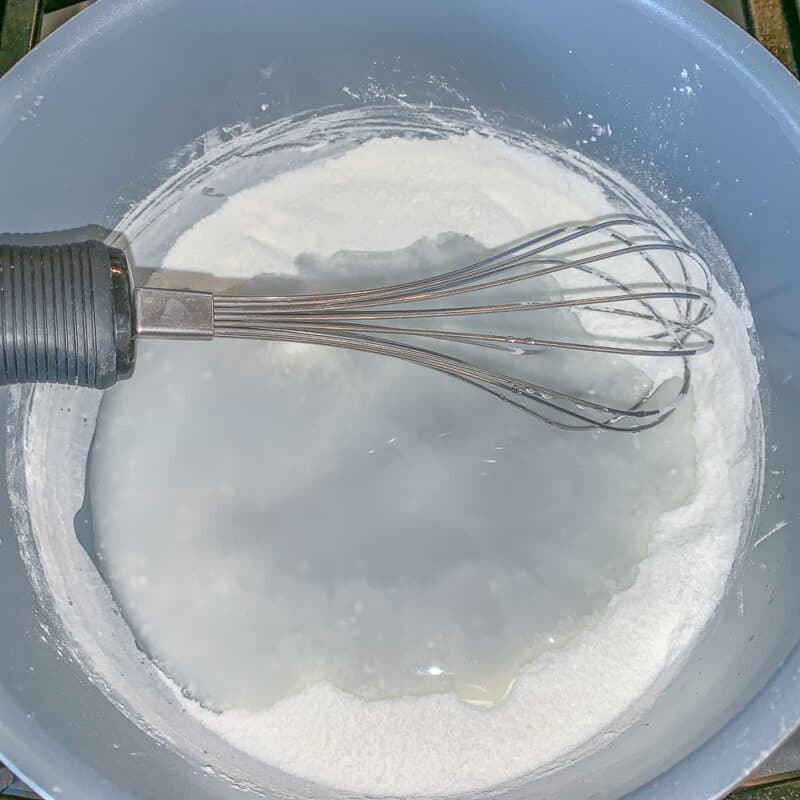
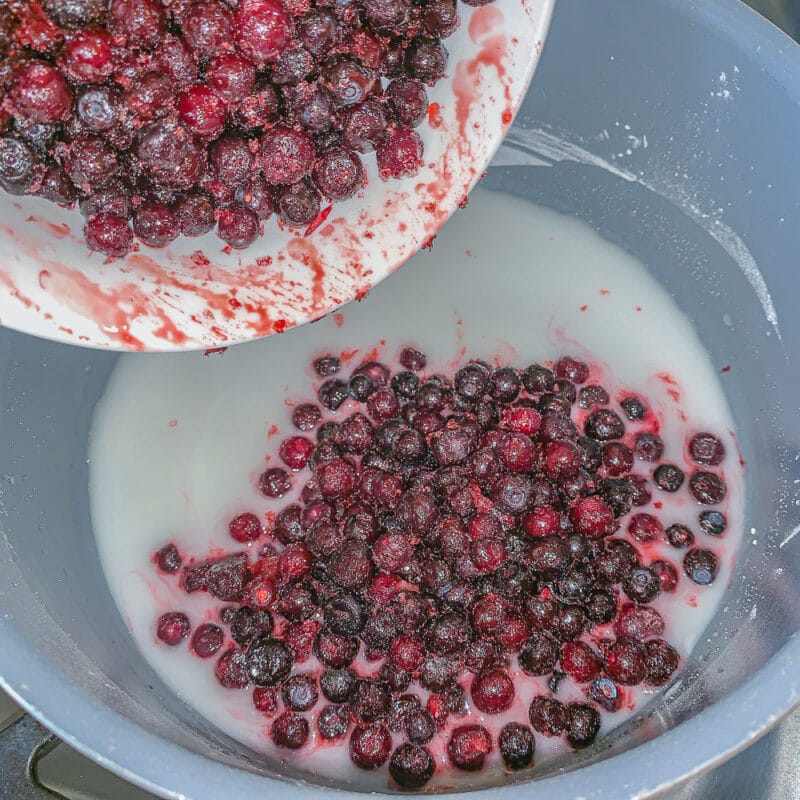
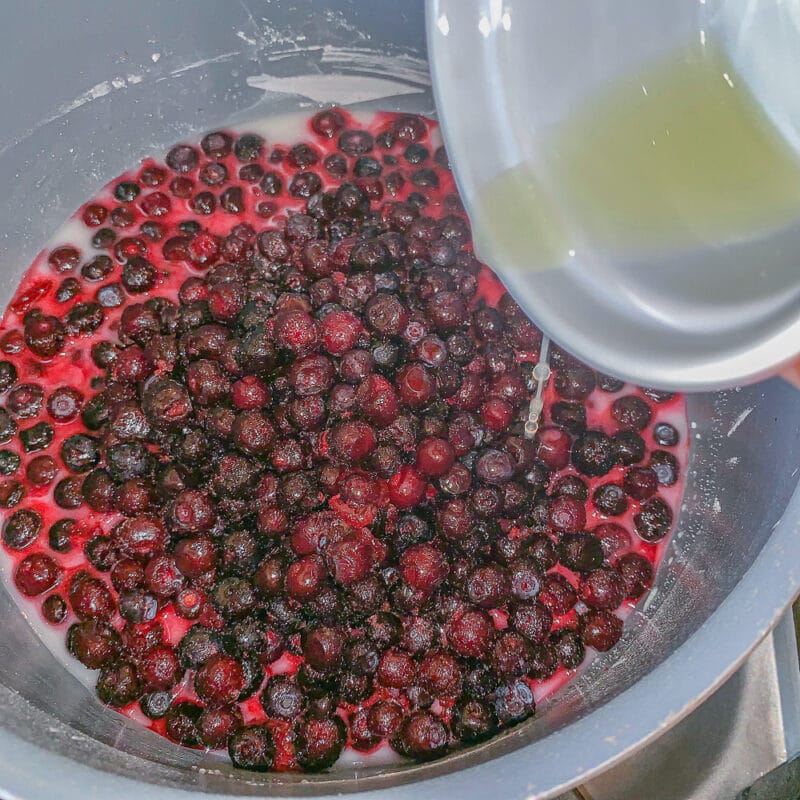
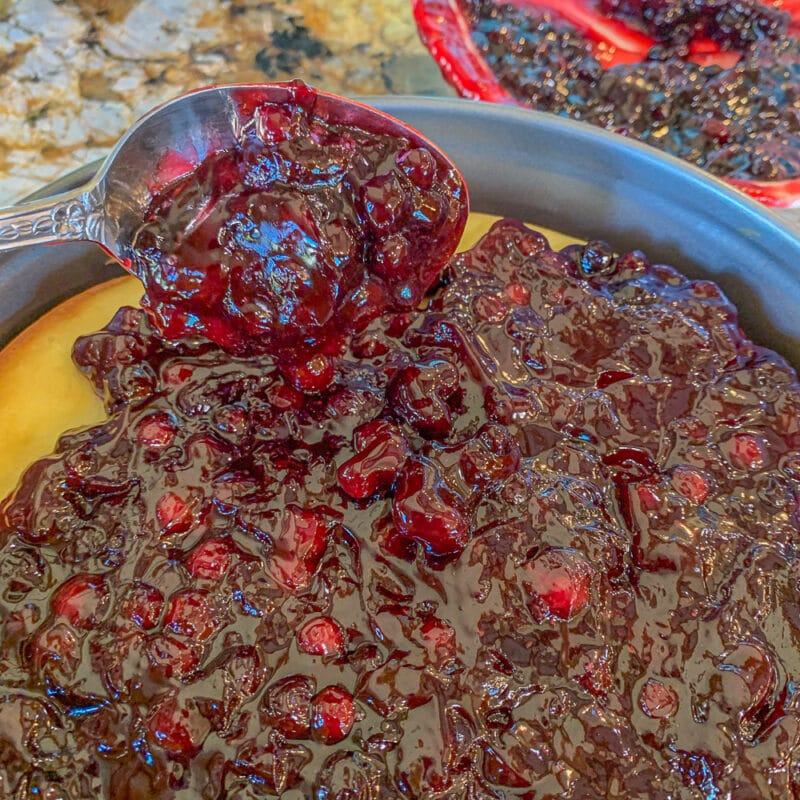
Huckleberry Topping: Combine sugar and cornstarch in a saucepan. Add water and whisk or stir until smooth. Add huckleberries and lemon juice, then bring to a boil.

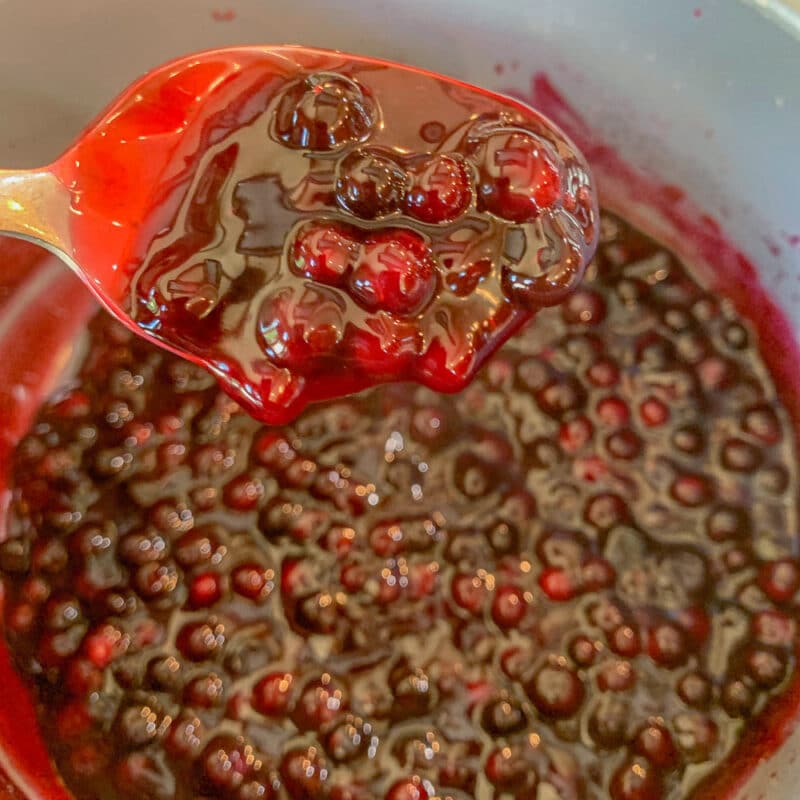
Cook and stir for a few minutes or until thickened. Set aside to cool. Once cool, add the huckleberry topping over the cheesecake and chill for 4 or more hours before serving.


🤷🏻♀️ Recipe FAQs
Blueberries are commonly used to replace some of the huckleberries in many recipes. This is done to stretch the huckleberries farther since they are so hard to come by and quite expensive.
Another option is to completely replace the huckleberries with blueberries. Just please don't call it a Huckleberry Cheesecake! 😉
Huckleberries ripen during Summer, usually from July through September. This depends on many things, including location, elevation, temperature, and what side of the mountain the huckleberries are growing on.
Huckleberries can be purchased when in season throughout the Northwestern part of the U.S. Huckleberries go for anywhere from $50 to $70 a gallon. This is why many choose to spend the day in the mountains, competing with bears, to avoid paying the ridiculous prices!
👩🏼🍳 Pro Tips
- For high altitude, add an additional ¼ cup of flour and 2 tablespoons of water to the brownie mix before baking.
- If you don't have a 9" springform pan, a 10" may be used.
- Although I always use a water bath when I bake a cheesecake, you can skip it since the huckleberry topping will cover up any cracks that develop.
- Store leftover huckleberry cake in an airtight container for up to a week in the fridge.
- Freeze for longer storage.
🍊 More Dessert Recipes
If you enjoy this huckleberry cake recipe, check out these other desserts!
Did you make this recipe?
📖 Recipe
Would you like to save this recipe?

Huckleberry Cheesecake with a Brownie Crust
Ingredients
Method
- Prepare brownie mix according to box instructions. Pour into a greased, 9" spring-form pan. Bake for 15 minutes.
- Beat cream cheese in a stand mixer until light and fluffy. Add sugar, flour, sour cream, and vanilla. Mix to combine. Add eggs and beat until the mixture is smooth and all the ingredients are incorporated. Scrape the sides and the beater as needed. Pour the batter over the brownie layer after the brownie layer has baked for 15 minutes.
- Place on the middle rack of the oven. Add a pan, partially-filled with water, under the cheesecake. This "water-bath" allows the cheesecake to bake without cracking. Bake for one hour, or until the cheesecake is no longer jiggly in the center. Cook longer as necessary, checking every five minutes, until done.
- Remove the cheesecake from the oven, and allow it to come to room temperature on the counter.
- Combine sugar and cornstarch in a saucepan. Add water and stir until smooth. Add the huckleberries and lemon juice then bring to a boil. Cook and stir for a few minutes or until thickened. Set aside to cool.
- Once cool, add the huckleberry topping over the cheesecake and chill for 4 or more hours before serving.
Nutrition
Notes
- For high altitude, add an additional ¼ cup of flour and 2 tablespoons of water to the brownie mix before baking.
- If you don't have a 9" springform pan, a 10" may be used.
- Although I always use a water bath when I bake a cheesecake, you can skip it since the huckleberry topping will cover up any cracks that develop.
- Store huckleberry cheesecake in an airtight container in the fridge for up to a week.
- Freeze for longer storage.
Lori says
I was so fortunate to get to try this and I have to say it was absolutely amazing! Great flavor combination, great textures and so, so good!
HildaSterner says
Thanks, Lori, as usual. we loved having you!