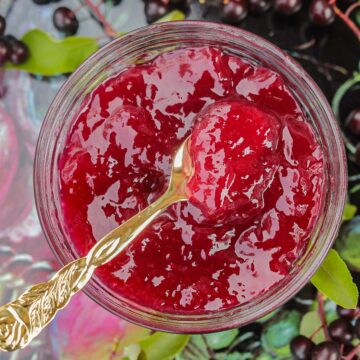
I don't know why I never thought about making elderberry jelly before but I'm kicking myself for not making it sooner! This elderberry jelly recipe is simple, delicious, and a wonderful way to preserve elderberries to be enjoyed throughout the year. Be sure to try my elderberry syrup recipe too!
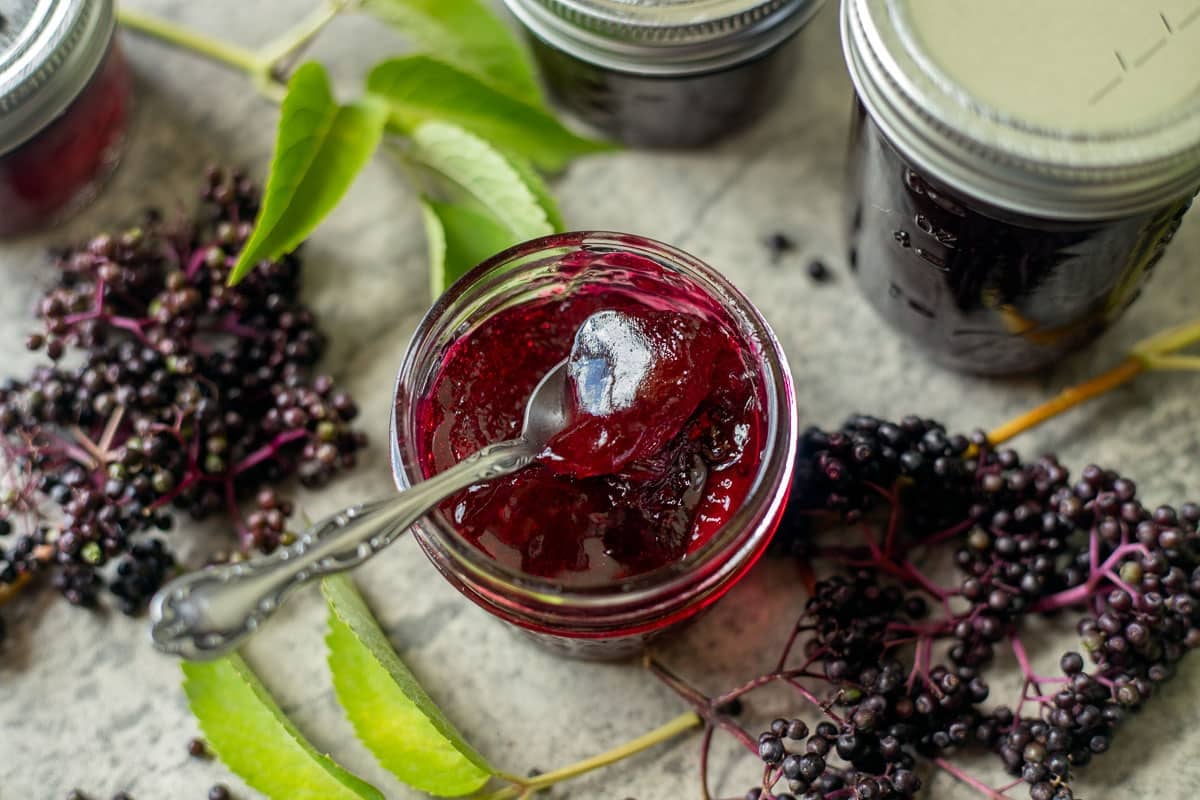
Every year, I look forward to elderberry foraging season so that I can make elderberry syrup to get us through the cold and flu season and elderberry wine because my daughter, Nena, and I love it! I've made elderberry jam before but I've never tried making elderberry jelly.
I had no intention of making elderberry jelly until one of my Facebook followers reminisced that her mom used to make elderberry jelly. She talked about how good it was and how much she missed it, so I decided to make a batch and surprise her with a jar!
This recipe yields enough jelly to fill 5 half-pint mason jars or ten 4-oz jars.
Jump to:
😍 Why You'll Love This Recipe
- This elderberry jelly recipe is simple and easy to follow. It's a great way to preserve elderberries to enjoy all year long!
- Elderberry jelly is tart, sweet, and very flavorful.
- This unique jelly makes a wonderful gift that everyone will appreciate and love!
- Besides being tasty, elderberry jelly has medicinal properties too!
🔖 Ingredients & Substitutions
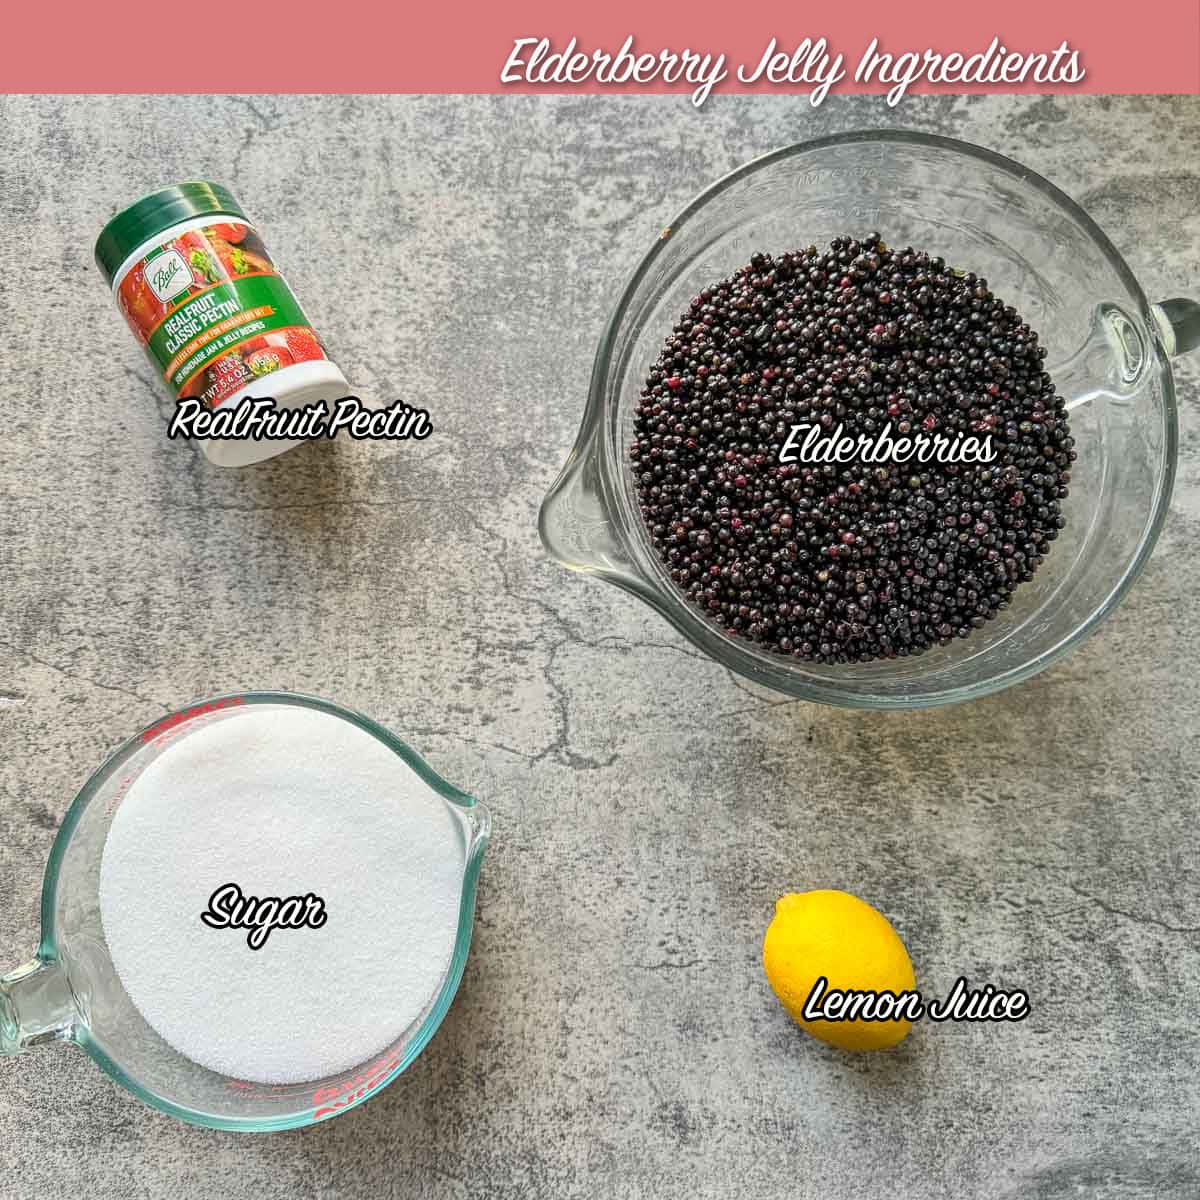
- Elderberries: You'll need 1-½ pounds of fruit (or 6 cups of cleaned and destemmed ripe elderberries) to make 3 cups of elderberry juice.
- Pectin: I like to use RealFruit Classic Pectin. You'll need 4 tablespoons to thicken this jelly. I haven't tested this recipe using other types of pectin.
- Lemon Juice: You'll need the juice of one medium lemon, which for me equaled 3 tablespoons. Bottled lemon juice can also be used.
- Sugar: Four cups of granulated white sugar.
- Spices: I did not add any spices, however, you can add a cinnamon stick and a few whole cloves to the elderberries while they simmer if you'd like.
- Optional: One teaspoon of butter can be added to the jelly to reduce the foam.
🔪 Helpful Tools
- wide-bottom pot or saucepan
- potato masher
- fine mesh strainer or jelly bag
- 5 8-ounce mason jars
- canner with canning tools
🫐 How to Make Elderberry Jelly
Pro Tip: If you plan on canning the elderberry jelly, prepare a water bath canner by filling it with water, then adding your canning jars (minus the collars and lids). Heat over medium heat while you prepare the jelly.
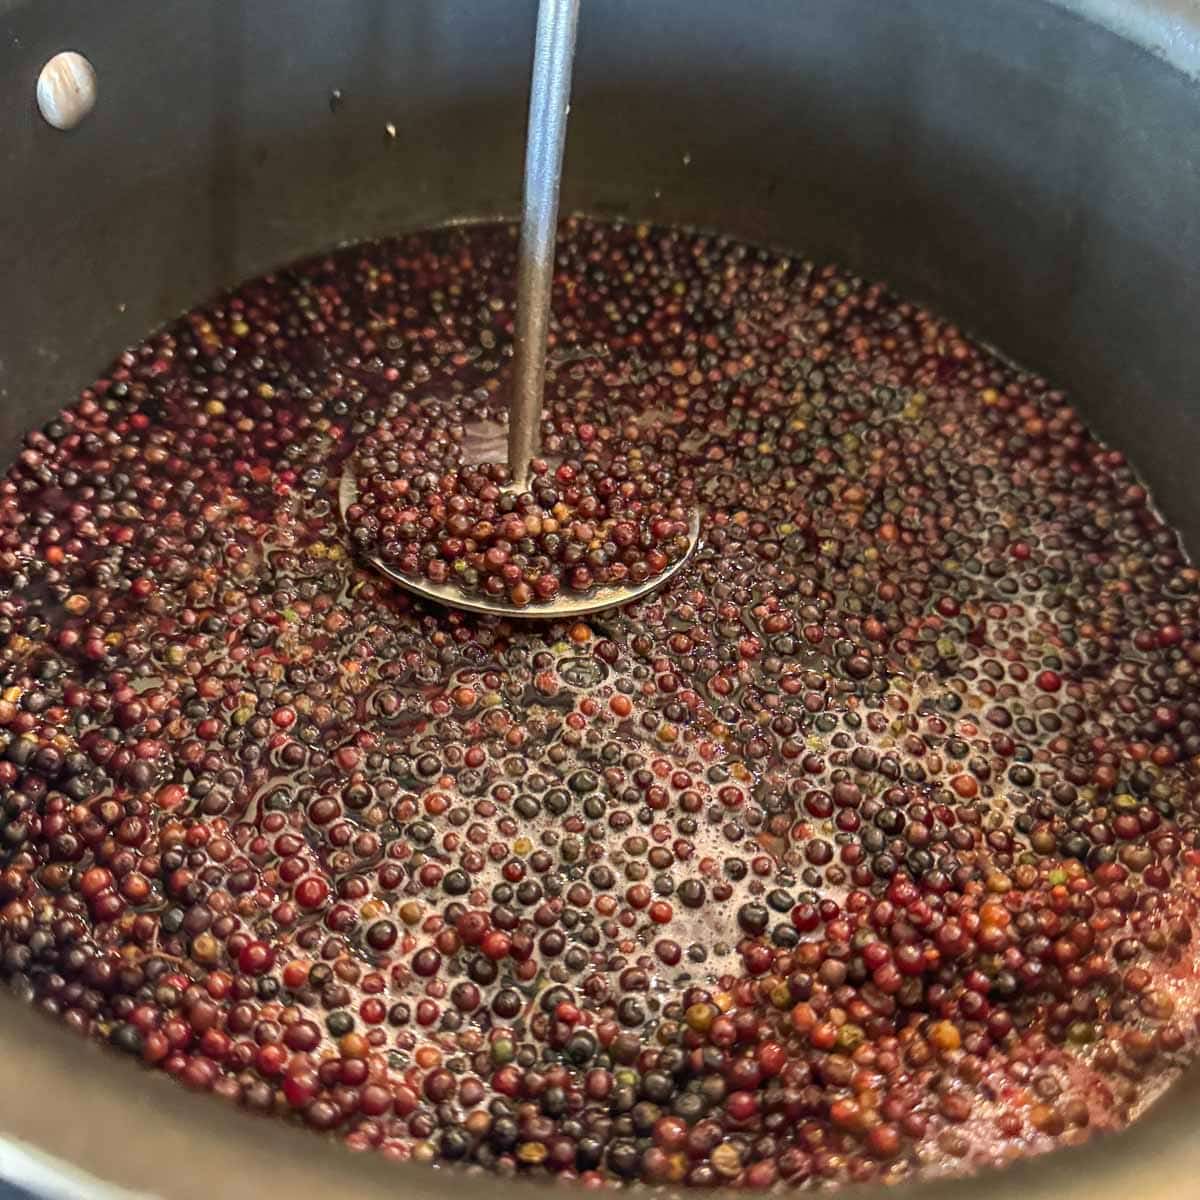
Step 1: Wash elderberry clusters, then pluck off stems. Discard green elderberries and stems. Measure out 6 cups of elderberries, then add to a wide-bottomed Dutch oven. Cover with 2 cups of water, and bring to a boil. Cover and simmer over low heat for 15 minutes. Mash berries a couple of times during this time.
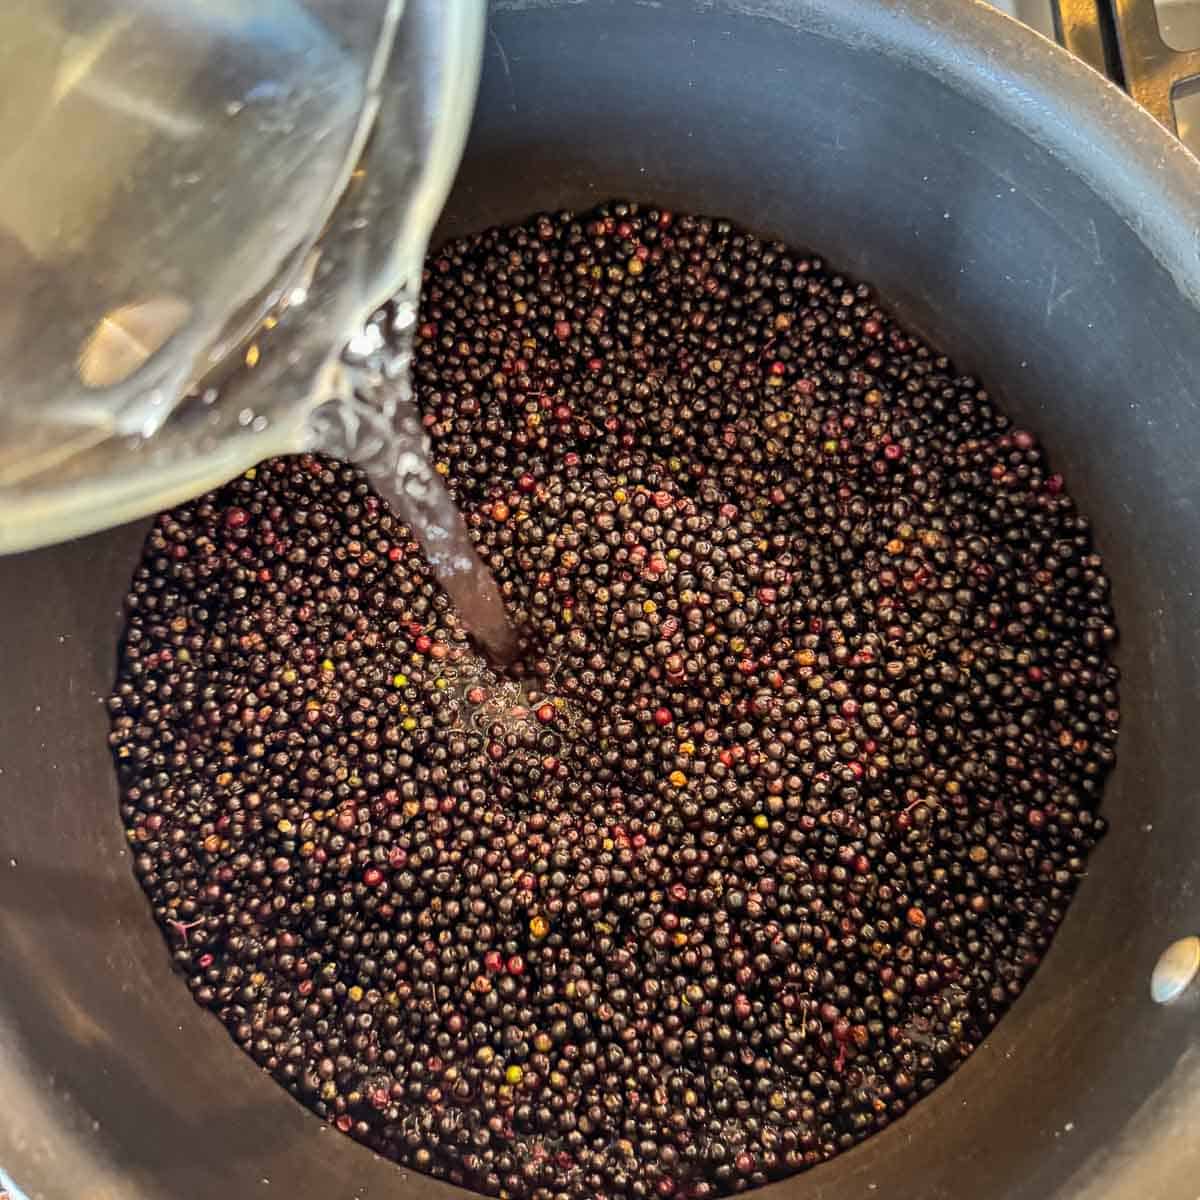
Pro Tip: Green elderberries and elderberry stems are toxic so make sure you remove them. However, if a few make their way into the pot, it's not a big deal.
Step 2: Place a strainer over a large bowl or measuring cup, then transfer berries and juice from pot to the strainer. Allow the elderberry juice to strain into the cup or bowl. Use a rubber spatula to stir and push on the berries to help expel their juice. If you have less than 3 cups of juice, pour a little water over the berries, then stir and strain to make 3 cups of elderberry juice.
Would you like to save this recipe?
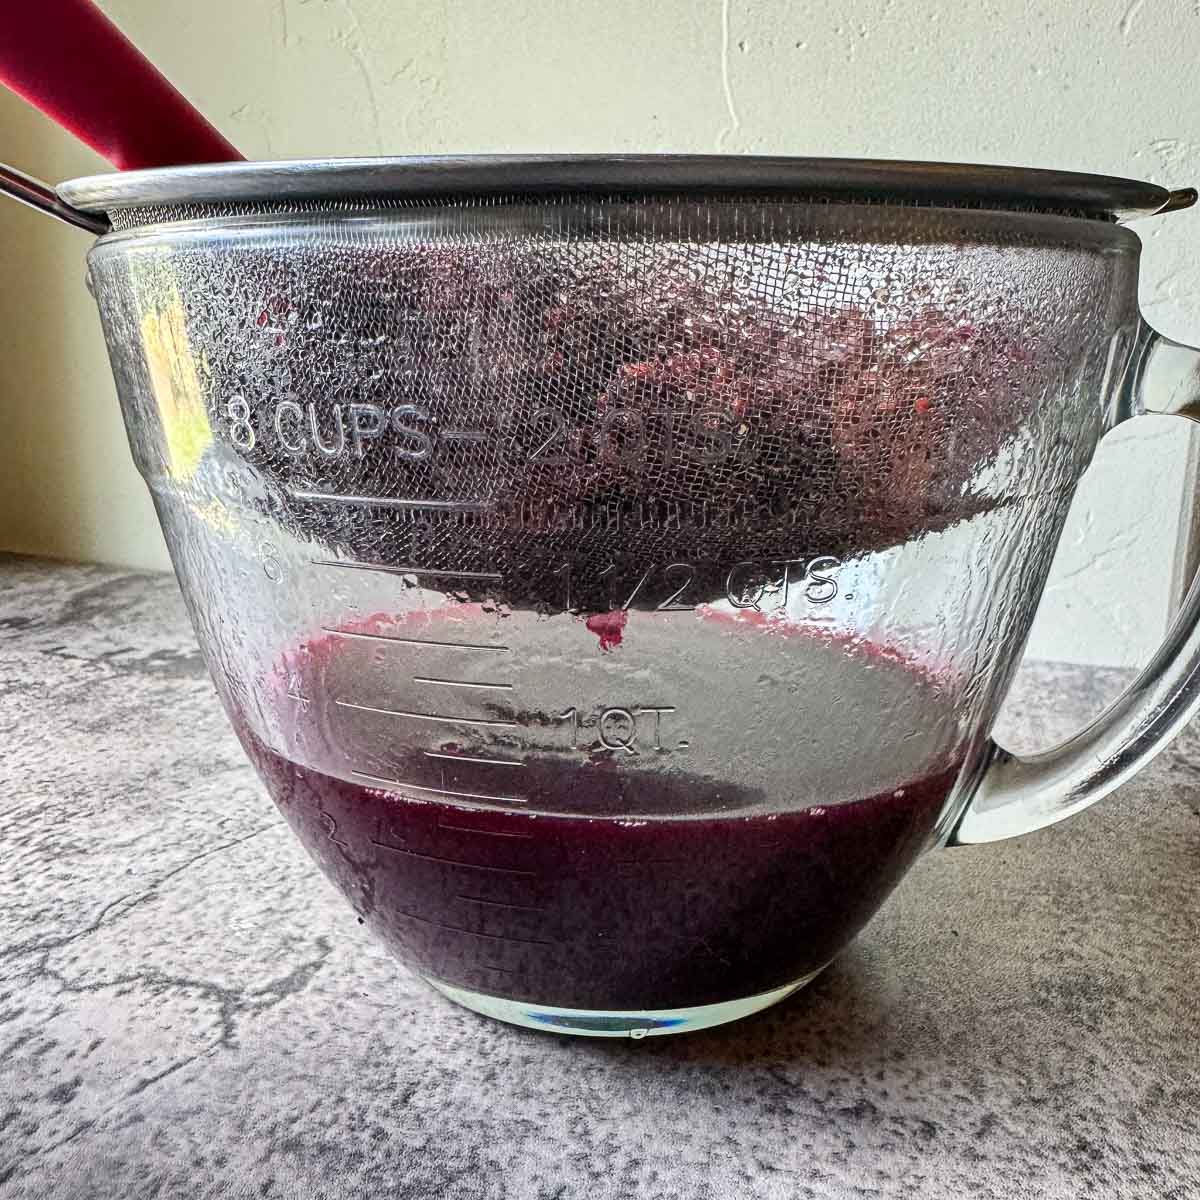
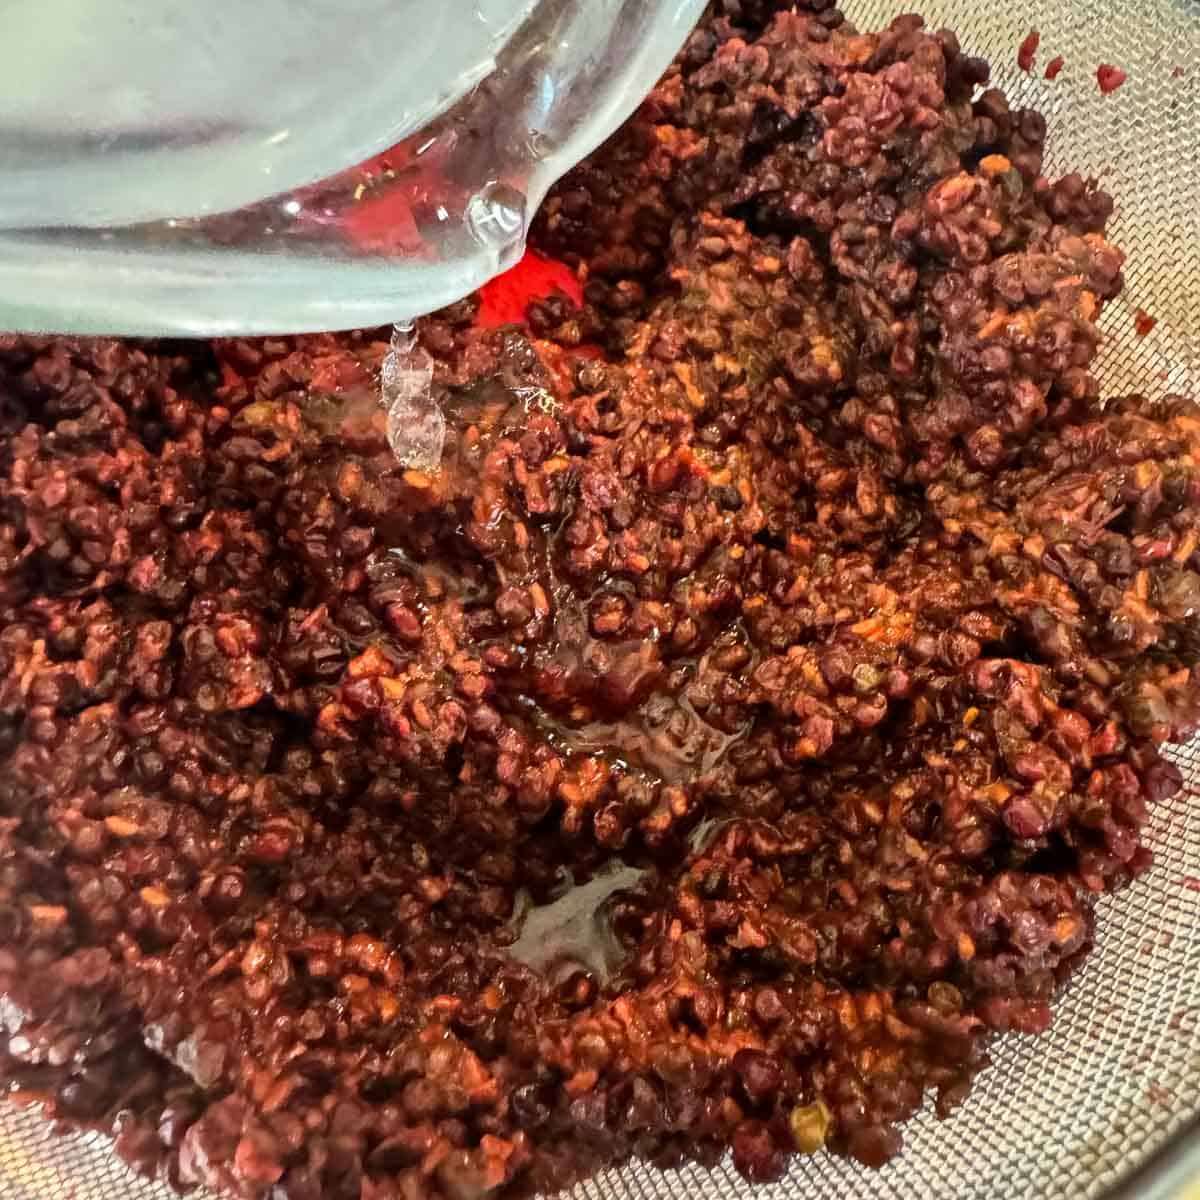
Step 3: Pour juice into a cleaned pot and heat over medium heat. Add lemon juice and pectin and whisk until the jelly comes to a hard boil, then continue to boil for 2 minutes as you whisk. Add sugar and bring the mixture to a rolling boil for 1 minute, as you whisk, then remove from heat.
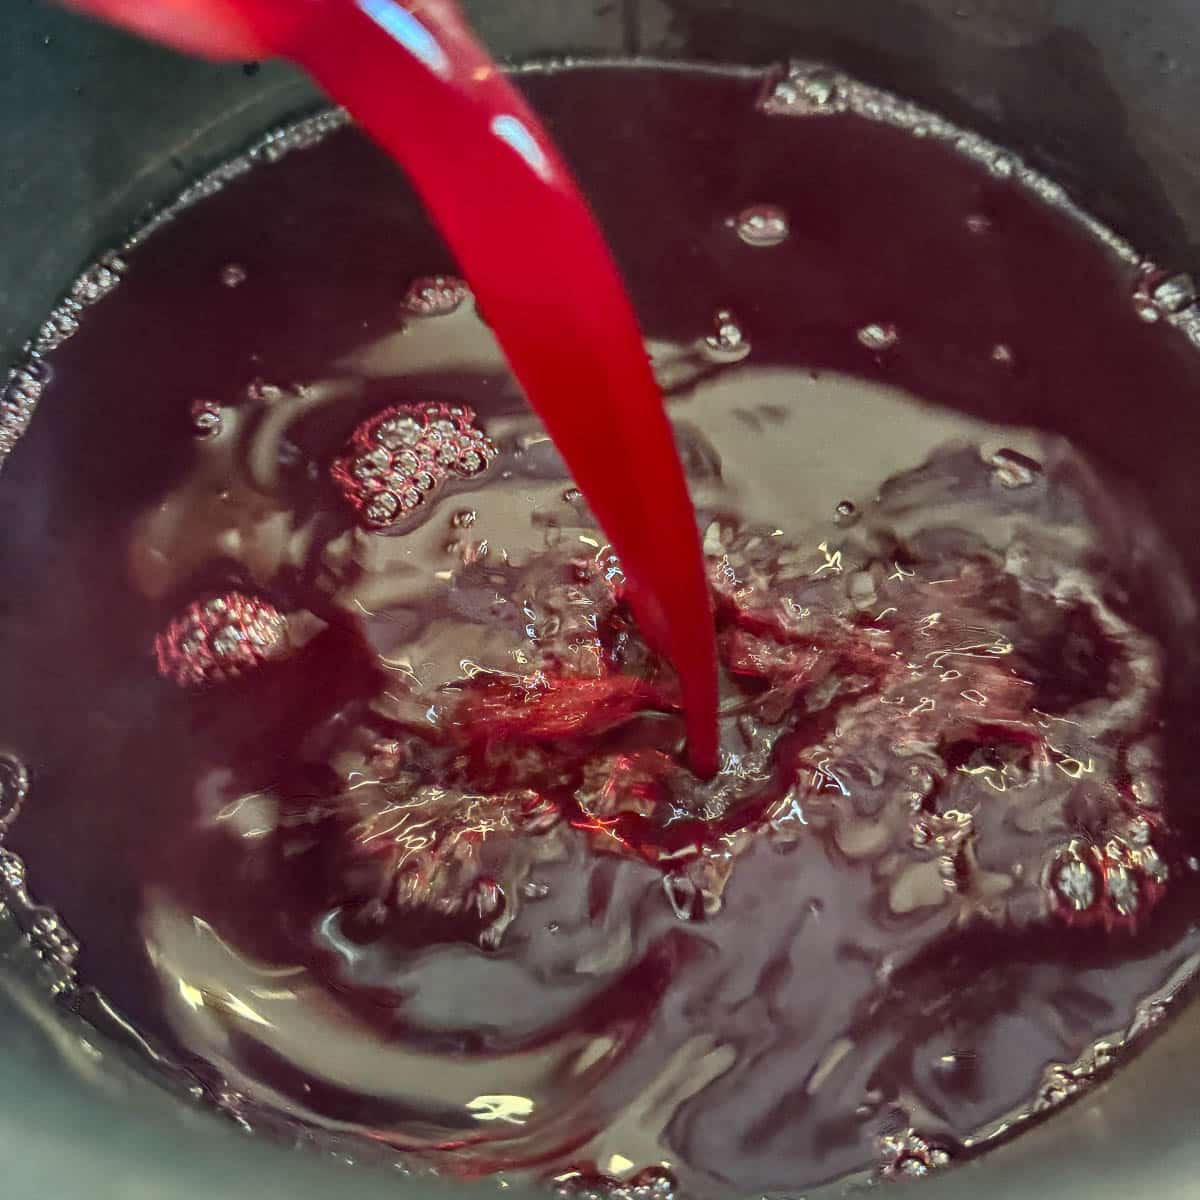
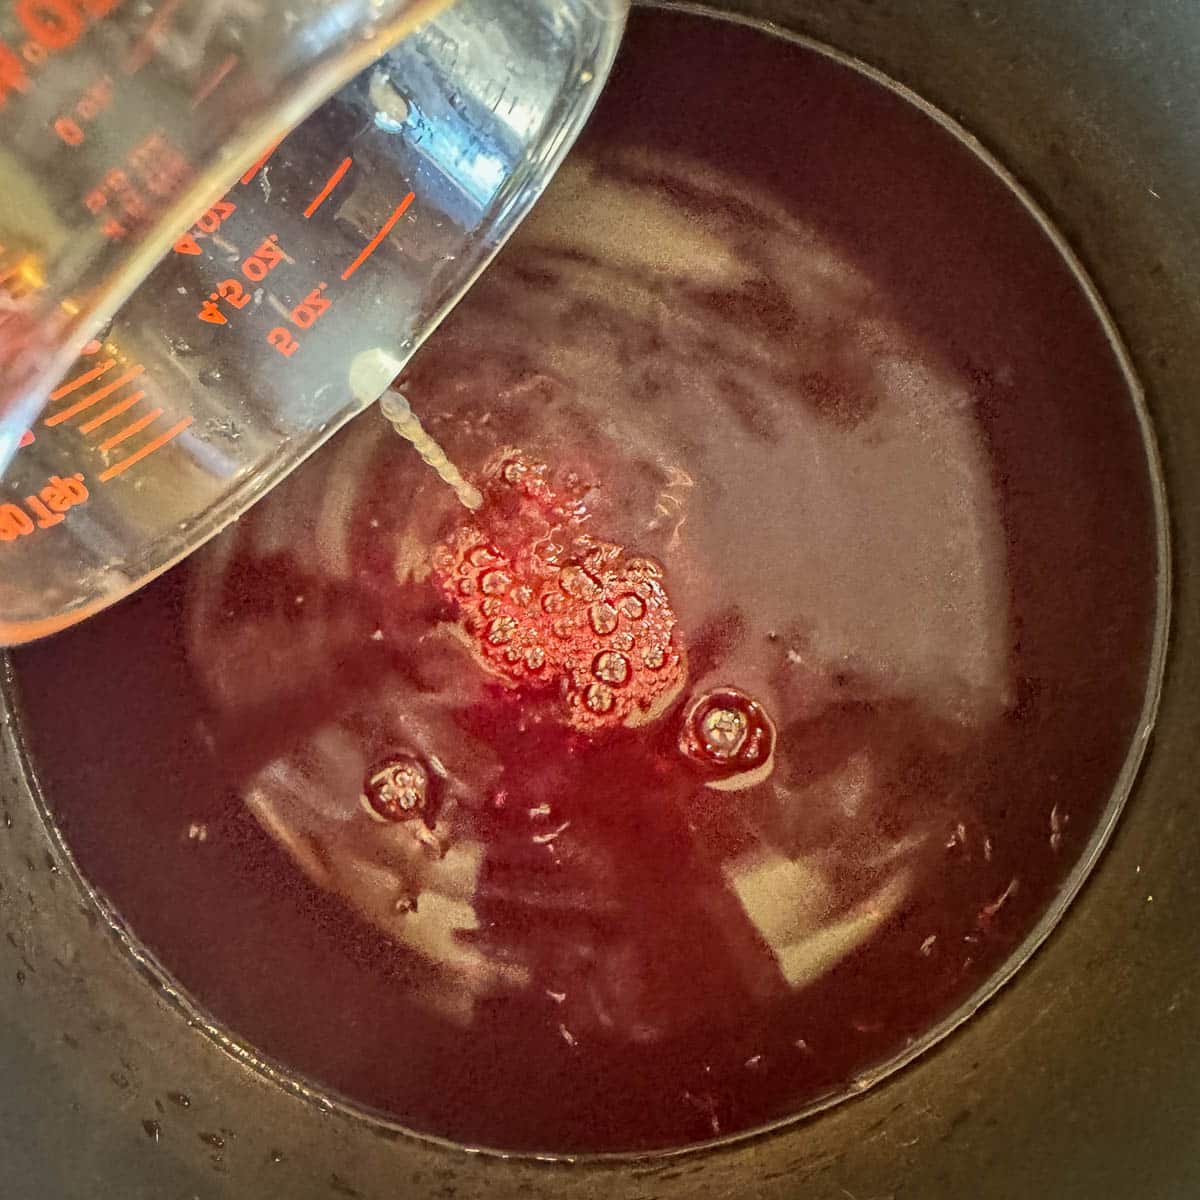
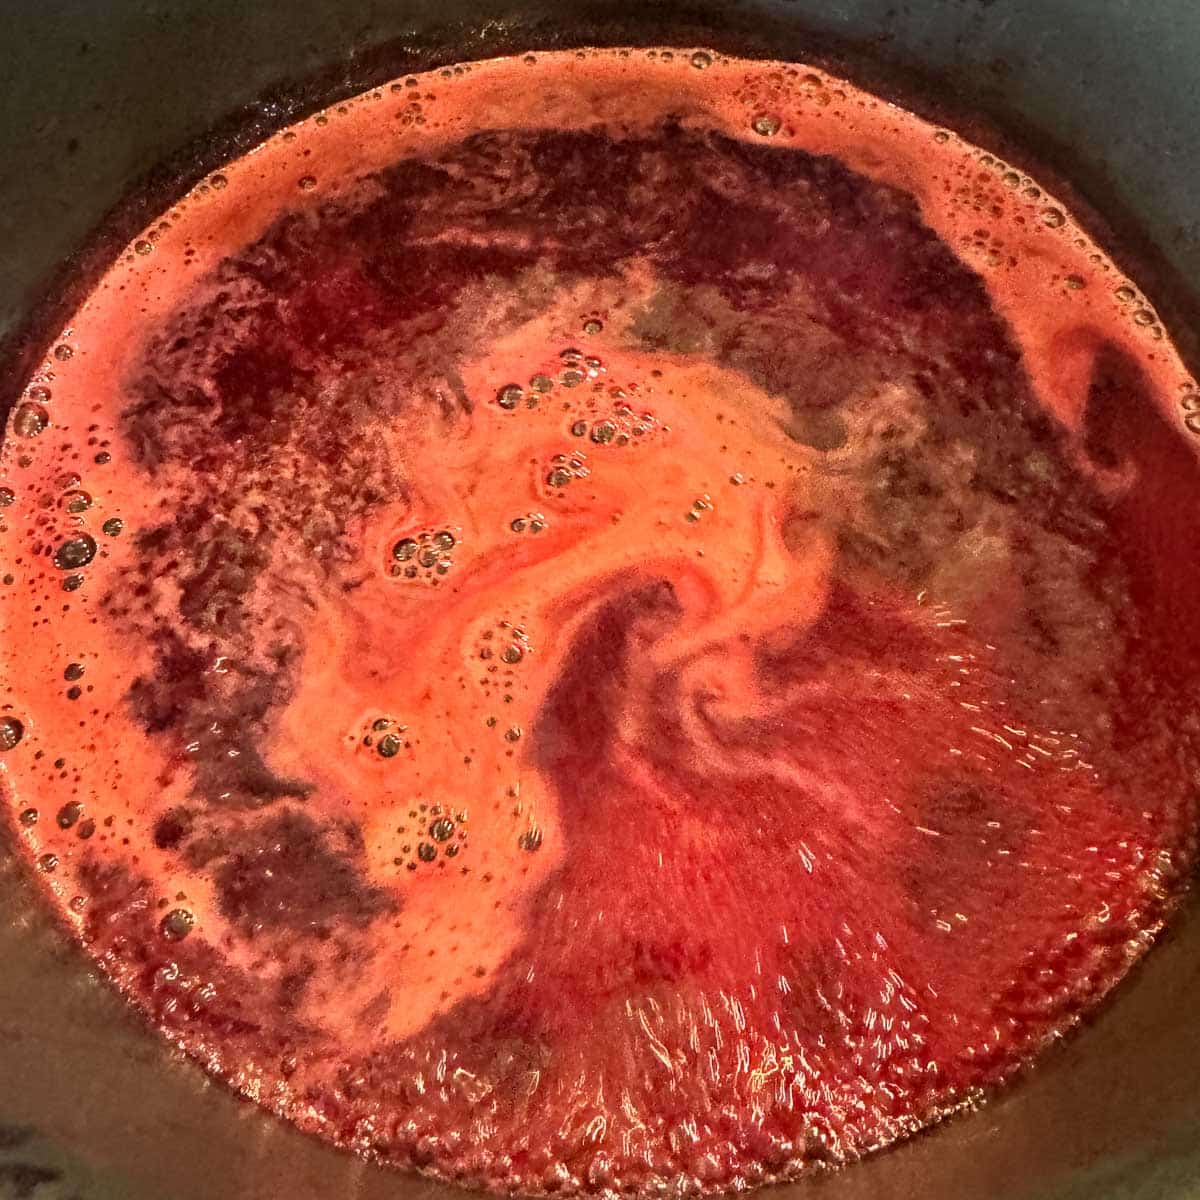
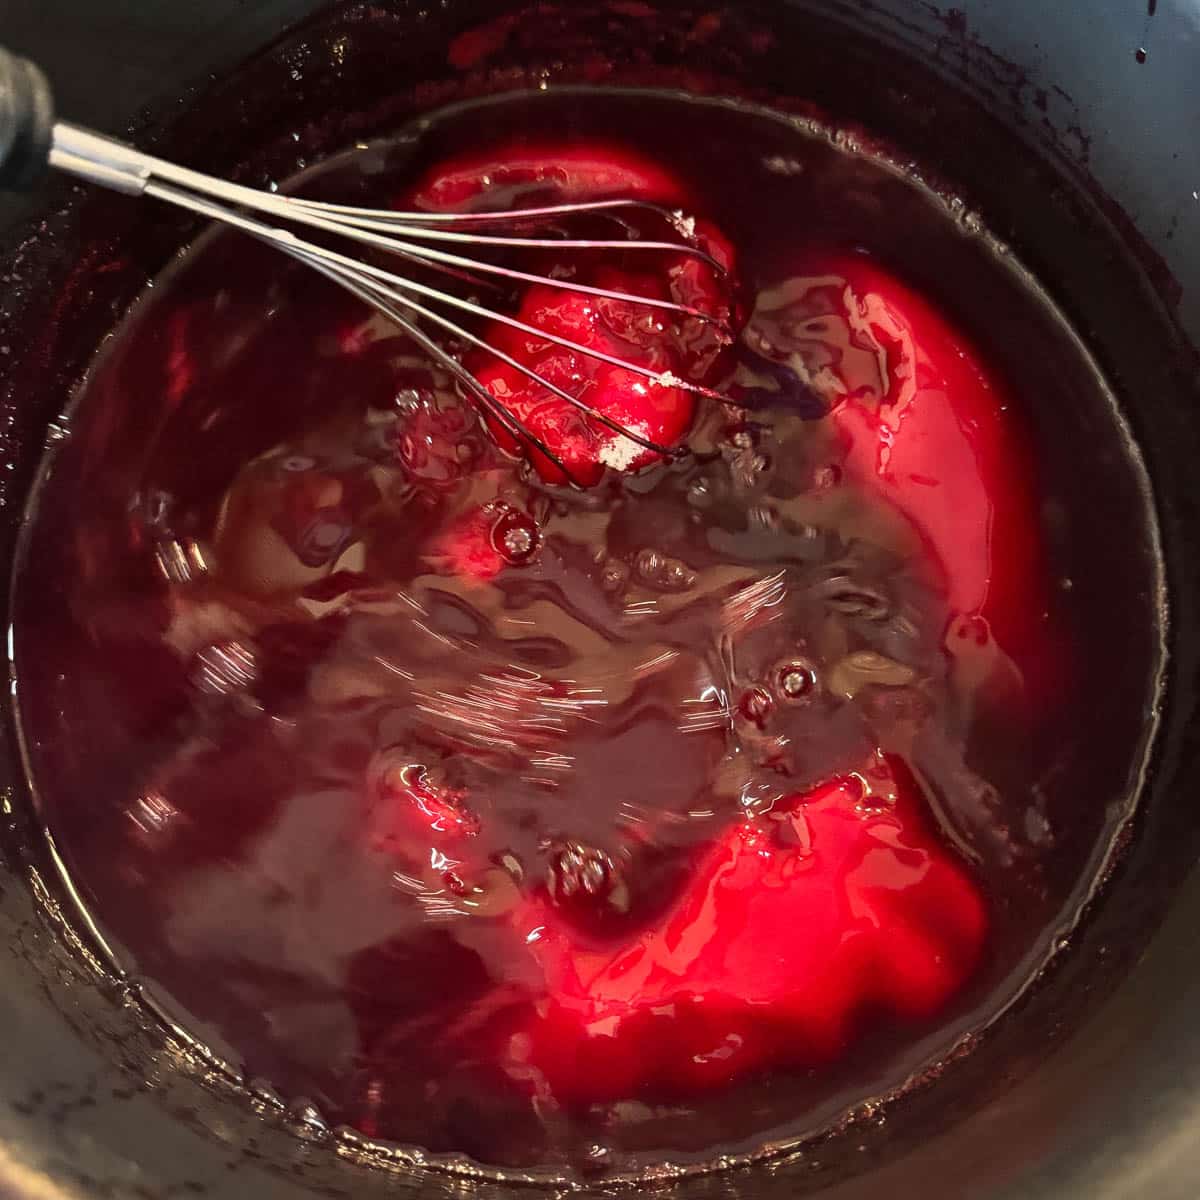
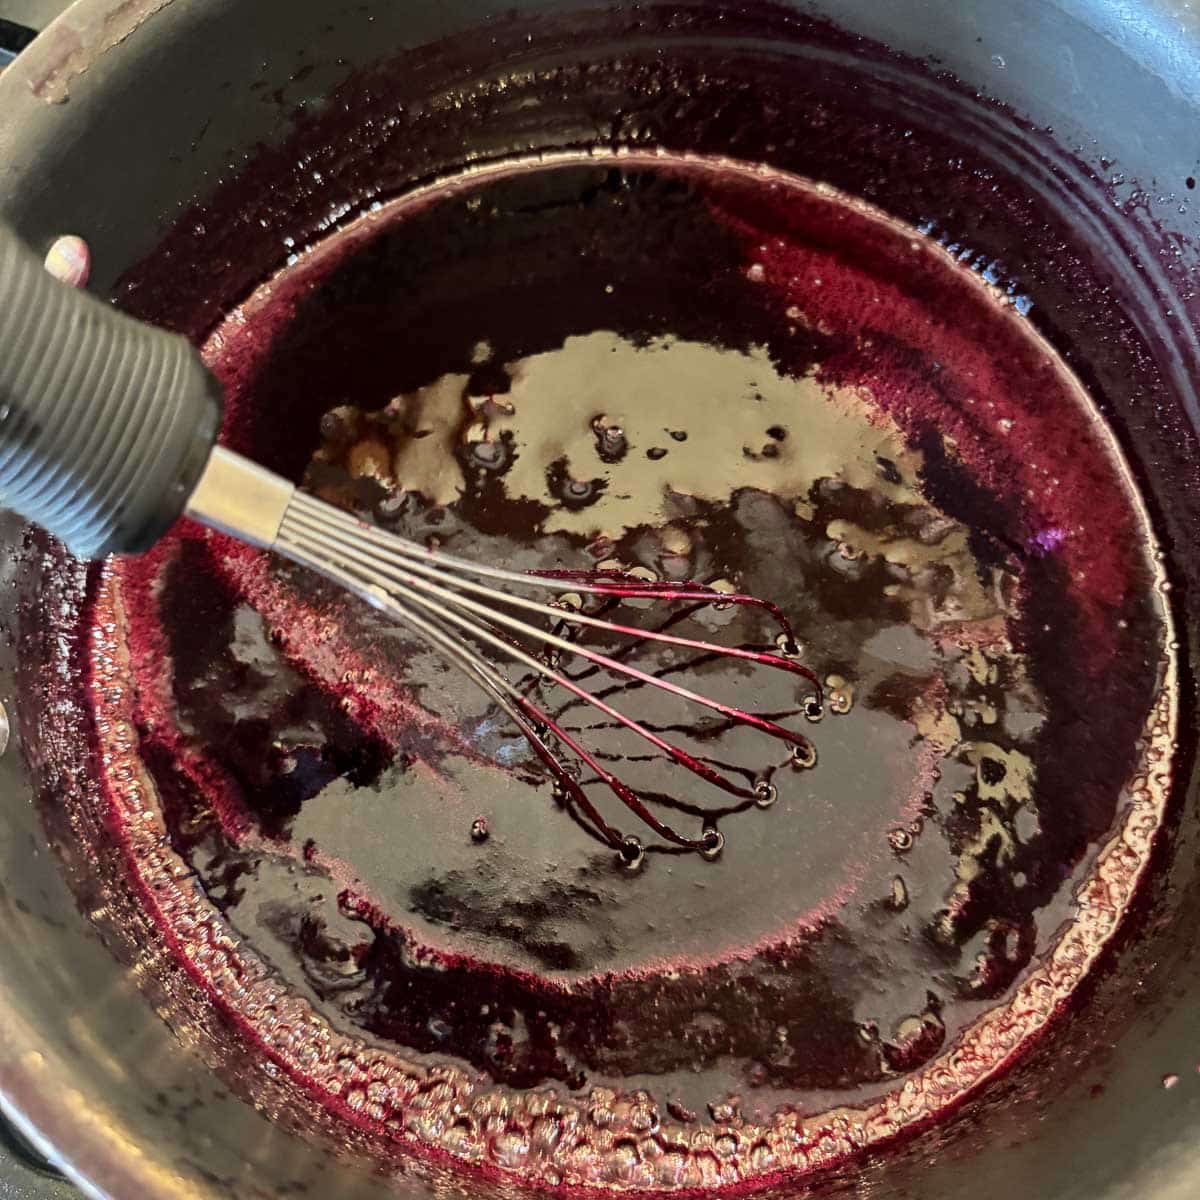
Step 4: Add lids and collars to the hot water before you begin to ladle elderberry jelly into sterilized mason jars. Leave ¼ - ½ inch headspace, wipe rims with a clean, damp paper towel, then add lids and collars before hand tightening.
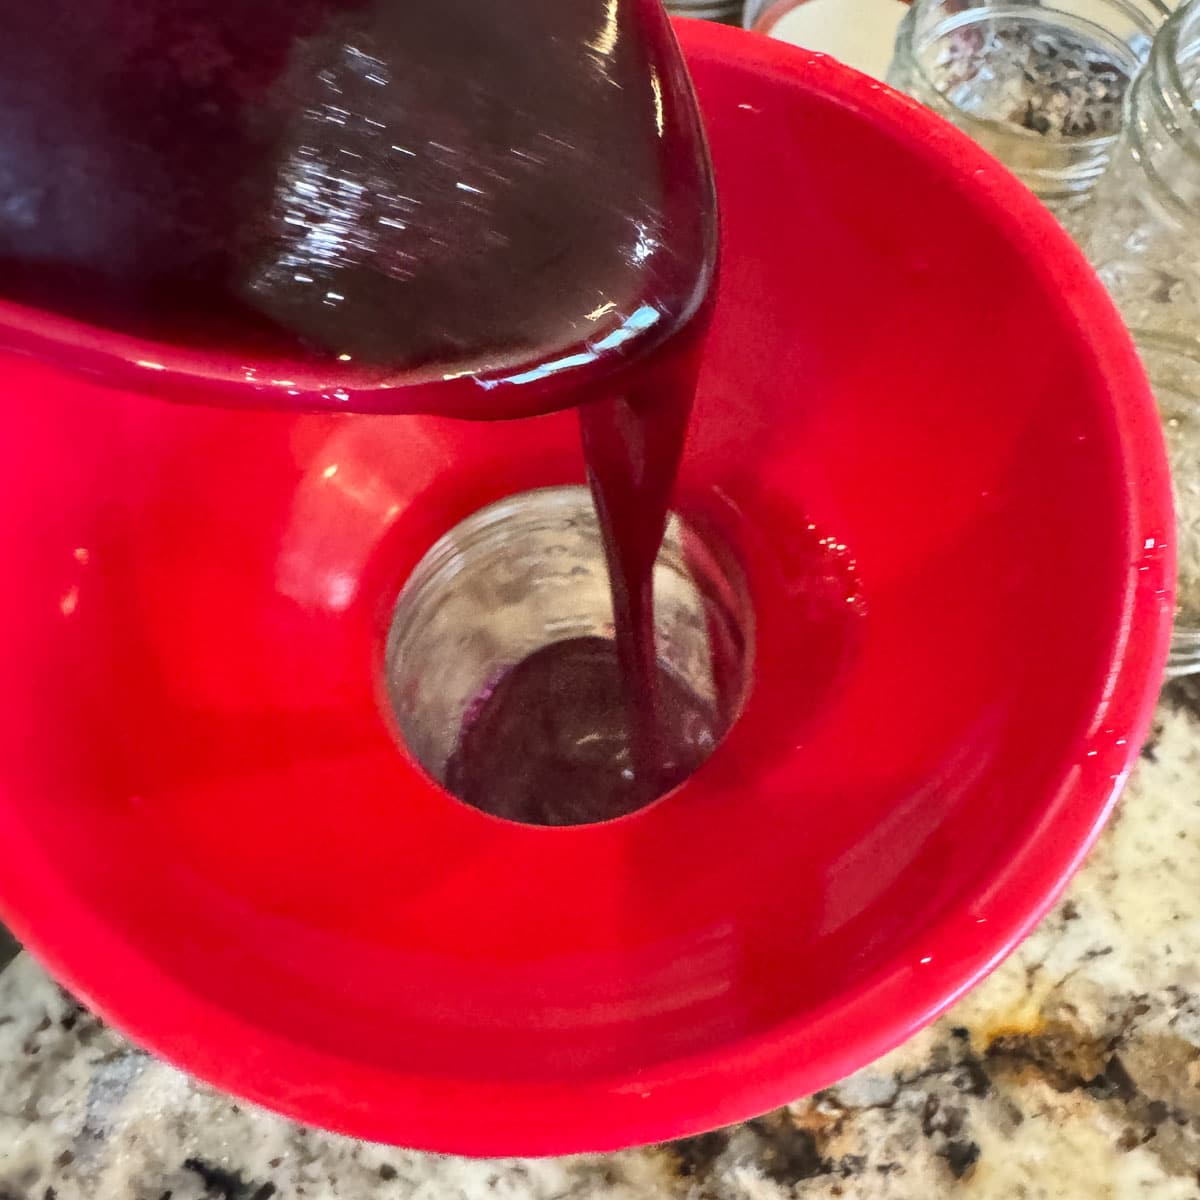
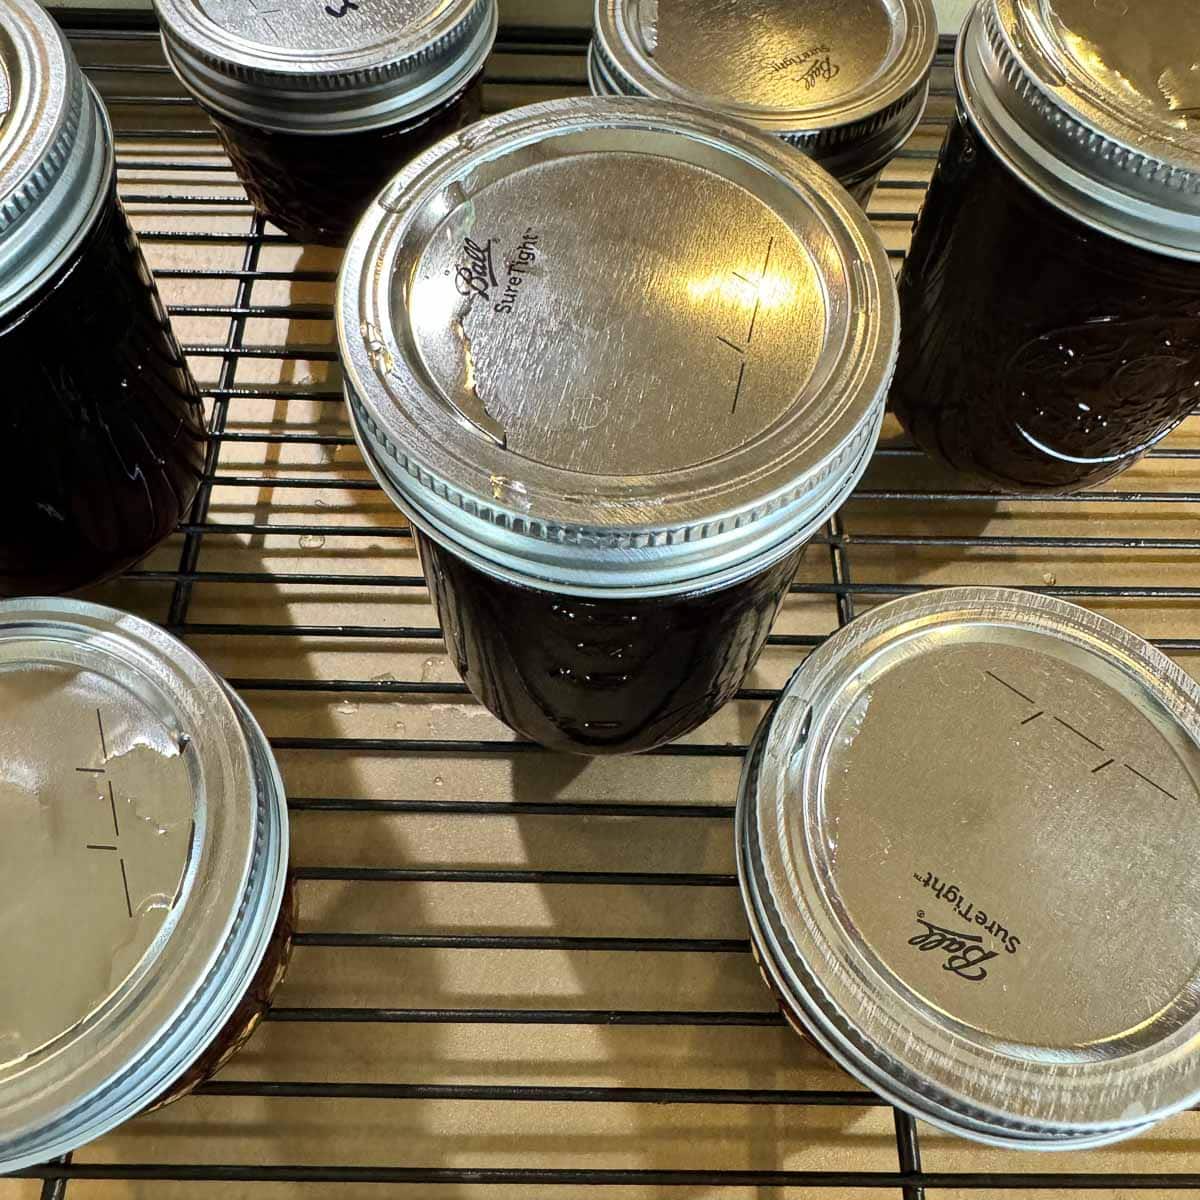
Pro Tip: If you don't plan on processing the elderberry jelly, label the lids with the type of jelly and date, then store in the refrigerator.
🫙Canning Instructions (optional)
Add elderberry jelly jars to your hot water canner and make sure the water level is at least a few inches above the jars. Process the filled jars in boiling water according to the chart below:
| Altitude | Gel Point |
|---|---|
| 1000'-3000' | 5 minutes |
| 3001'-6000' | 10 minutes |
| 6001'-8000' | 15 minutes |
Remove jars from canner and place on the counter. Do not disturb until the jars have sealed and the jelly is set, then label and store.
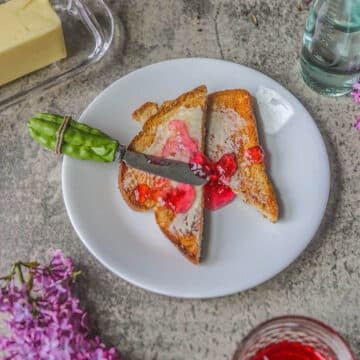
My favorite ways to enjoy the elderberry jelly is on toast with cream cheese or on a sesame seed cracker with goat cheese, so good! Try it, you'll thank me!
👩🏼🍳 Pro Tips
- Sealed jelly jars can be stored on a pantry shelf for a year or longer.
- If you use fresh lemon juice, strain it first before adding it to the jelly so you don't end up with lemon pulp in your jelly!
- Unsealed jars should be refrigerated and consumed first.
- If you're planning to gift your friends some elderberry jelly, I recommend canning the jelly in 4-ounce jars so you can have more to give!
🍒 Related Recipes
If you enjoy this elderberry jelly recipe, check out these other jelly recipes!
📖 Recipe
Simple Elderberry Jelly Recipe
Equipment
Ingredients
- 6 cups elderberries (destemmed)
- 3 tablespoon lemon juice
- 4 tablespoon RealFruit Classic Pectin
- 4 cups granulated sugar
Instructions
- If you plan on canning the elderberry jelly, prepare water bath canner by filling it with water, then adding your canning jars (minus the collars and lids). Heat over medium heat while you prepare the jelly.
- Wash elderberry clusters, then pluck off stems. Discard green elderberries and stems. Measure out 6 cups of elderberries, then add to a wide-bottomed Dutch oven. Cover with 2 cups of water, and bring to a boil. Cover and simmer over low heat for 15 minutes. Mash berries a couple of times during this time.
- Place a strainer over a large bowl or measuring cup, then transfer berries and juice from pot to the strainer. Allow the elderberry juice to strain into the cup or bowl. Use a rubber spatula to stir and push on the berries to help expel their juice. If you have less than 3 cups of juice, pour a little water over the berries, then stir and strain to make 3 cups of juice.
- Pour juice into cleaned pot and heat over medium heat. Add lemon juice and pectin and whisk until the jelly comes to a hard boil, then continue to boil for 2 minutes as you whisk. Add sugar and bring the mixture to a rolling boil for 1 minute, as you whisk, then remove from heat.
- Add lids and collars to the hot water before you begin to ladle elderberry jelly into sterilized mason jars. Leave ¼-½ inch headspace, wipe rims with a clean, damp paper towel, then add lids and collars before hand tightening.
Optional Canning Instructions
- Add elderberry jelly jars to your hot water canner and make sure the water level is at least a few inches above the jars. Process the filled jars in boiling water based on the times in the chart found in this post.
- Remove jars from canner and place on the counter. Do not disturb until the jars have sealed and the jelly is set, then label and store.
Notes
- Green elderberries and elderberry stems are toxic so make sure you remove them. However, if a few make their way into the pot, it's not a big deal.
- If you don't plan on processing the elderberry jelly, label the lids with the type of jelly and date, then store in the refrigerator.
- Sealed jelly jars can be stored on a pantry shelf for a year or longer.
- If you use fresh lemon juice, strain it first before adding it to the jelly so you don't end up with lemon pulp in your jelly!
- Unsealed jars should be refrigerated and consumed first.
- If you're planning to gift your friends some elderberry jelly, I recommend canning the jelly in 4-ounce jars so you can have more to give!

Jen says
This is my first time making elderberry jelly, and I'm not a good jelly maker because I can't help but use less sugar - this still turned out delicious (1 c. less sugar) and gelled up beautifully. Looking forward to trying out some of your other recipes!
Hilda Sterner says
Hi Jen,
Thanks for your review and good to know it still works with less sugar. I might try that next time!
Shala Carter says
Can we give this more stars?
I received this as a gift from Hilda and am so grateful!
When I was a kid, we foraged for Elderberries, plums, and Chokecherries. We made jam from the plums and jelly from the Elderberries and Chokecerries.
I have always missed them as I don't make these as an adult. The fruit just does not grow like it did when I was a kid. Plus, I am partially handicapped and can't forage anymore.
This jelly is so delicious! I encourage everyone who can to make it! And I am so glad that Hilda took my advice to try jelly instead of just making syrup.
This is perfectly sweet with just a bit of tart to keep it from being overwhelming. It is perfect on toast with peanut butter.
Thanks again Hilda and God bless you!
Hilda Sterner says
Hi Shala, I'm so glad the jelly met your expectations and hope that it reminded you of your moms elderberry jelly! Thank you for leaving this review, I appreciate it!
Kathy Fisher says
I don't know anyone who loves jams and jellies more than I do. This is a great recipe for elderberry jelly. Simply delicious. In our family the main reason we have toast is to pile jelly high on each bite. YUM.
Hilda Sterner says
Thank you, Kathy! I like the way your family thinks!
Kelly Methey says
Your jelly recipes are the best! This one is no exception, your elderberry jelly is delicious! Keep these fantastic recipes coming!
Hilda Sterner says
Thanks, Kelly! It's one of my favorites too!