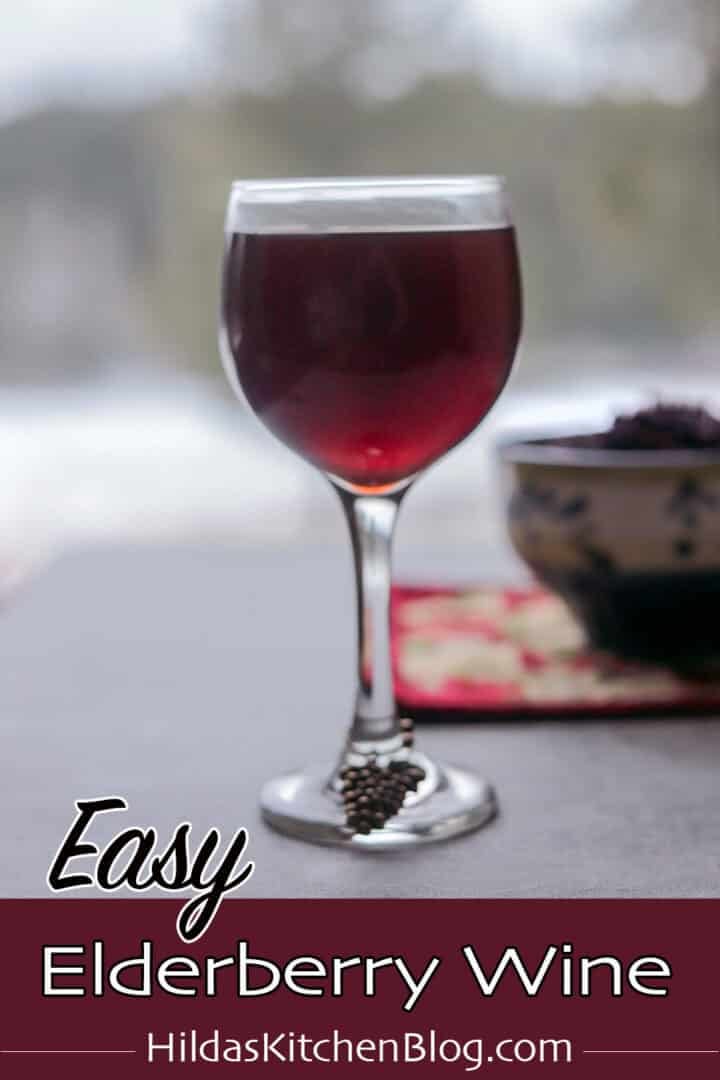
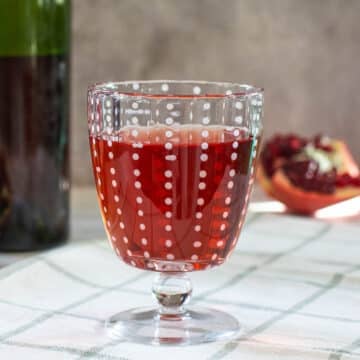
Elderberry wine is a fantastic, hearty wine. It's a bright, slightly tart, and fruity wine with earthy undertones. I like to sweeten it ever so slightly with elderberry syrup which adds notes of cinnamon, cardamom, ginger, and cloves to the finished wine.
Would you like to save this recipe?
This elderberry wine recipe is a favorite amongst family and friends, especially my daughter, Nena. It's the first wine I ever made and the one I look forward to making every year when I forage elderberries.
I still remember the first time Nena and I tried the first bottle of my homemade elderberry wine. It was during a visit to San Diego while watching Arsenic and Old Lace. In this comedy classic, two elderly ladies poison their unsuspecting gentlemen callers with arsenic-laced elderberry wine.
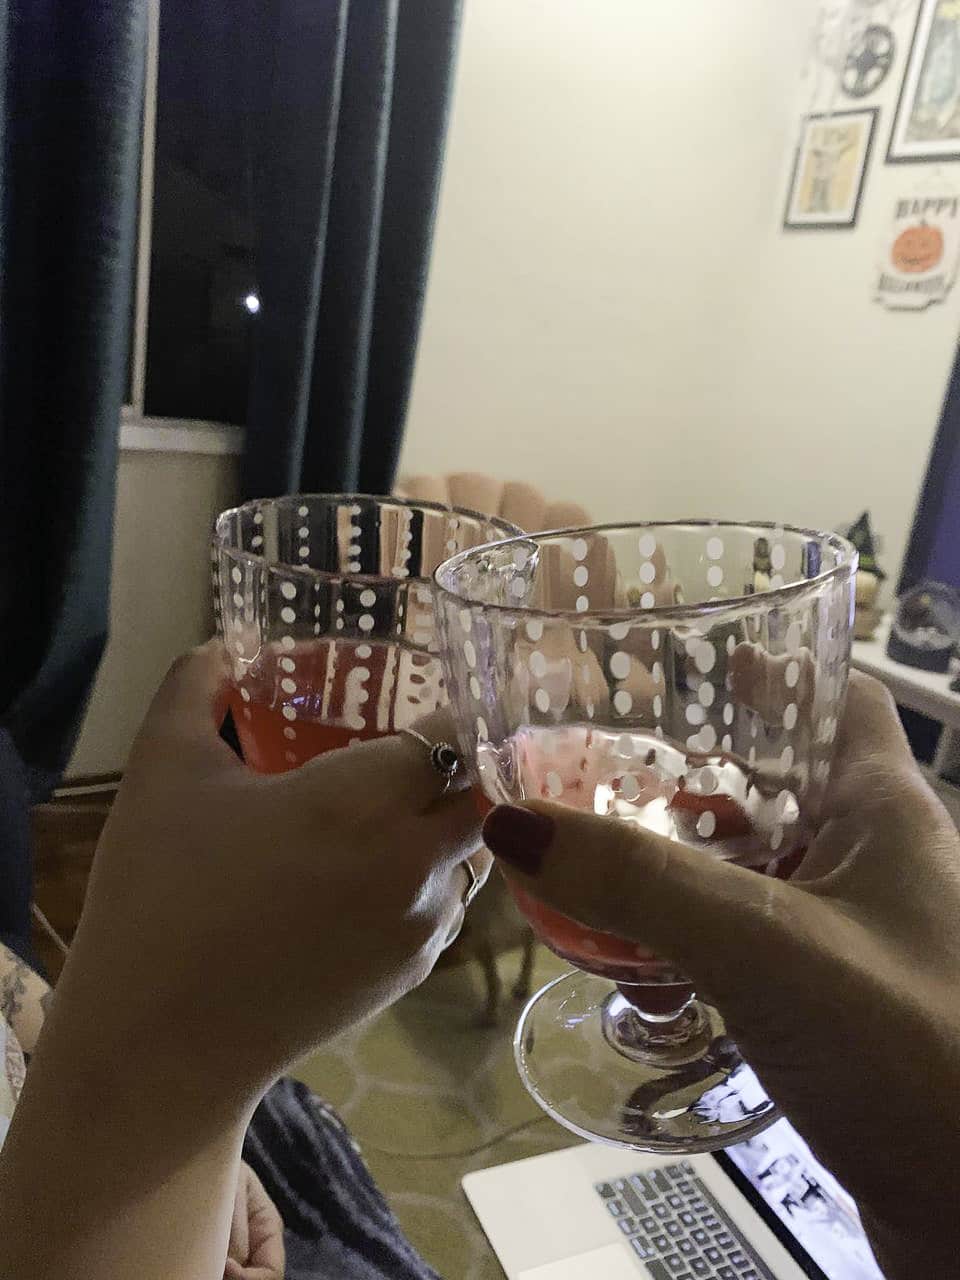
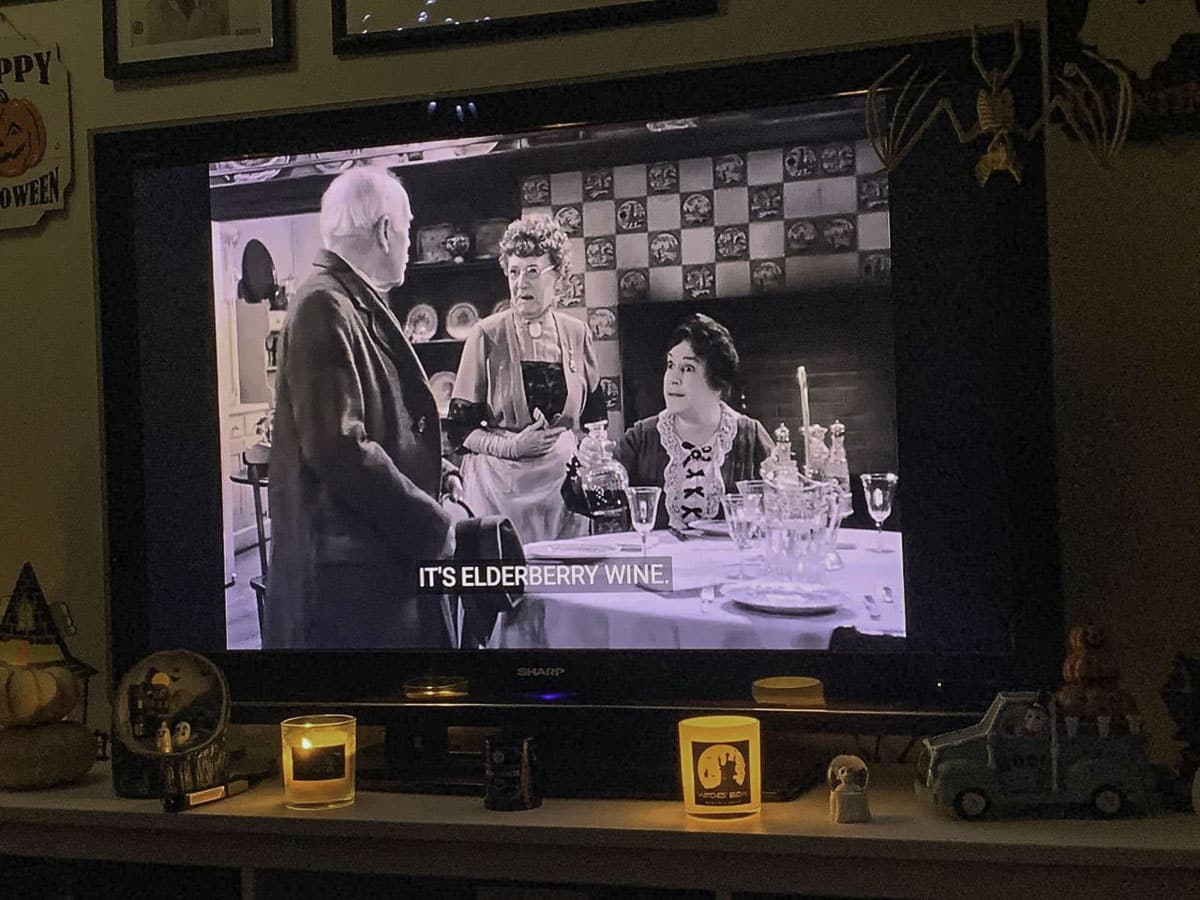
So prepare some elderberry wine and a simple charcuterie board then invite your friends over for an Arsenic and Old Lace viewing. Believe me, it will be a night to remember!
Jump to:
😍 Why You'll Love This Recipe
- Elderberry wine not only tastes fantastic, but it's relatively easy to prepare. The hardest part is waiting for it to age!
- It's loaded with immune-boosting properties so it's actually good for you!
- One gallon of elderberry wine is enough to make 5 bottles of elderberry wine.
- Once you purchase wine-making equipment, you can have fun making different kinds of wine, including huckleberry wine, pomegranate wine, and chokecherry wine.
- Elderberry wine gets better the longer it's allowed to age.
🔖 Ingredients And Substitutions
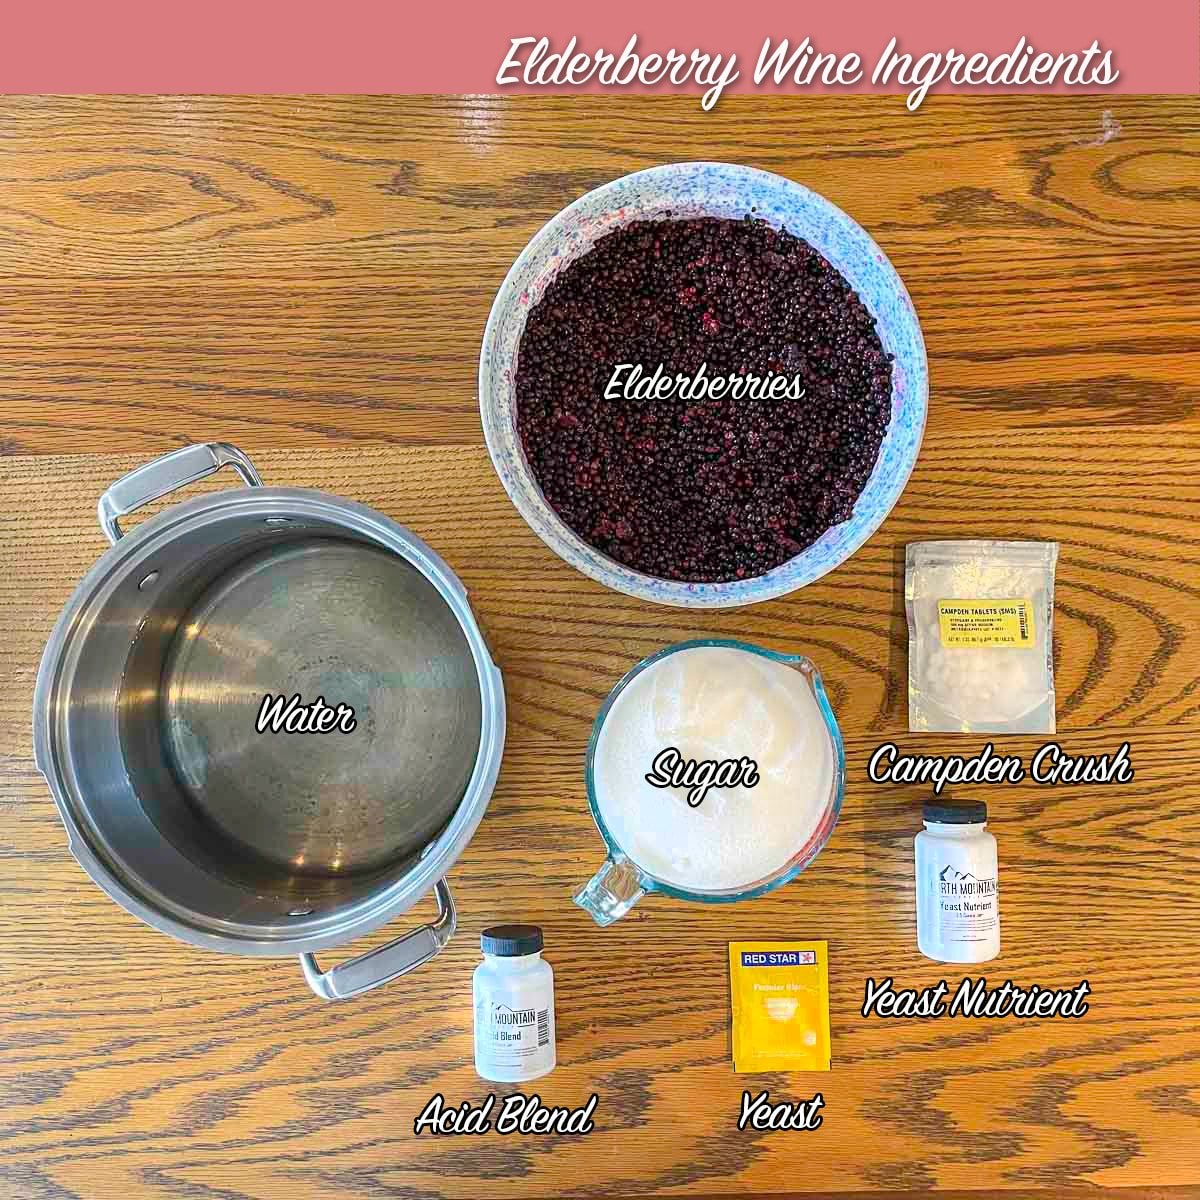
- Elderberries: You can use fresh, frozen, or dehydrated elderberries to make elderberry wine. Frozen elderberries are the best of the three.
- Sugar: You'll need 2 ½ lbs of granulated sugar. Don't confuse that with 2 ½ cups of sugar, yes, I've made that mistake before. 🤦🏽♀️
- Yeast: I prefer to use premier blanc, which is considered a champagne yeast but is also perfect for fruit wines. It has a high alcohol tolerance, which means it produces a higher percentage of alcohol at the end.
- Yeast Nutrient: Yeast nutrient nourishes the yeast so that it stays healthy throughout the fermentation process.
- Acid Blend: Acid blend adds the needed acidity to the wine. You can substitute 1 tablespoon lemon juice instead.
- Campden Crush Tablets: Campden crush tablets kill off any potentially harmful bacteria and keep wild yeast at bay.
- Syrup: If you like your wine dry, you should be good to go. However, if you prefer your wine a little sweeter, then you'll need to mix in a small amount of syrup (¼ cup to ½ cup) to sweeten it. I prefer to add elderberry syrup, which further enhances the wine's elderberry flavor.
- Stabilizer: Stabilizer is needed only if the wine is back-sweetened. It keeps the wine from refermenting when sugar is added.
🫙 Tools Required To Make Wine
- Sanitizer: All of your equipment needs to be sanitized every time you make wine. You have various options, including a concentrated liquid sanitizer (Star San) or a powder that can be diluted in water (1-Step).
- 2 Gallon Plastic Fermenting Bucket: Known as the "primary fermentor " this bucket is used for the first 5-7 days to get your fermentation/must going. Although it comes with a lid, I recommend covering it with a breathable fabric and securing it with a rubber band. The fabric keeps out the bacteria while allowing some oxygen in to help the yeast get started.
- Strainer/Mesh Bag: You can add your fruit to a mesh straining bag while it's fermenting or just dump everything inside the primary fermentor bucket. If you decide to use the bag, you'll squeeze the bag to extract the fruit juice and toss the solids that remain in the bag. If you decide to add the fruit directly inside the primary fermentor, you will need to strain the contents of the bucket before transferring it to a carboy.
- 1 Gallon Jug: You will need at least 1 one-gallon carboy, also called a demijohn, which is used for fermenting and clearing the wine. Having at least 2 is ideal, especially when racking from one carboy to another.
- Mini Auto-Siphon & Tubing: The siphon and tubing are used when transferring the wine from one carboy to the next and also for bottling the wine. A bottling wand also comes in very handy but is not required. It keeps the wine from flowing out of the tube until the bottom of the wand touches a solid surface (like the bottom of a wine bottle) before it starts to flow.
- Air Lock and Bung: The airlock and bung are used to cap the carboy when it is fermenting and when it is clearing. The airlock keeps oxygen and bacteria from contaminating the wine while allowing the CO2 to escape.
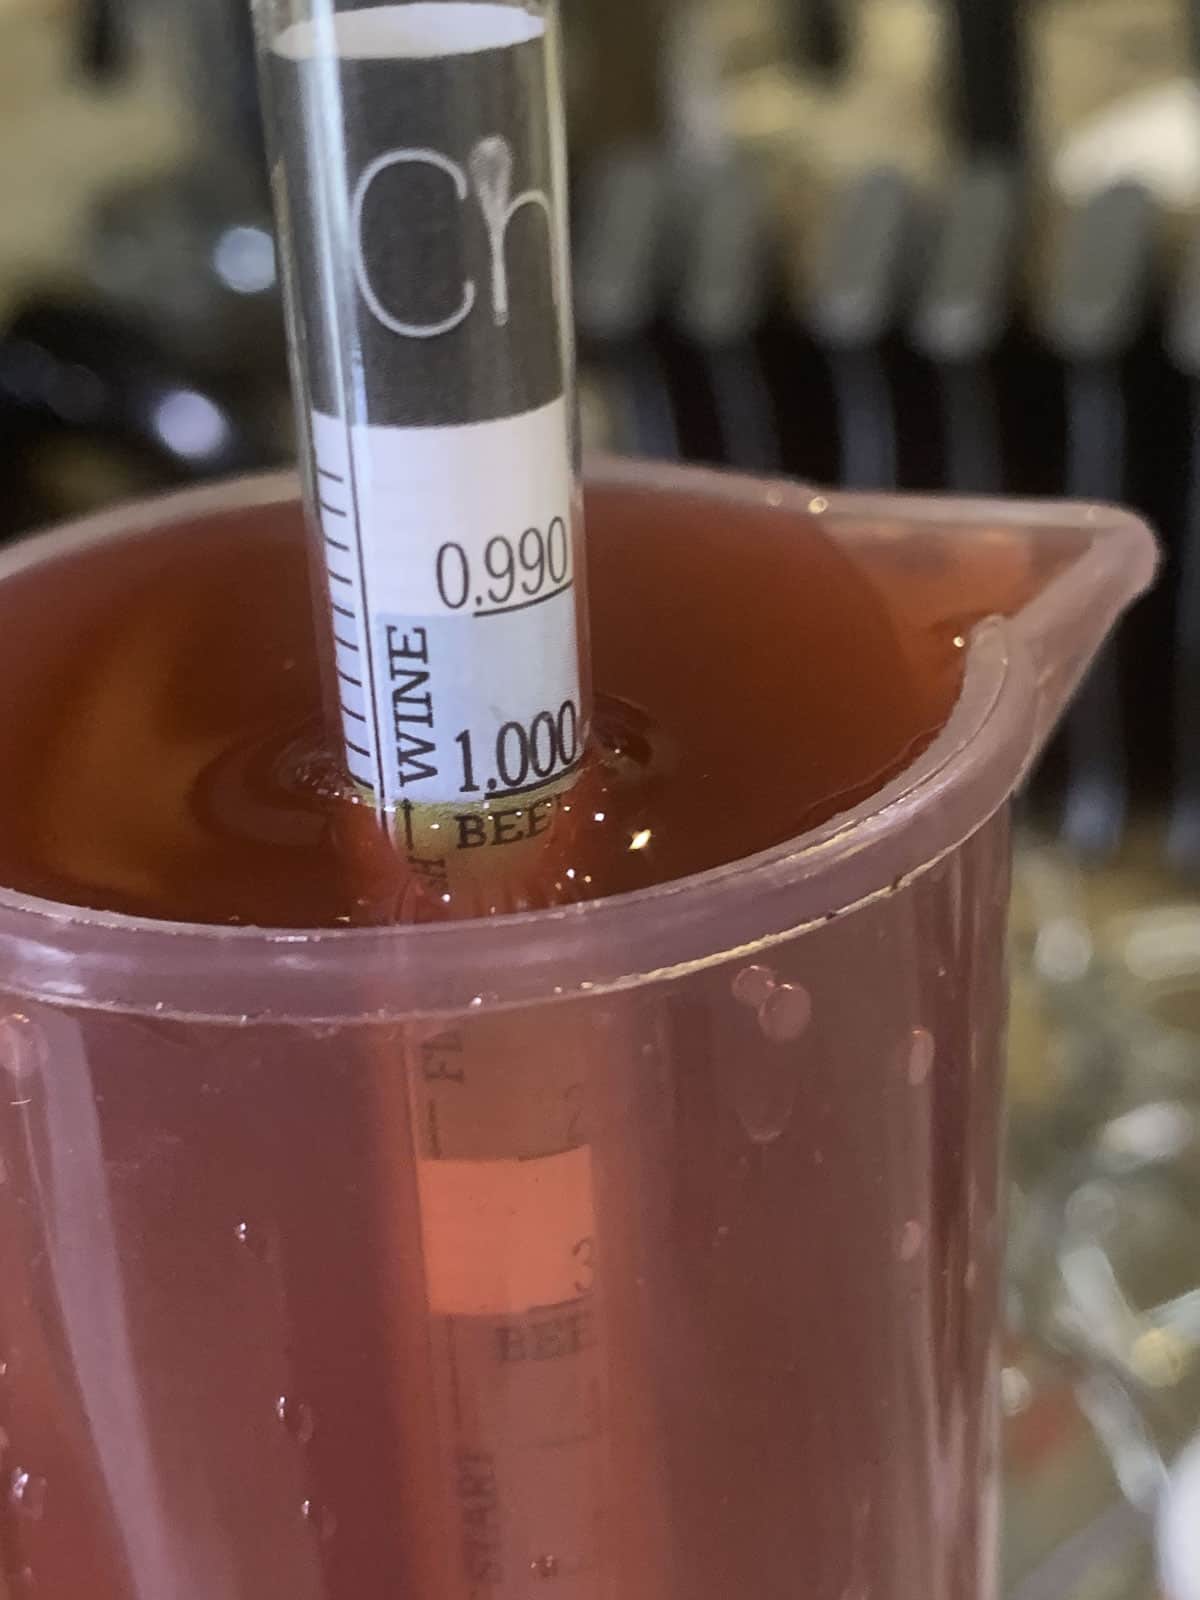
- Hydrometer & Test Tube: A hydrometer is used to calculate the amount of alcohol your finished wine contains. This is done by pouring a sample of the wine into a test tube and taking readings of the specific gravity or SG at the beginning, during, and at the end of the fermentation process. The numbers are entered into an ABV calculator, which tells you the alcohol amount of your finished wine.
- Funnel: You'll need a funnel for straining the fruit, especially if you don't use a mesh bag. I like this funnel.
- Jug: A small creamer like this one comes in handy when taking SG readings.
- Bottles/Corks/Corker: Most people begin by bottling their wine in flip-top bottles. However, as they continue to make wine, they usually end up purchasing wine bottles, corks, and a corker.
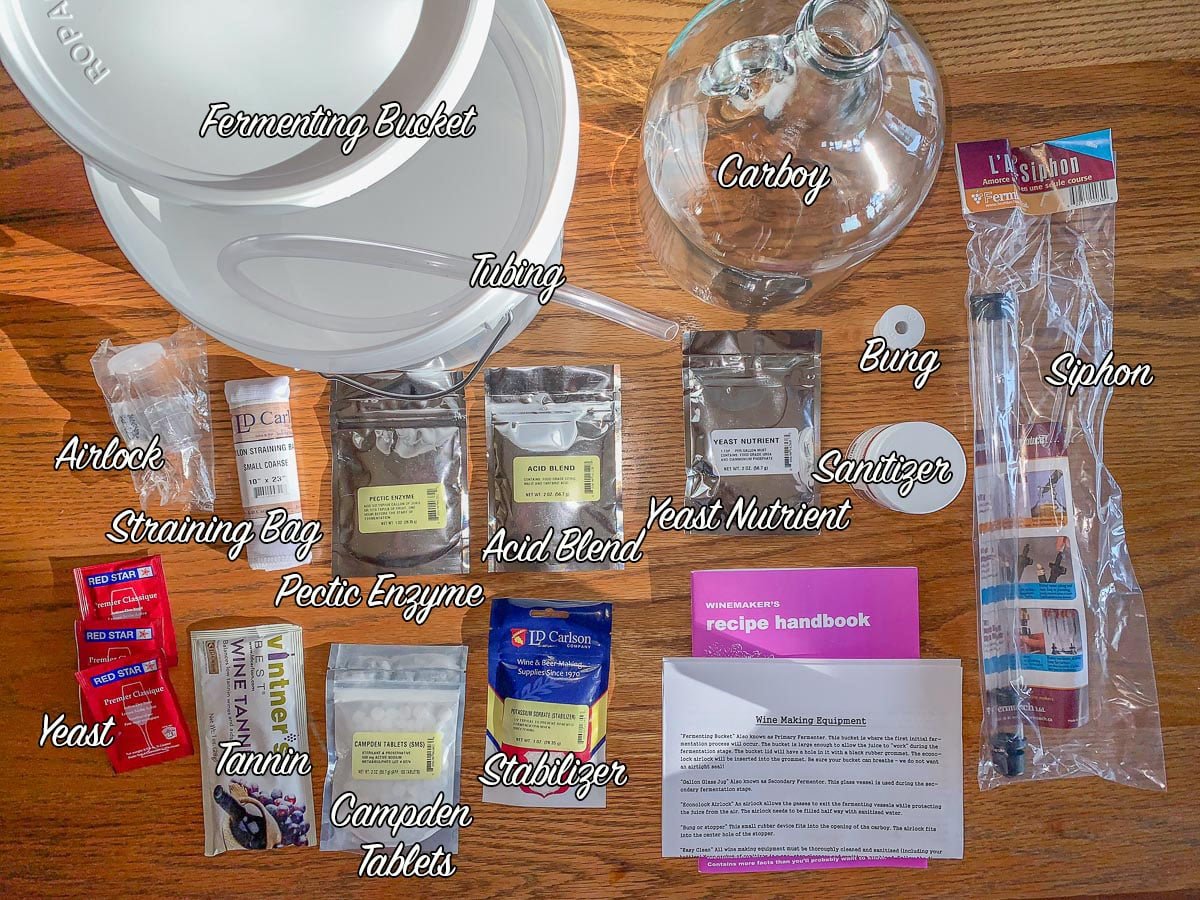
Luckily, you can buy almost everything you need, including a recipe book full of various recipes, for right around $50! Although there are more expensive kits, this one-gallon kit is the one I recommend.
🍷 How To Make This Elderberry Wine Recipe
Note: Start by sanitizing all the equipment with a no-rinse home brewing sanitizer.
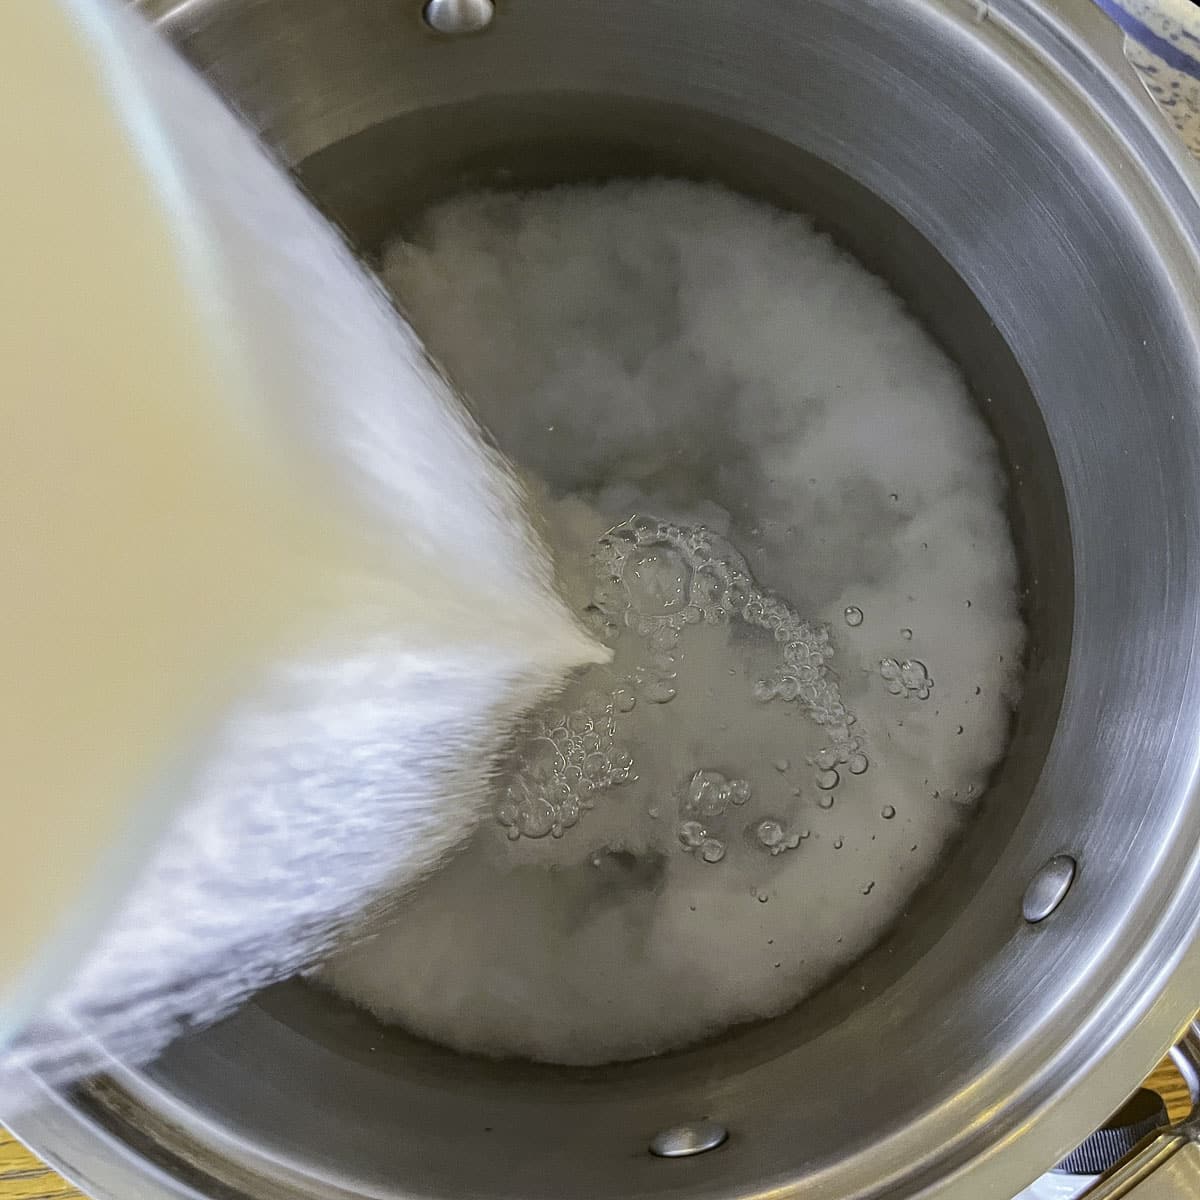
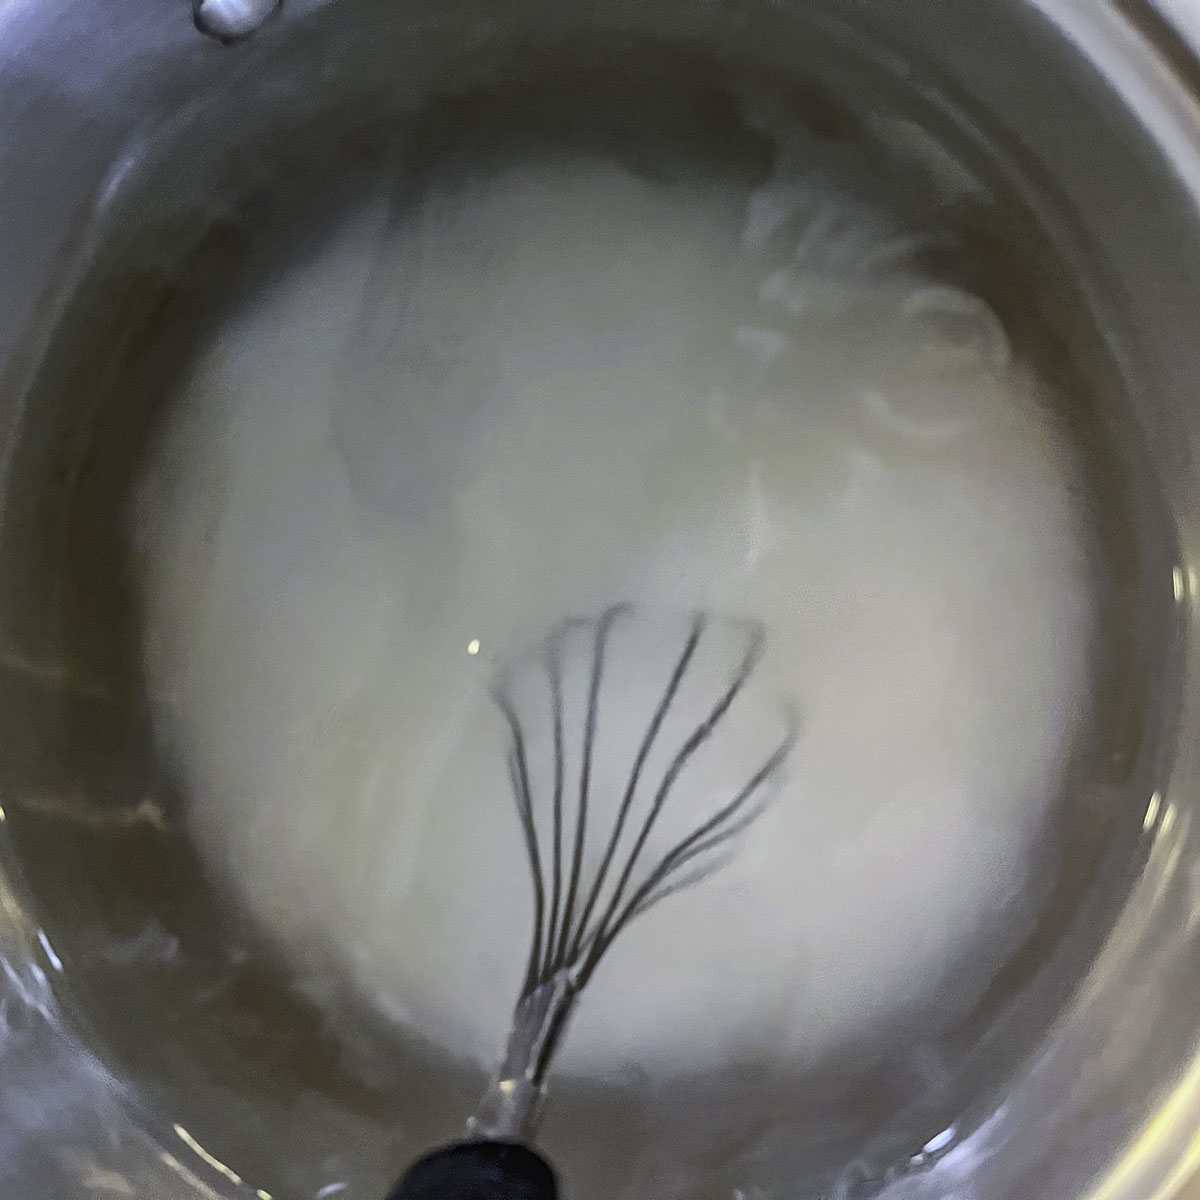
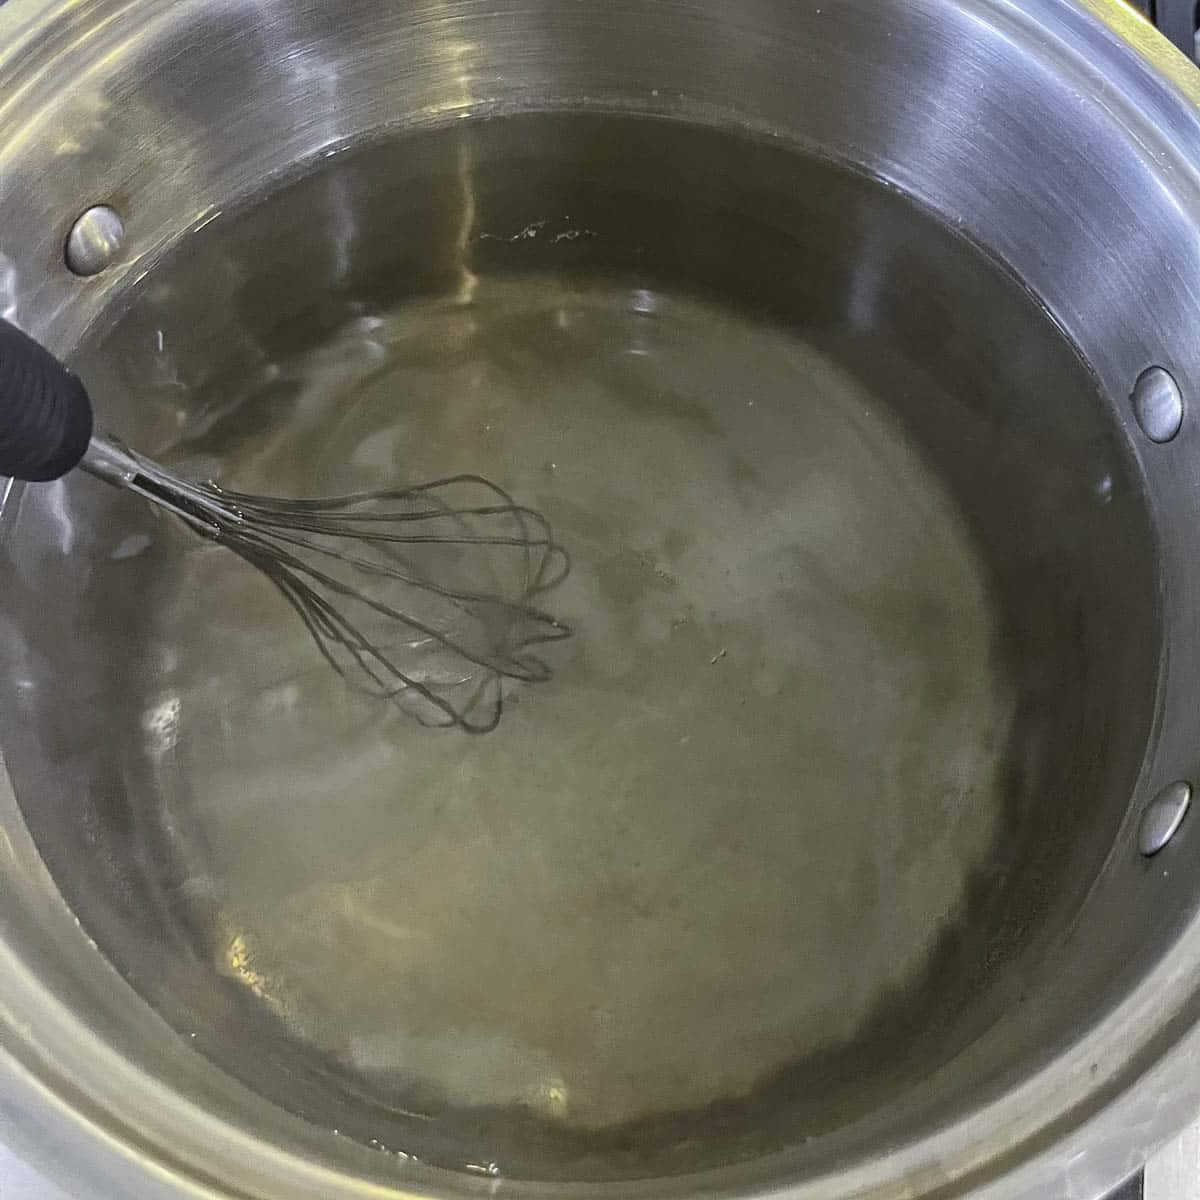
Step 1: Add sugar and one gallon of water to a large pot. Mix and heat until the sugar dissolves and the water is about to boil.
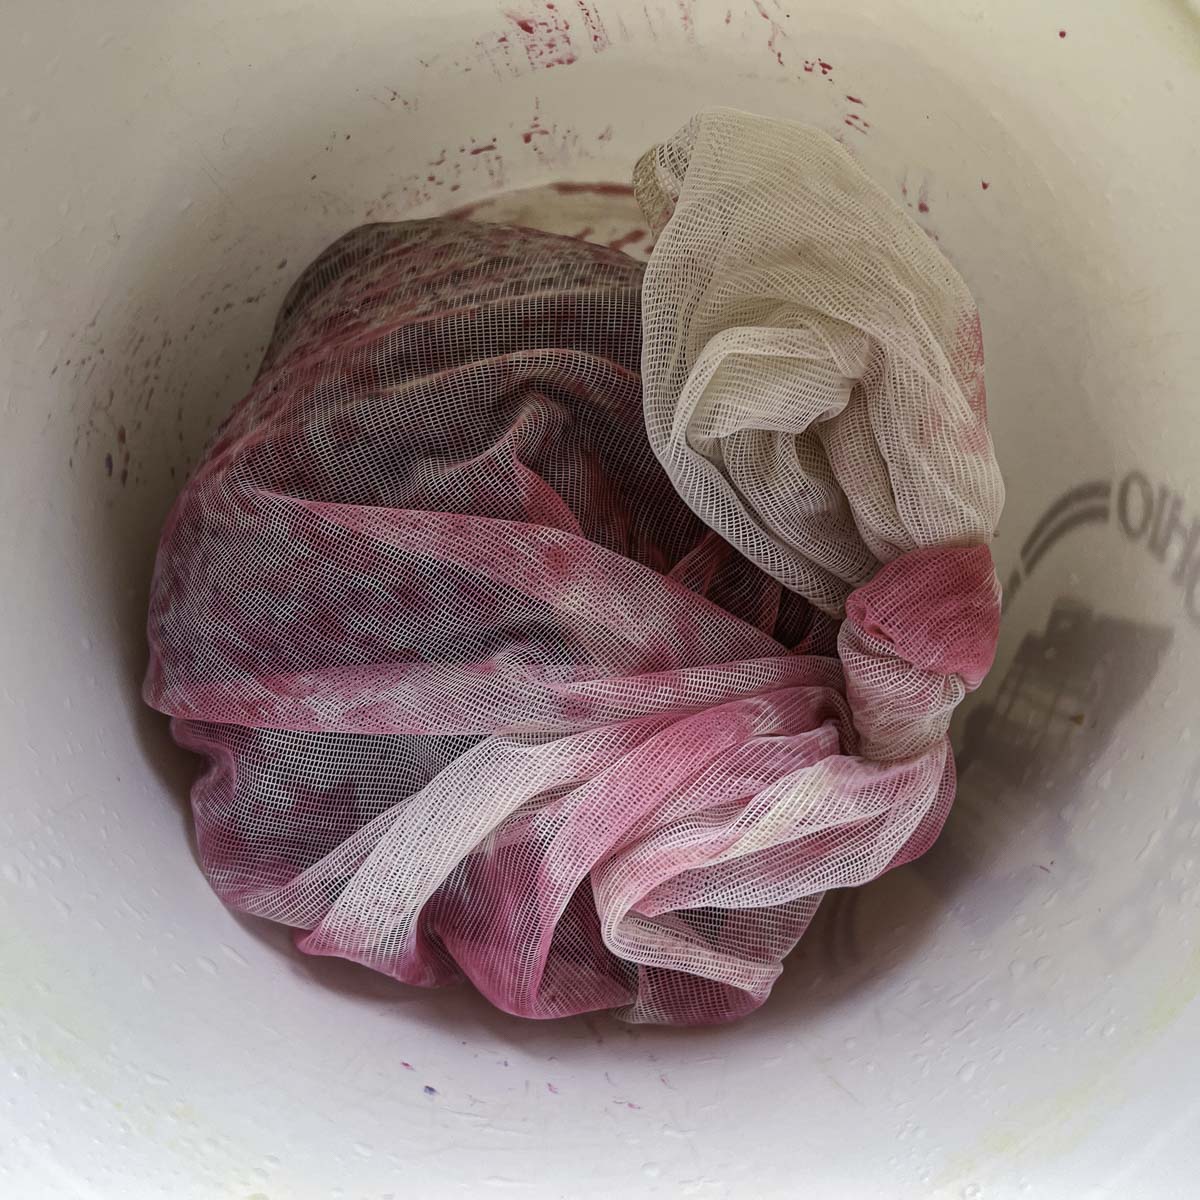
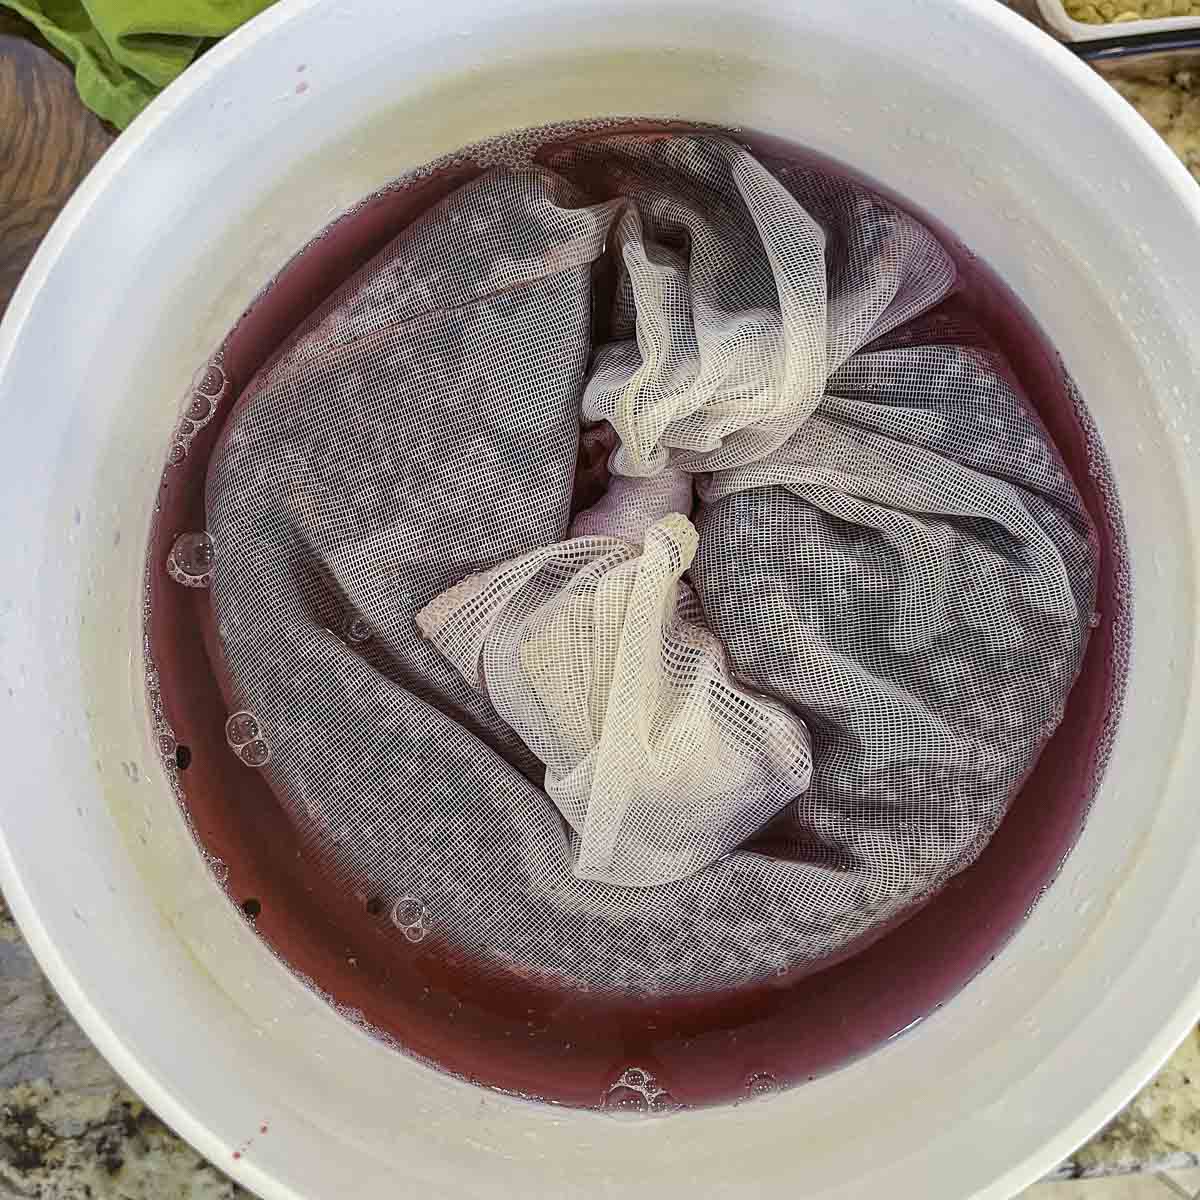
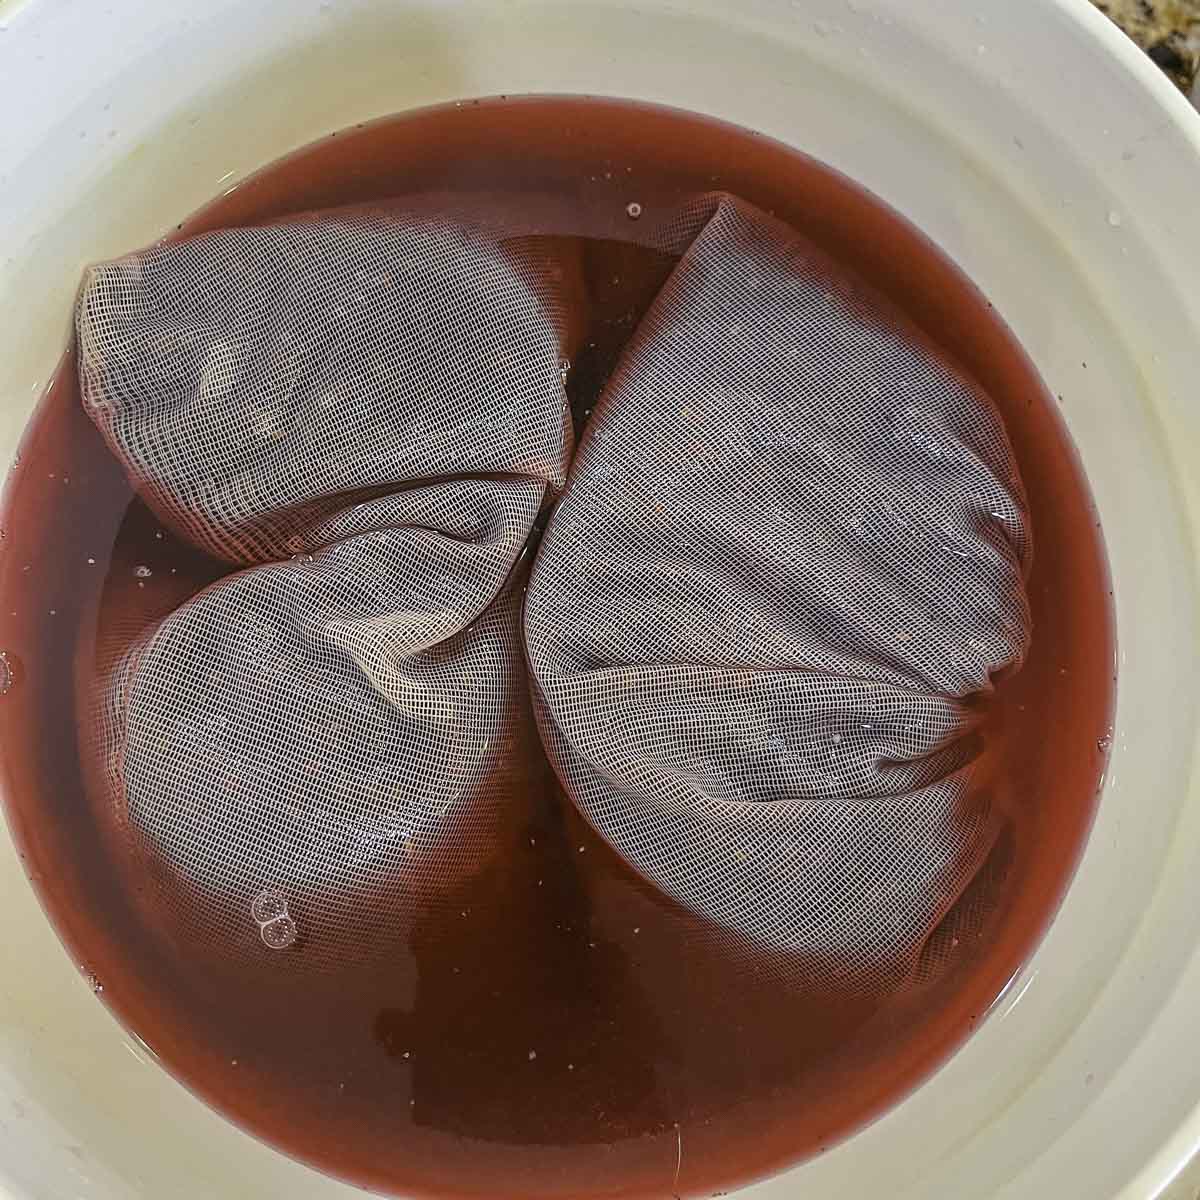
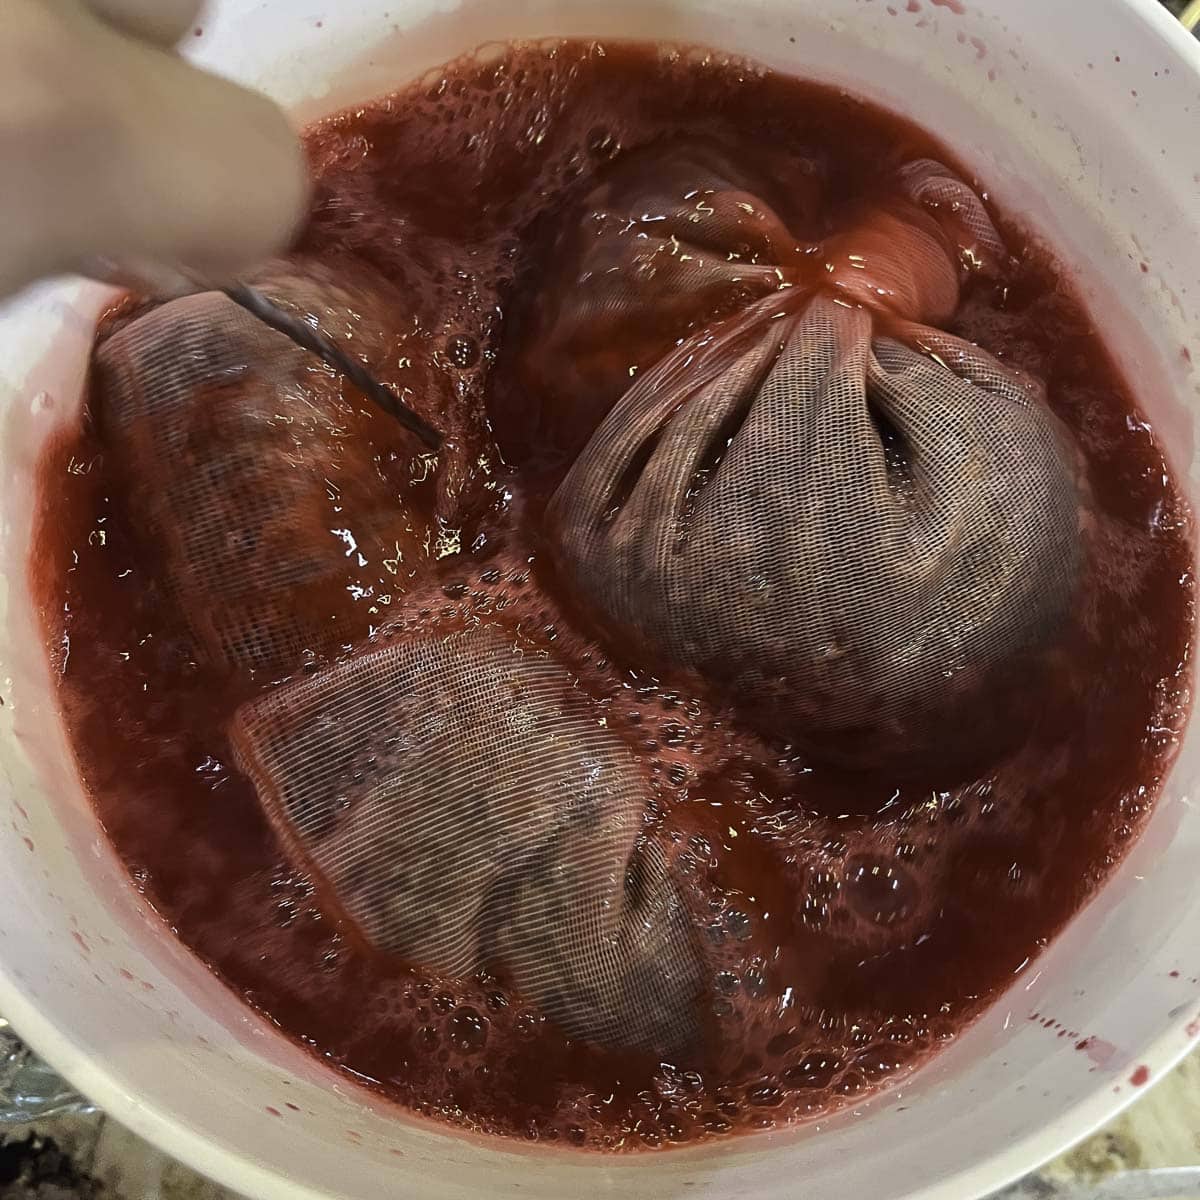
Step 2: Place a mesh straining bag inside the primary fermentor bucket and carefully fill it with cleaned and destemmed elderberries. Tie a knot in the bag and pour the hot syrup over the berries. Crush the elderberries with a potato masher, then allow the syrup to come to room temperature.
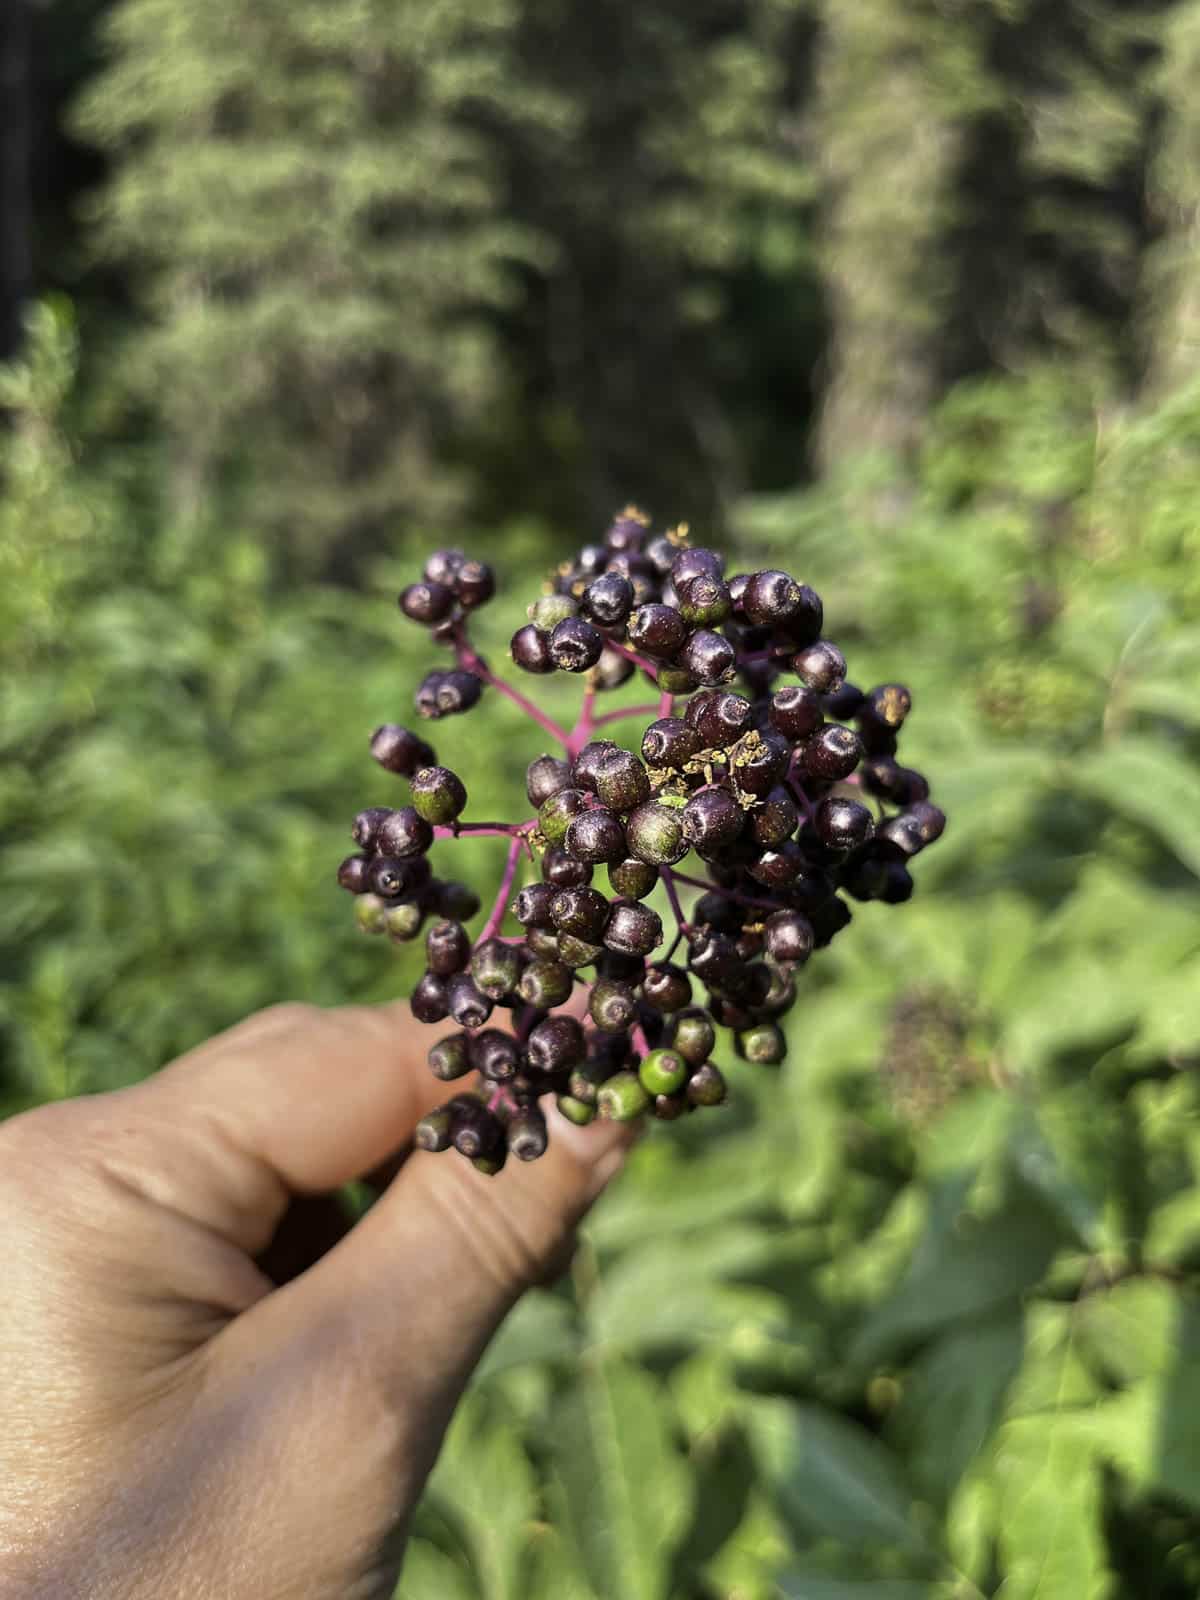
Pro Tip: Do your best to not only keep the stems out but also unripe, green berries, which are toxic.
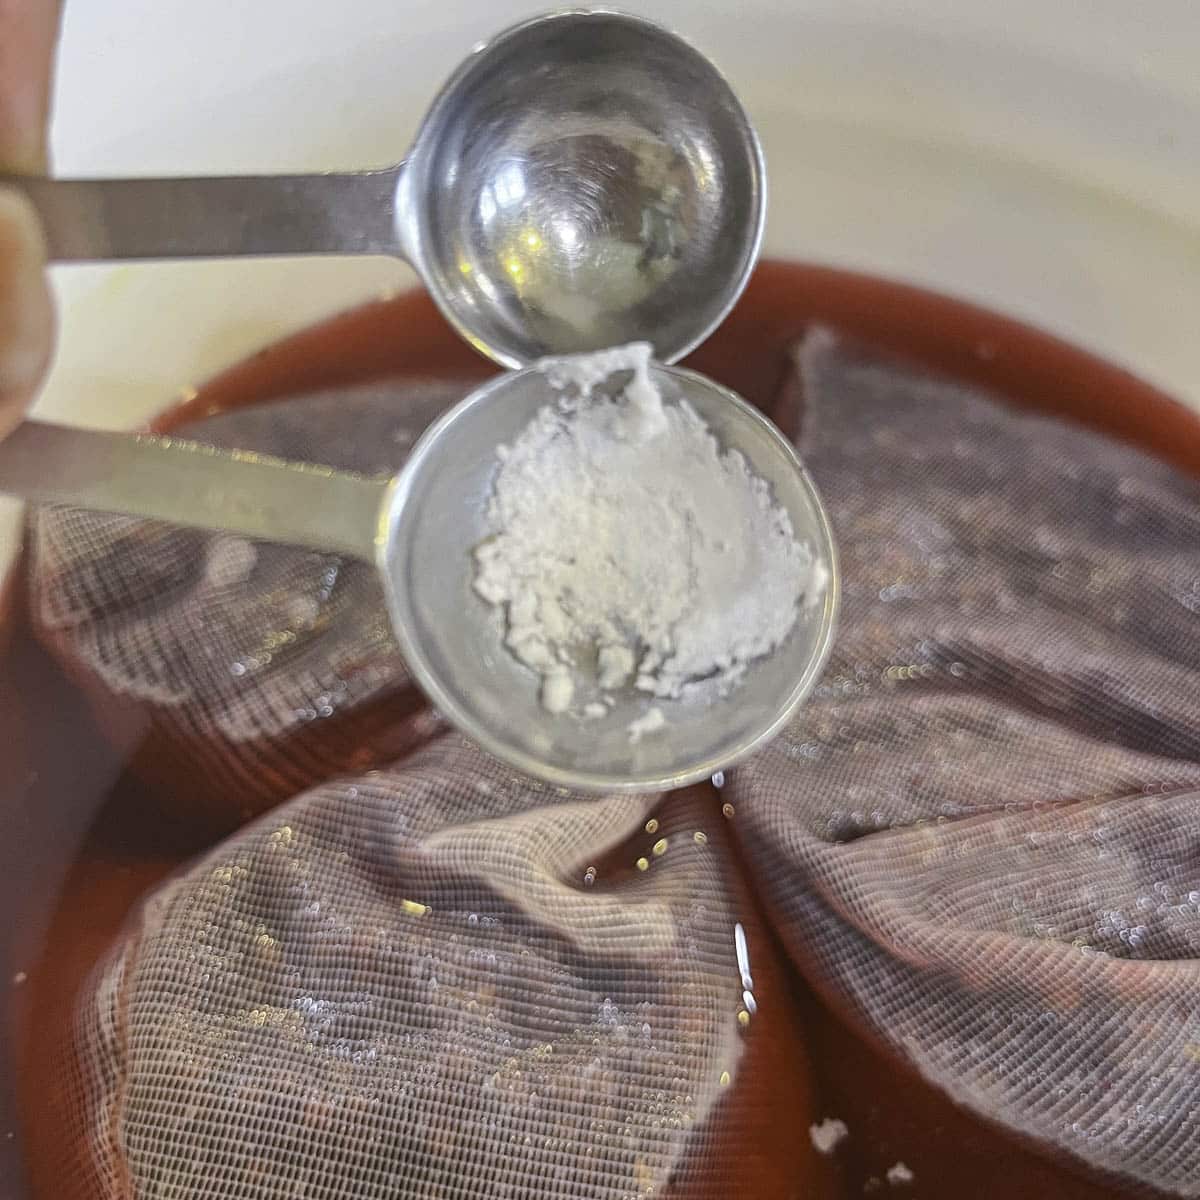
Step 3: Dissolve the acid blend and a crushed Campden tablet and stir them into the must (unfermented fruit juice before it's converted to wine).
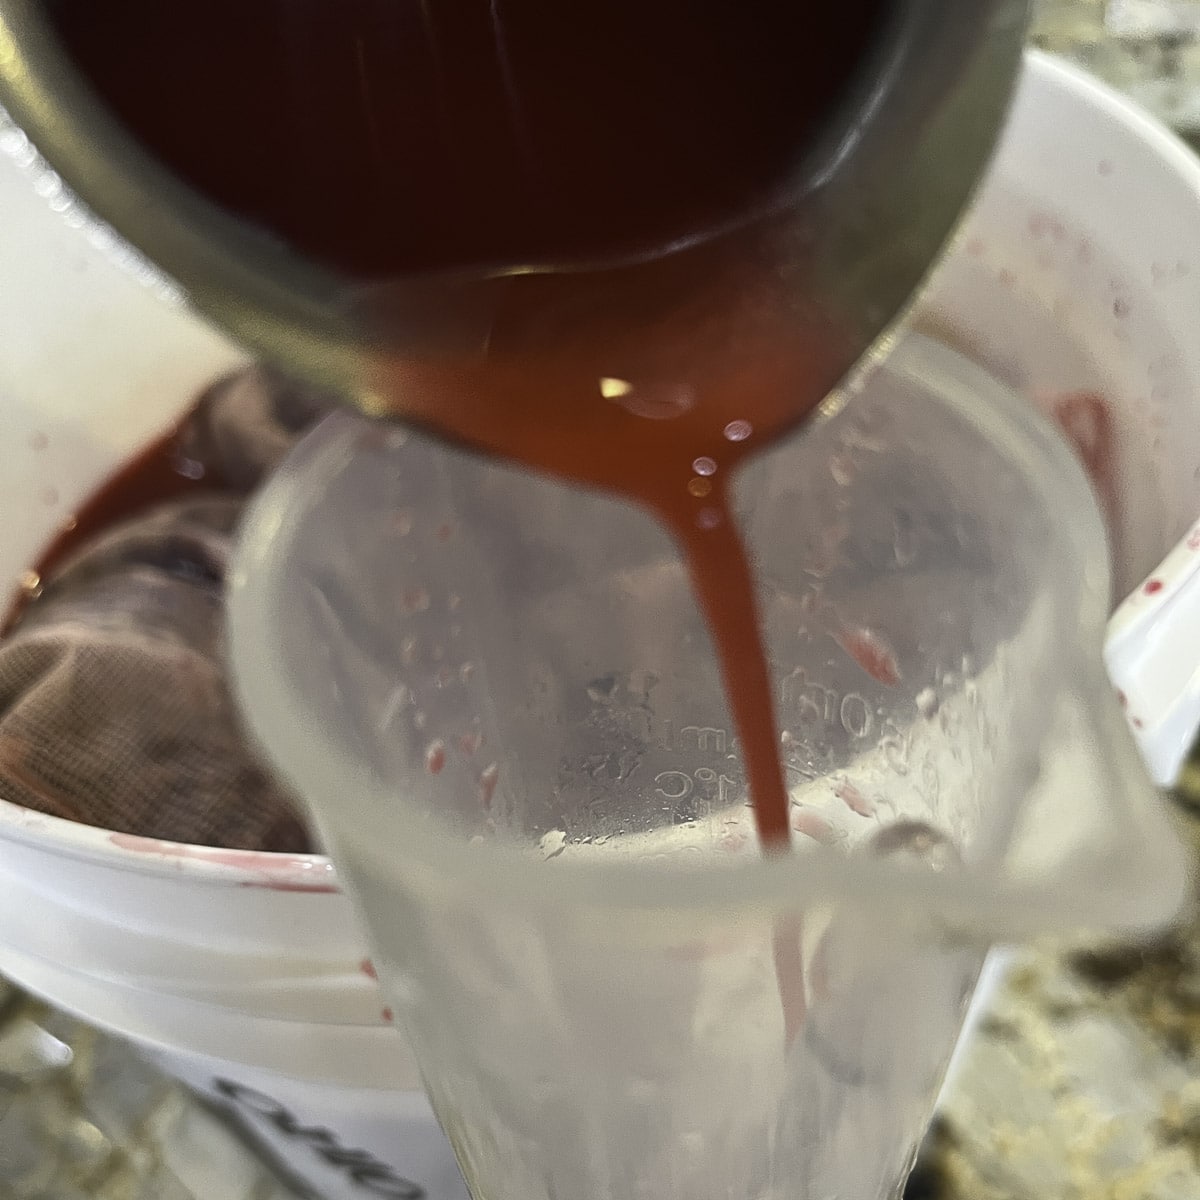
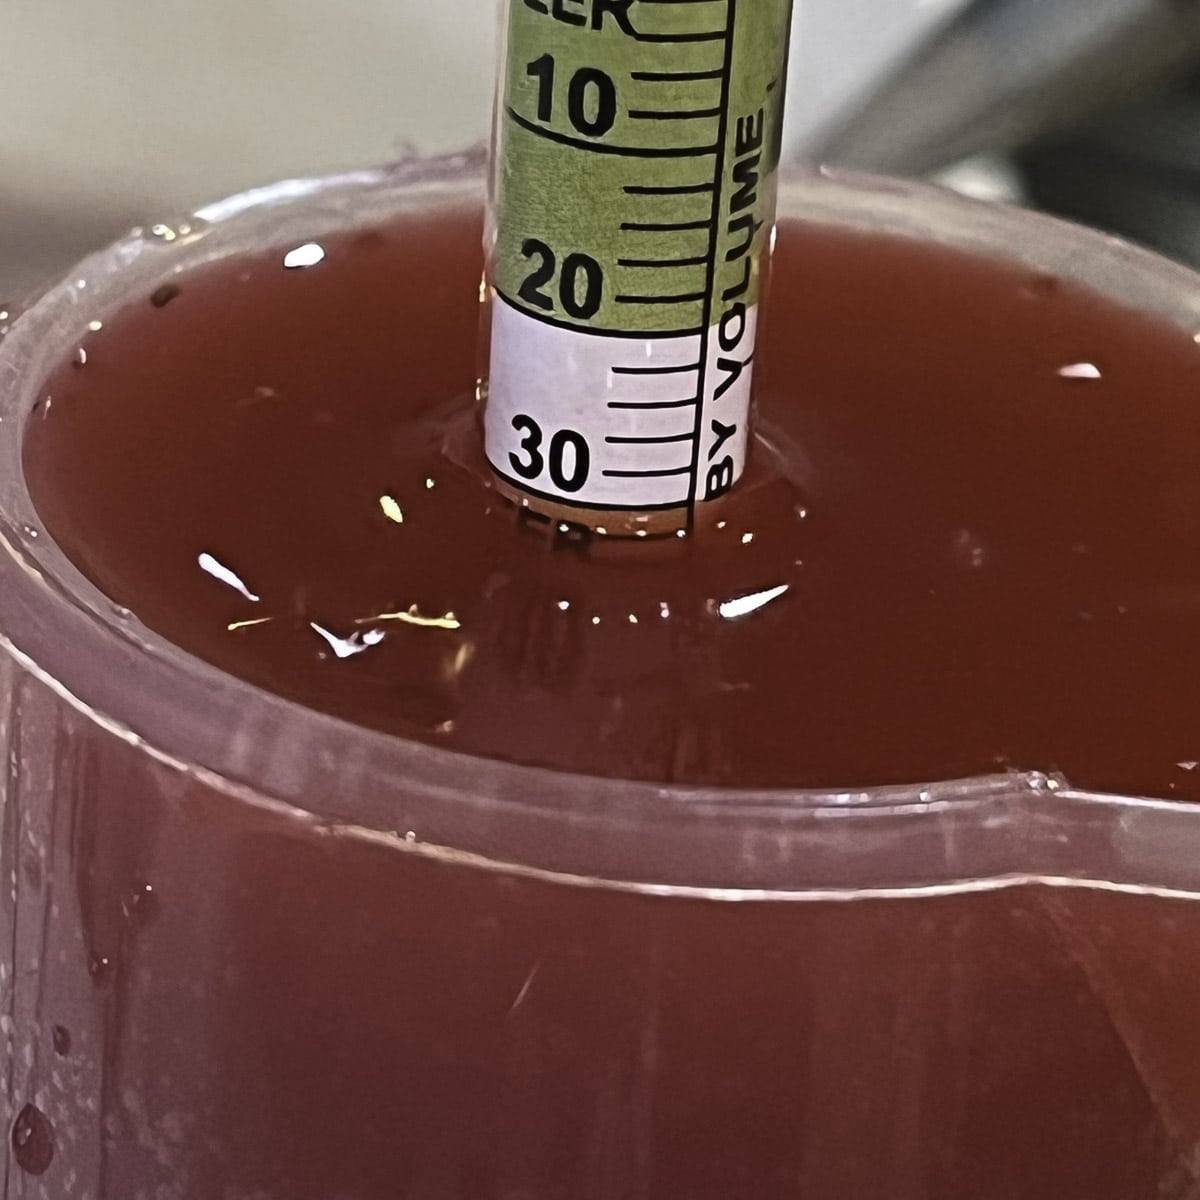
Step 4: Take the initial specific gravity (SG) reading by pouring some of the must into the test tube. Leave a few inches from the top of the vile. Next, gently place the hydrometer into the liquid and spin it to release the bubbles. Read the corresponding number on the hydrometer and log into your wine log.
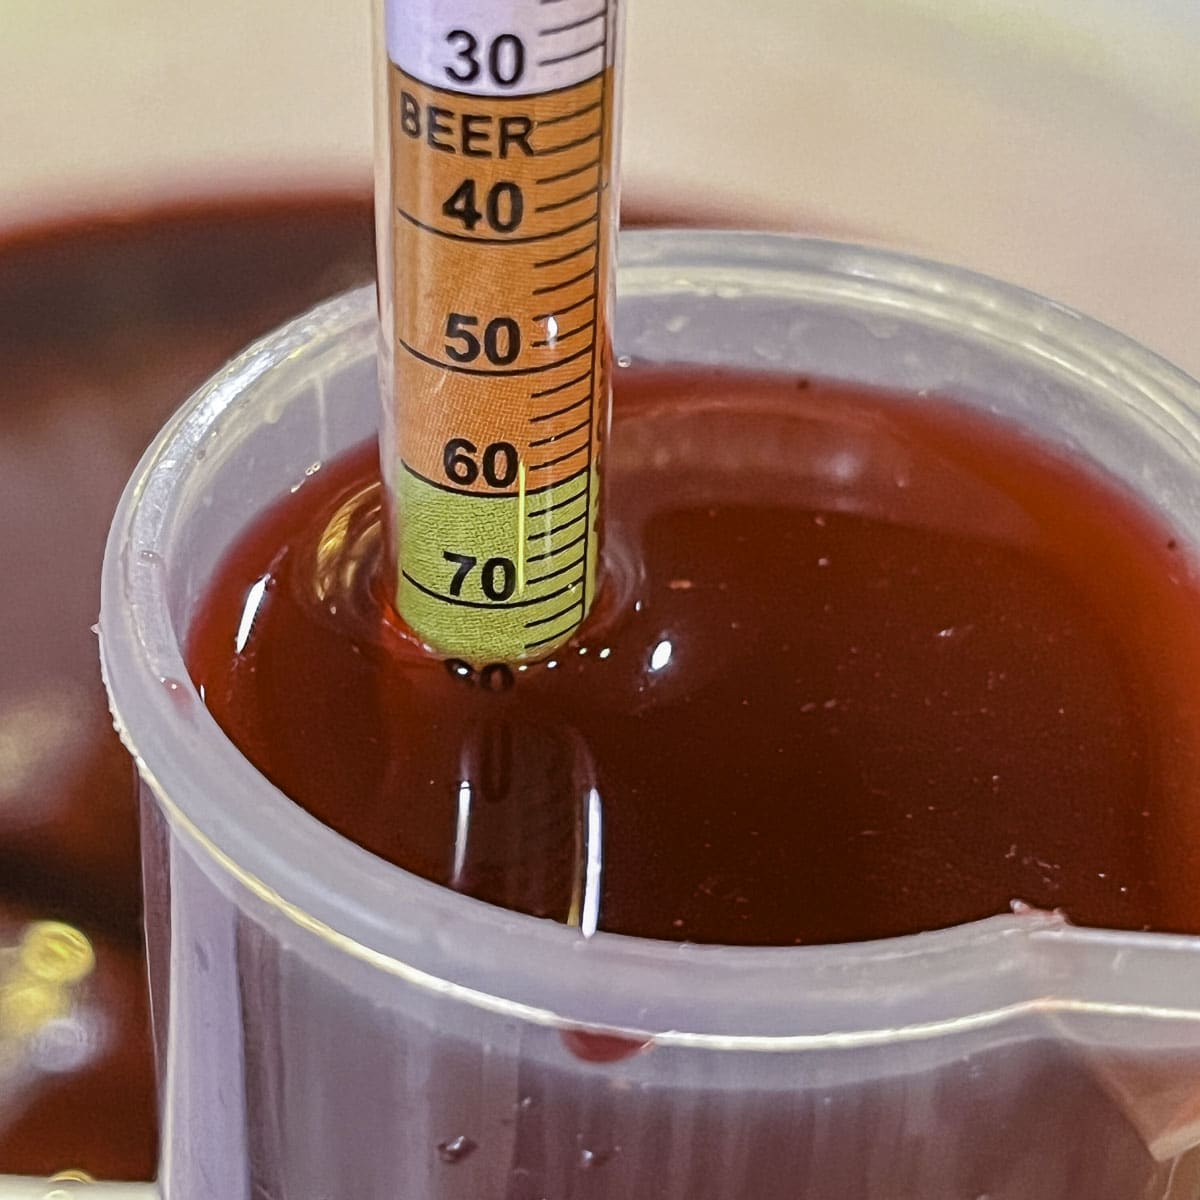
Pro Tip: Taking an SG reading on the first day and at the end will allow you to calculate the % of alcohol in the finished wine. Some home winemakers are not interested in knowing the alcohol percentage, so they don't use a hydrometer. Instead, they just ferment their wine long enough to ensure fermentation has stopped before bottling it.
Step 5: Cover the elderberry must with a clean napkin and secure it with a rubber band. Set the bucket aside for 24 hours.
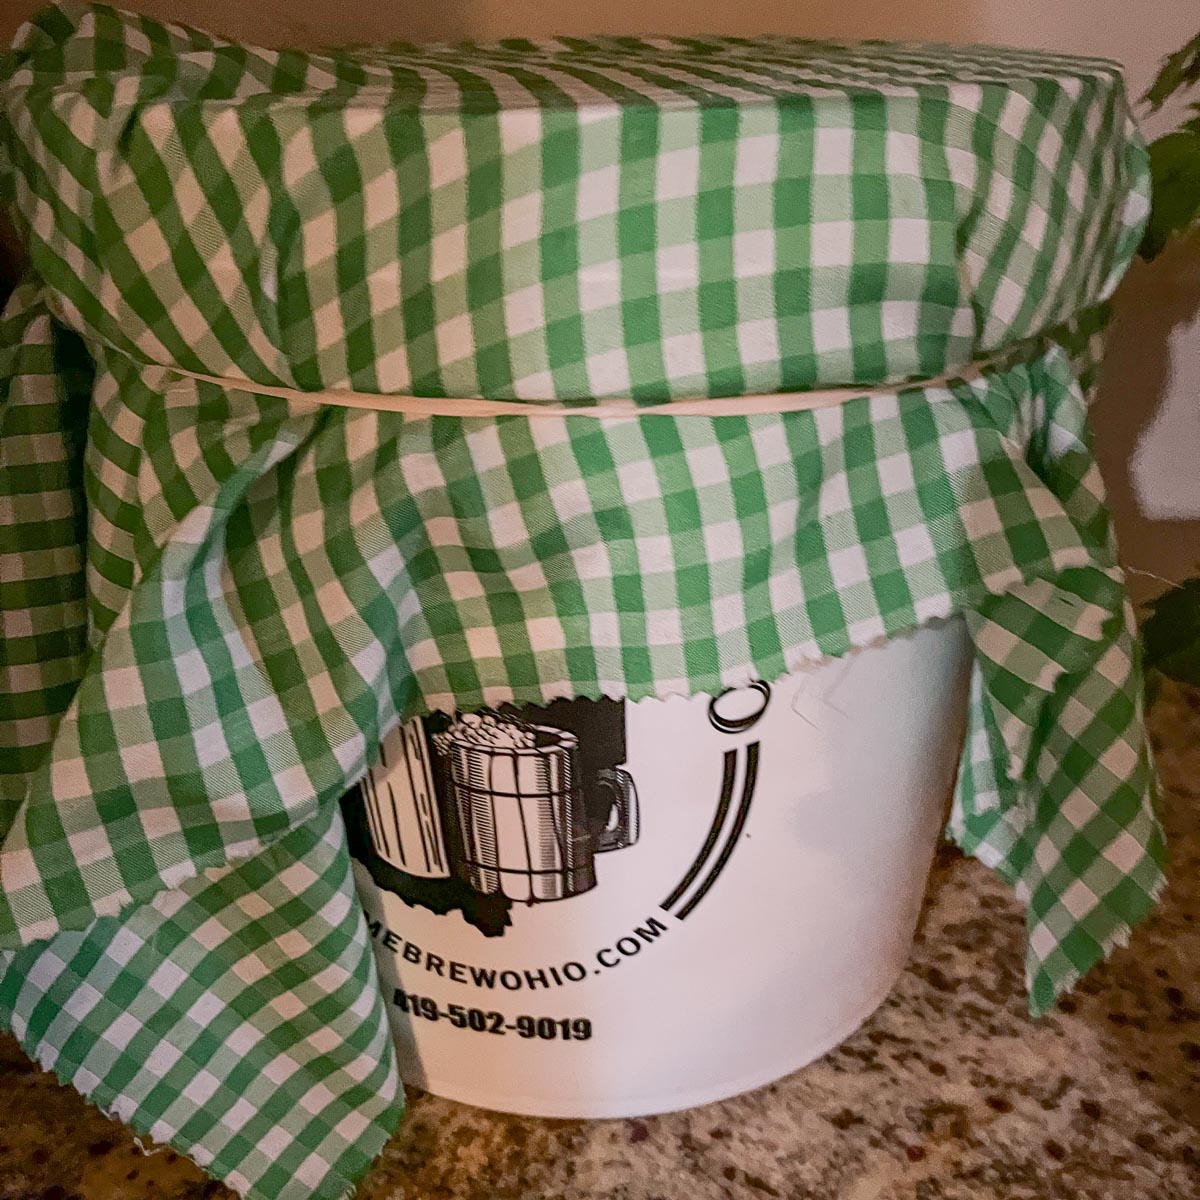
Pro tip: The ideal temperature for fermentation is somewhere between 70°-85° F.
Day Two
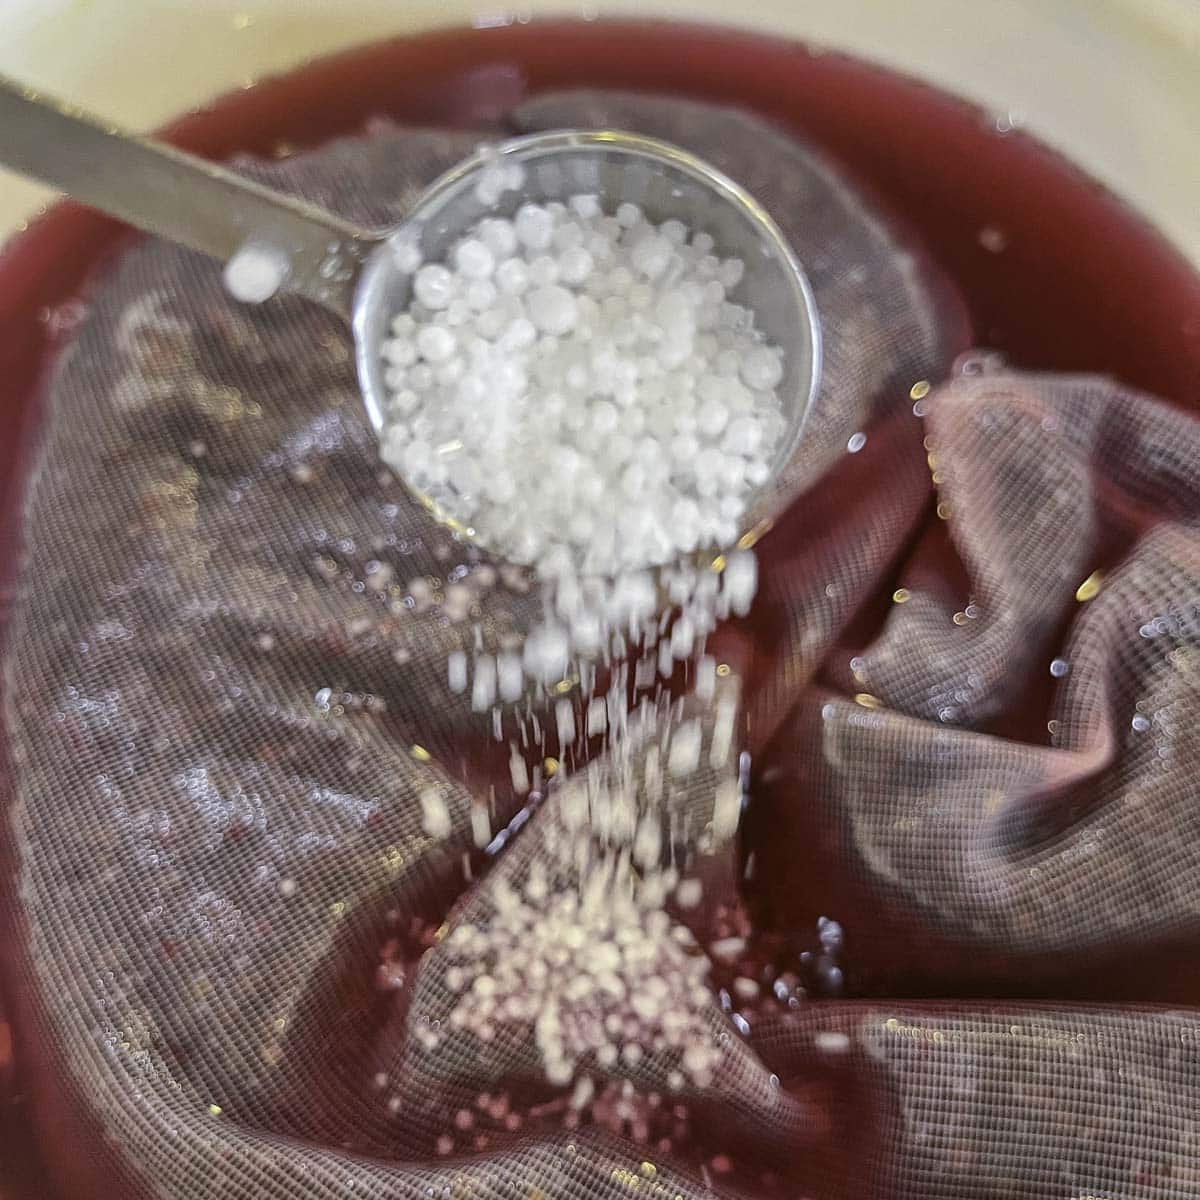
After 24 hours, add the yeast nutrient and the yeast to the must. You can either sprinkle the yeast on top, stir it in with a sanitized bar spoon, or activate the yeast in a ½ cup of warm water before adding it to the bucket. Cover again with the napkin and set aside to ferment.
Day Three-Seven
Step 1: Mix and mash the fruit every day. On the third day, take the SG reading and jot it down in your notebook. Take a reading daily until it reads 1.030. This should take approximately 3-5 days.

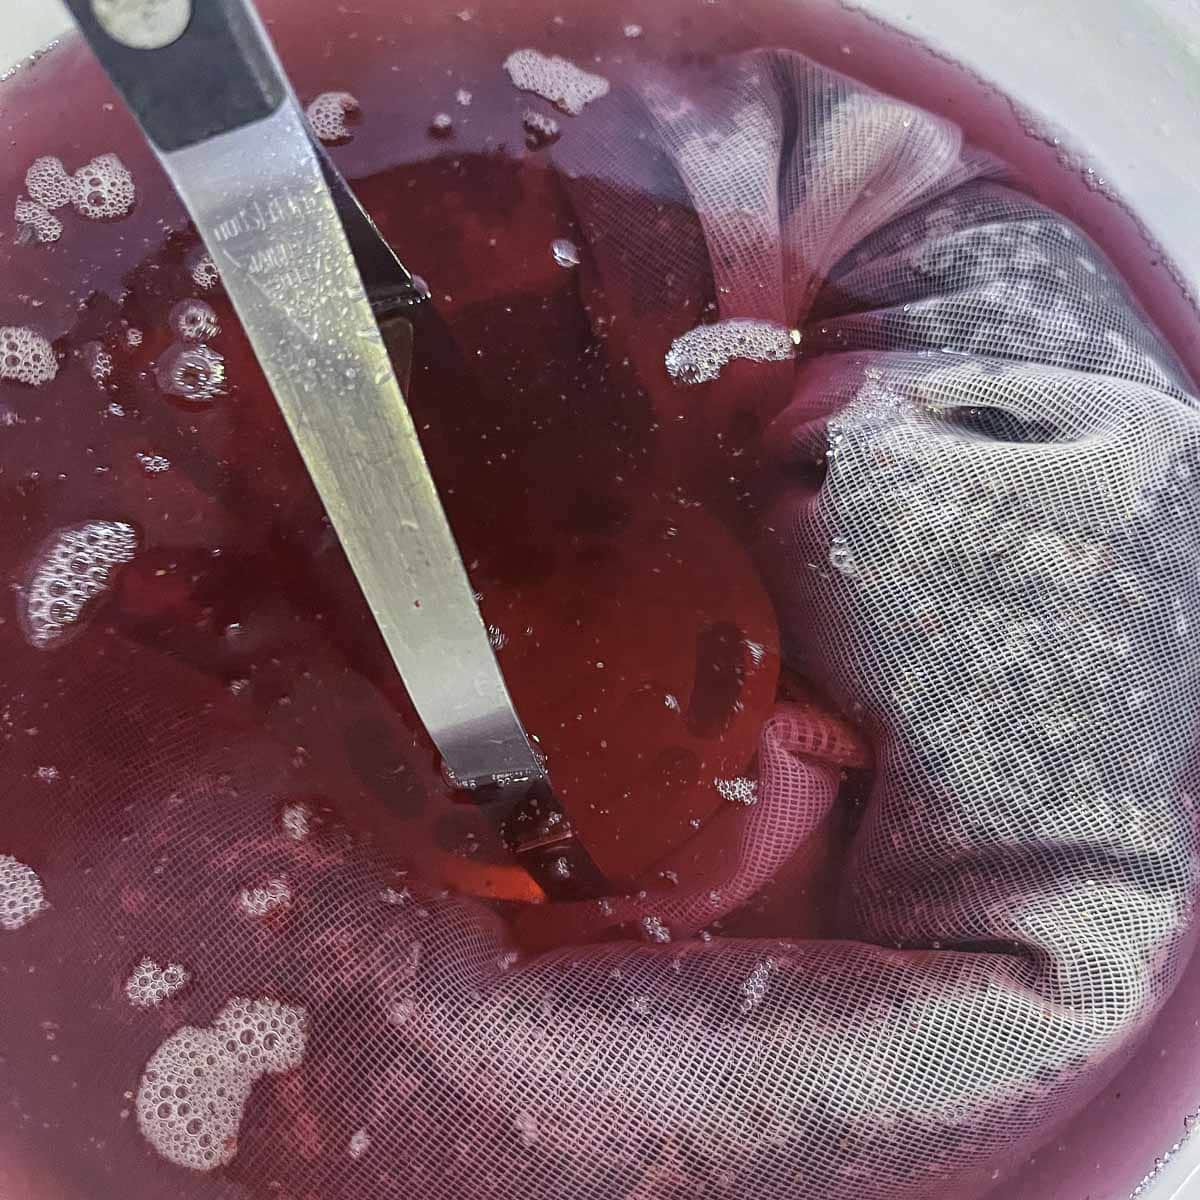
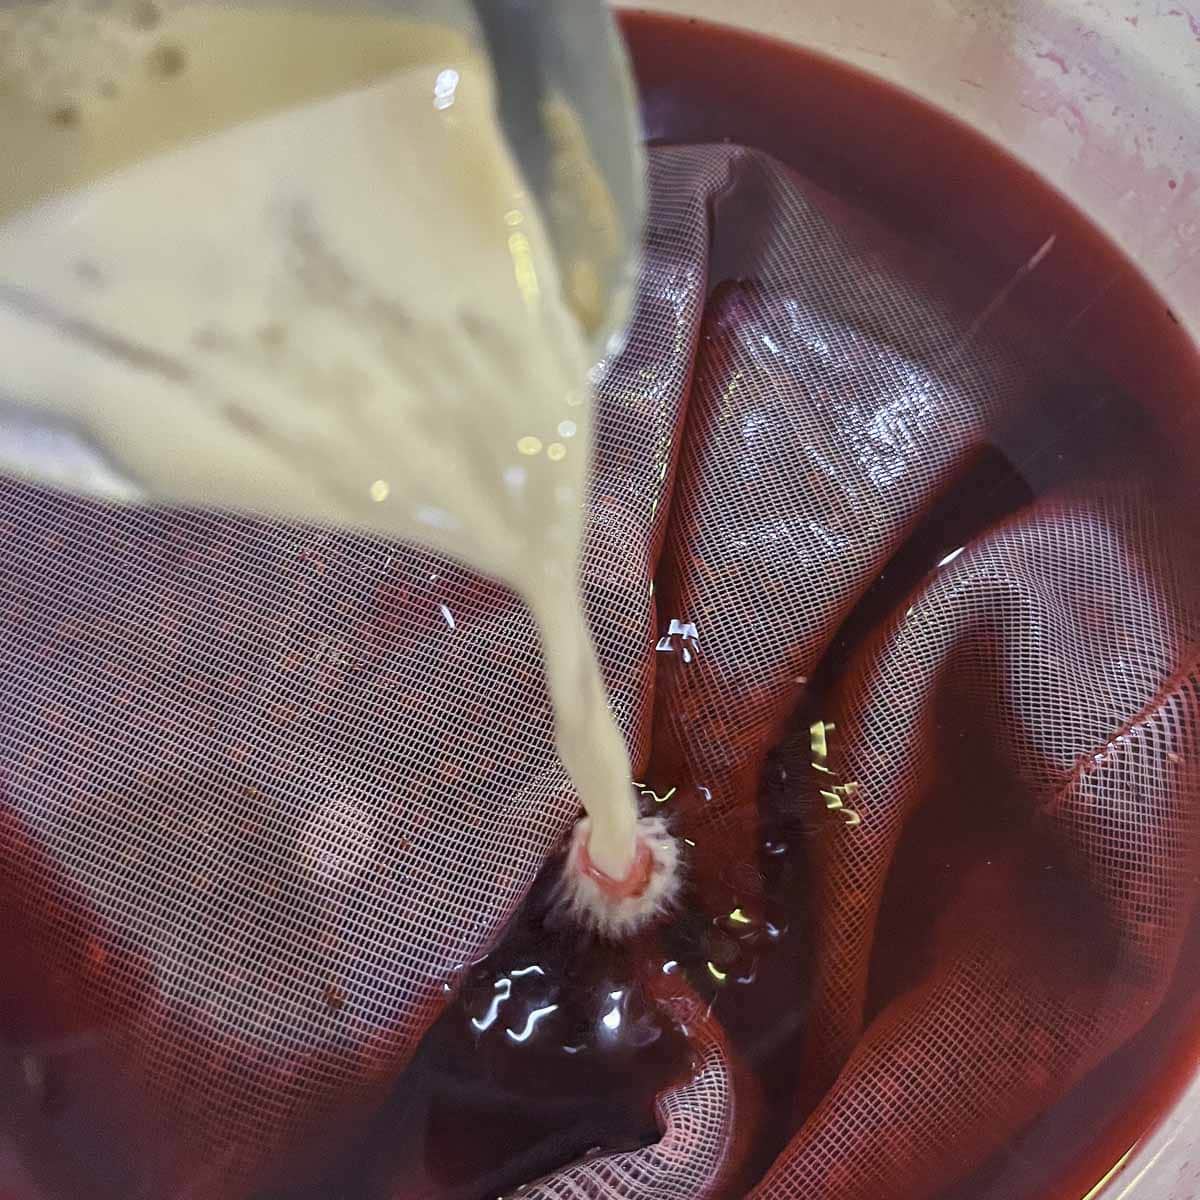
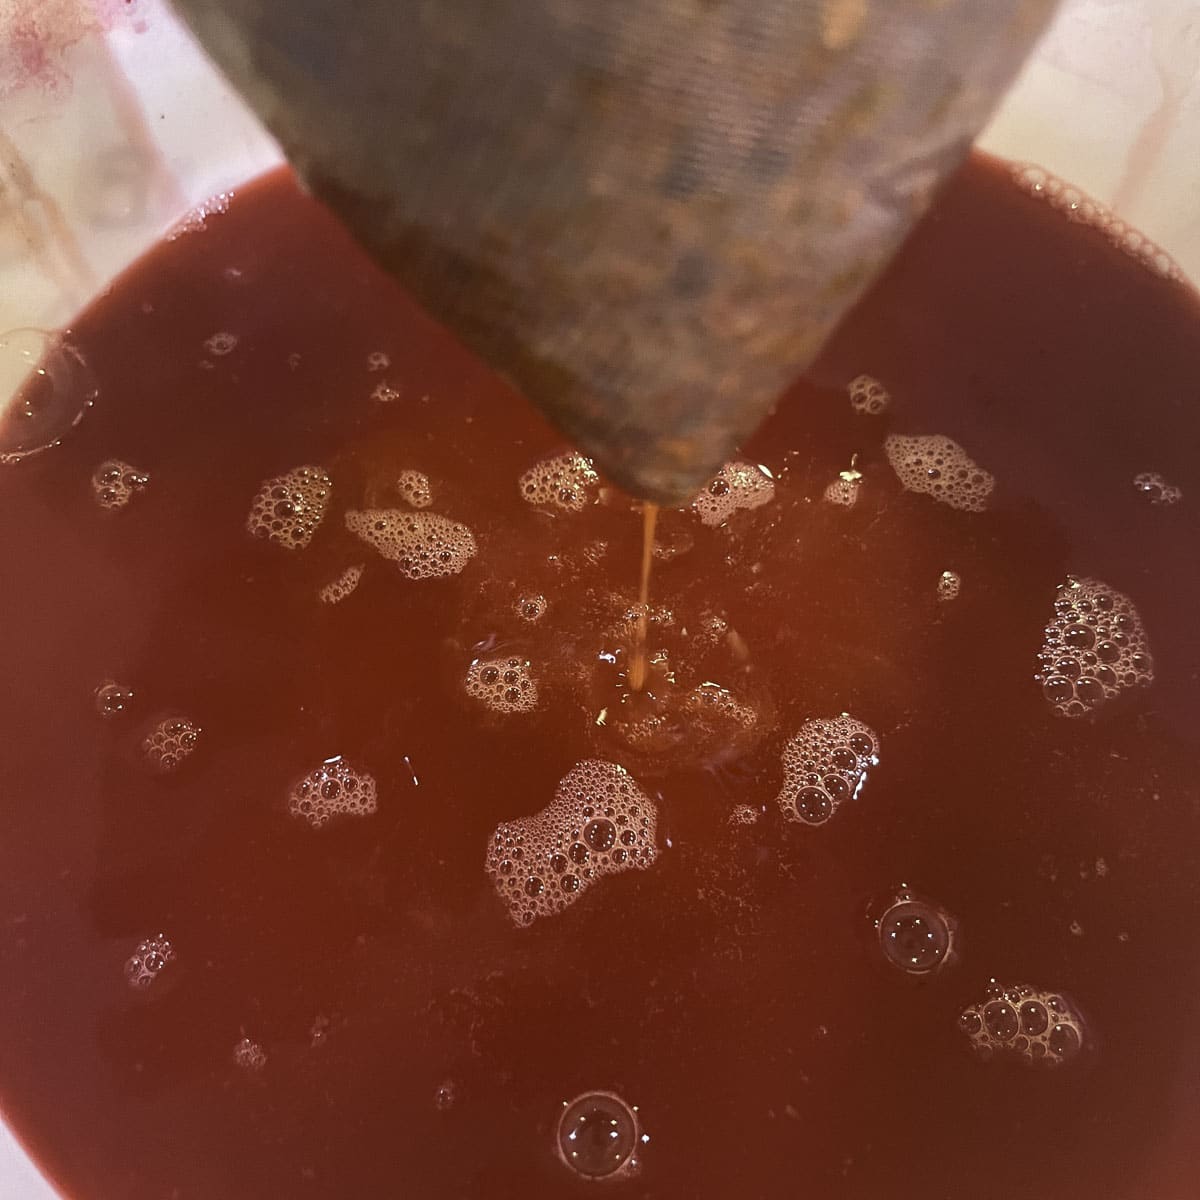
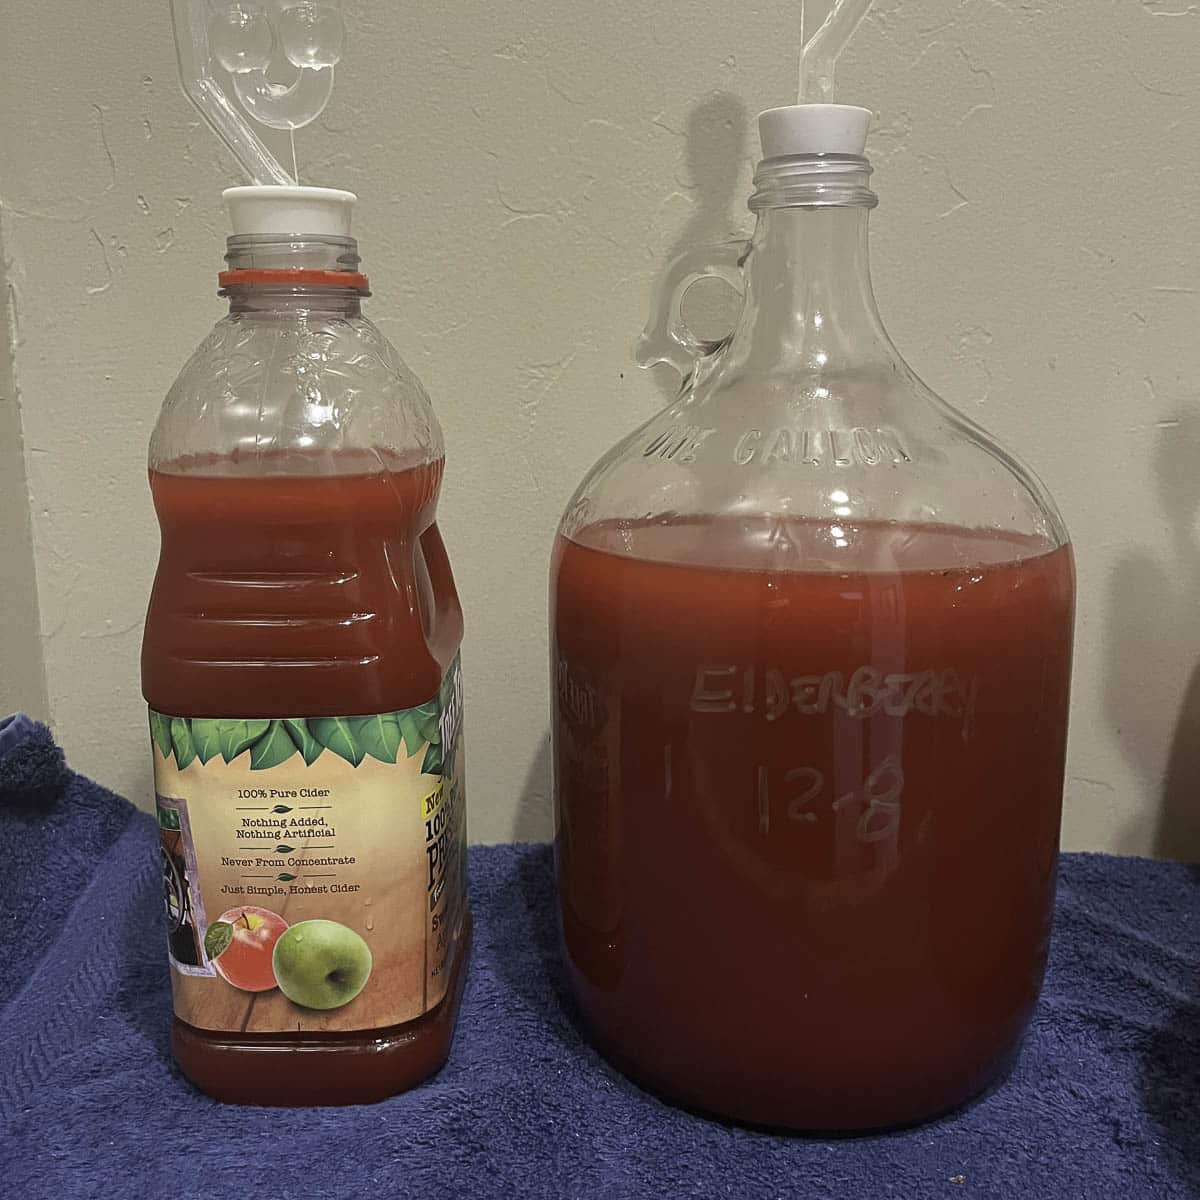
Step 2: When it's ready, strain the wine from the fermentor bucket and transfer it into a sterilized one-gallon carboy. This is referred to as "racking the wine." Place any extra wine in a smaller bottle and top both with a bung and an airlock.

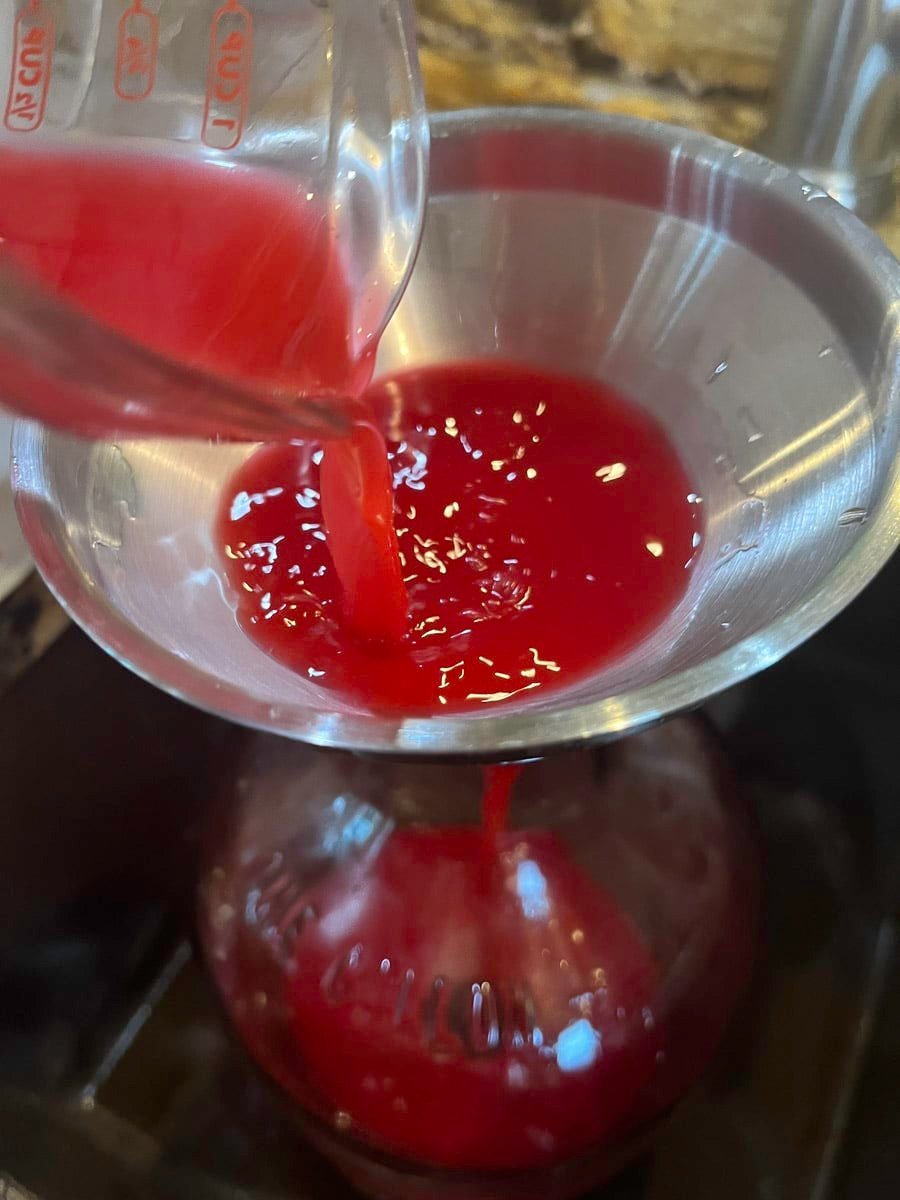
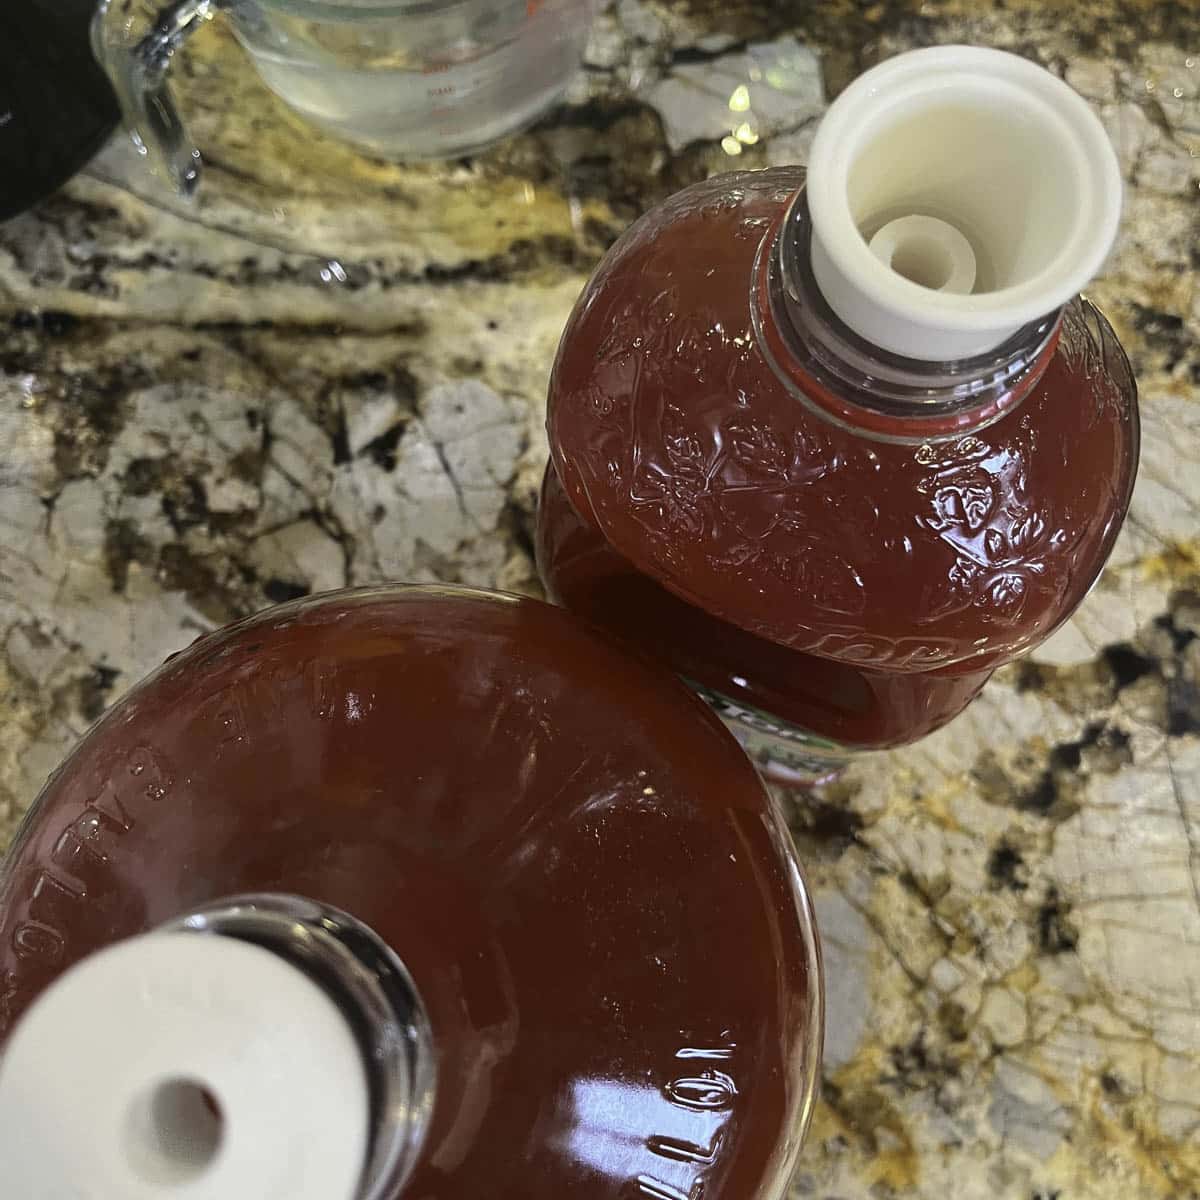
Pro Tip: Small plastic juice bottles are perfect for this! Make sure you dry the mouth of the bottle as well as the bung so that it does not slide out of the bottle once the wine begins to ferment.
Step 3: Allow the wine to clear for one month, then get it off the lees by racking the wine into a clean carboy. Let it go for another month or two.
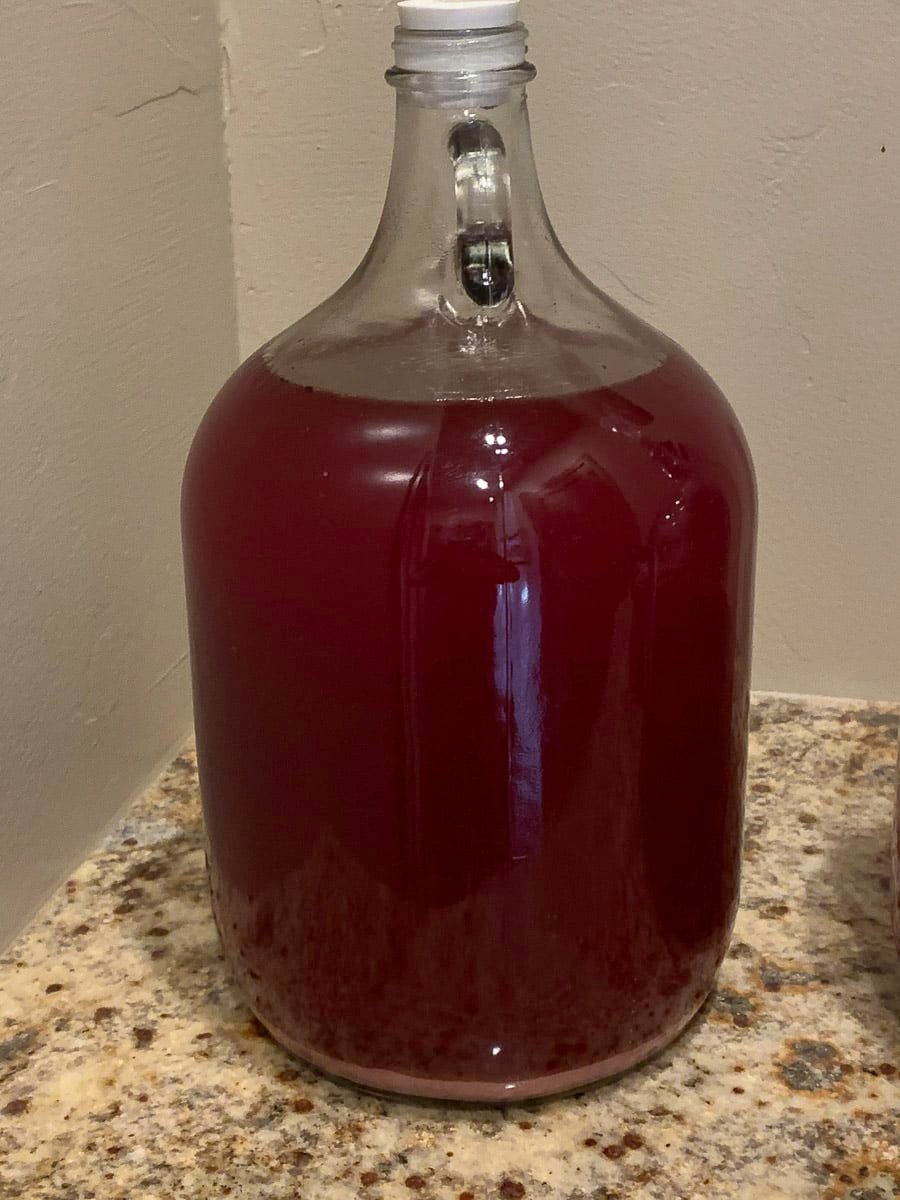
Pro Tip: Make sure to label the wine with the type of wine and the date it was racked. As the wine clears, you'll notice the dead yeast and sediment will settle on the bottom of the carboy. Leave this "lees" behind when you re-rack the wine, but don't toss it; it's great for your garden!
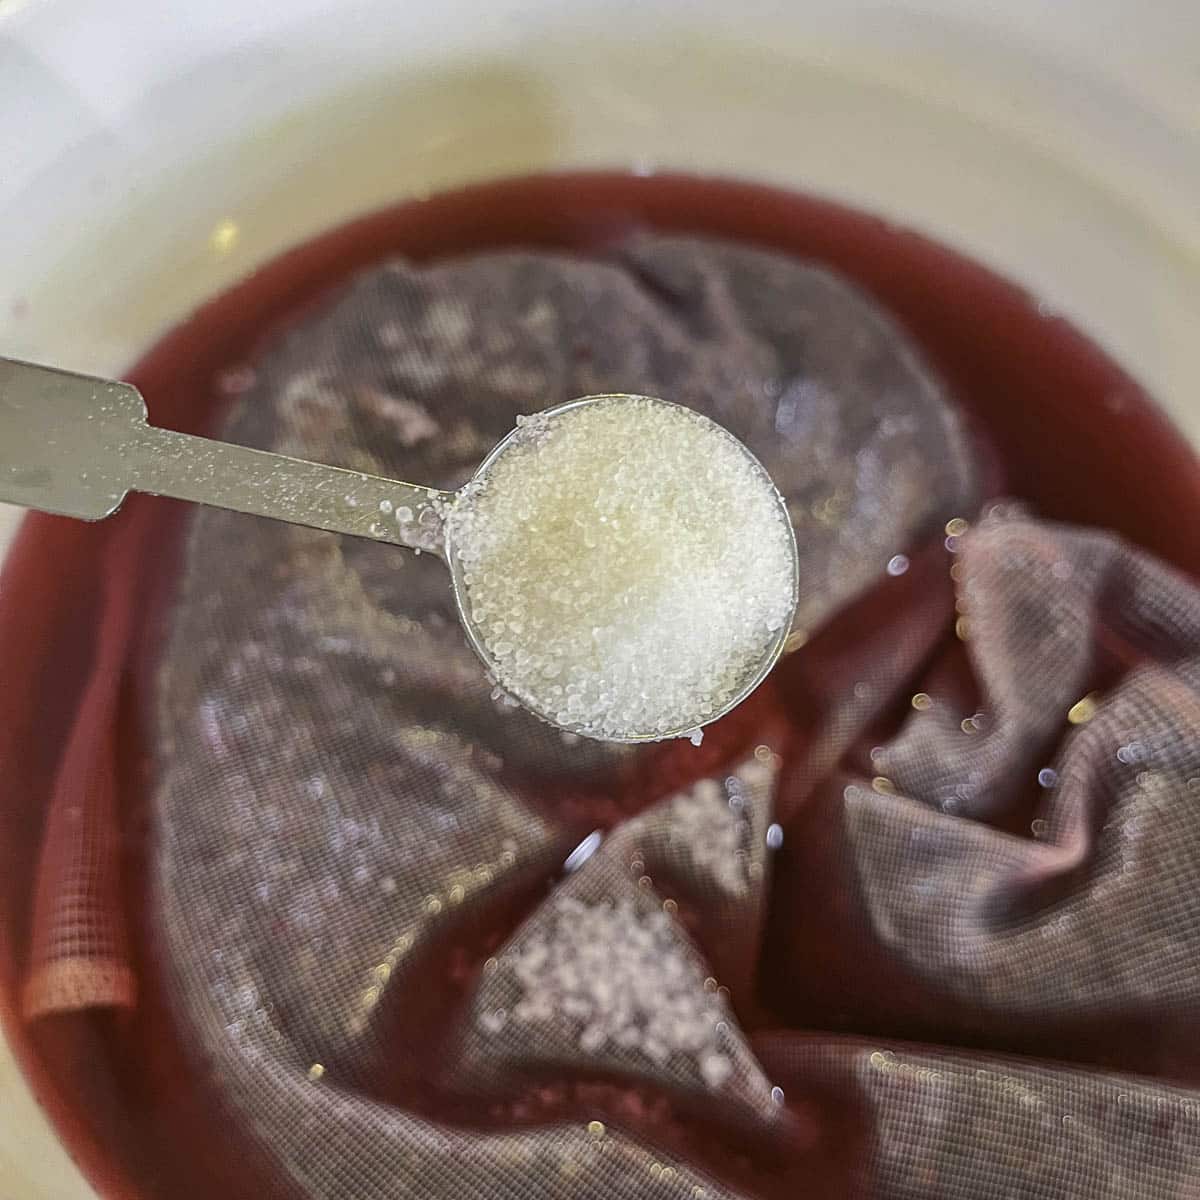
Step 4: When your wine has been clearing for at least two months, take a final SG reading. Use an ABV calculator to determine the percentage of alcohol in the wine. Taste the wine to decide if it needs back-sweetening. Add ¼ to ½ cup of syrup per gallon, another crushed Campden tablet, and ½ teaspoon of potassium sorbate (stabilizer) to keep the wine from refermenting.
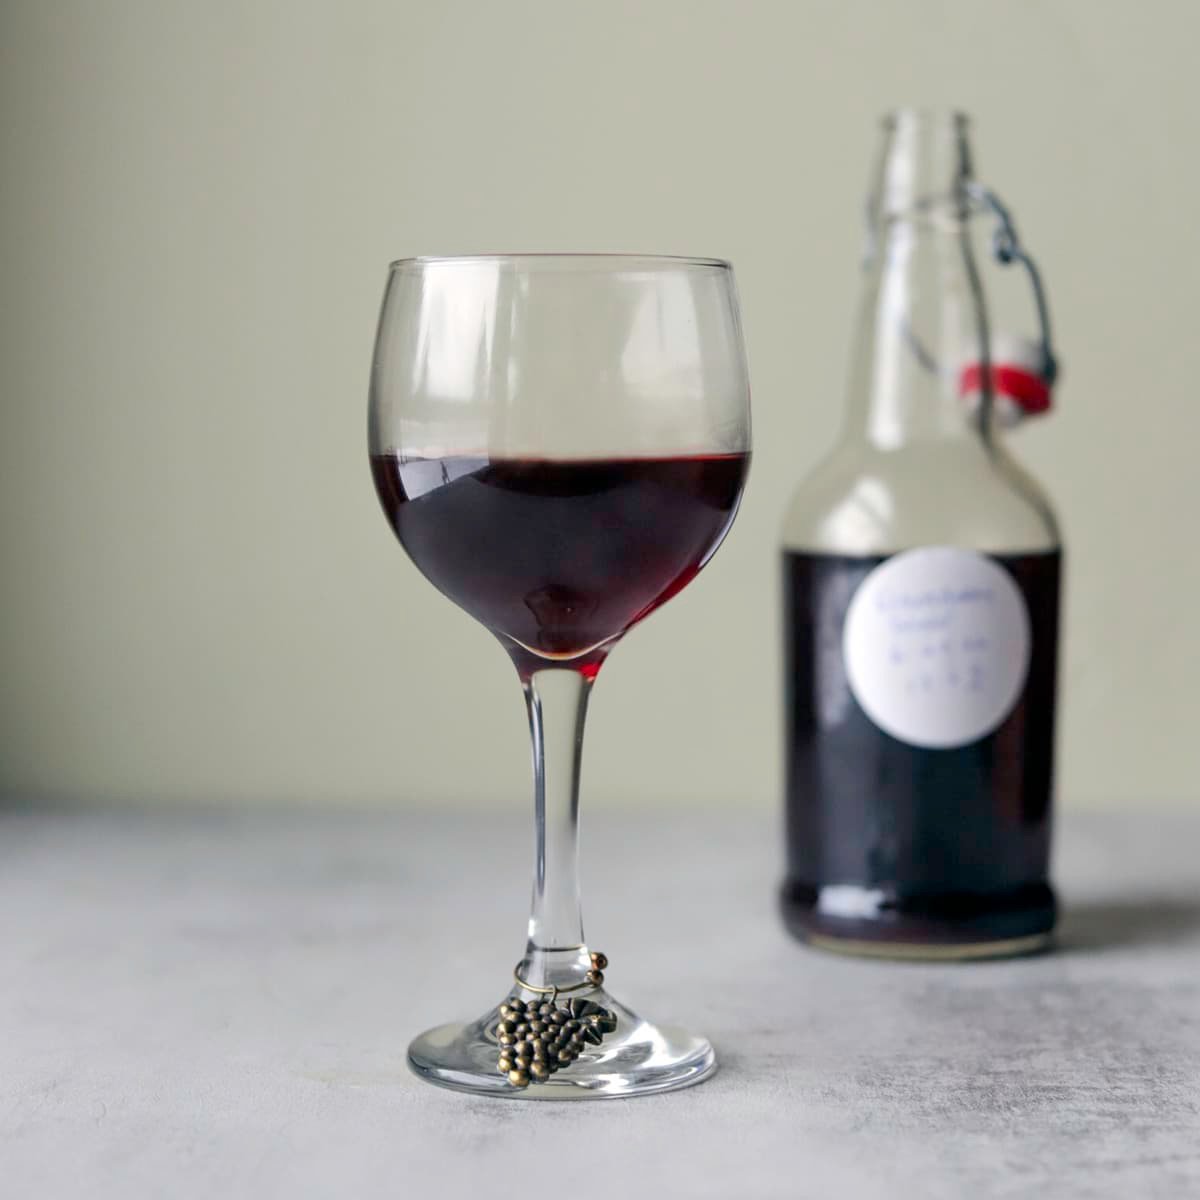
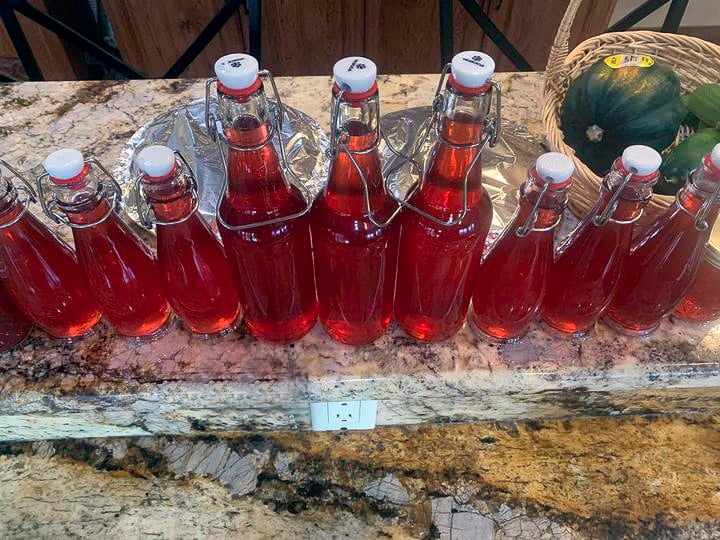
Step 5: Siphon the wine into sanitized wine bottles. This can be anything from flip-top bottles (such as Grolsch bottles) or wine bottles. Of course, you'll need corks and a corker for the latter. Label the wine bottles with the date, type of wine, and alcohol percentage.
Pro Tip: The longer you wait, the better elderberry wine will be. If you can wait a year, do so! If not, give it at least 3 months and save one of the bottles for a year so you can taste the difference.
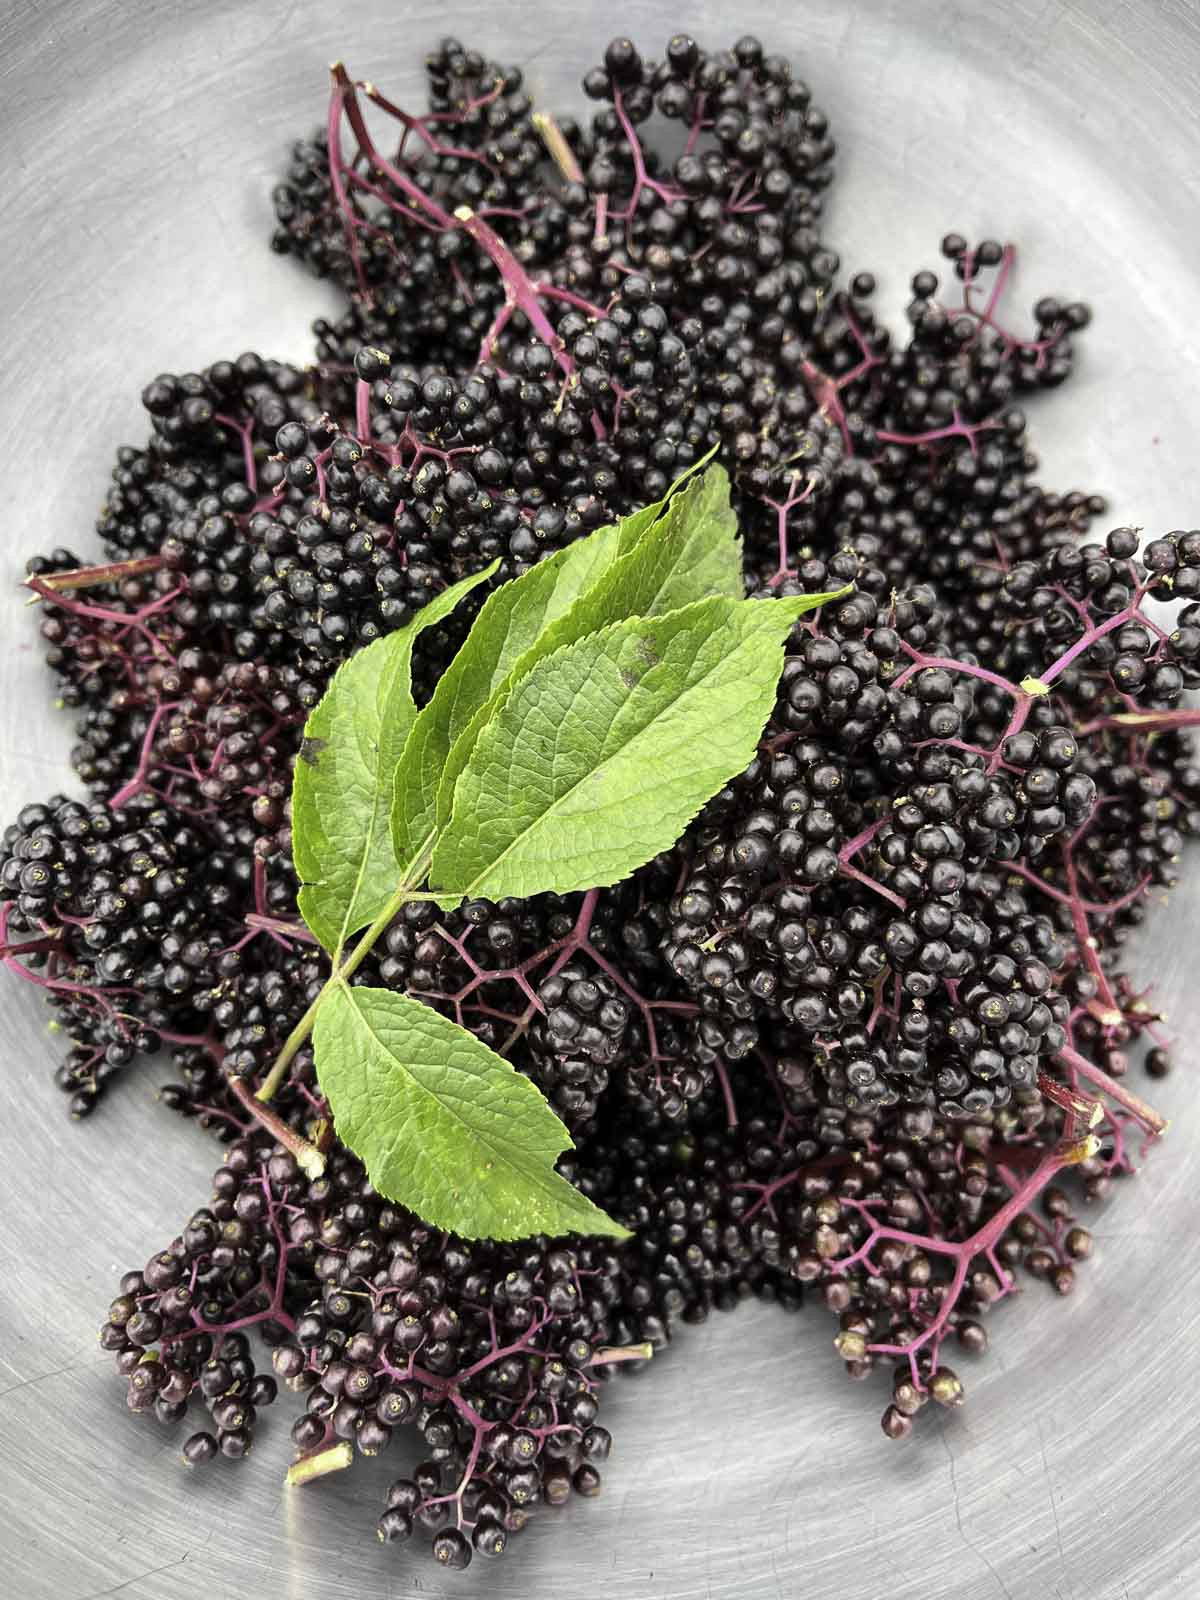
🌿 How to Forage Elderberries
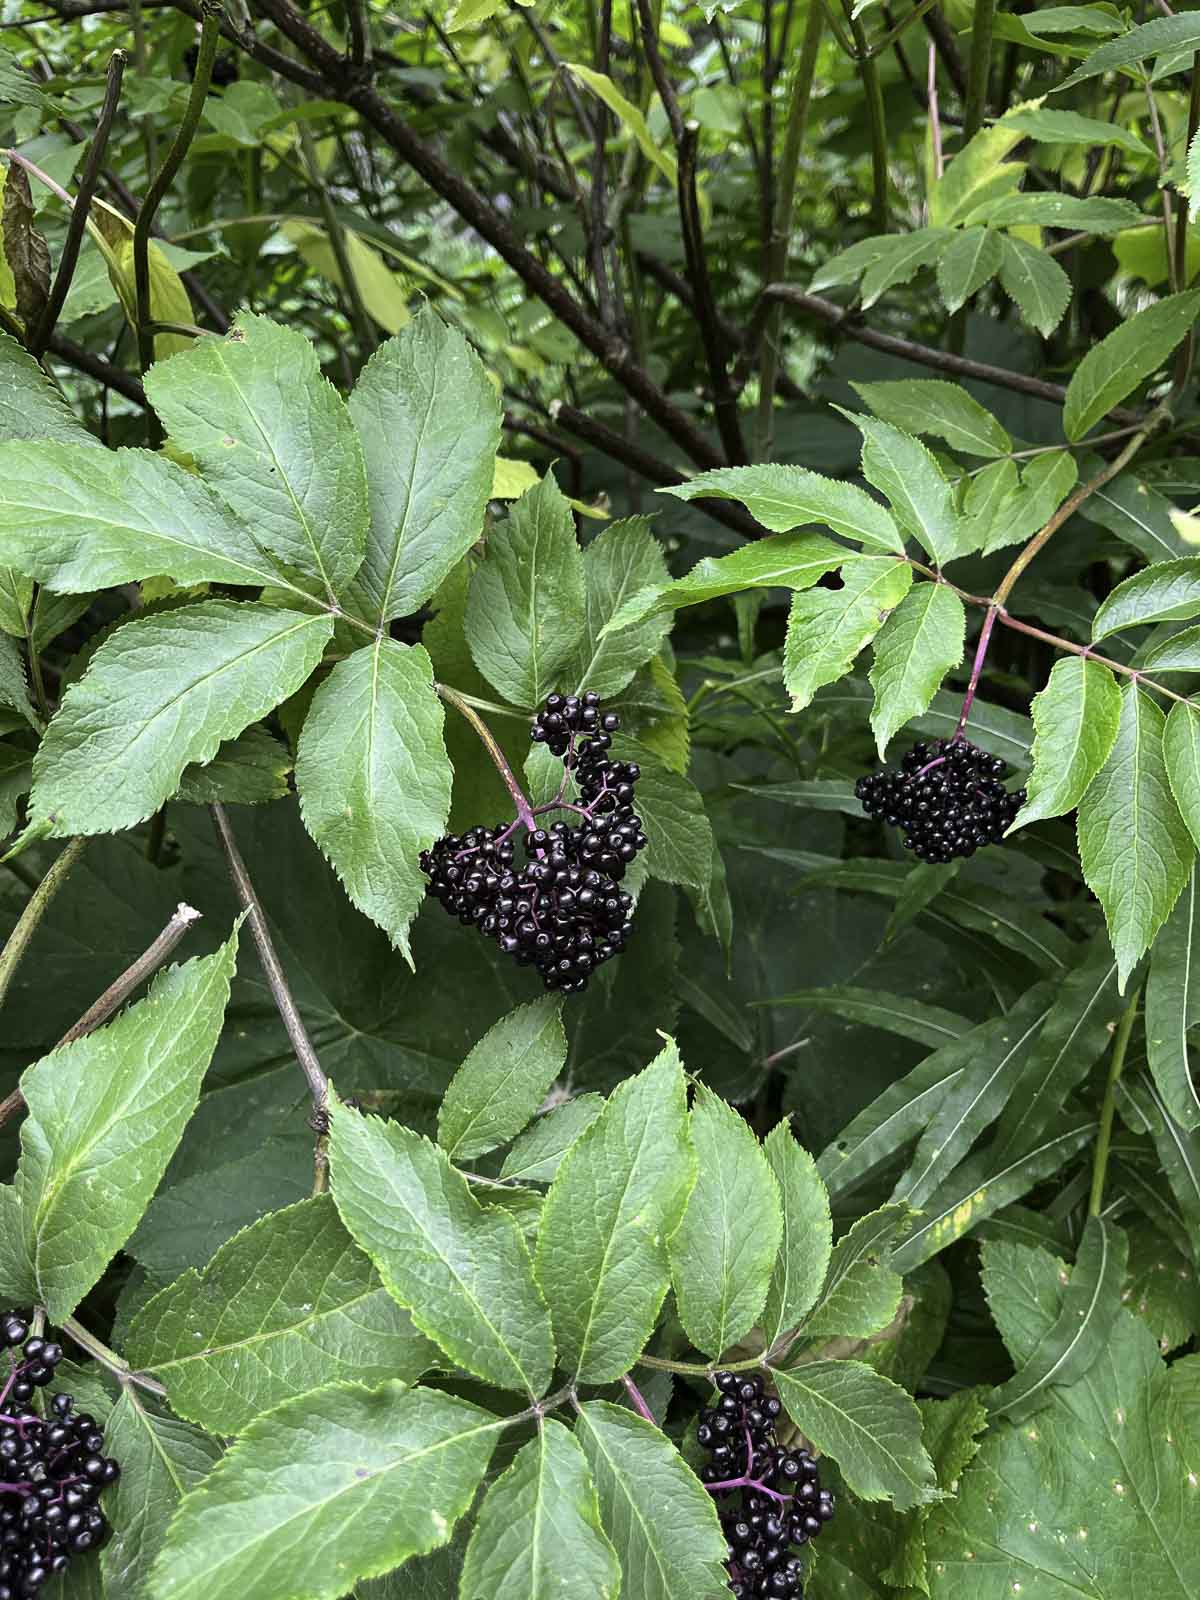
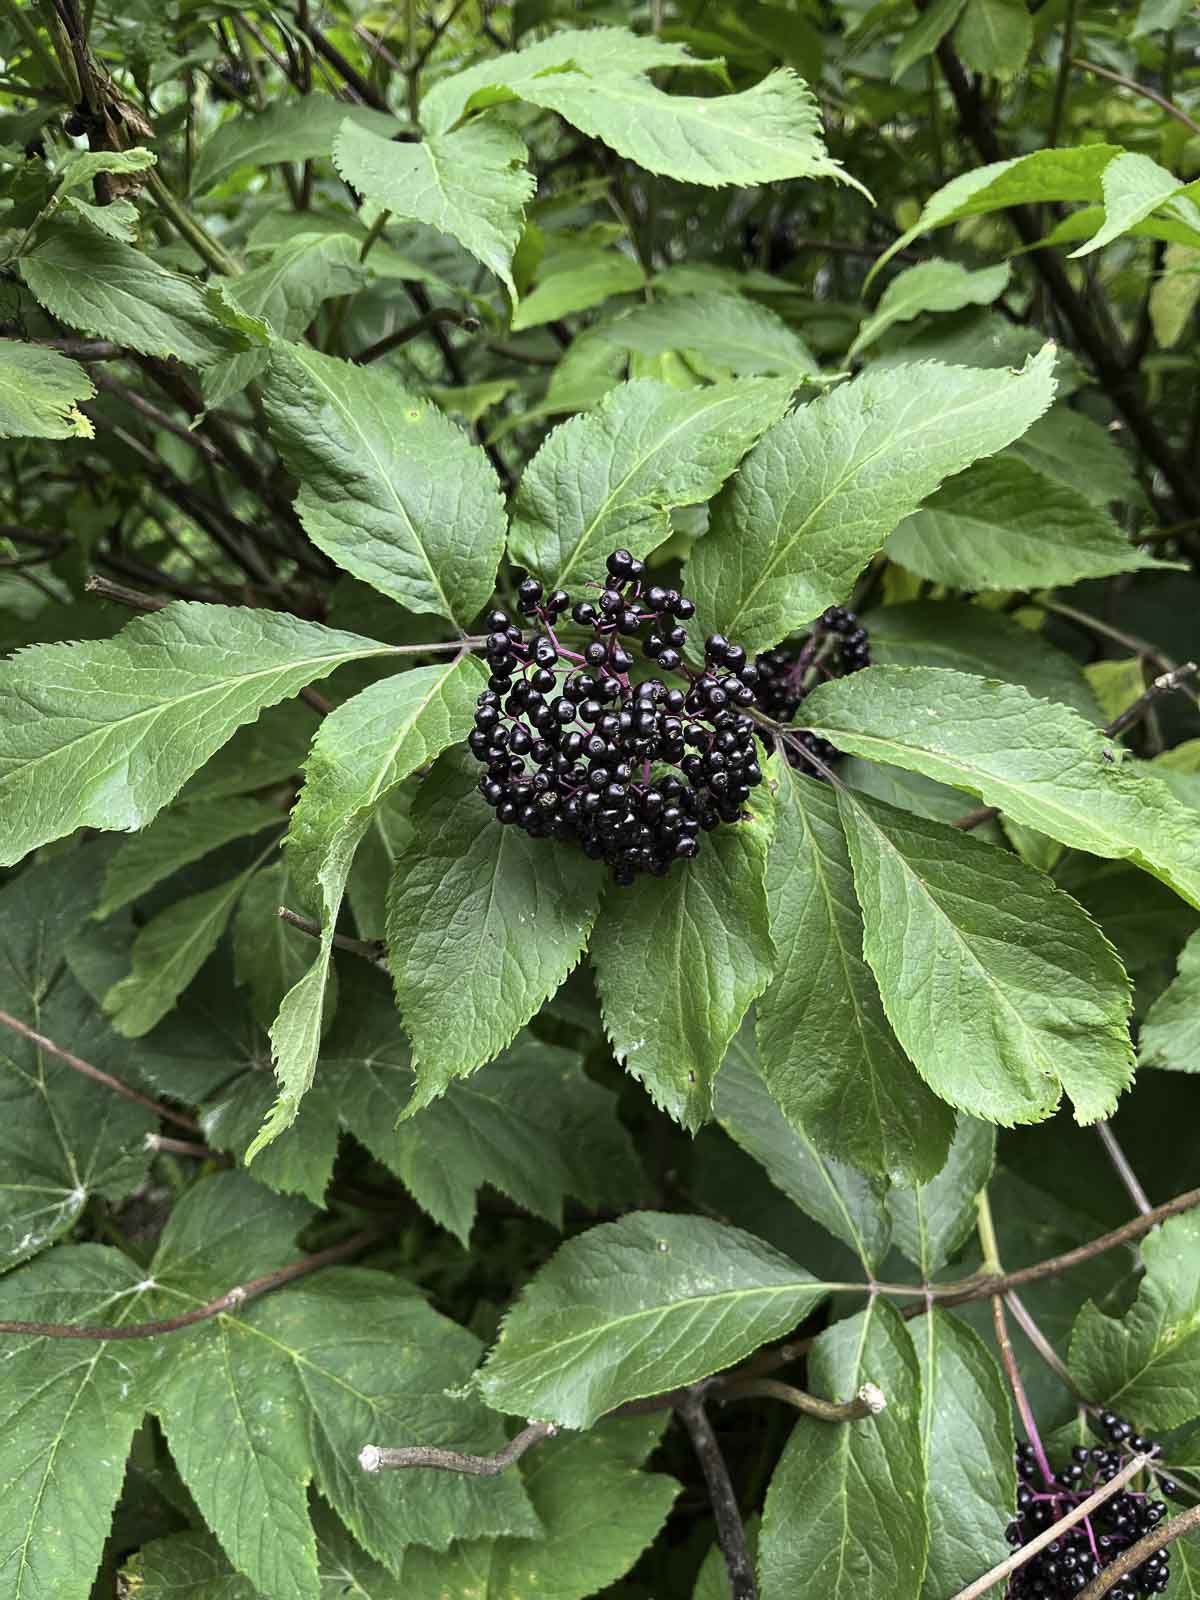
You may need to get up in elevation to forage elderberries. We usually go up into the local mountains. Black elderberries are ripe when they look plump and very shiny.
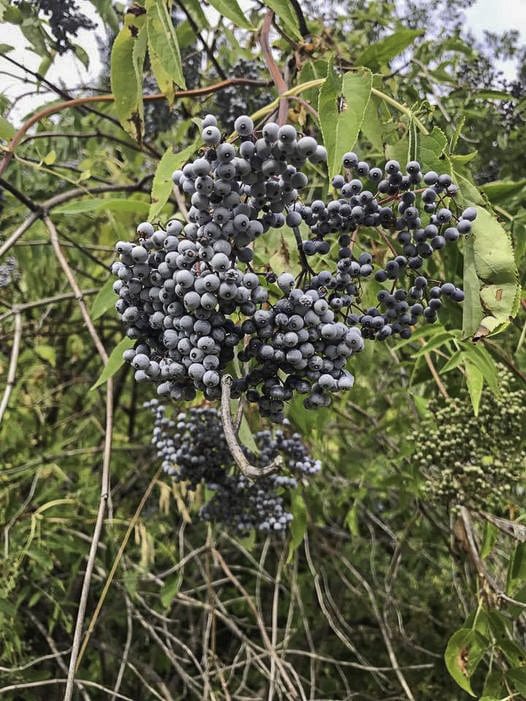
In the northwest, this could be anywhere from September to early October. I have only made elderberry wine with black elderberries, although I've used blue elderberries to make elderberry syrup. However, do not make wine from red elderberries because they're toxic.
Pro Tip: If you don't have access to elderberry bushes, you can still make elderberry wine! You can purchase dehydrated elderberries on Amazon! You'll need approximately 5 cups of dehydrated elderberries.
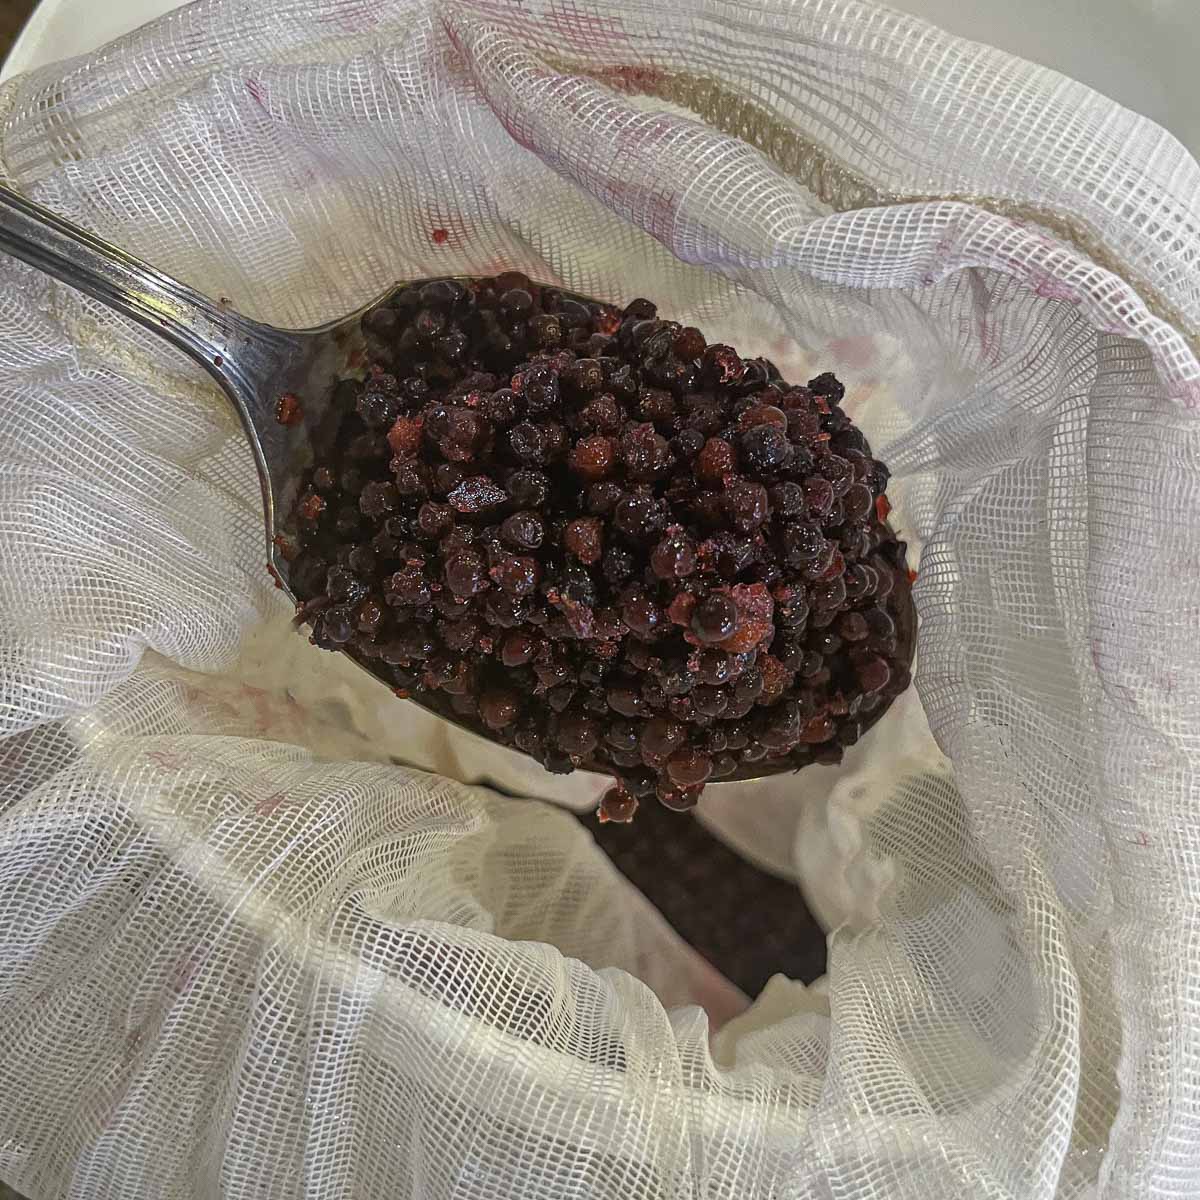
🍇 How to Process Wild Elderberries
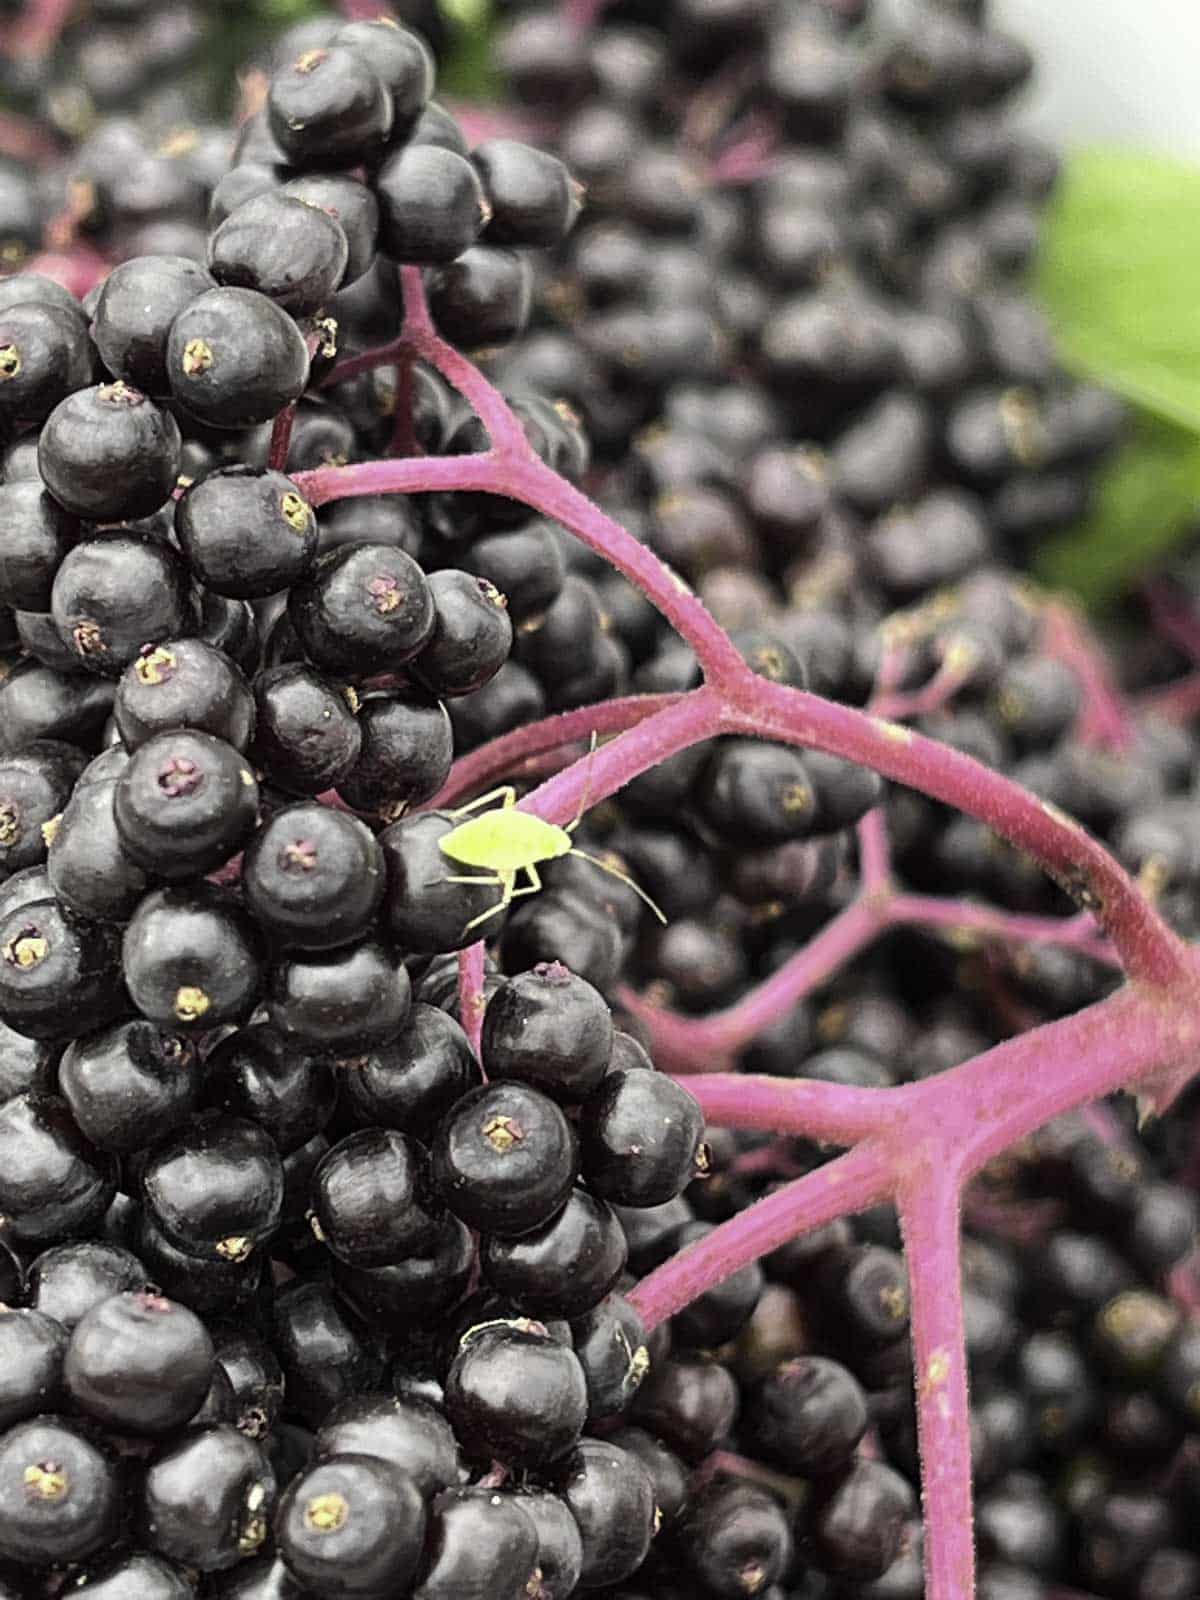
When you first pick the elderberries, bring them home and clean them in a bucket or large bowl of water. You want to remove the dirt and debris, as well as any wild yeast. You also want to look out for any critters that may have burrowed into the elderberry clusters.
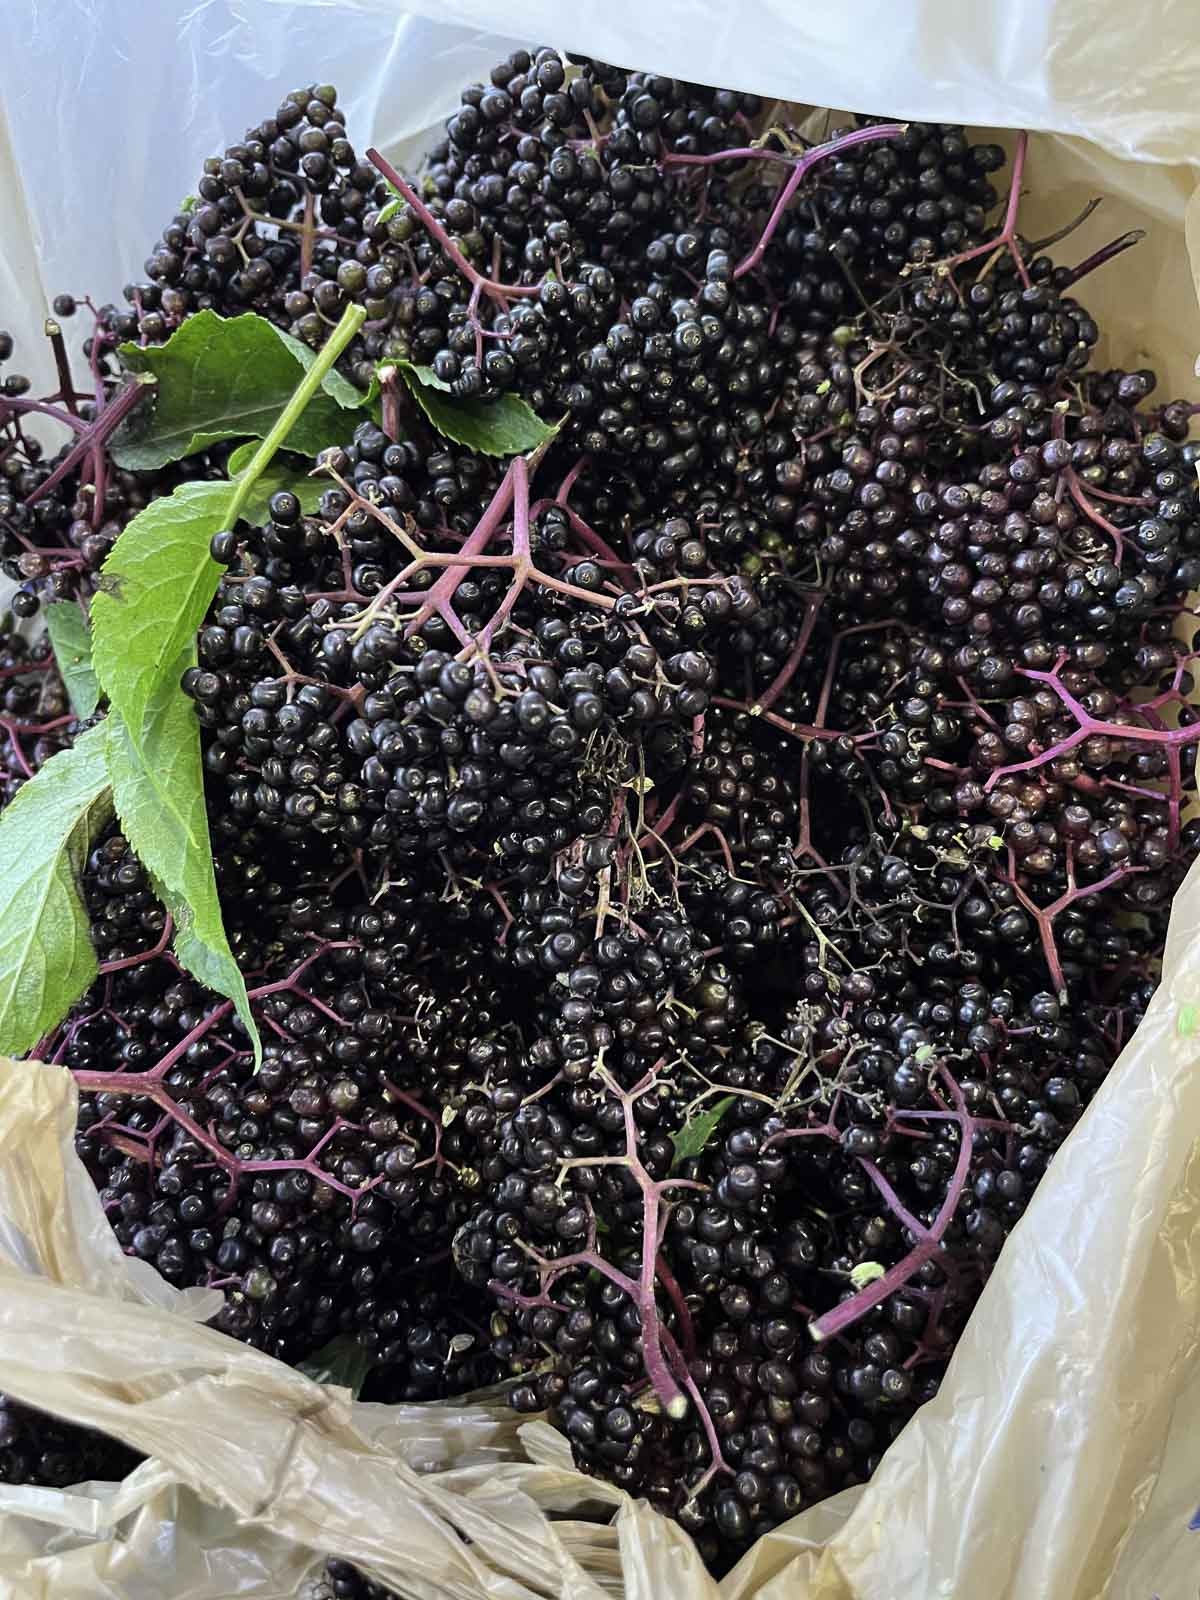
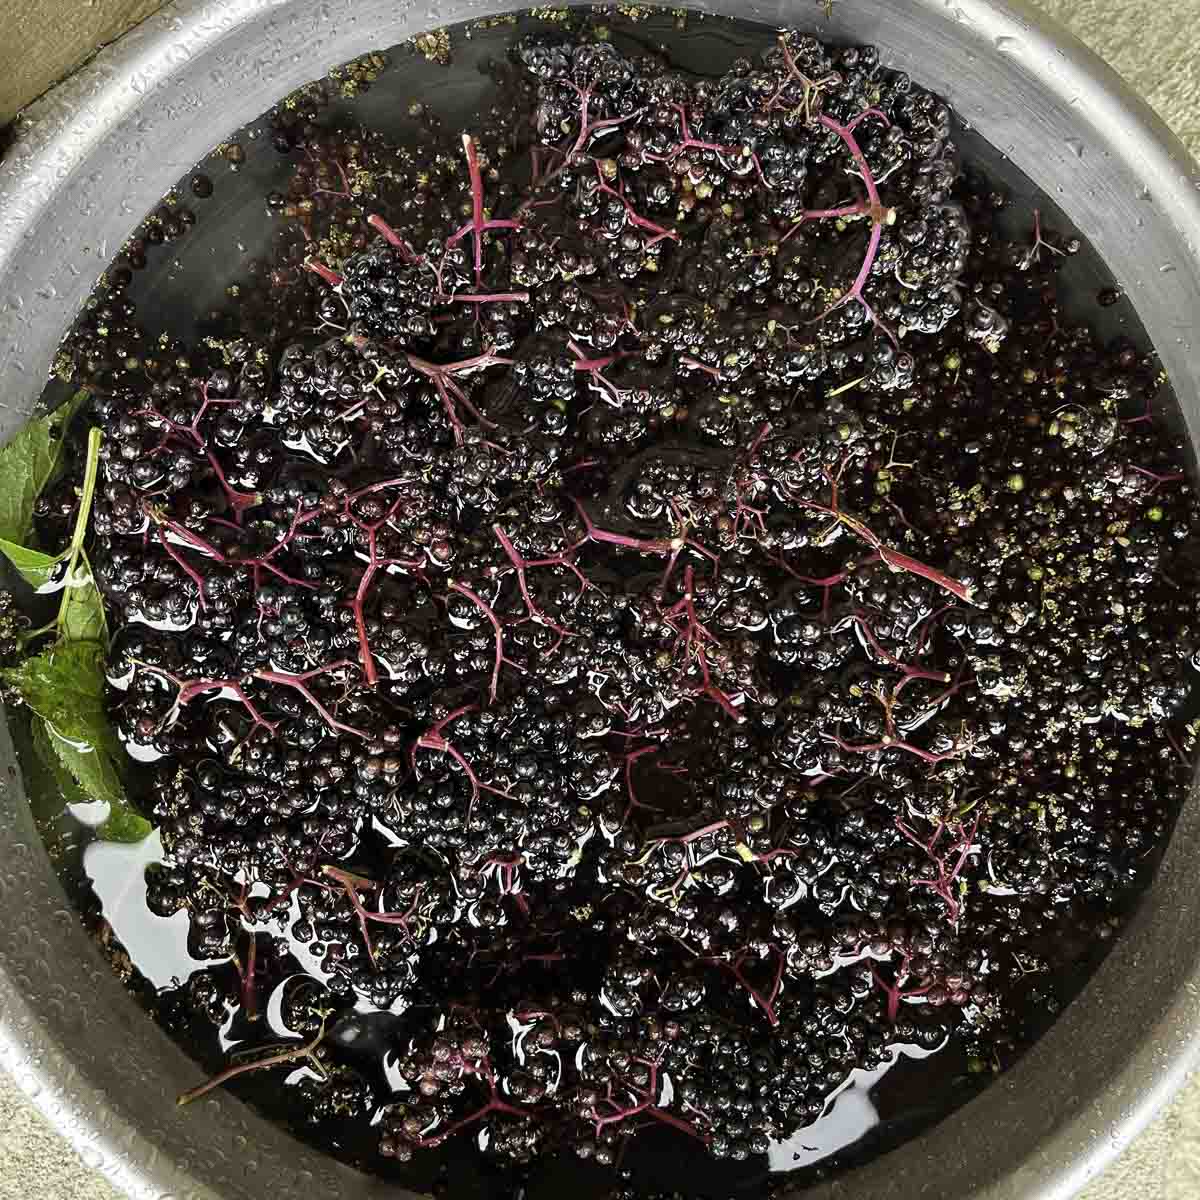
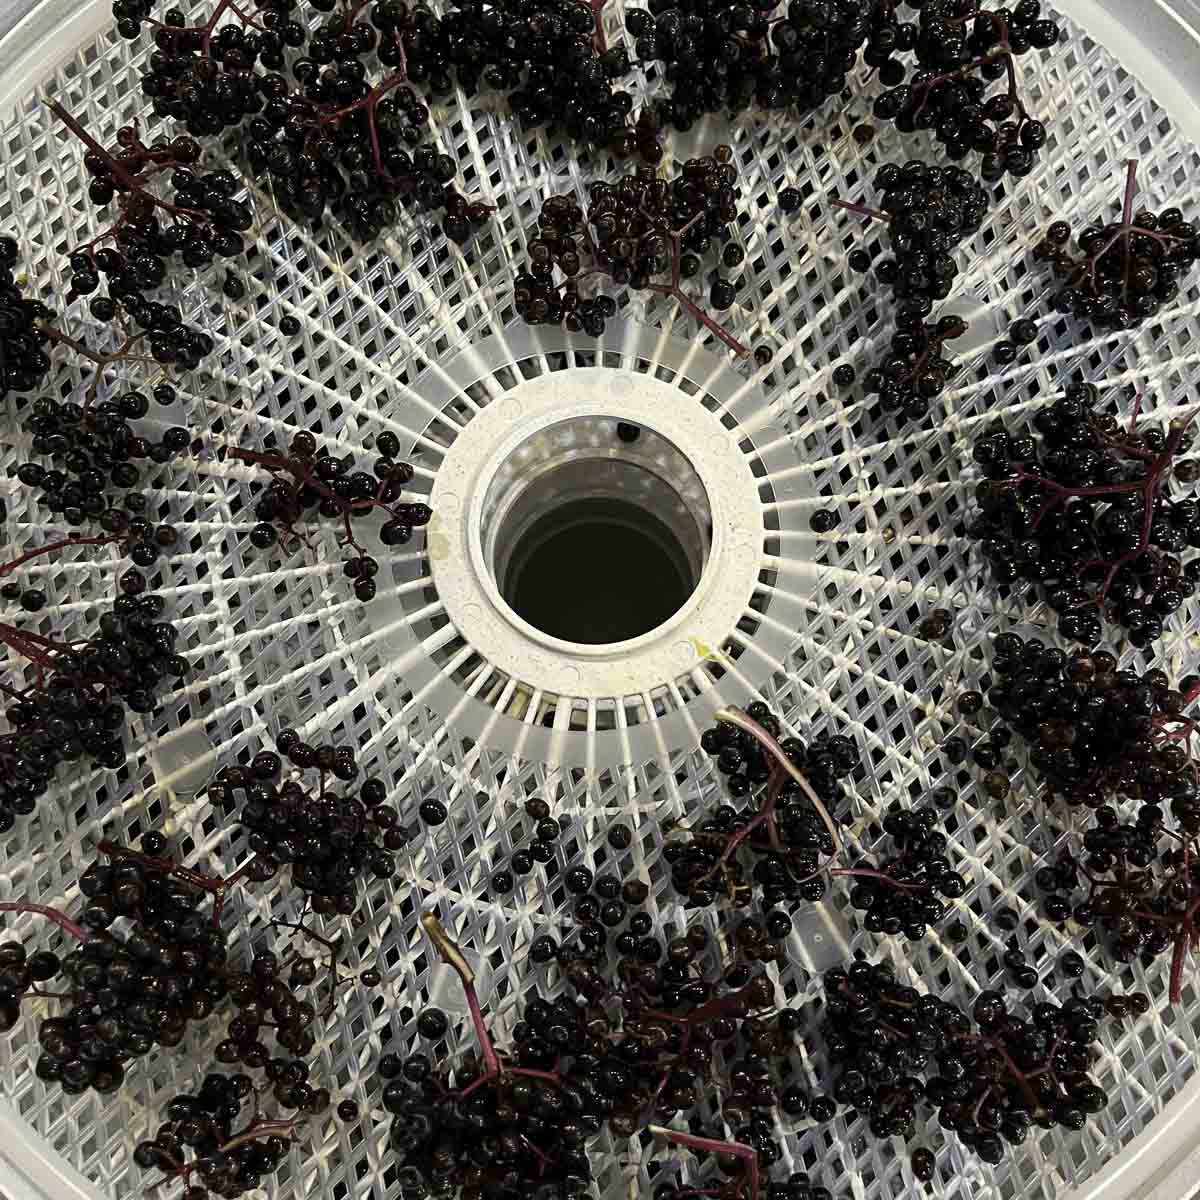
The next step is to decide if you will use the elderberries right away, freeze them, or dehydrate them. If you plan on using them to make wine, it's better if they're frozen first. The fruit's cell structure breaks down more easily when the fruit is frozen.
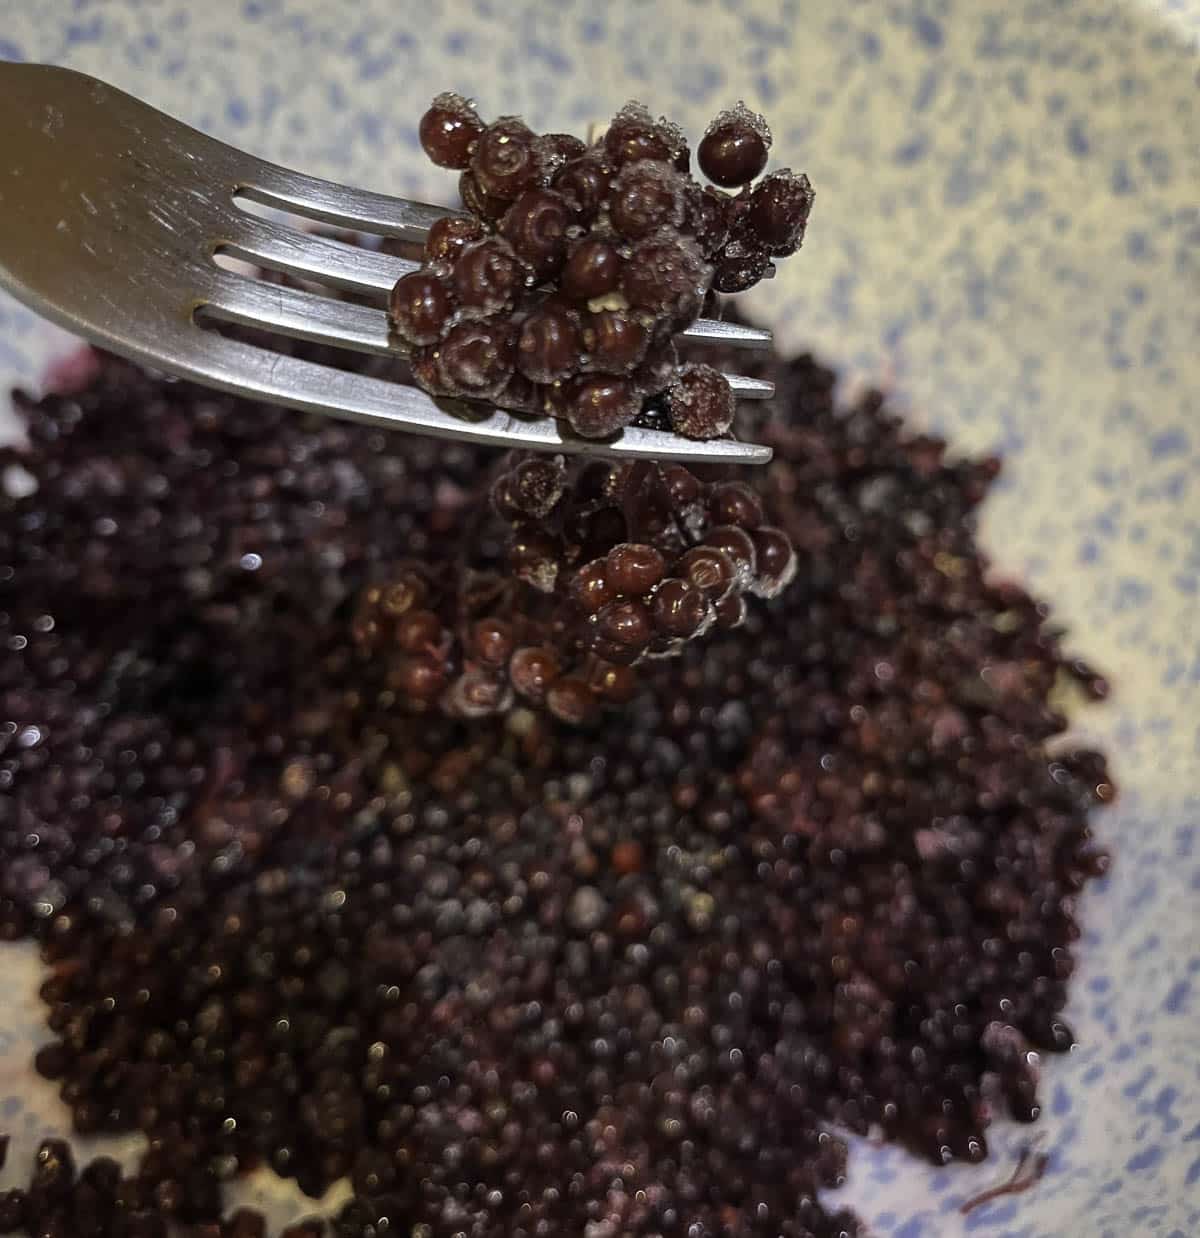
Pro Tip: Once frozen, the elderberries can be raked with a fork to dislodge them from their stems.
If you are looking for other recipes featuring elderberries, make sure to try this elderberry cough drops recipe and my simple elderberry jelly recipe!
🤷🏻♀️ FAQS
Elderberry wine is tart, fruity, and earthy. This hearty wine is exceptionally delicious and has immune-boosting properties.
Elderberry wine can be sweet or dry, depending on the elderberry wine recipe used. The amount of sugar that is added and the type of yeast used are also factors. Even if elderberry wine is dry, it can be back-sweetened after it has finished clearing and before bottling it.
Elderberry wine is known for forming a green slimy substance that some refer to as elderberry goo. Some suspect this is caused when elderberry stems are accidentally included in the must, while others think it's from the oils in the elderberries. Whatever the reason, the substance is totally harmless. 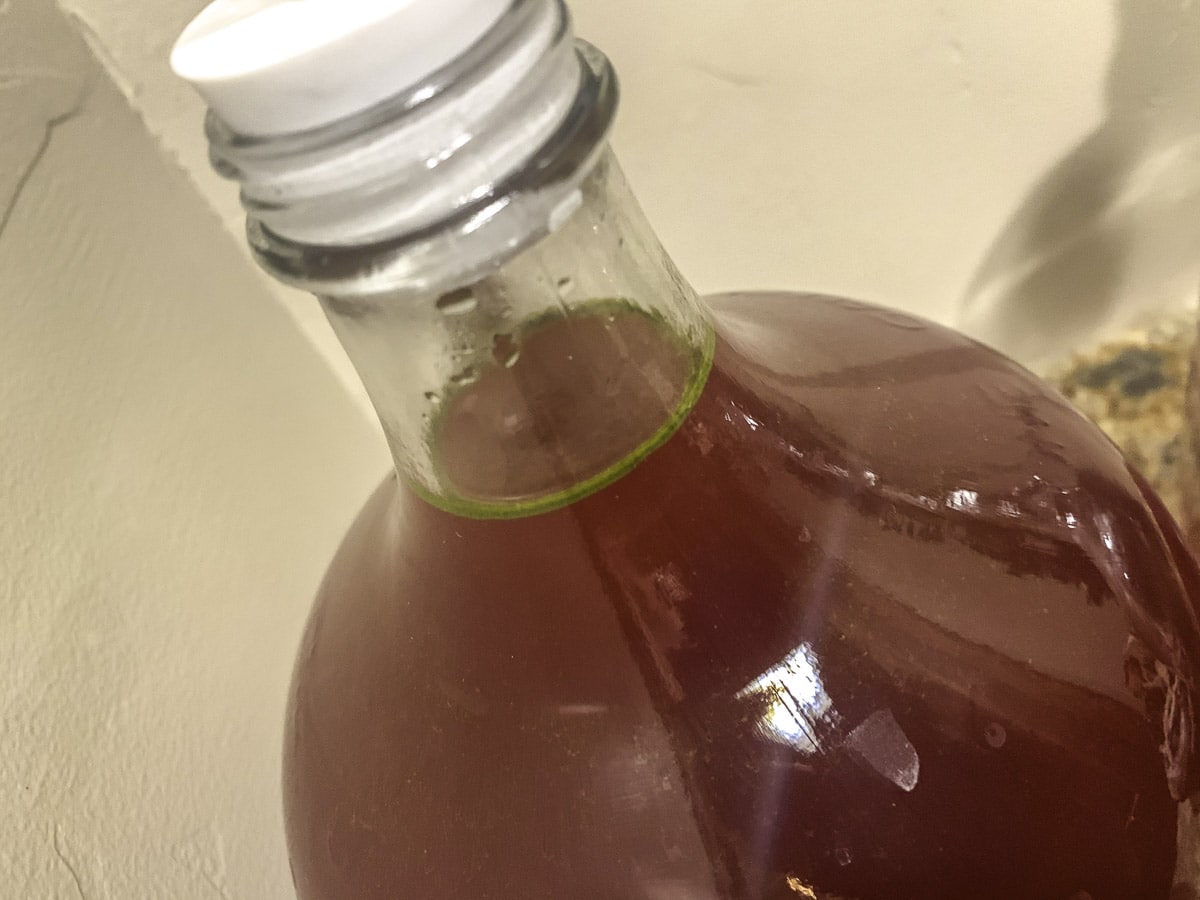
There are a few determining factors that contribute to the alcohol content of elderberry wine. The amount of sugar used in the recipe and the type of wine yeast added can significantly determine the alcohol percentage.
Generally speaking, the alcohol content of elderberry wine can be anywhere from 10%-15%.
👩🏼🍳 Pro Tips
- If using dried/dehydrated elderberries, you'll need approximately 5 cups of elderberries to make this elderberry wine recipe.
- Pectic enzyme is sometimes added to certain wines. The enzymes break up the pectin to extract the flavor of the fruit. Since elderberries are low in pectin, you don't need to add pectic enzymes to this recipe.
- I usually like to add tannins to my wines, but since elderberries are high in tannins so it doesn't need it.
- Bungs come in different sizes. You'll need a larger size bung for the juice bottles.
- As the wine is clearing, you may notice tiny black particles that resemble coffee grounds along the top of the wine. This is perfectly normal, and it does not mean your wine has gone bad. A greenish substance may also be present; see the FAQ section where I discuss "elderberry goo."

🍓 Related Recipes
If you enjoy this elderberry wine recipe, be sure to check out these other related wine and elderberry recipes!

Did you make this recipe?
📖 Recipe
Would you like to save this recipe?
Easy Elderberry Wine Recipe
Ingredients
Equipment
Method
- Start by sanitizing all the equipment with no-rinse homebrewing sanitizer.
- Add sugar and one gallon of water to a large pot. Mix and heat until the sugar dissolves and the water is about to boil.
- Place a mesh straining bag inside the primary fermentor bucket and carefully fill it with cleaned and destemmed elderberries. Tie a knot in the bag and pour the hot syrup over the berries. Crush the elderberries with a potato masher then allow the syrup to come to room temperature.
- Dissolve the acid blend and a crushed Campden tablet and stir them into the must (unfermented fruit juice before it's converted to wine).
- Take the initial specific gravity (SG) reading by pouring some of the must into the test tube. Leave a few inches from the top of the vile. Next, gently place the hydrometer into the liquid and spin it to release the bubbles. Read the corresponding number on the hydrometer and log into your wine log.
- Cover the elderberry must with a clean napkin and secure it with a rubber band. Set the bucket aside for 24 hours.
- After 24 hours, add the yeast nutrient and the yeast to the must. You can either sprinkle the yeast on top, stir it in with a sanitized bar spoon, or activate the yeast in ½ cup of warm water before adding it to the bucket. Cover again with the napkin and set aside to ferment.
- Mix and mash the fruit every day. On the third day take the SG reading and jot it down in your notebook. Take a reading daily, until it reads 1.030. This should take approximately 3-5 days.
- When it's ready, strain the wine from the fermentor bucked and transfer it into a sterilized one-gallon carboy. This is referred to as "racking the wine." Place any extra wine in a smaller bottle and top both with a bung and airlock.
- Allow the wine to clear for one month then get it off the lees by reracking the wine into a clean carboy. Let it go for another month or two.
- When your wine has been clearing for at least two months, take a final SG reading. Use an ABV calculator to determine the percentage of alcohol in the wine. Taste the wine to decide if it needs back-sweetening. Add ¼ to ½ cup of syrup per gallon, another crushed Campden tablet, and ½ teaspoon of potassium sorbate (stabilizer) to keep the wine from refermenting.
- Siphon the wine into sanitized wine bottles. This can be anything from flip-top bottles (such as Grolsch bottles) or wine bottles. Of course, you'll need corks and a corker for the latter. Label the wine bottles with the date, type of wine, and alcohol percentage.
- The longer you wait the better elderberry wine will be. If you can wait a year do so! If not, give it at least 3 months and save one of the bottles for a year so you can taste the difference.
Nutrition
Notes
- Do your best to not only keep the stems out but also unripe, green berries, which are toxic.
- If using dried/dehydrated elderberries, you'll need approximately 5 cups of elderberries.
- I usually like to add tannins to my wines but since elderberries are high in tannins it doesn't need it.
- Pectic enzyme is sometimes added to wine. The enzymes break up the pectin in to extract the flavor of the fruit. Since elderberries are low in pectin, you don't need to add pectic enzymes to this recipe.
- The ideal temperature for fermentation is somewhere between 70°-85° F.
- Make sure you dry the mouth of the bottle as well as the bung so that it does not slide out of the bottle once the wine begins to ferment.
- Bungs come in different sizes. You'll need a larger size bung for the juice bottles.
- As the wine is clearing, you may notice tiny black particles that resemble coffee grounds along the top of the wine. This is perfectly normal and it does not mean your wine has gone bad. A greenish substance may also be present, see the FAQ section where I discuss "elderberry goo."
- Make sure to label the wine with the type of wine and the date it was racked. As the wine clears, you'll notice the dead yeast and particles will settle on the bottom of the carboy. Leave this "lees" behind when you re-rack the wine. Don't toss the lees, it's great for your garden!
MyGiftsy says
Such a well-written and easy-to-follow recipe!
This elderberry wine guide is informative and beginner-friendly, making homemade winemaking feel simple and enjoyable.
Hilda Sterner says
Thanks for the review!
Stacey L Fuller says
hello. my wine is at 0.099 at the end of 7 days. I racked it over couple days ago and there is not any fermentation happening. is there a way for me to save this wine and get a fermentation going?
Hilda Sterner says
Hi again, Did it ferment at all in the beginning? The first few days? If it never did, then I would have to question if your yeast was bad/expired? If you have fruit, sugar, yeast, it should ferment. Check the wine's temperature and make sure it's between 65-75F. Too hot or too cold conditions will affect the fermentation. You can add more yeast (I would activate it in a little juice or water first to make sure it's good). I would give it a little taste too. If it's dry, then the yeast has done it's job and it finished early. It it's still sweet than I would add some yeast nutrient or energizer to get it going again. What was the starting gravity? There's so much that could affect the ferment that I can't give you exact steps to follow but some of the things I mentioned can hopefully help.
Stacey L Fuller says
hello. my wine is at .099 after the 7 days-before racking. I racked it over but dont have any fermenting bubbles after day 1 of fermenting. any suggestions on what i should do at this point?
thank you
Stacey fuller
Hilda Sterner says
Hi Stacey, The specific gravity of 0.999 (I think that's what you meant?) indicates that your fermentation is likely complete. A typical dry wine finishes with a gravity between 0.990 and 0.998. The lack of bubbling after racking is normal and expected for a secondary fermentation stage. Many factors determine the length of initial fermentation. For example, if it's warm in your house, it will ferment faster than if it's cold. I hope that helps.
Stacey L Fuller says
hello. thank you for the reply. yes this is helpful
Mo says
I purchased the Flip Top bottles from Amazon to give this a try next week, does the space where the metal goes into the glass decrease how long the wine lasts? have you had good experience with these?
Hilda Sterner says
Hi Mo, no, that hasn't been my experience. But if you are worried, I recommend making the switch to wine bottles and corks. That's the best way to go in the long run!
Alli Jones says
I made this just as the recipe is, and it turned out perfect! Thank you so much for the thoughtfully laid out content. It was my first attempt at elderberry and a way better attempt than my muscadine and beautyberry (although they were good, they are too sweet). Ironically my brother has Arsenic and Old Lace on his wish list among many other things, so I had to get it for him due to the coincidence! I still haven’t seen it. Anyway, I will use this recipe again next time! I should download the text!
Hilda Sterner says
Hi Alli, I'm so glad to hear that you enjoyed this recipe. It's one of our favorties too! Definitely get your brother that movie, and make sure to serve some elderberry wine while you watch it!
Catherine says
what is the weight of elderberries needed for one gallon of wine, please?
Hilda Sterner says
Hi Catherine, you'll find the exact measurements of all the ingredients in the recipe card at the bottom of the post: https://hildaskitchenblog.com/recipe/easy-elderberry-wine-recipe/#recipe Good luck!