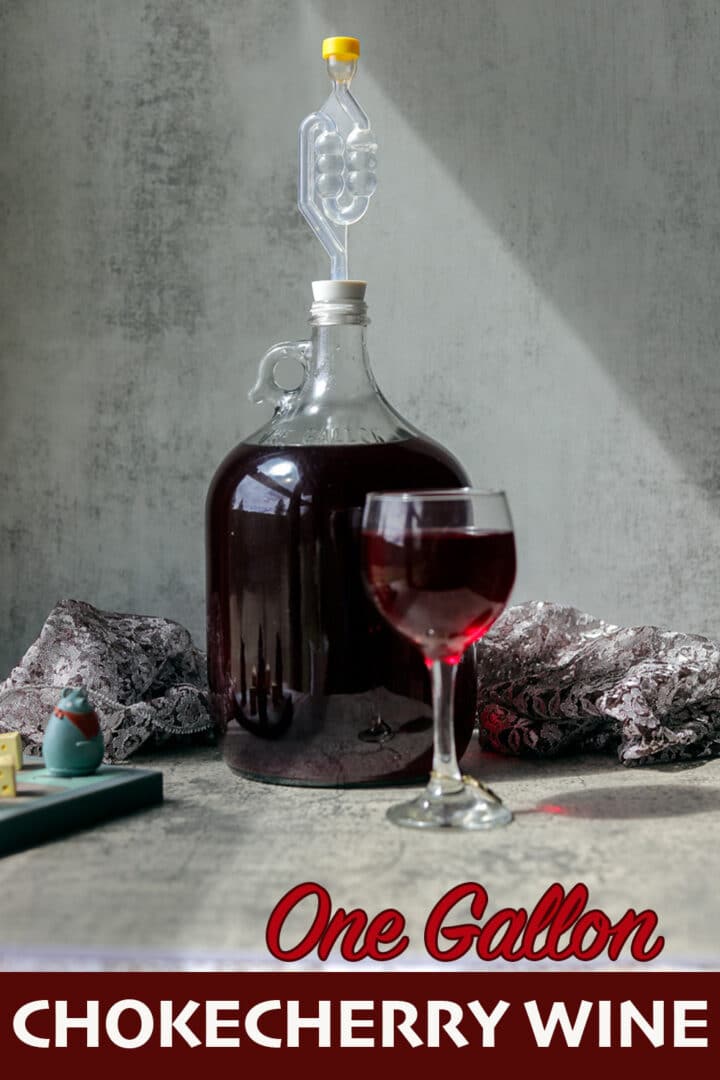
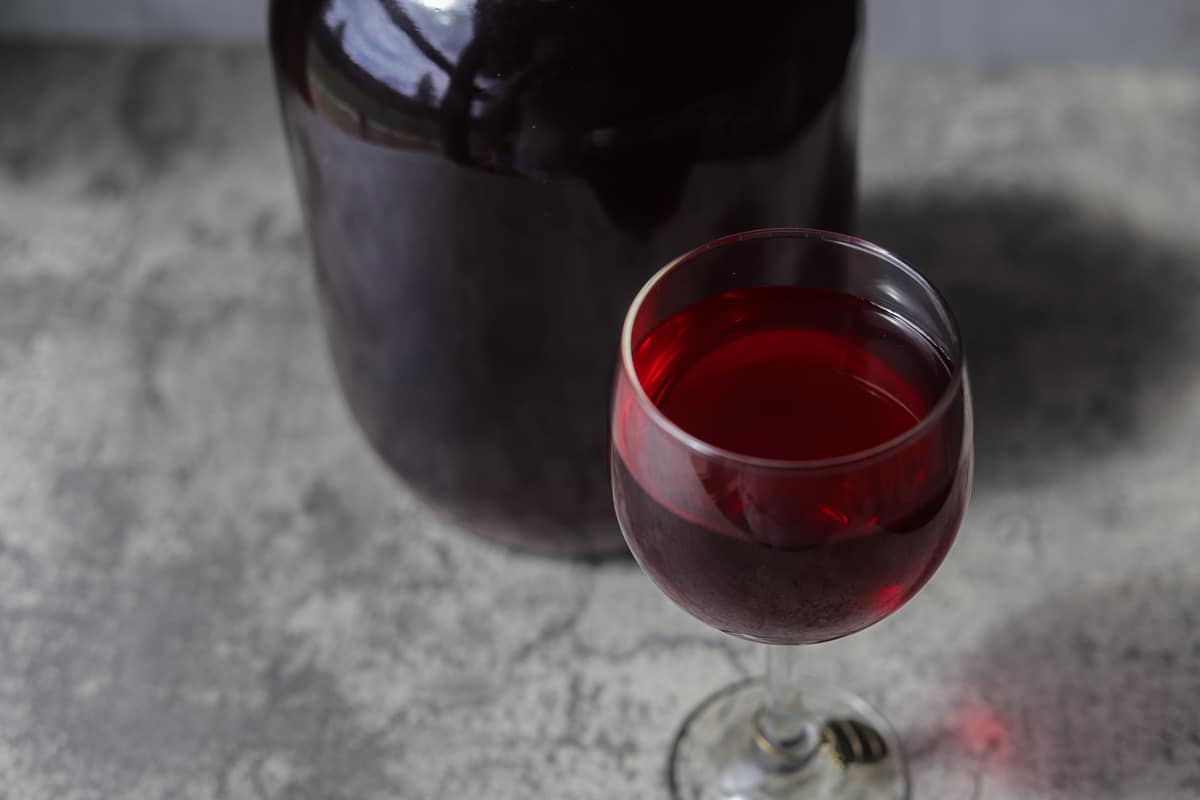
If you love sweet fruit wines, you'll love this luscious chokecherry wine recipe! It's a full-bodied, slightly tart, semi-sweet wine, with a surprisingly pleasant bitter aftertaste. It can be sweetened further with simple syrup or chokecherry syrup, or leave it dry if that's what you prefer!
Would you like to save this recipe?
Making a gallon batch of Choke Cherry Wine, or any sweet fruit wine for that matter, couldn't be simpler or more rewarding! Most wine-making kits have everything you need to make many bottles of wine, including Chokecherry Wine!
Since purchasing my winemaking kit, I've made the following: Elderberry wine, chokecherry wine, Oregon grape wine, lilac wine, mixed berry wine, pomegranate wine, huckleberry wine, and I currently have a few gallons of meads fermenting!
Jump to:
😍 Why You'll Love This Recipe
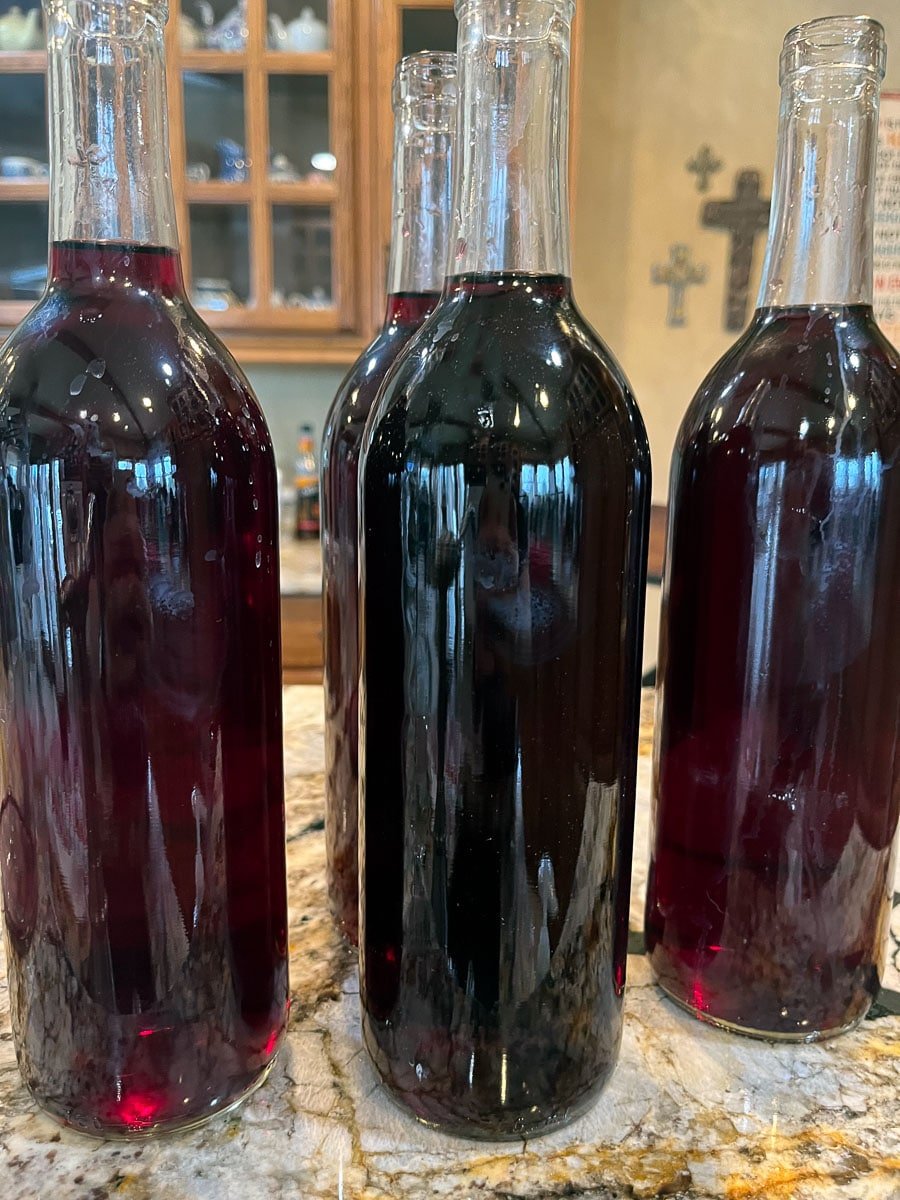
With this Choke Cherry Wine recipe, you will have a basic procedure to follow, which will allow you to make one gallon of wine, enough to fill 5 standard-sized bottles of wine.
This recipe is adapted from the recipe book that came in my winemaking kit. It takes approximately 3 months until the delicious wine is ready to drink, and it gets better with age! If you can wait a year to drink it, you're a better man (or woman) than I am! 😉

🔖 Ingredients & Substitutions
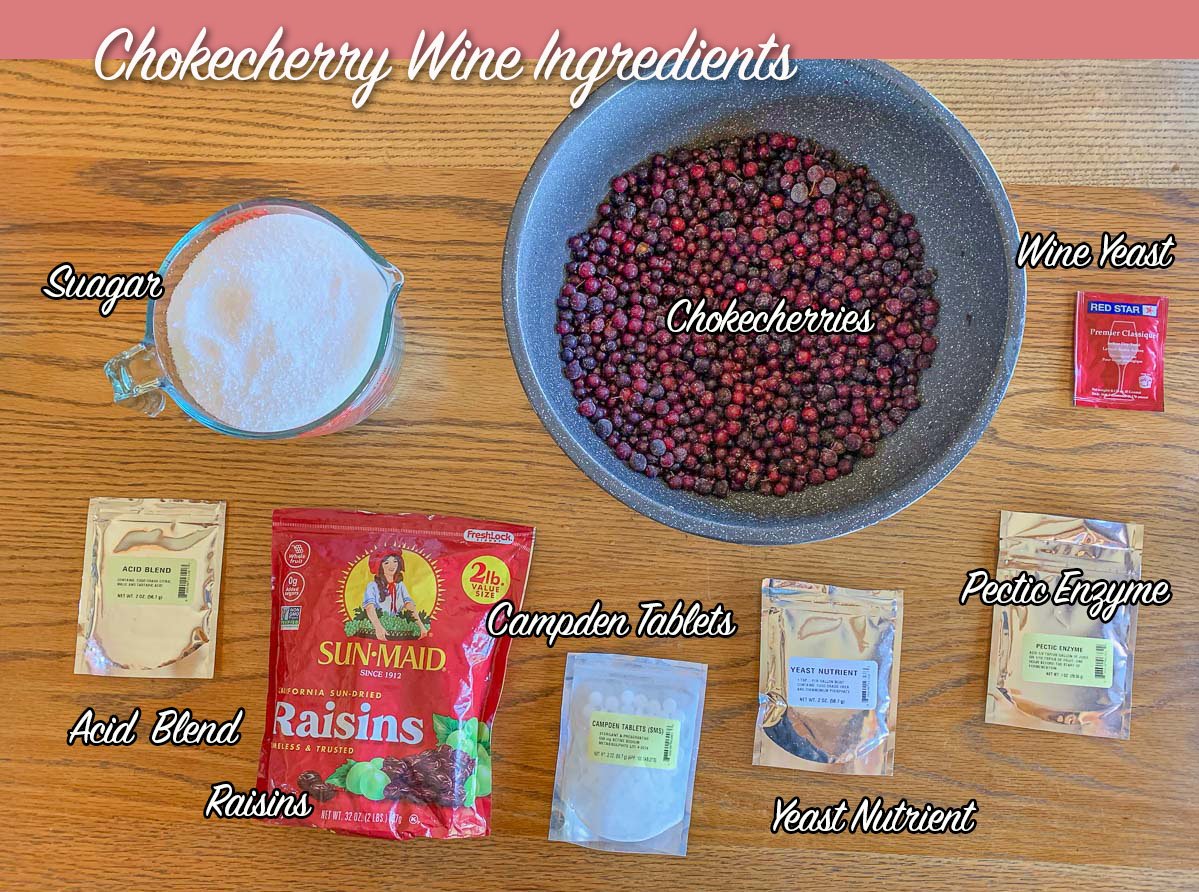
- Chokecherries: You will need 3 pounds of chokecherries for this recipe. Make sure to use ripe chokecherries; they get darker as they ripen. They should not be confused with chokeberries, which are a different fruit altogether.
- Raisins: I prefer black raisins to golden raisins, but you can use either. They add body and grape flavor to the chokecherry wine. Raisins also have a ton of sugar, so they enhance the wine's sweetness. Another option is to use 10 ounces of red grape concentrate instead.
- Sugar: You will need anywhere from 2.25 to 2.5 pounds of sugar (around 5 cups). If you'd like, you can add additional sugar to make a sweeter wine, but I recommend trying this recipe first before adjusting it.
- Wine Yeast: Some people swear by using bread yeast or even wild yeast to ferment their wine. Personally, I haven't had any luck doing that. I recommend using wine yeast instead, which should be included in your winemaking kit. You can also buy a variety pack (sponsored link) to see what you like best. Some yeasts have higher alcohol tolerance than others and provide higher alcohol content in the finished wine. You can find out more about that here.
You Will Also Need the Following
- Pectic Enzyme: Pectic enzyme is needed to break down the chokecherries into a pulp and also aids in extracting the tannins from the fruit.
- Yeast Nutrient: The yeast nutrient feeds the yeast so that it can remain healthy throughout fermentation.
- Acid Blend: Acid blend is a mixture of 40% citric, 40% malic, and 20% tartaric acid and is used to increase the acidity of the wine.
- Campden Tablets: Campden tablets contain Sodium Metabisulfite and are used to keep wild yeast and bacteria from growing in your wine. It also helps to keep the wine from oxidizing, which will affect both the color and flavor of the wine. The tablets need to be crushed and dissolved in the wine.
*See the recipe card at the bottom of the post for exact quantities.
🫙 Tools Required to Make Sweet Fruit Wine
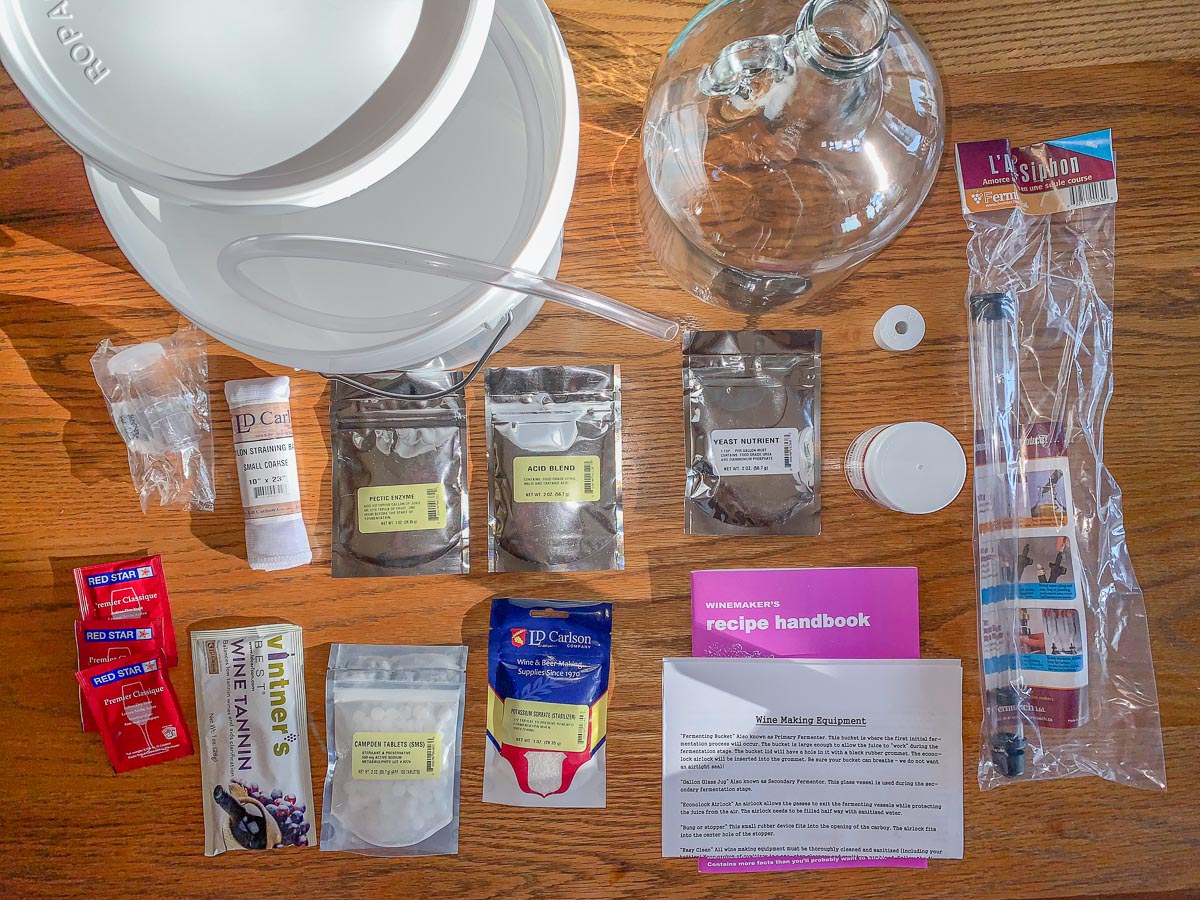
- Sanitizer: All of your equipment needs to be sanitized every time you make wine. You have various options, including a concentrated liquid sanitizer (Star San) or a powder that can be diluted in water (1-Step).
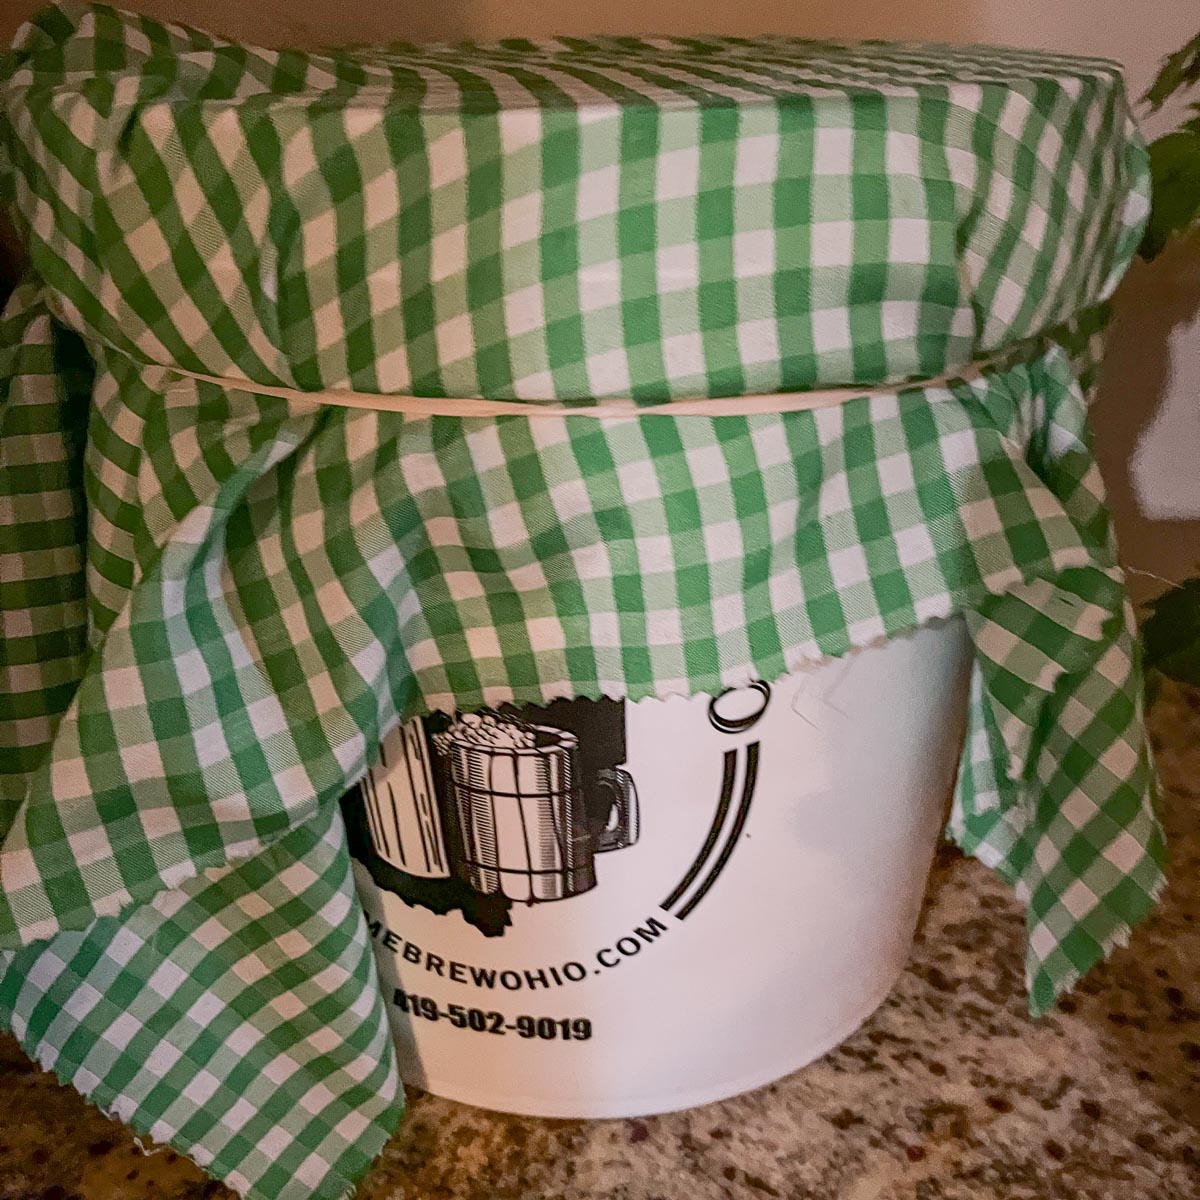
- 2 Gallon Plastic Fermenting Bucket: The primary fermentor is used for the first 5-7 days to get your fermentation/must going. Although it comes with a lid, I recommend covering it with a breathable fabric and securing it with a rubber band. The fabric keeps out the bacteria while allowing some oxygen in to help the yeast get started.
- Strainer/Mesh Bag: You can add your fruit to a mesh bag while it's fermenting or just dump everything inside the primary fermentor bucket. If you decide to use the bag, you'll squeeze the bag to extract the fruit juice and toss the solids that remain in the bag. If you decide to add the fruit directly inside the primary fermentor, you will need to strain the contents of the bucket before transferring them to a carboy.
- 1 Gallon Jug: You will need a one-gallon carboy, also called a demijohn, which is used for fermenting and clearing the wine. Having at least 2 is ideal, especially when racking from one carboy to another.
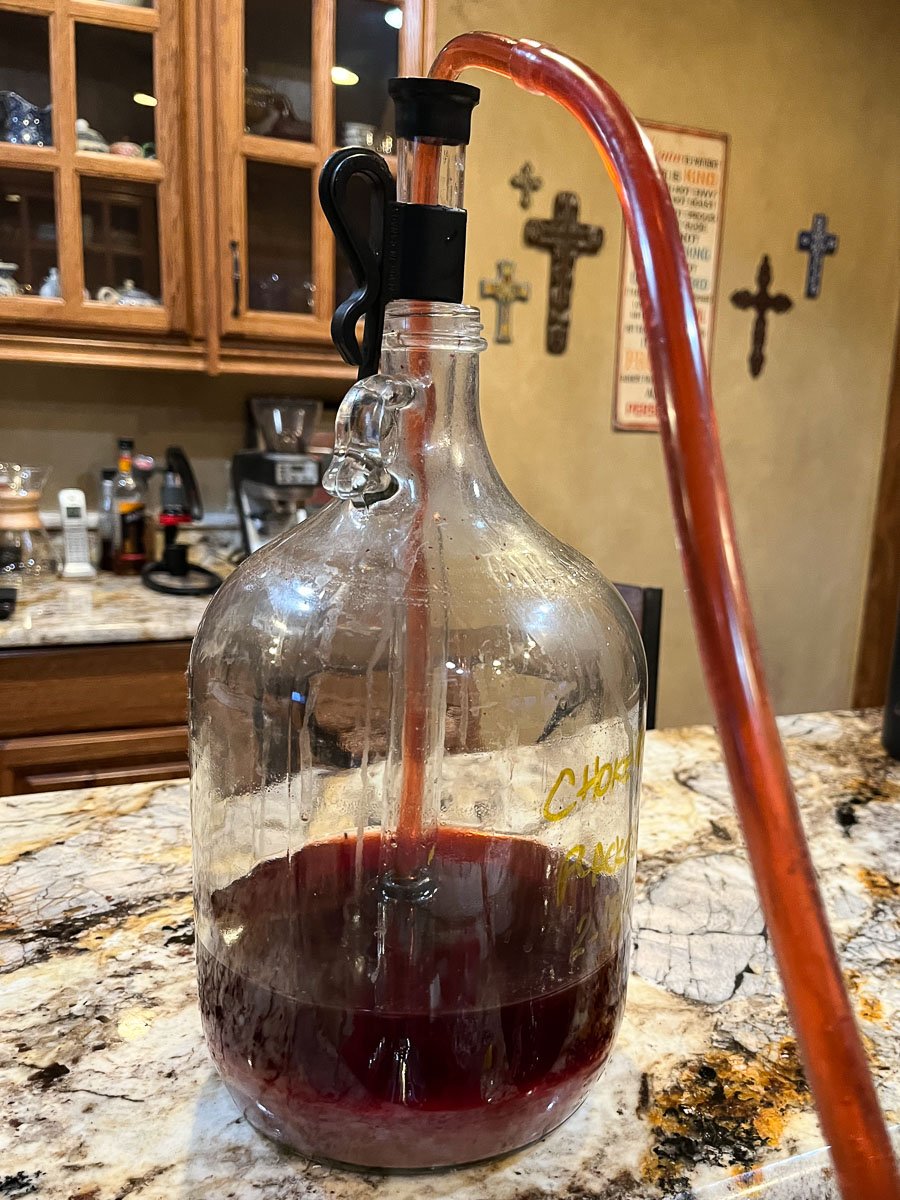
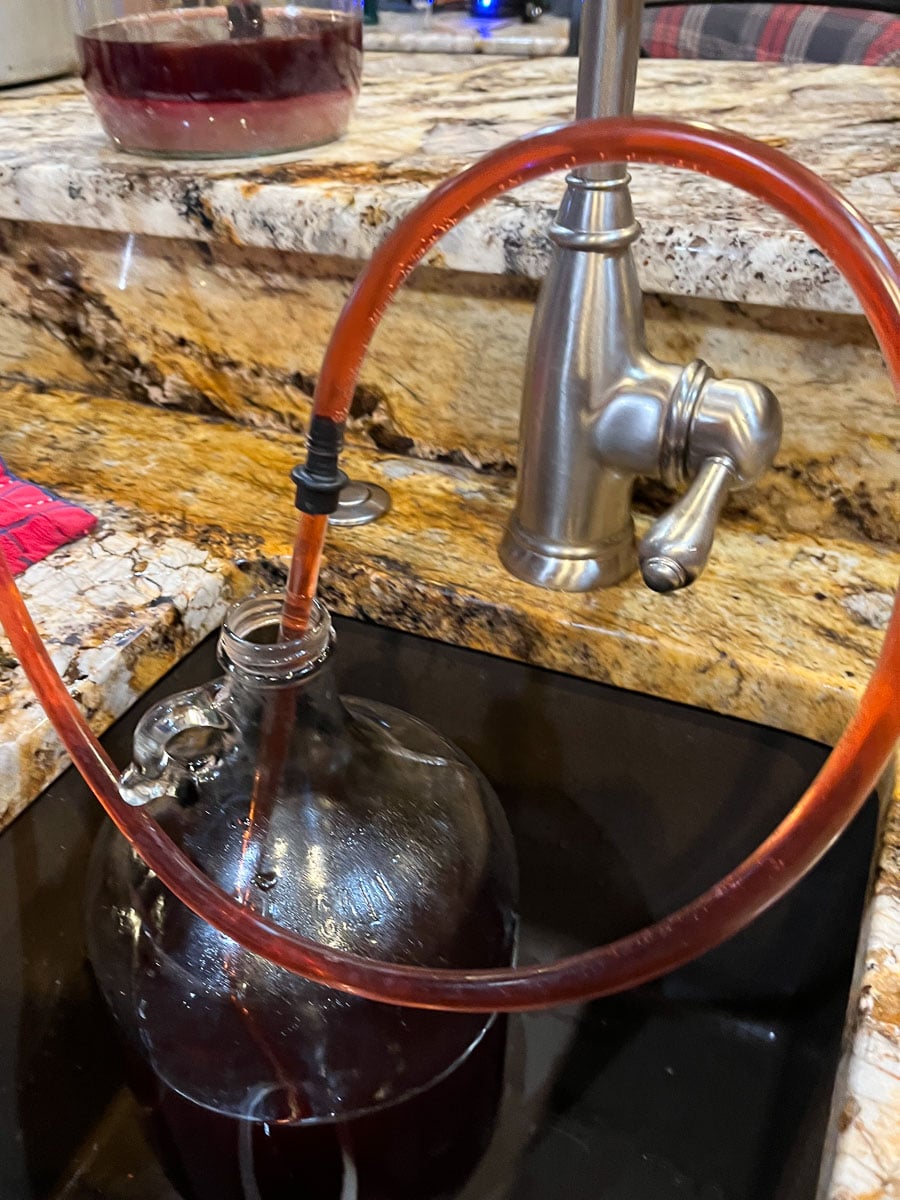
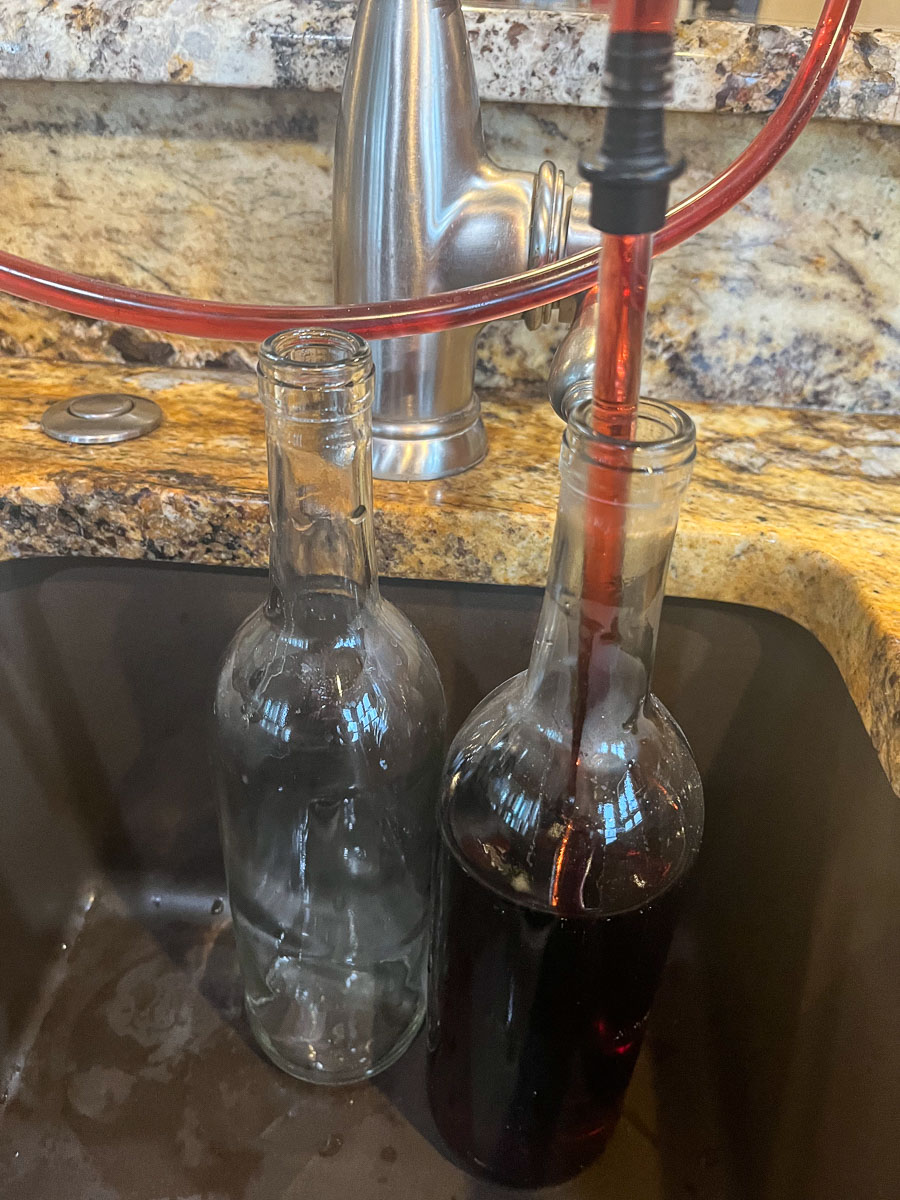
- Mini Auto-Siphon & Tubing: The siphon and tubing are used when transferring the wine from one carboy into the next, and also for bottling the wine. A bottling wand also comes in very handy, but is not required.
- Air Lock and Bung: The airlock goes into the bung, and the two together are used to cap the carboy when it is fermenting and when it is clearing. The airlock keeps oxygen and bacteria from contaminating the wine while allowing the CO2 to escape.
Also Nice to Have
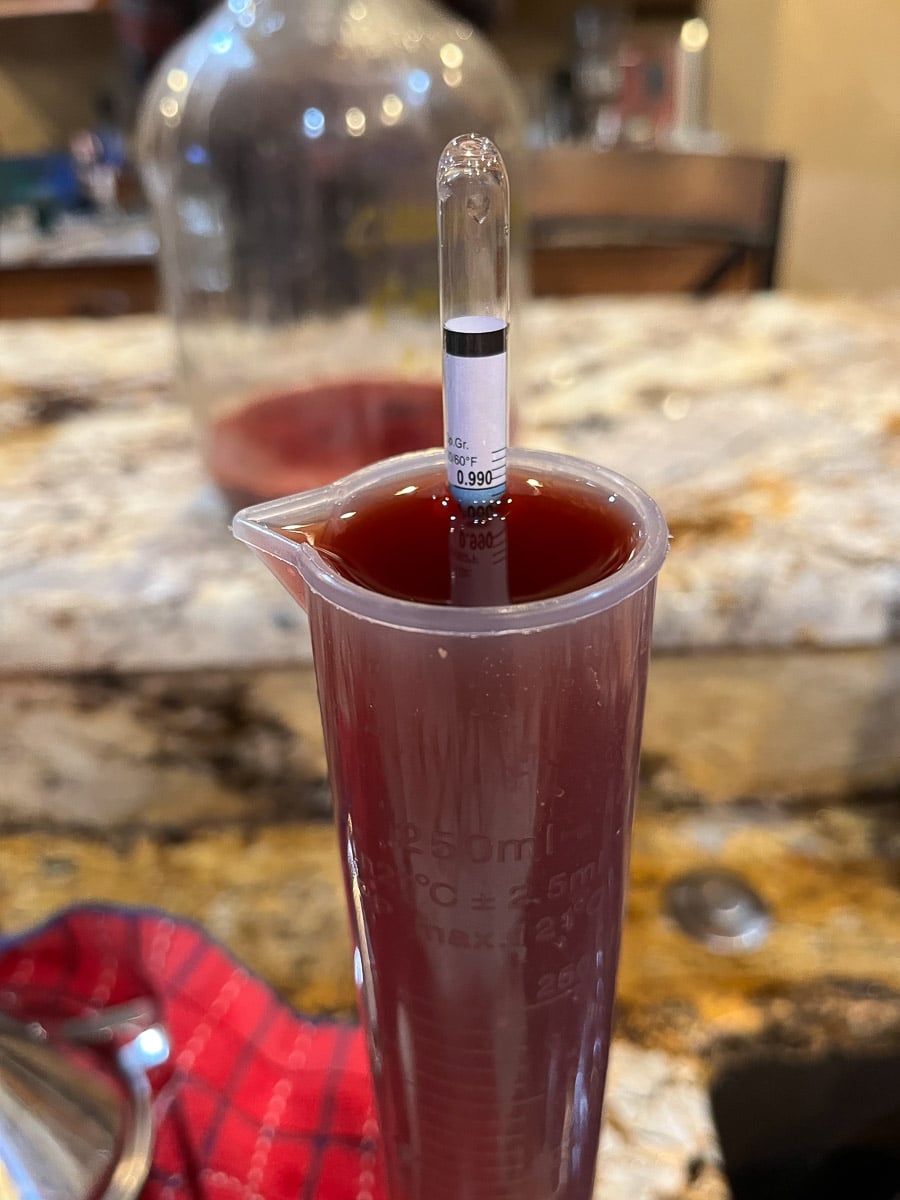
- Hydrometer & Test Jar: A hydrometer is used to figure out the amount of alcohol your finished wine contains. This is done by taking readings of the specific gravity or SG at the beginning, during, and at the end of the fermentation process.
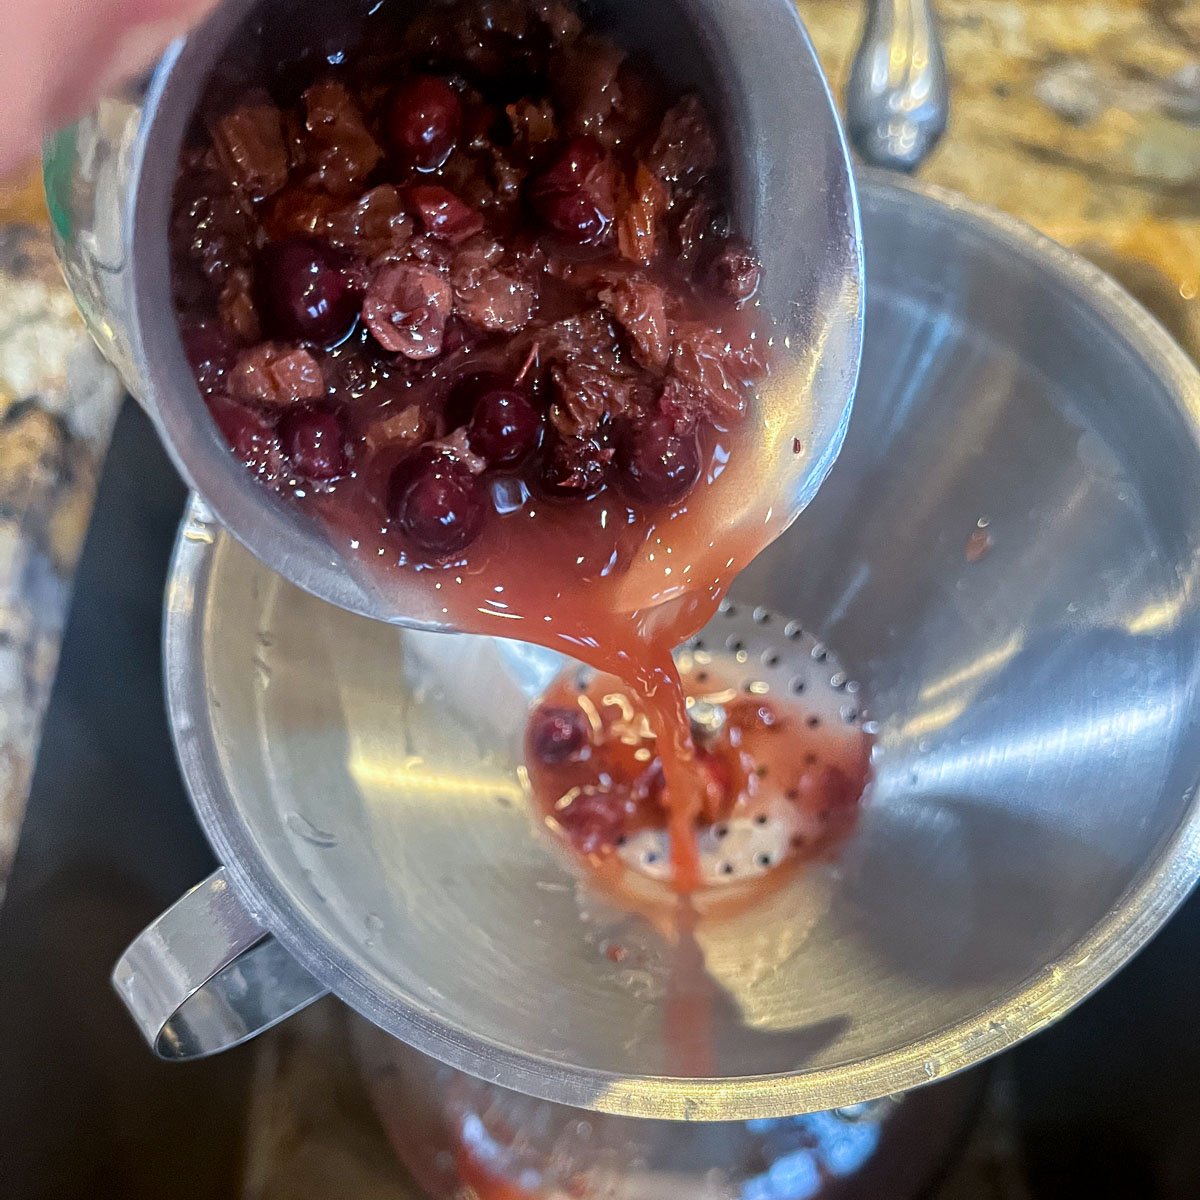
- Funnel: You'll need a funnel for straining the fruit, especially if you don't use a mesh bag. I like this funnel.
- Jug: A small creamer like this one comes in handy when taking SG readings.
- Bottles/Corks/Corker: Most people begin by bottling their wine in flip-top bottles. However, as they continue to make wine, they usually end up purchasing wine bottles, corks, and a corker.
Luckily, you can buy most of what you need, including a recipe book full of various fruit wine recipes, for right around $50 on Amazon. Although there are more expensive kits, this one-gallon kit has almost everything you need!
🍷 How to Make Choke Cherry Wine
Day One
Note: Before beginning any fermentation process, you need to sanitize all of your equipment, work area, and hands. You can find out how here.
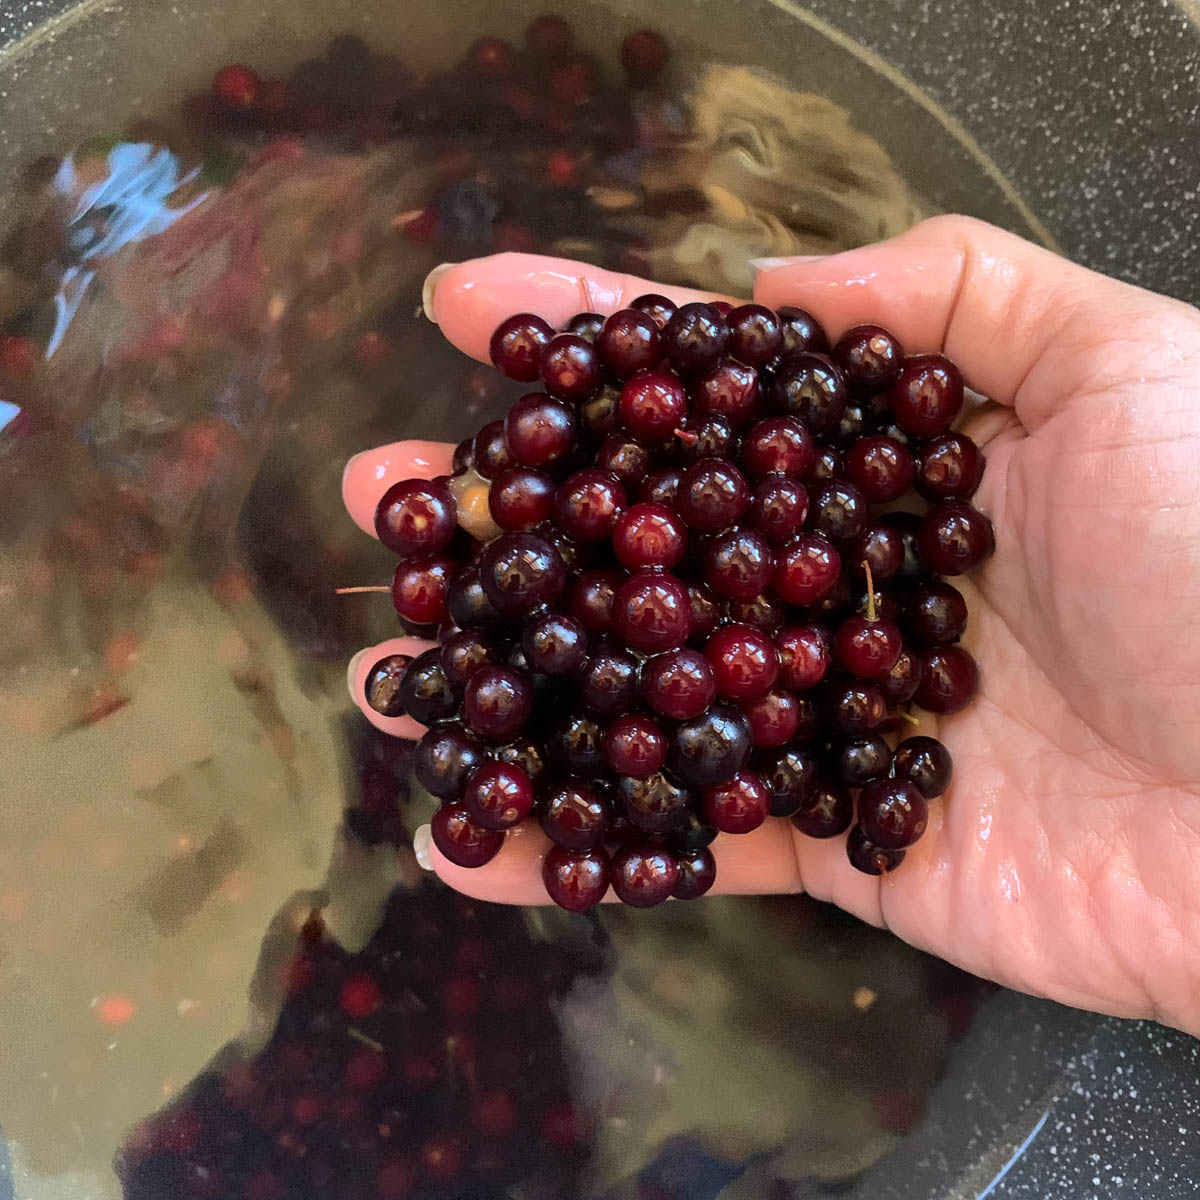
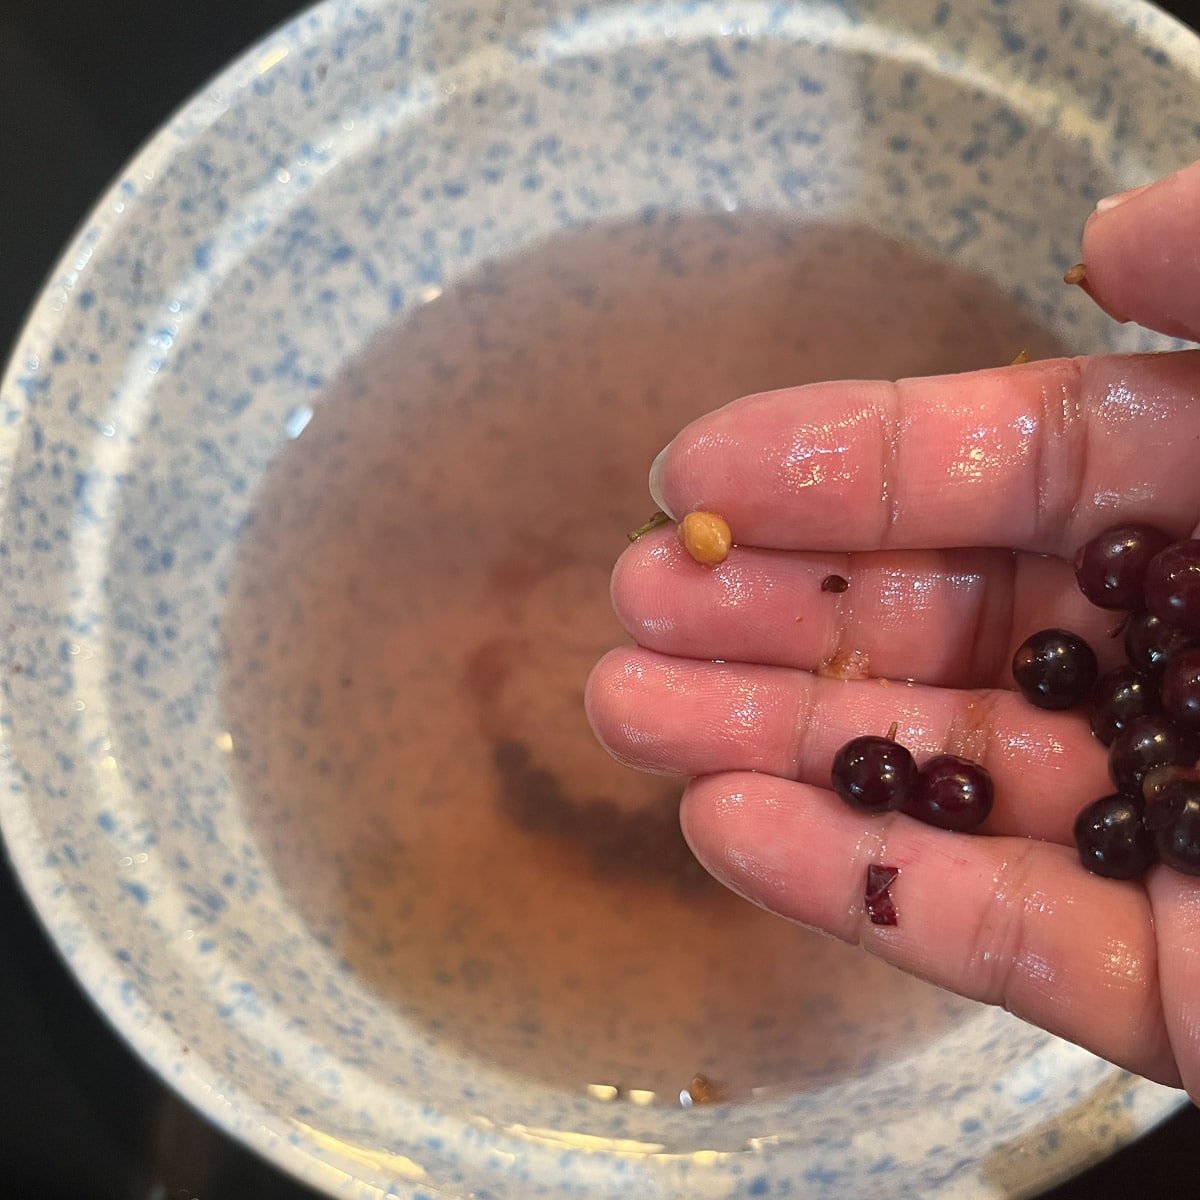
Step 1: Use a large bowl of water to wash the chokecherries. Remove leaves, pits, sticks, and debris, then add chokecherries to a large stockpot. Pour 1 gallon of cool water over the chokecherries and bring to a boil; simmer for 10 minutes.

Step 2: Meanwhile, add raisins to a food processor and pulse until the raisins are chopped. If you prefer, chop them by hand. Add raisins to your primary fermenter (plastic bucket) and cover them with granulated sugar.
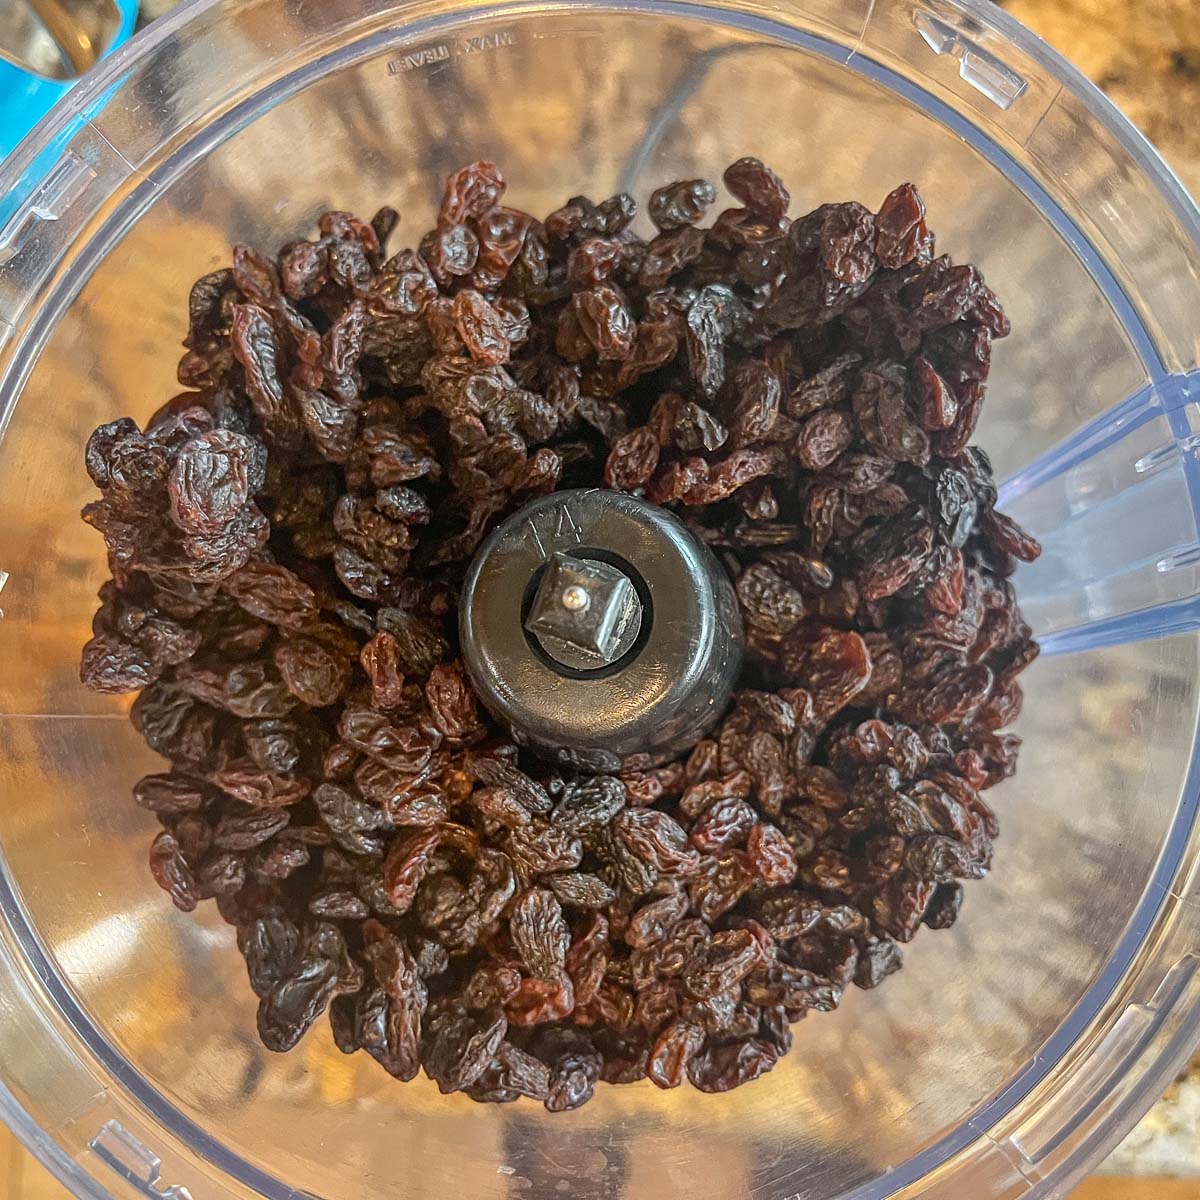
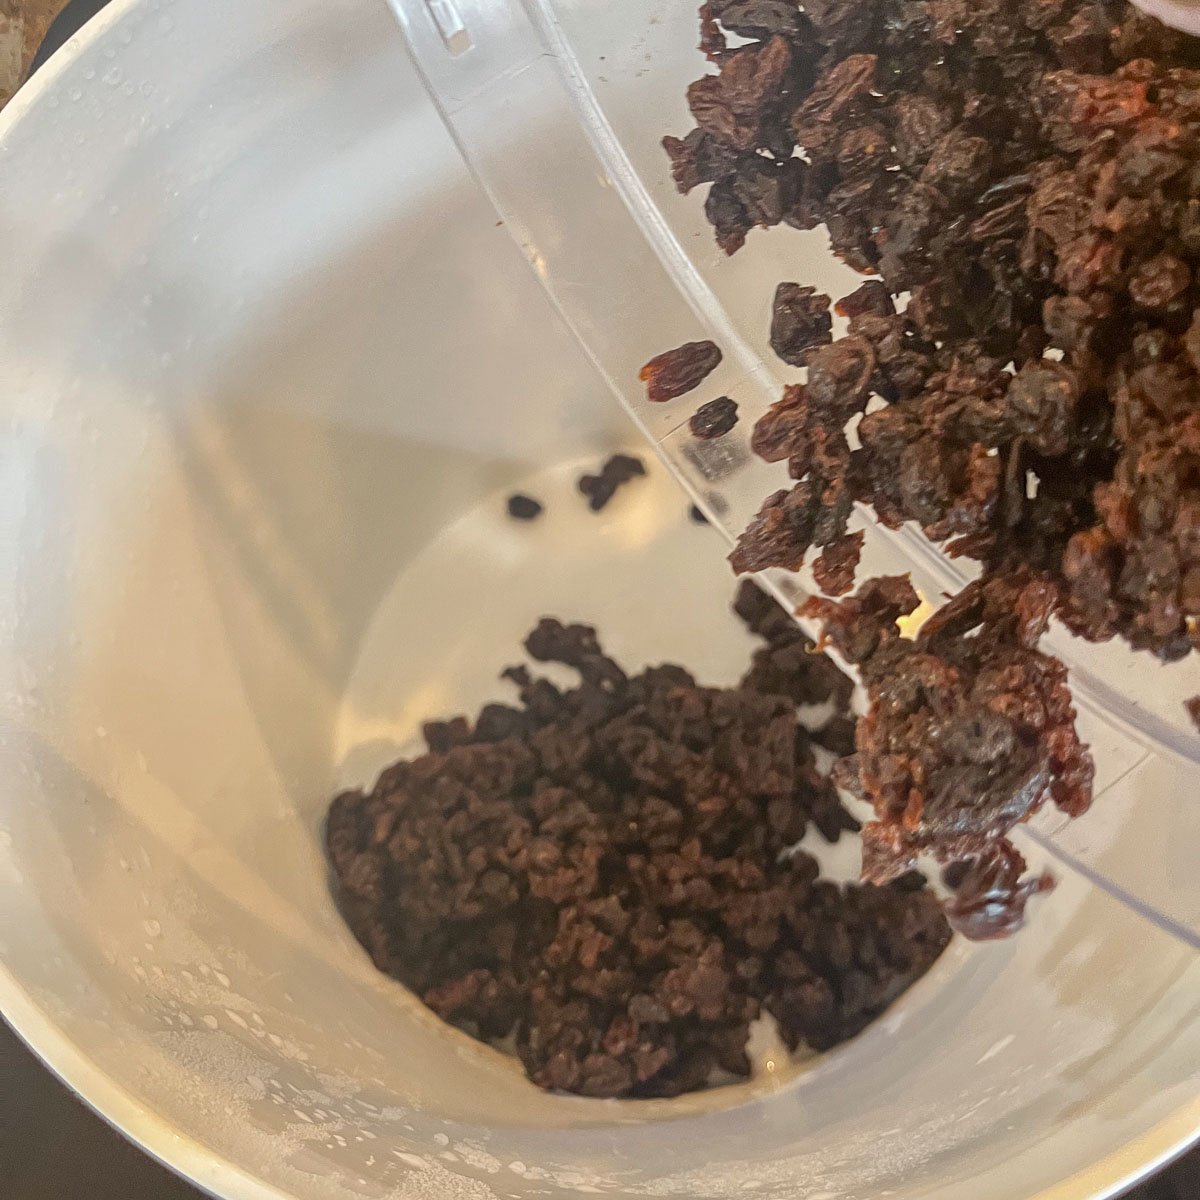
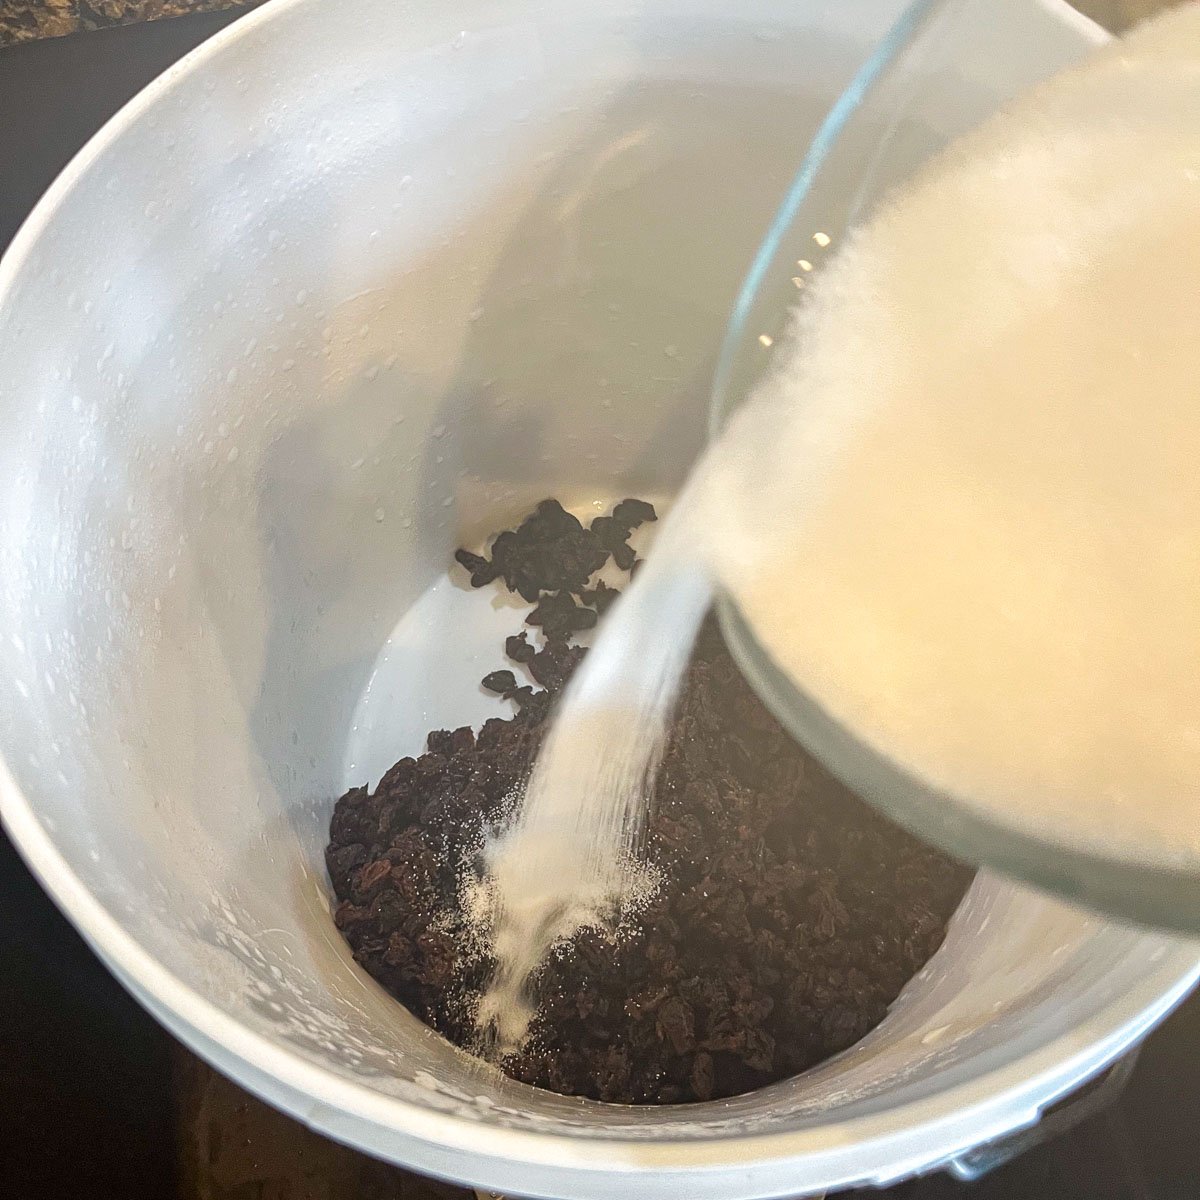
Pro Tip: Chopping the raisins is optional, but it helps to keep the raisins from floating on the surface of the bucket and also helps to extract more flavor.
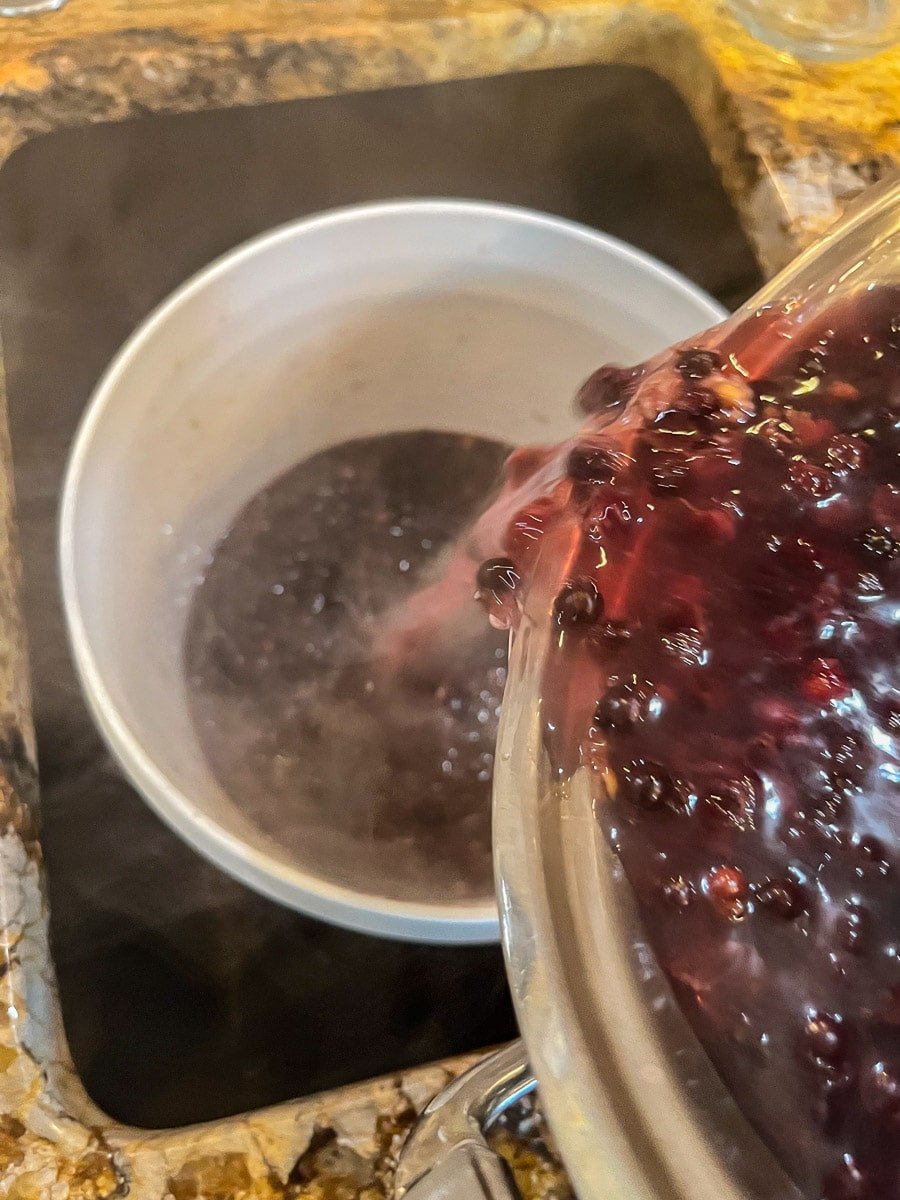
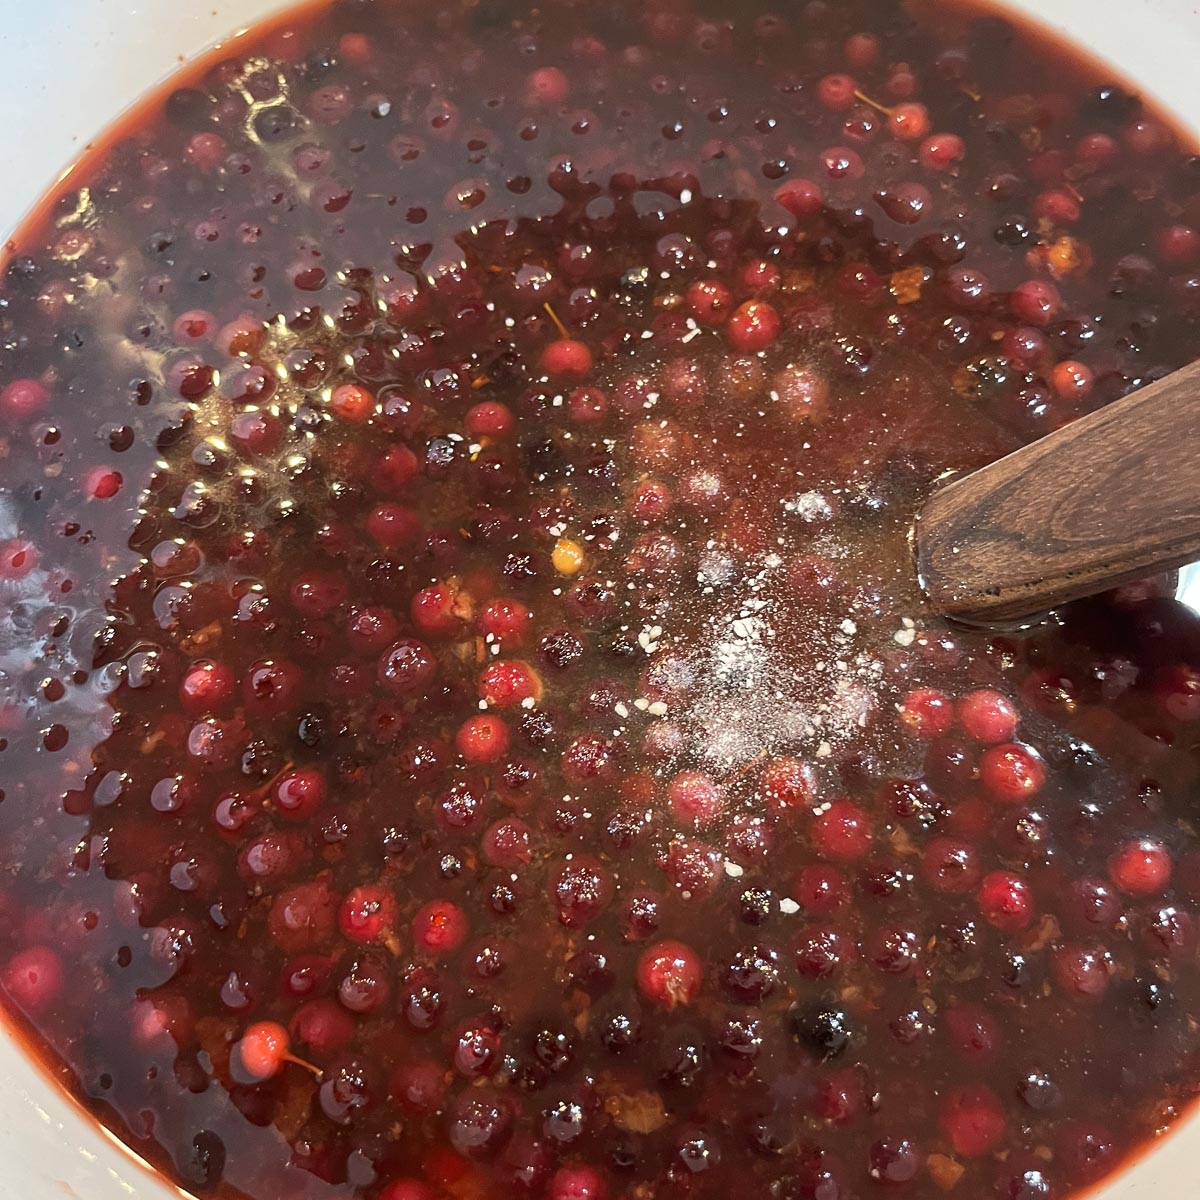
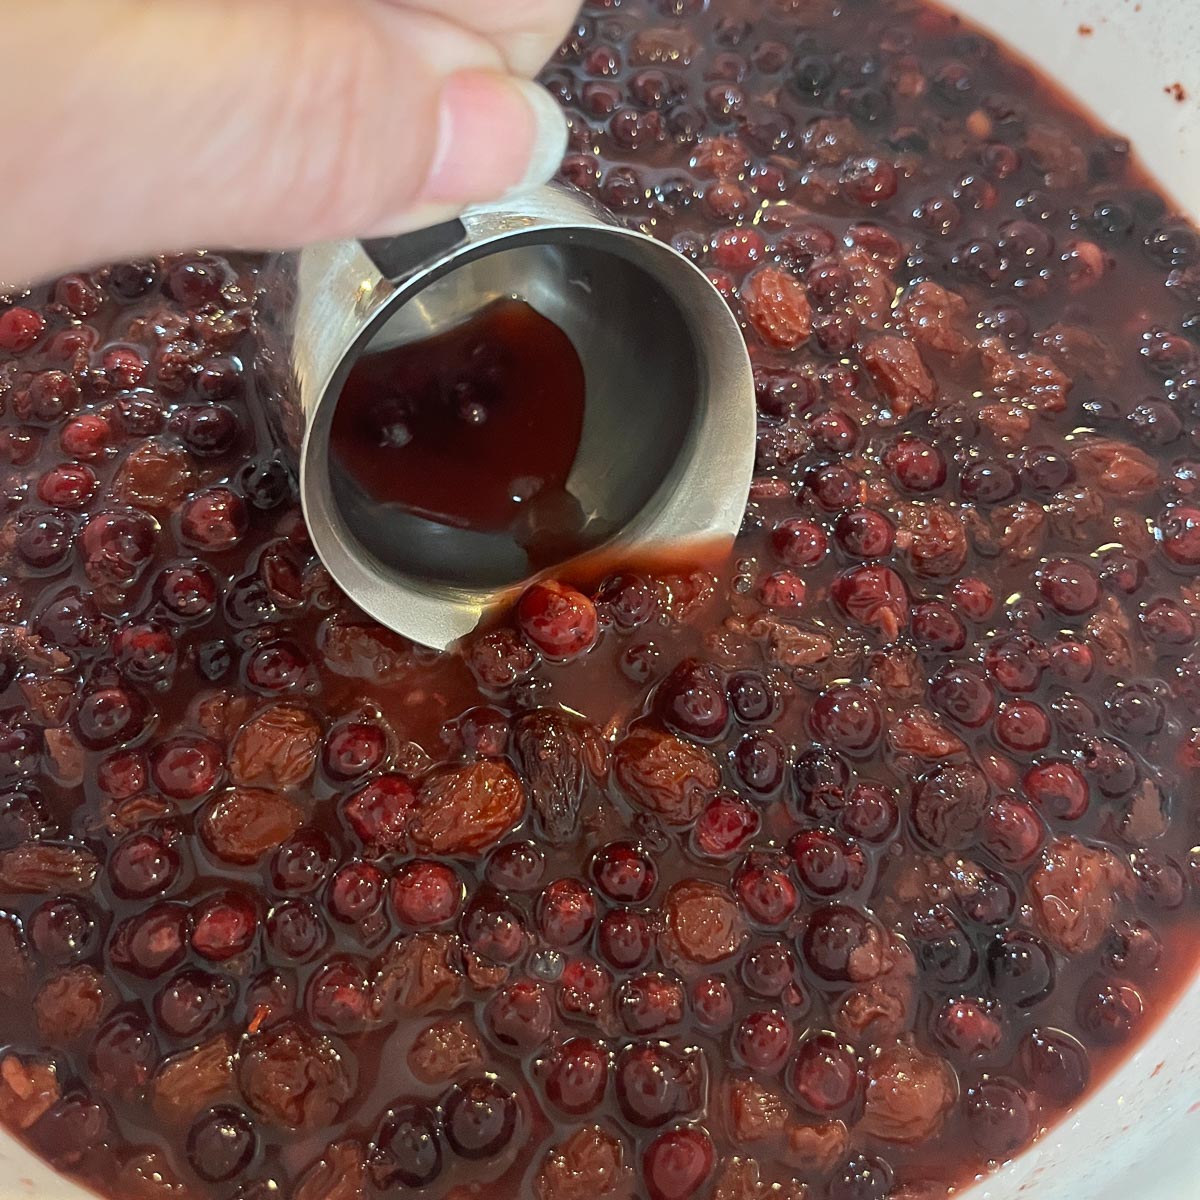
Step 3: Pour the pot's contents into the primary bucket. Stir until the sugar dissolves. When the chokecherry juice has cooled off, use a potato masher to mash the chokecherries to extract their juice.
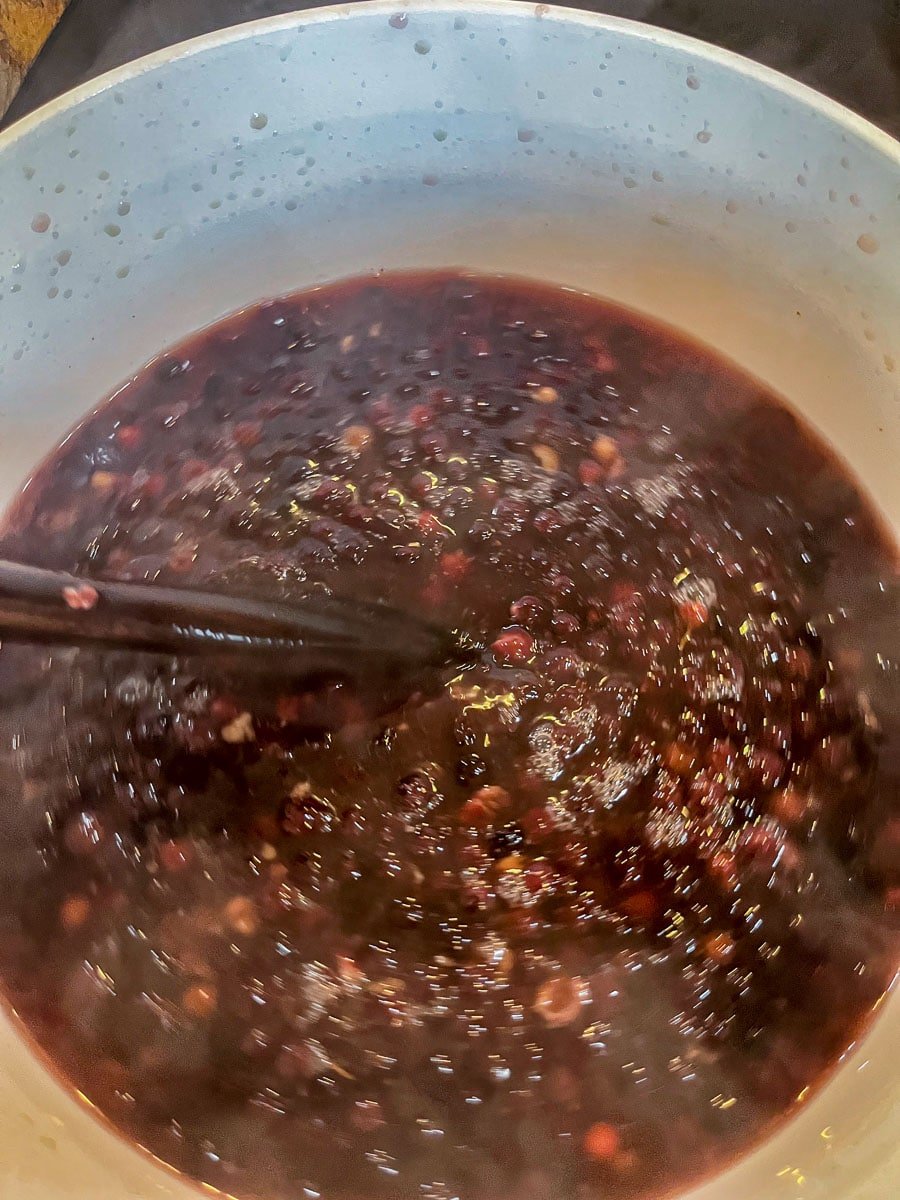
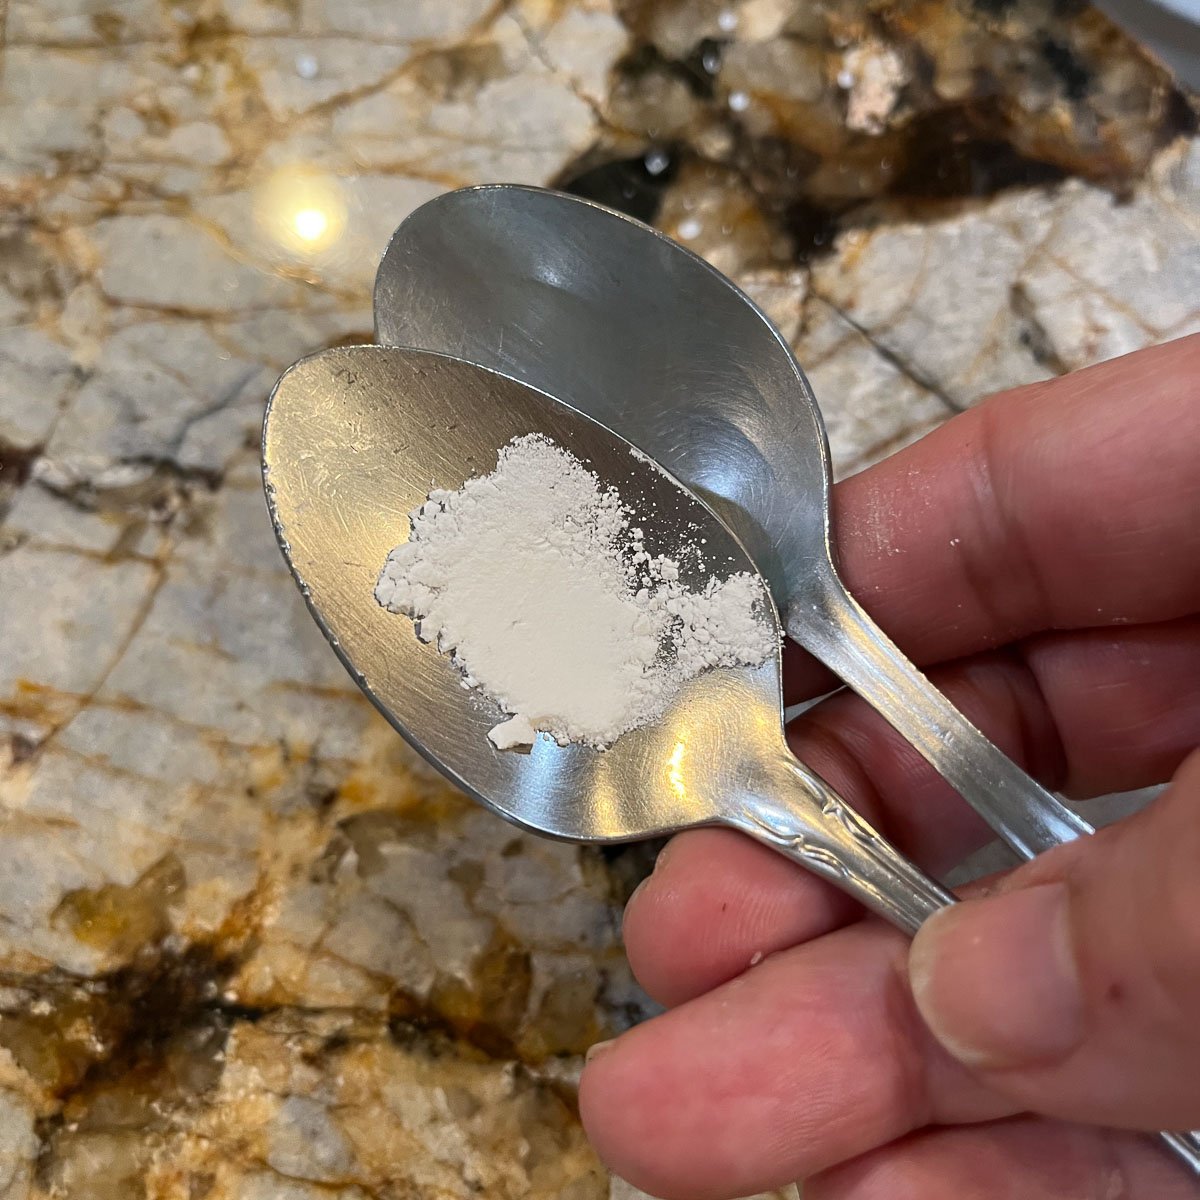
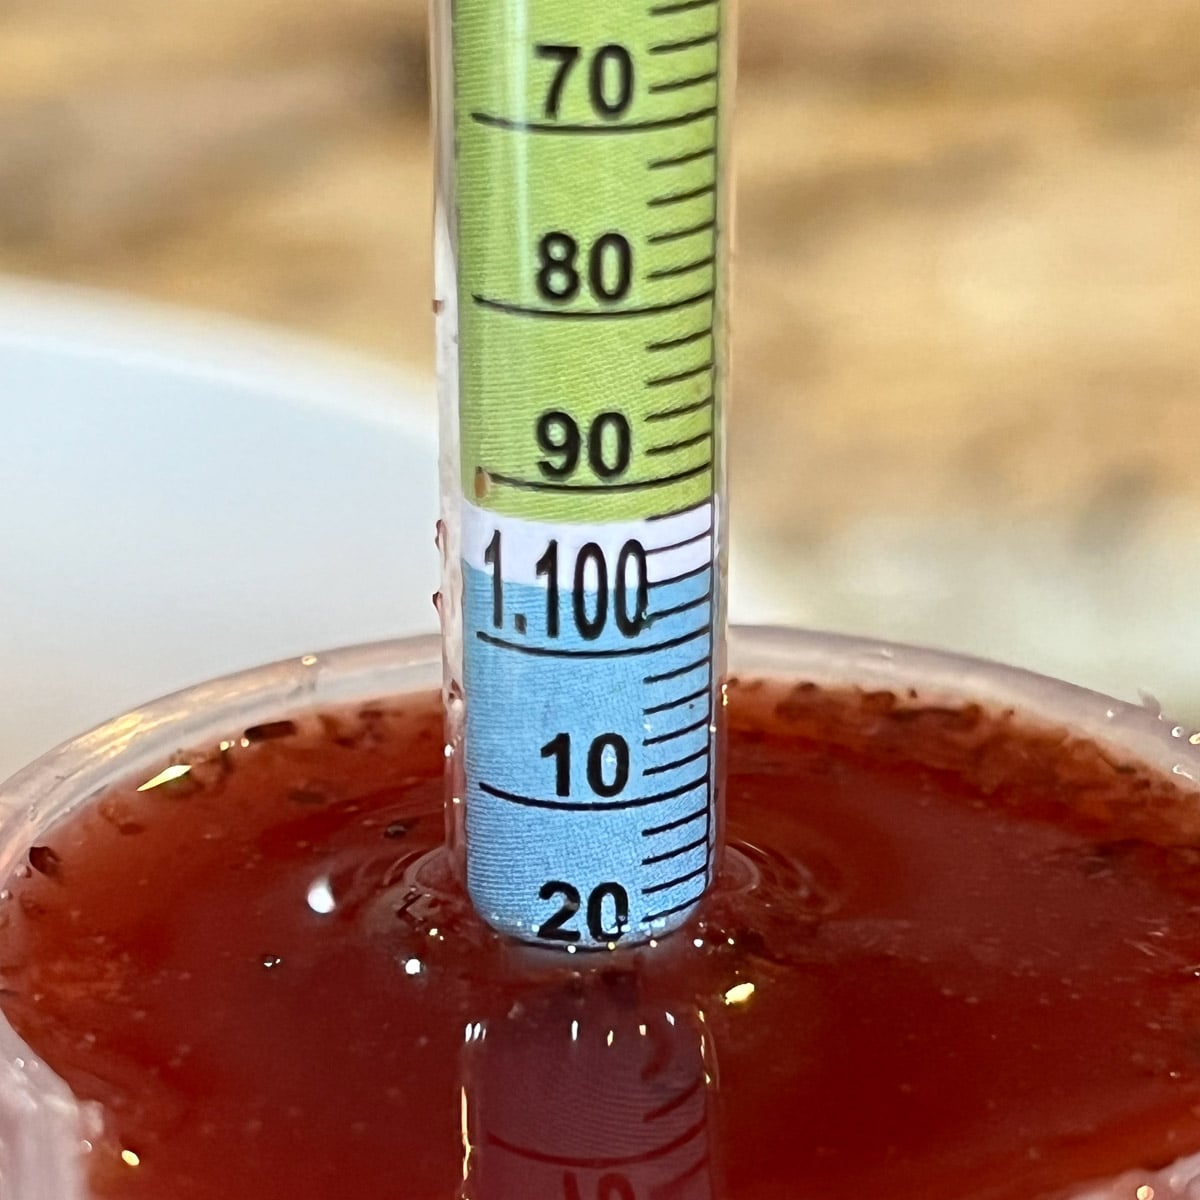
Step 4: Stir acid blend, yeast nutrient, pectic enzyme, and Campden crush into the primary fermenter. Take the initial SG reading and mark it down in a notebook or a wine journal. Cover the bucket with breathable fabric and use a rubber band to fasten it in place. Set aside for 24 hours.
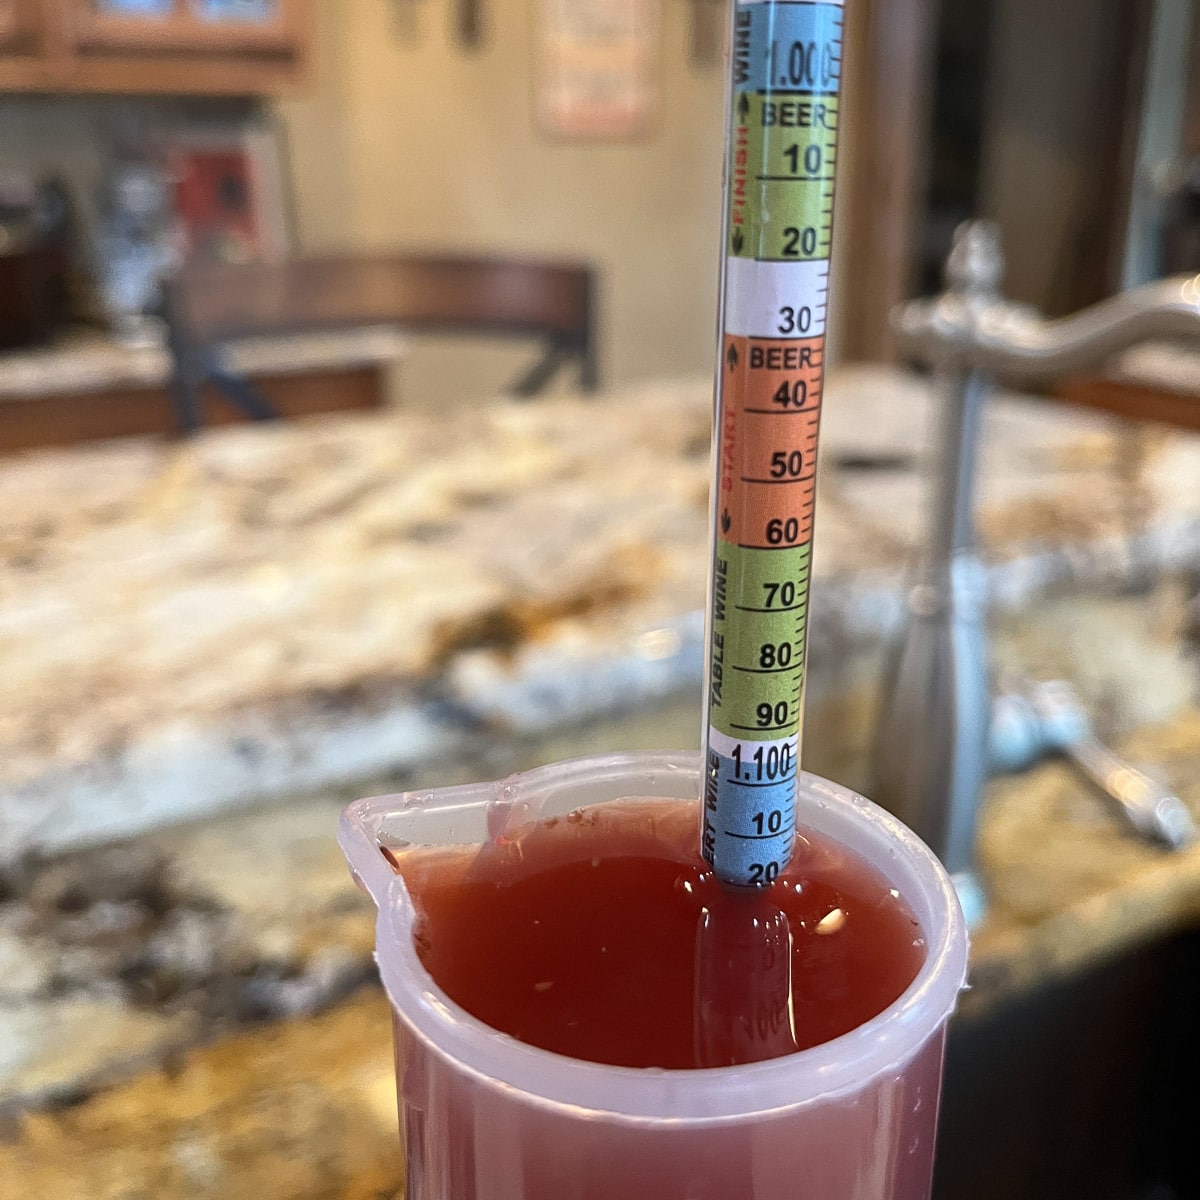
Pro Tip: Taking an SG reading on the first day and before bottling will allow you to calculate the % of alcohol in the finished wine. Some home winemakers are not interested in knowing the alcohol percentage, so they don't use a hydrometer. Instead, they just ferment their wine long enough to ensure fermentation has stopped before bottling it.
Day Two
Step 5: Using a sterilized spoon, stir the yeast packet into the must (unfermented fruit juice before it's converted to wine). Cover again and set aside.

Day Three and Beyond
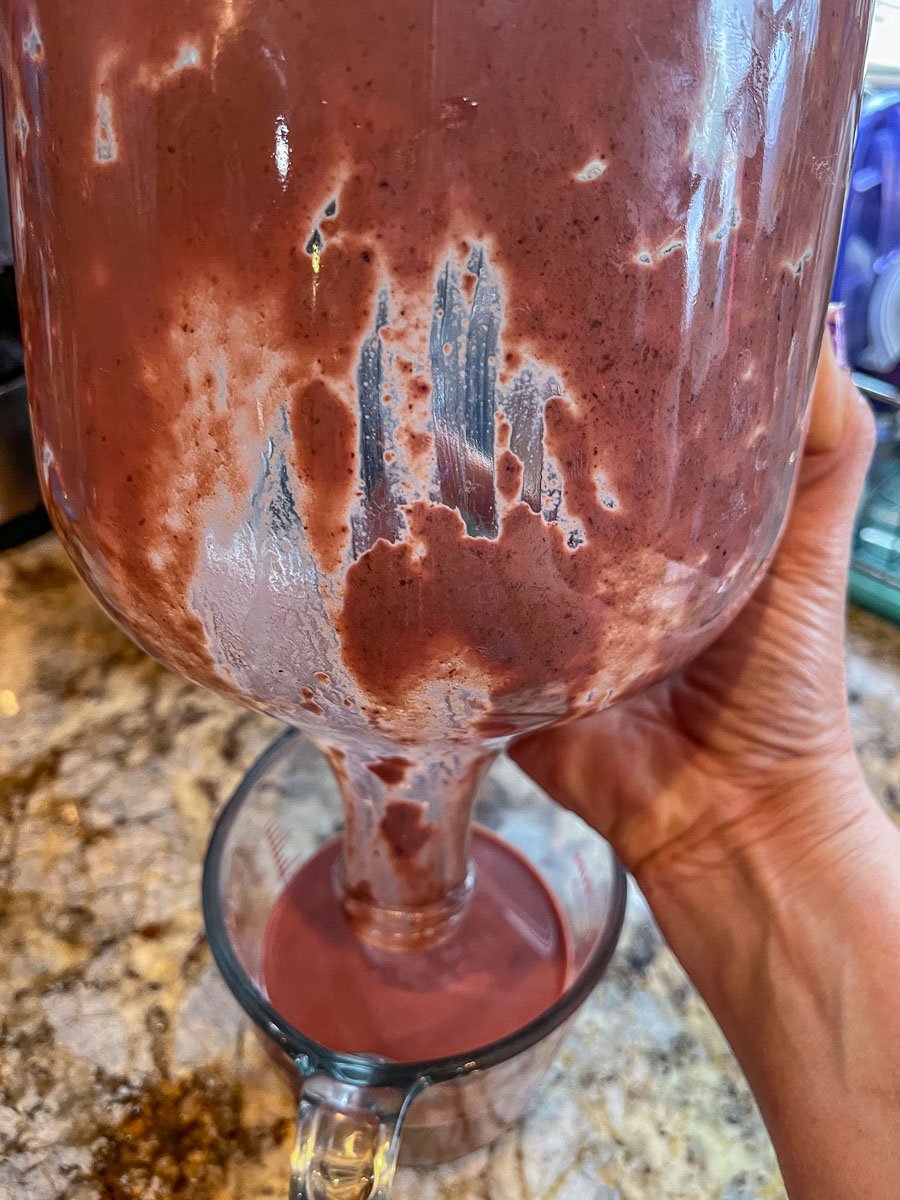
Step 6: Stir daily and take SG reading. When you get an SG reading of 1.030 (it could take anywhere from 3 to 7 days). Strain and squeeze the juice out of the chokecherries and rack it into a one-gallon carboy. Place any extra wine in a smaller bottle and top with an airlock.
Pro Tip: As you rack the wine, you end up with less and less wine, because the lees gets discarded. The extra wine comes in handy to top off the carboy and to give you a full 5 bottles of wine.
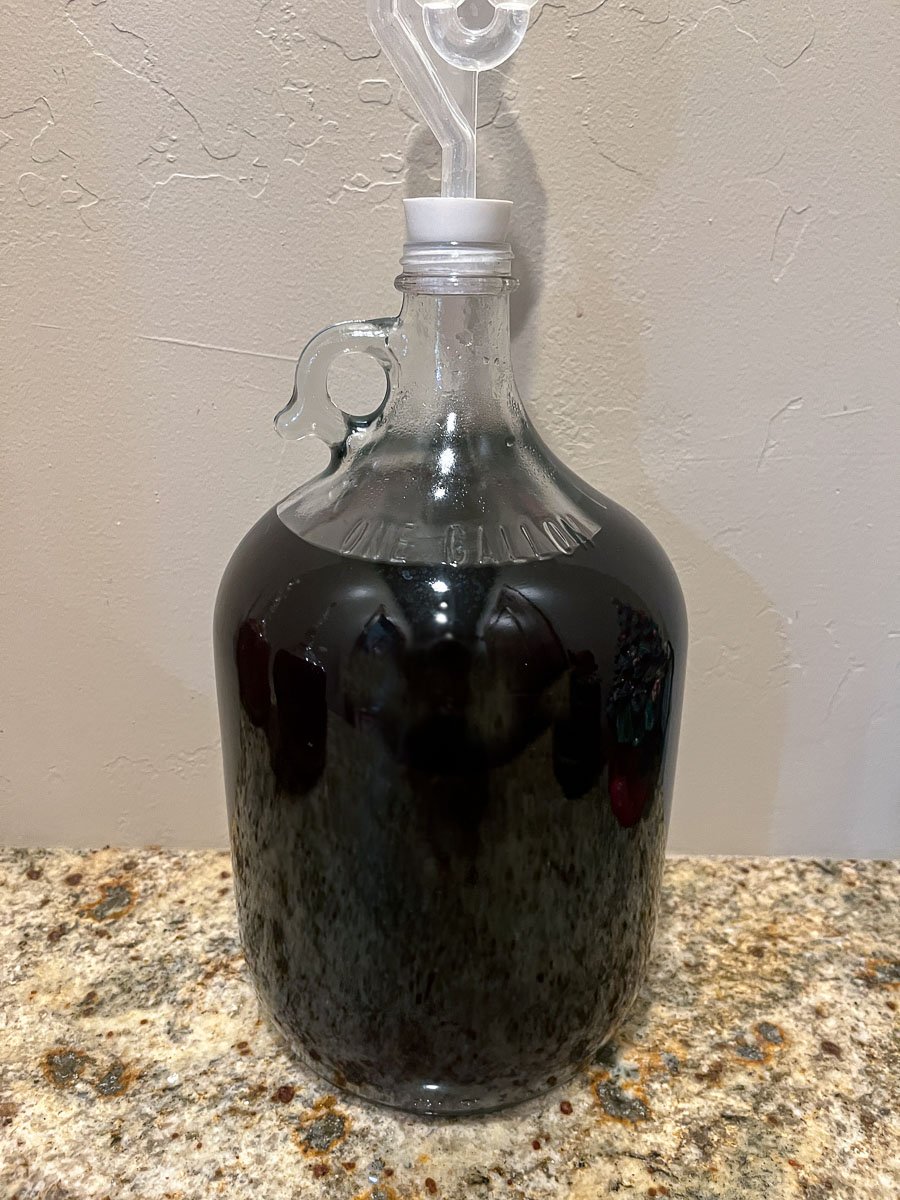
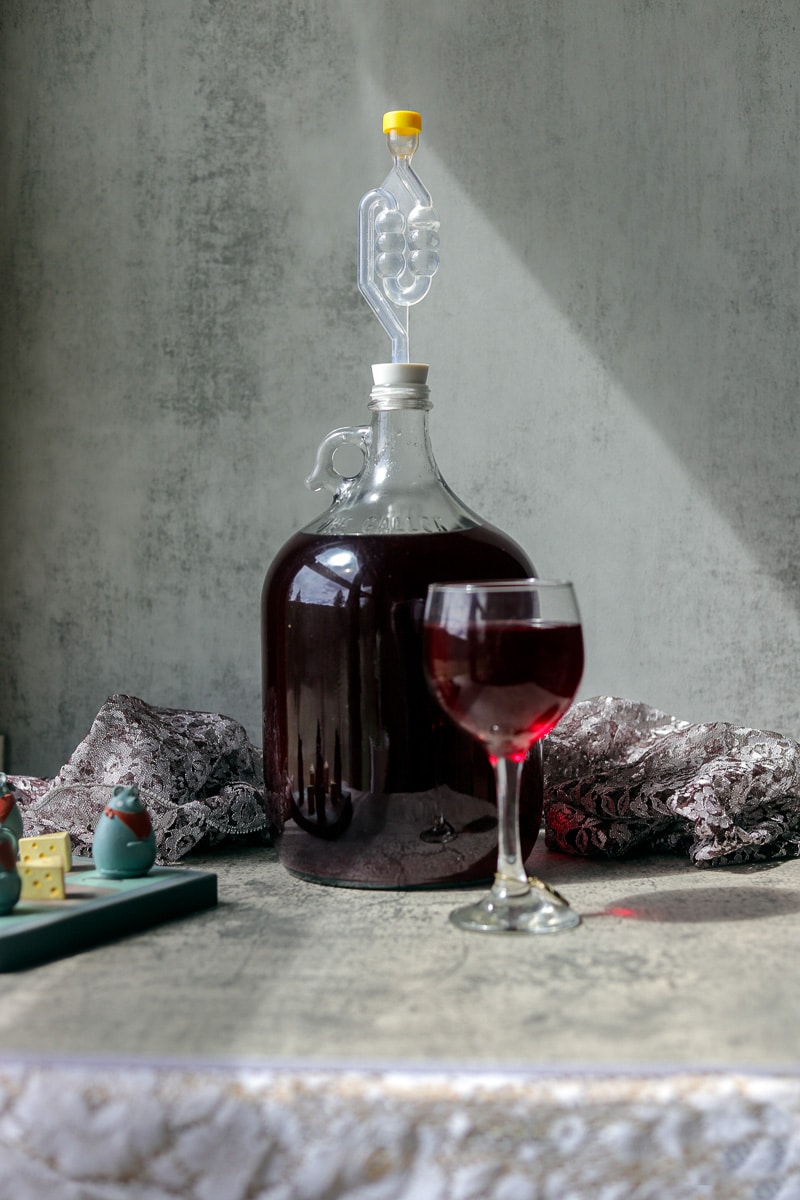
Step 7: Fill the airlock halfway with sanitizer solution or water and fit the airlock into the bung. Store the carboy somewhere away from heat and direct sunlight.
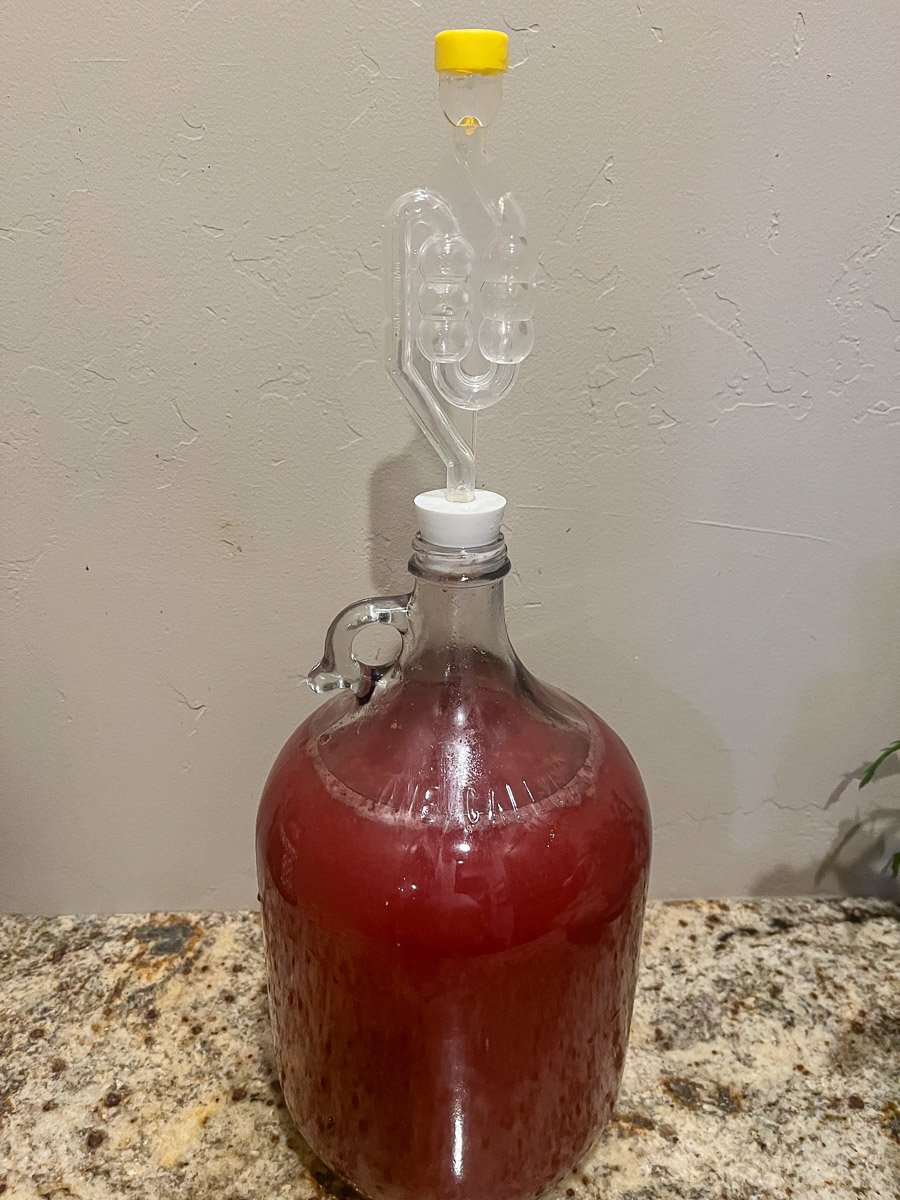
Pro Tip: It won't take long until you begin to see signs of active fermentation and hear the wonderful "bloop-bloop" sound of the bubbles. The ideal fermentation temperature is somewhere between 68-86°F.
Step 8: After 3 weeks, the specific gravity should be around 1.000. It's now time to rack the wine into a clean carboy. Allow the wine to clear anywhere from one to three months.
Step 9: Once it's done clearing, taste the wine to determine if you will bottle it as is or sweeten it. If you prefer sweet wine, add ⅓ cup of chokecherry syrup (or more or less, depending on how you like it). If you do sweeten it, dissolve ½ teaspoon of wine stabilizer into the wine to discourage refermentation.
Step 10: Take a final SG reading and use an ABV (Alcohol By Volume) Calculator to figure out the alcohol percentage. Jot down the information in your wine journal. Add one crushed Campden tablet to the wine and stir until dissolved before bottling the wine.
Pro Tip: You can also calculate the ABV by using this formula: Original Gravity - Final Gravity x 131.25= ABV
Once the wine is bottled, label it with the name of the wine, date, and alcohol %.

🤷🏻♀️ Recipe FAQs
Similar to apricots, apples, and some other fruit, chokecherry seeds/pits are poisonous. They contain amygdalin, which the body converts into cyanide. The leaves and stems of the plant are also poisonous. Luckily, the flesh does not contain this compound and is safe to eat. 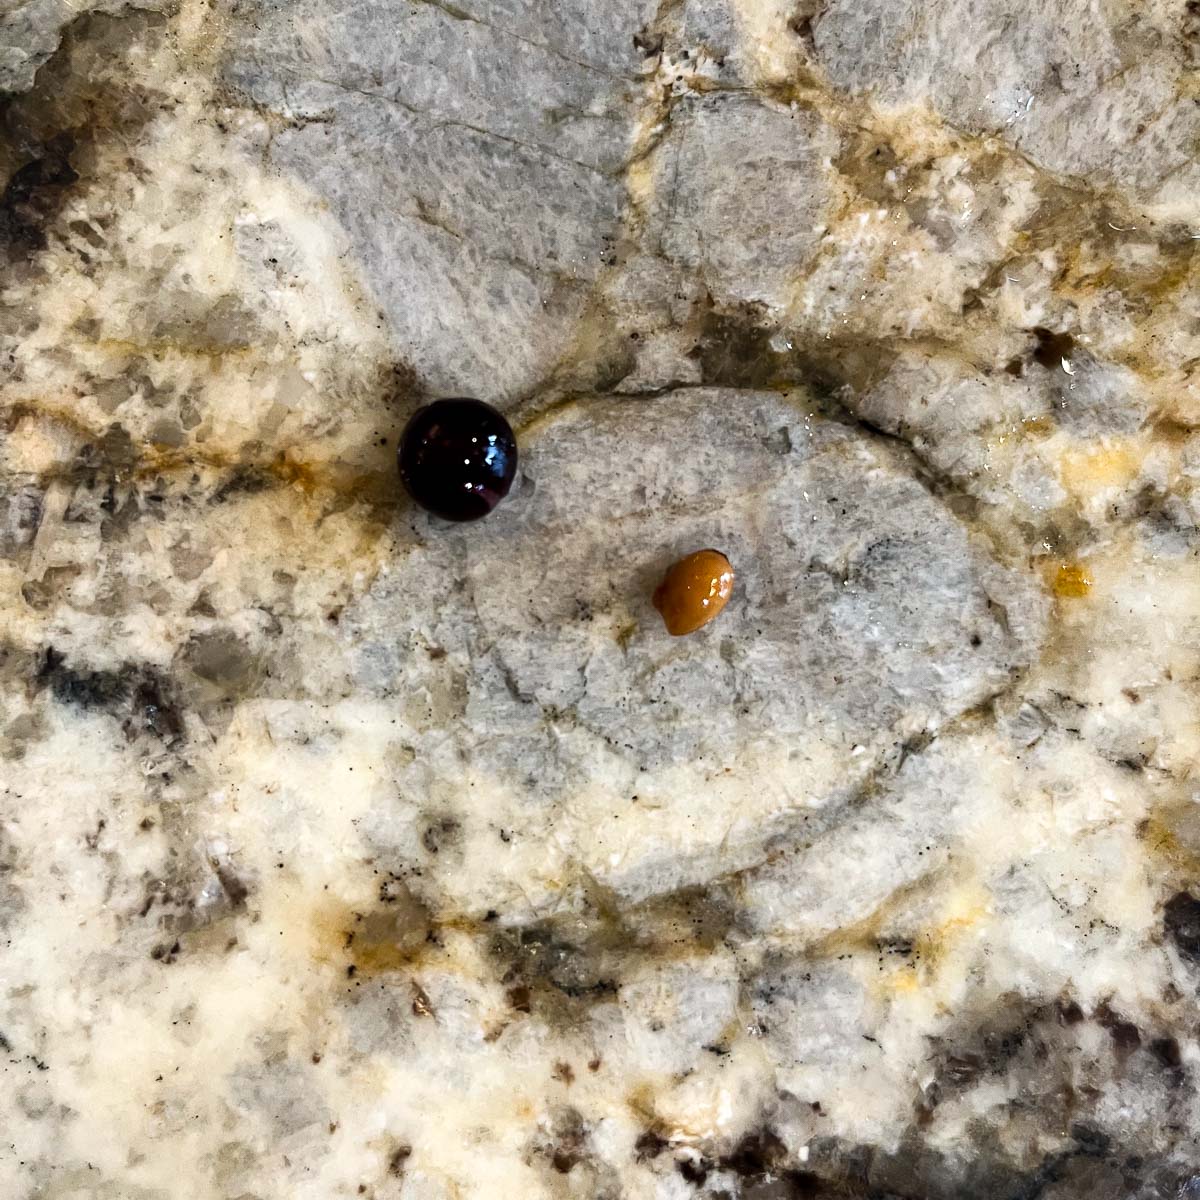
Chokecherries grow in clumps, similar to grapes. They are also known as Bitter-Berry, Virginia Bird Cherry, and Western Chokecherry.
This fruit tastes astringent, which may explain the name "choke" cherry. However, they are ideal to use in recipes where sugar is added to sweeten them up. Chokecherries grow in most of the United States, Canada, and Northern Mexico.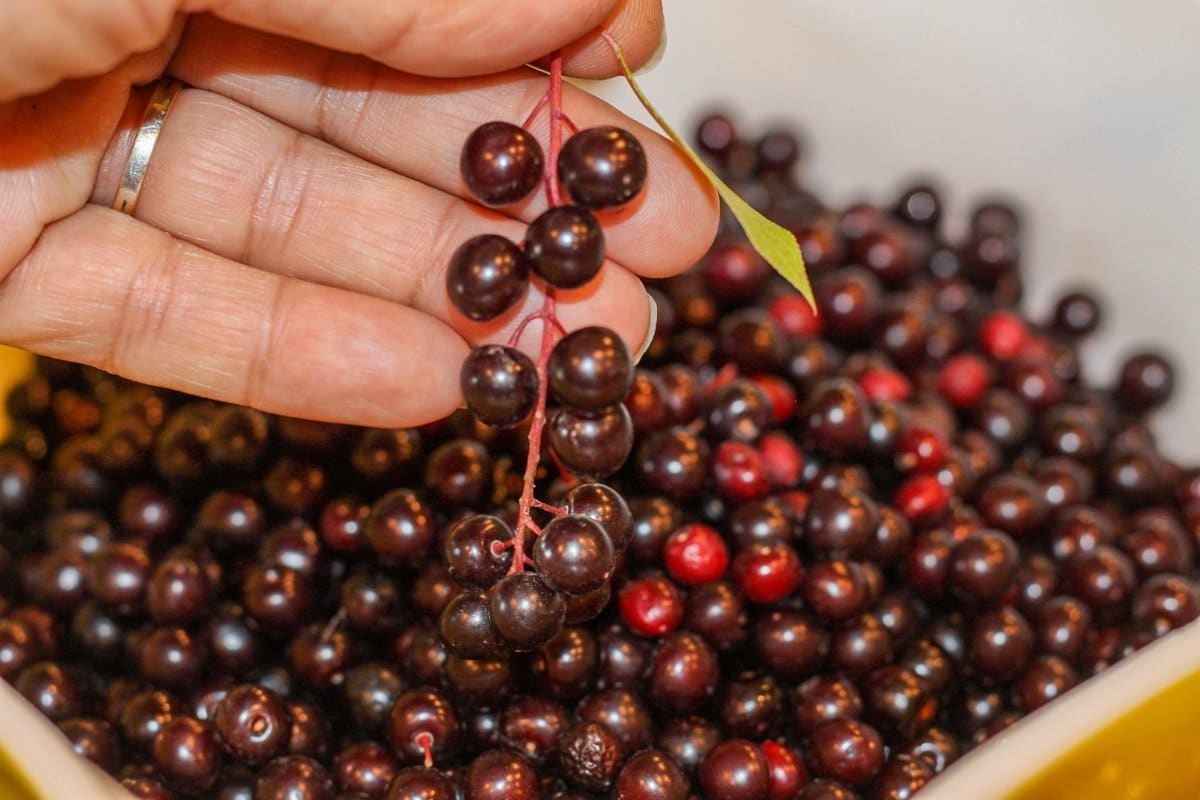
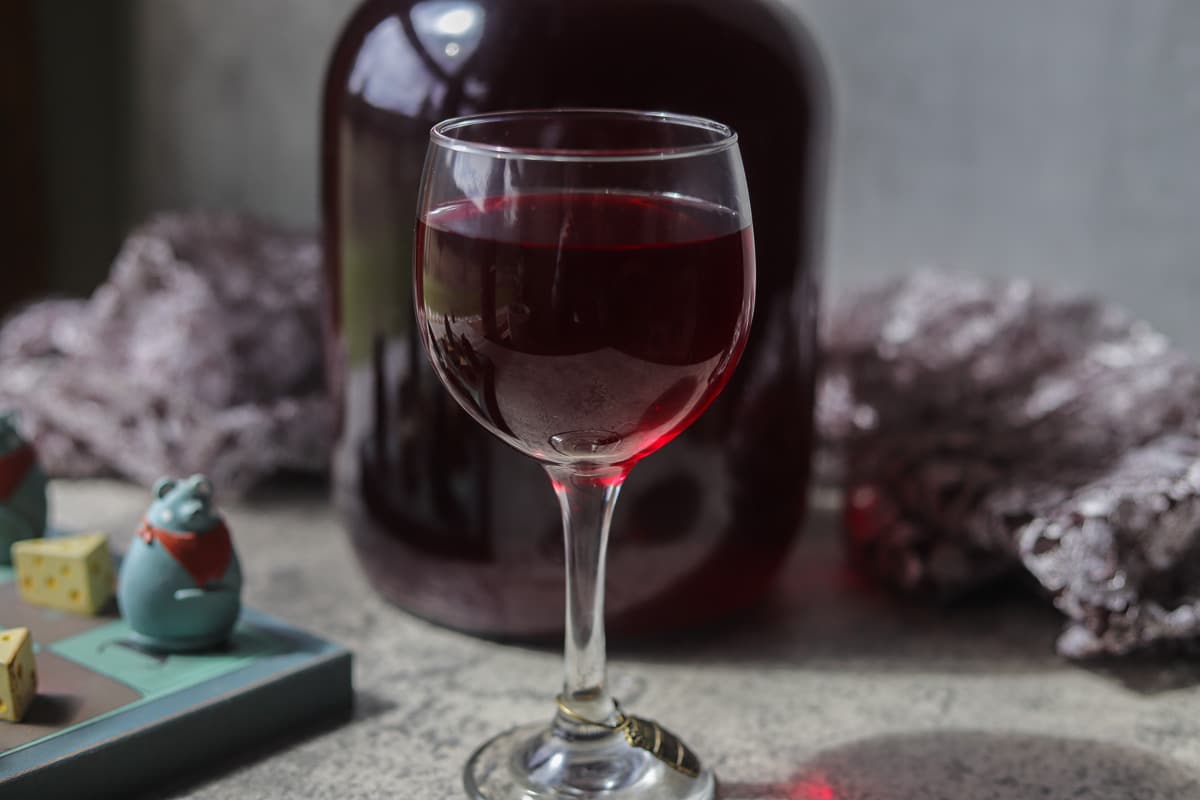
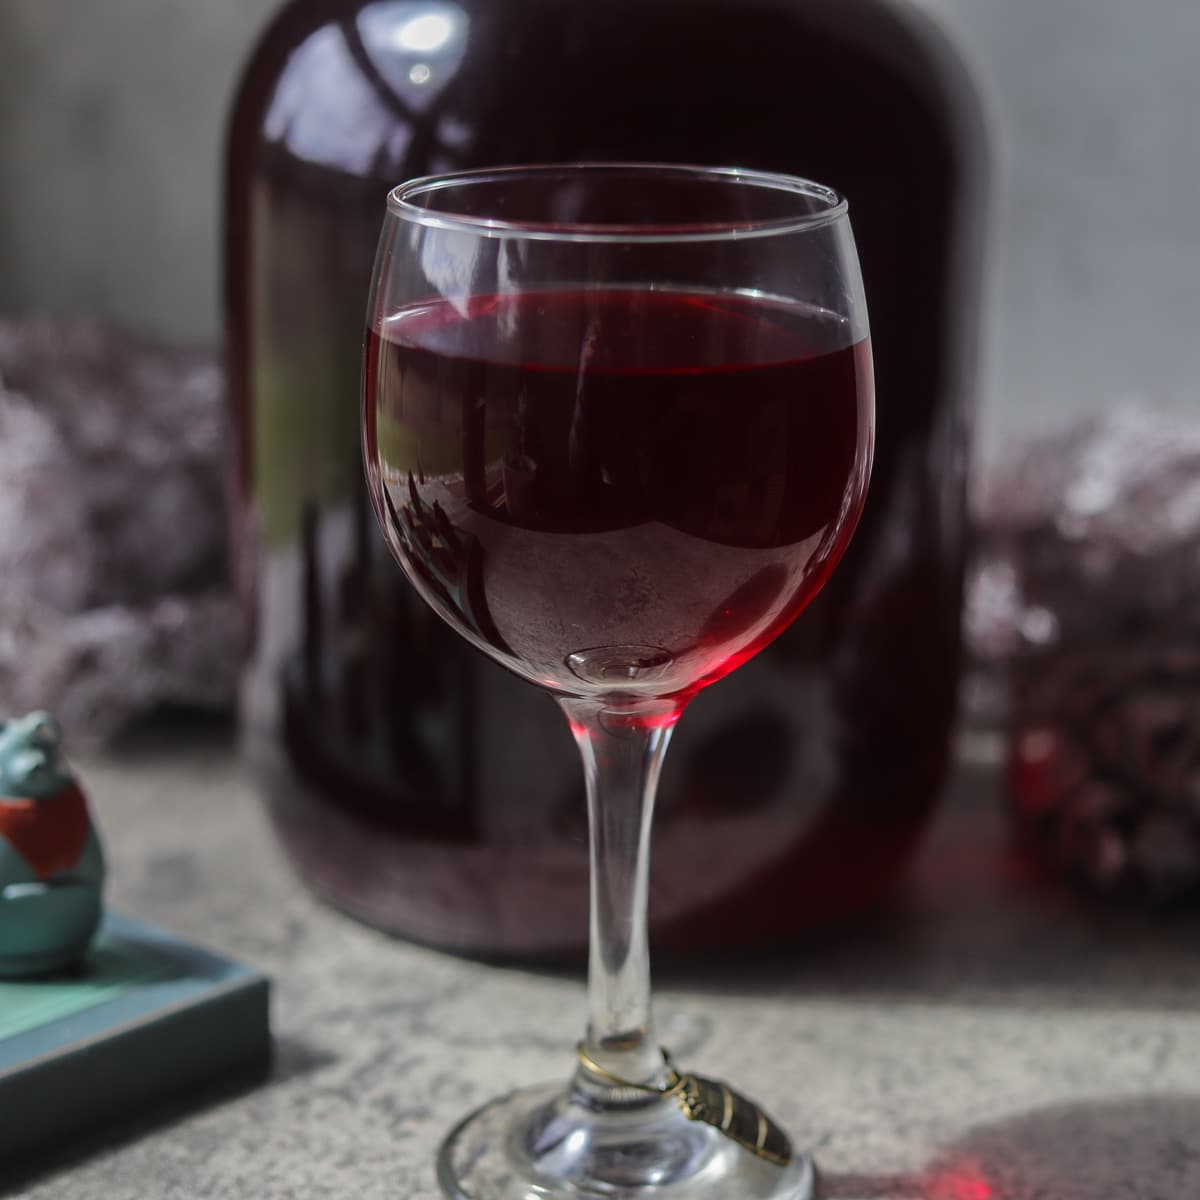
Chokecherry wine is a deliciously sweet fruit wine with a slightly tart flavor. It also has a hint of cherry flavor and a pleasant, mildly bitter finish.
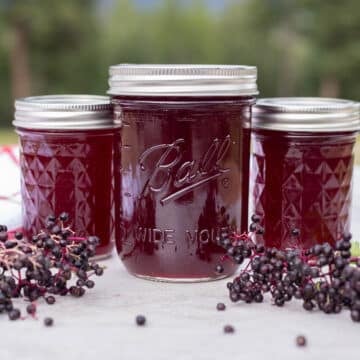
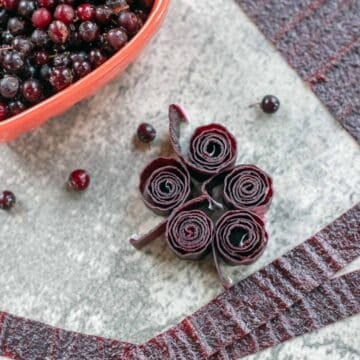
Chokecherries don't taste great on their own, but they can be used to make chokecherry jam, jelly, syrup, BBQ sauce, liqueur, and choke cherry wine.
👩🏼🍳 Pro Tips
- Because Campden tablets kill the yeast, you never want to add them at the same time you add the yeast. Ideally, you should wait 24 hours after adding the Campden tablet to add the yeast.
- If you don't want to soak the chokecherries with their seeds in the primary fermentor, you can extract the juice from the chokecherries using a steam juicer instead.
- To learn how to read a hydrometer and learn what the numbers signify, check out this video; it's a great resource.
- If you don't want to make chokecherry syrup, use fruit juice, simple syrup, or sweet wine to back-sweeten the wine.
- Sometimes, at the beginning of fermentation, the bung tends to pop out as the pressure builds up. To avoid this, I use a ribbon to tie it in place for the first couple of days.
🍒 Related Recipes
Be sure to check out my other chokecherry recipes, and these other foraging recipes!


Did you make this recipe?
📖 Recipe
Would you like to save this recipe?
How to Make A Gallon of Chokecherry Wine
Ingredients
Method
- Before beginning any fermentation process, you need to sanitize all of your equipment, work area, and hands.
- Use a large bowl of water to wash the chokecherries. Remove leaves, pits, sticks, and debris, then add chokecherries to a large stockpot. Pour four quarts (1 gallon) of water over the chokecherries, bring to a boil, then simmer for 10 minutes.
- Meanwhile, add raisins to a food processor and pulse until the raisins are chopped. If you prefer, chop them by hand. Add raisins to your primary fermenter (plastic bucket) and cover them with granulated sugar.
- Pour the pot's contents into the primary bucket. Stir until the sugar dissolves. When the chokecherry juice has cooled off, use a potato masher to mash the chokecherries to extract their juice.
- Stir acid blend, yeast nutrient, pectic enzyme, and Campden crush into the primary fermenter. Take the initial SG reading and mark it down in a notebook or a wine journal. Cover the bucket with breathable fabric and use a rubber band to fasten it in place. Set aside for 24 hours.
- Using a sterilized spoon, stir the yeast packet into the must (unfermented fruit juice before it's converted to wine). Cover again and set aside.
- Stir daily and take SG reading. When you get an SG reading of 1.030 (it could take anywhere from 3 to 7 days). Strain and squeeze the juice out of the chokecherries and rack it into a one-gallon carboy. Place any extra wine in a smaller bottle and top with an airlock.
- Fill the airlock halfway with sanitizer solution or water and place the airlock into place. Store the carboy somewhere away from heat and direct sunlight. It will begin to bubble when fermentation starts.
- After 3 weeks, the specific gravity should be around 1.000. It's now time to rerack the wine into a clean carboy. Allow the wine to clear anywhere from one to three months.
- Once it's done clearing, taste the wine to determine if you will bottle it as is or sweeten it. If you prefer sweet wine, add ⅓ cup of chokecherry syrup (or more or less, depending on how you like it). If you do sweeten it, dissolve ½ teaspoon of wine stabilizer into the wine to discourage refermentation.
- Take a final SG reading and use an ABV (Alcohol By Volume) Calculator to figure out the alcohol percentage. Jot down the information in your wine journal. Add one crushed Campden tablet to the wine and stir until dissolved before bottling the wine.
- Once the wine is bottled, label it with the type of wine, date, and alcohol %.
Nutrition
Notes
- Chopping the raisins is optional but it helps to keep the raisins from floating on the surface of the bucket and also helps to extract more flavor.
- Taking an SG reading on the first day and before bottling will allow you to calculate the % of alcohol in the finished wine. Some home winemakers are not interested in knowing the alcohol percentage so they don't use a hydrometer. Instead, they just ferment their wine long enough to ensure fermentation has stopped before bottling it.
- The ideal fermentation temperature is somewhere between 68-86°F.
- As you rerack the wine, you end up with less and less wine, because the lees gets discarded. The extra wine comes in handy to top off the carboy and to give you a full 5 bottles of wine.
- Because Campden tablets kill the yeast, you never want to add them at the same time you add the yeast. Ideally, you should wait 24 hours after adding the Campden tablet to add the yeast.
- If you don't want to soak the chokecherries with their seeds in the primary fermentor, you can extract the juice from the chokecherries using a steam juicer instead.
- A stabilizer is only needed if you intend to back sweeten the wine (sweetening it at the end). The wine stabilizer prevents refermentation.
- If you don't want to make chokecherry syrup, use fruit juice, simple syrup, or sweet wine to back sweeten the wine.
- To learn how to read a hydrometer and what the numbers signify, check out this video, it's a great resource.
- Sometimes, at the beginning of fermentation, the bung tends to pop out as the pressure builds up. To avoid this, I use a ribbon to tie it in place for the first couple of days.
June G says
I was wondering instead of the premier blanc yeast, can I use either Premier Rouge or Bourgovin RC212 yeast instead?
Hilda Sterner says
Hi June, Yes, I have used Premier Rouge before with great results!
Rhianna says
Can this be done with fresh grapes? I have a ton from my garden that I'd like to use.
Hilda Sterner says
Hi Rhianna,
There are other recipes out there for specific fruit that you are using. I would look for a grape wine recipe instead of a chokecherry recipe. The amount of acid, pectin etc will vary based on the fruit being used.
Clifford Stubbs says
Is your recipe in US or Imperial gallons? I ask because another online recipe uses nearly the same quantities, but has a note to reduce quantities by 20% for US gallons.
Hilda Sterner says
Hi Clifford, These are US quantities. I'm not sure about the other recipe you mentioned but this recipe works well for me. Thanks!
Edith Hayden says
Has anyone used monkfruit in place of sugar for a keto friendly low sugar wine?
Hilda Sterner says
Great question, I've heard of people using monkfruit to backsweeten wine but I don't believe you can replace sugar with monkfruit to ferment wine. If you ferment the wine dry, it shouldn't have much sugar left anyways.
Ken says
Has anyone started with chokecherry juice? If so, how should the recipe vary given I am starting with 3 gallons of juice? Some of my research indicates 2 cups of sugar per gallon of juice. Not sure about the other ingredients.
Hilda Sterner says
I did try that one time and the results were not favorable. The wine came out a lot thinner, and didn't have as much body or flavor as when using whole chokecherries. I hope that helps!
Kim says
Finally bottled up my first batch ever, following this recipe back at the end of summer, and had a glass for Christmas Eve. It turned out quite sweet (which I enjoy), more so than I expected, and I didn’t back-sweeten it. i admit I didn’t take hydrometer readings so I have no idea how much or little alcohol content it has. I’m guessing not much but it is definitely going to be enjoyed regardless!
Hilda Sterner says
Thanks, Kim. I've only made it using a hydrometer so it's more precise. I'm curious how long you let it ferment and clear. If it wasn't done fermenting, it could have some residual sugars in it. Either way, I'm glad it will be enjoyed. 🙂
Kelly Methey says
I have learned so much from you! Making wine from all these different wild berries is so interesting, not to mention delicious! This is very tasty and a labor of love on your part Hilda. I can’t wait to see what kind of wine is next!
Oh and I am always here for you to be a taste tester! What are friends for?
Hilda Sterner says
Haha, thank you for volunteering. We really need to have a wine tasting night. Wouldn't that be fun?