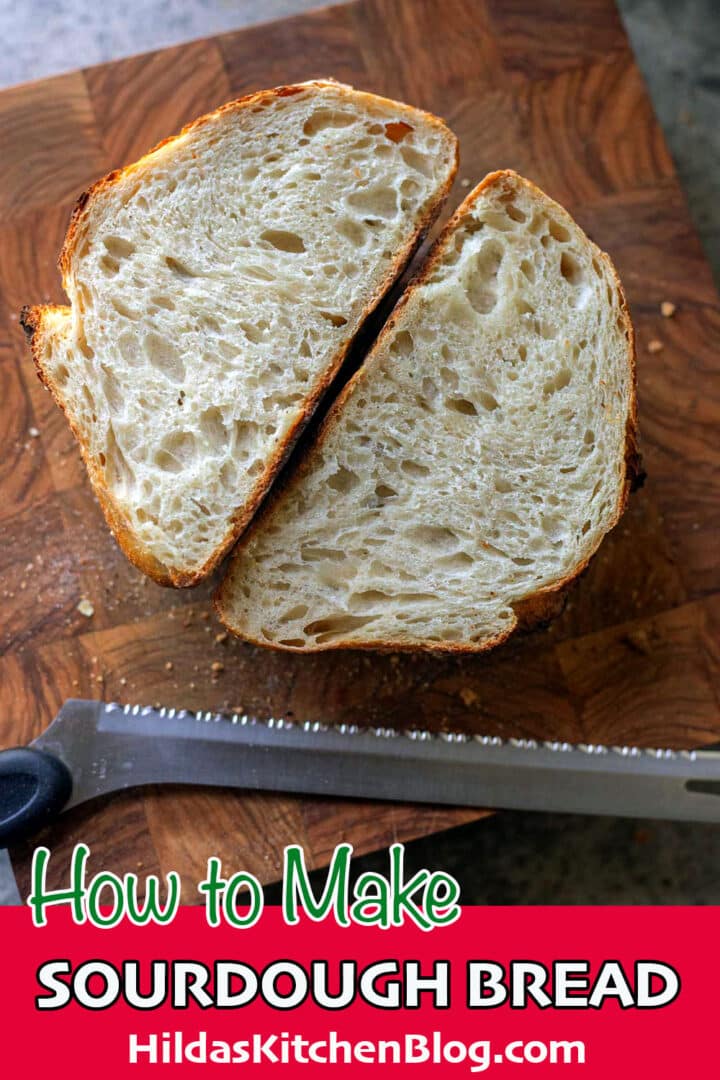
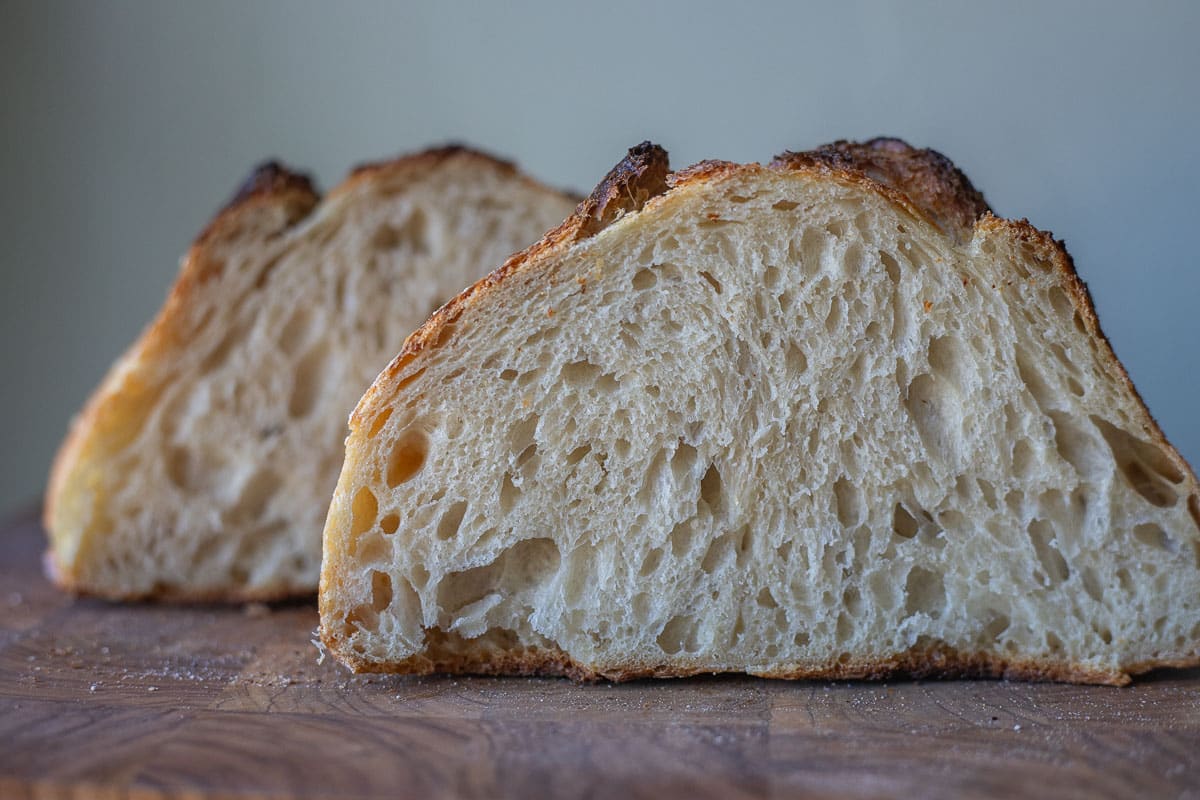
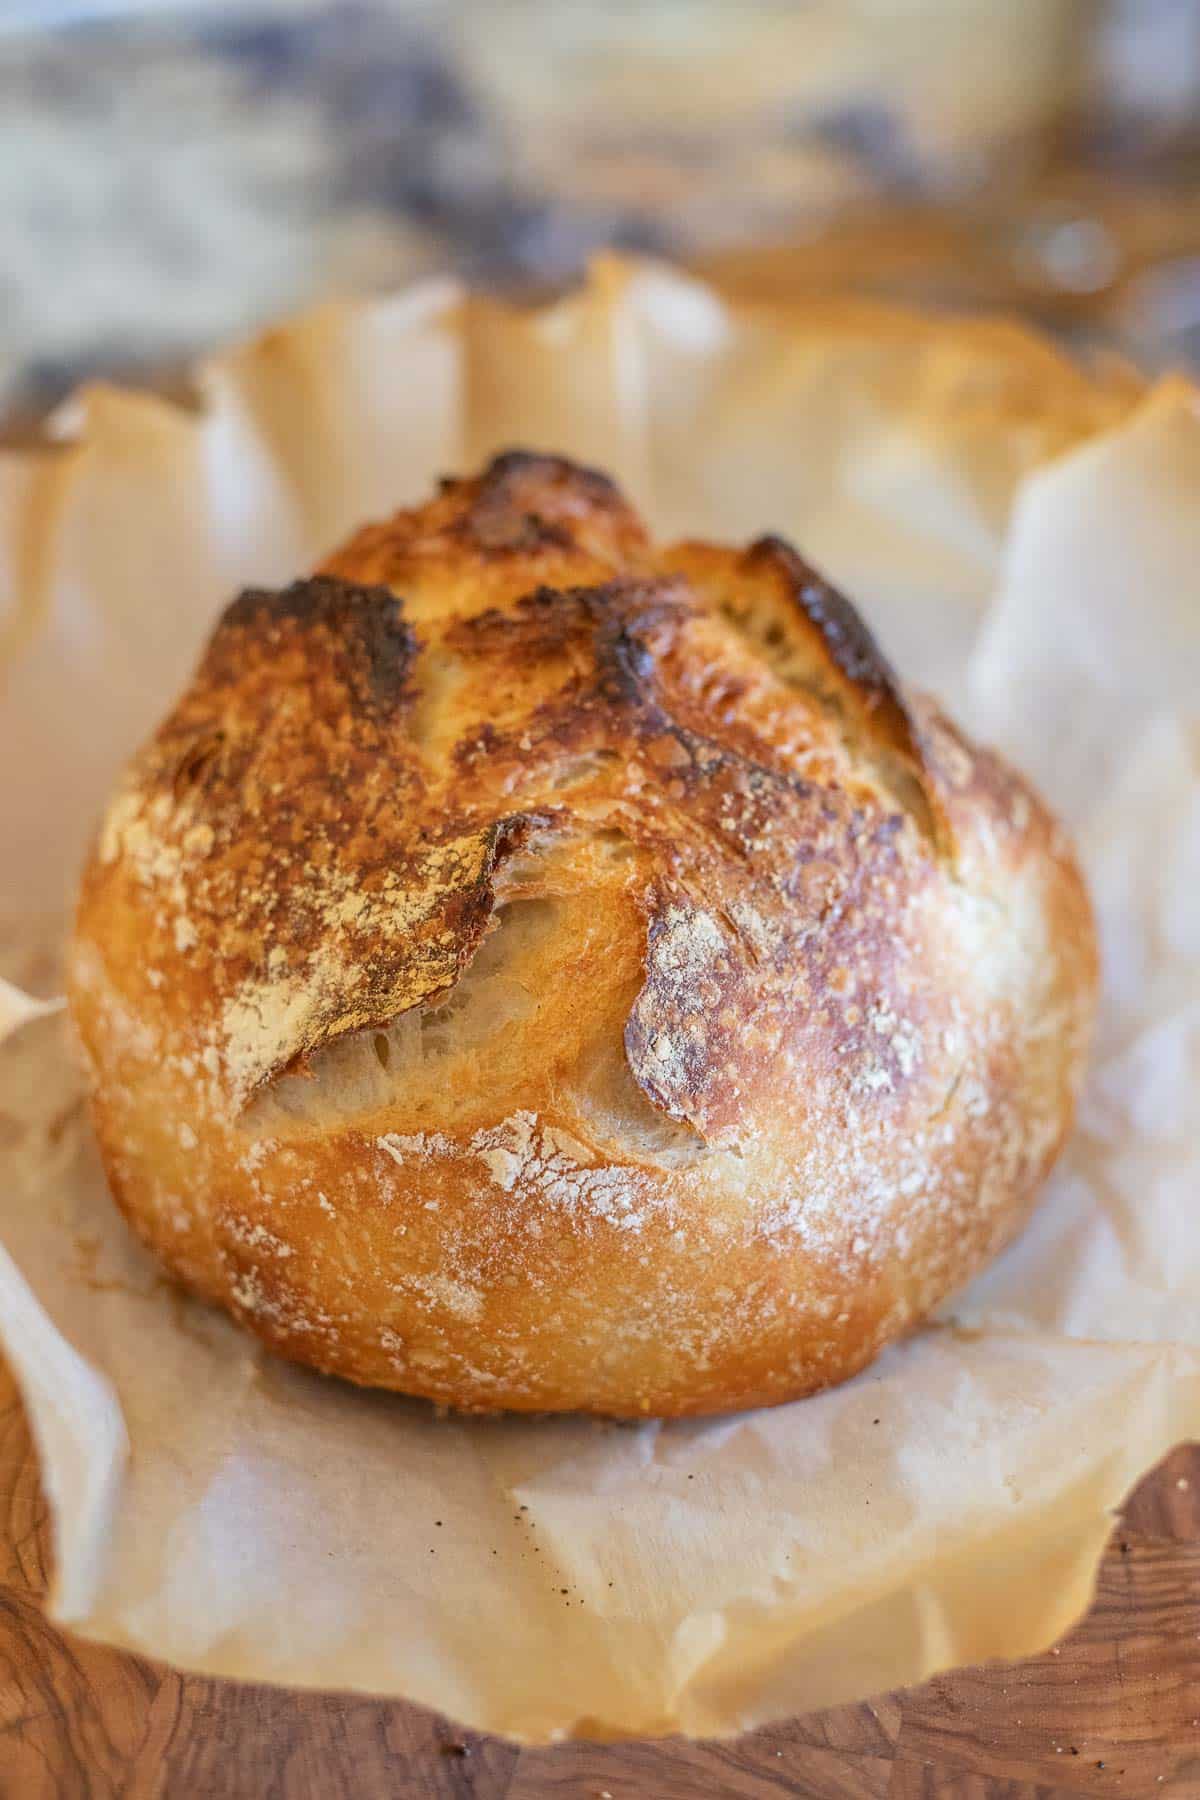
Finally, a Basic Sourdough Bread recipe that's easy to follow and absolutely delicious! With a few essential tools, you too can make great sourdough bread! Be sure to save a few slices to make a delicious Reuben Sandwich.
Would you like to save this recipe?
For the past year (2017), I've been trying to perfect sourdough bread baking. In January, I started my own sourdough starter.
Since then, I have baked many a loaf, trying to get it right. This basic sourdough bread recipe is the result of a lot of trial and error, but I think I finally nailed it!
Jump to:
😍 Why You'll Love This Recipe
- Sourdough bread is fun to make, especially when you get it right!
- The starter discard can be used in so many ways!
- Sourdough bread is better for you than white bread and loaded with probiotics, so go ahead, have another slice!
- Once you get the hang of baking sourdough bread using my easy sourdough bread recipe, you can make one as often as you'd like. You can freeze some of it, or give it to family and friends.
- You can double this sourdough bread recipe to make two smaller loaves, one larger loaf. Or make sourdough rolls instead!
- I love serving sourdough bread with hearty soups like this delicious ham and beans recipe.
🛒 What You Need For This Recipe
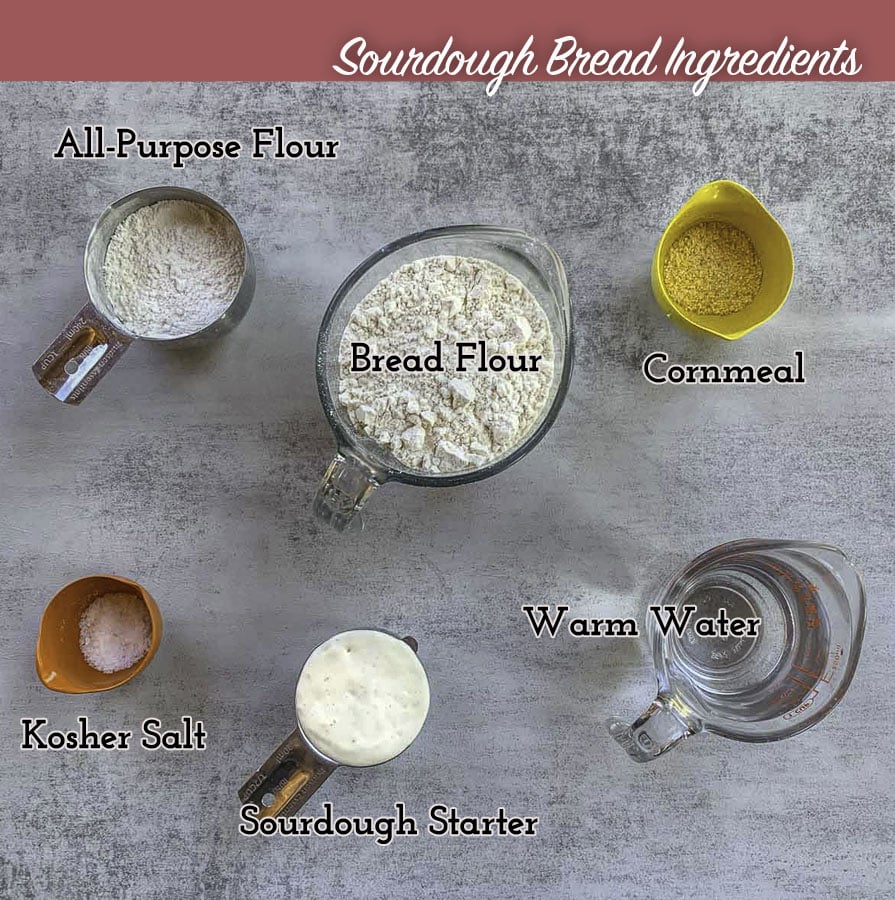
🔖 Ingredients & Substitutions
- Flour: I prefer to use bread flour but you can experiment with wholewheat, or a combination of the two.
- Kosher Salt: You can substitute with sea salt if you need to.
- Sourdough Starter: The most important ingredient is the starter. Make sure your sourdough starter is active and bubbly before proceeding.
- Cornmeal: I like to add some cornmeal to the parchment paper to keep it from sticking.
*Find the full list of ingredients in the recipe card!
🔪 Helpful Tools
🍞 Sourdough Bread Recipe
Start With A Good Starter
I love that you don't need yeast to make sourdough bread, just a good starter that you can make with flour, water, and wild yeast. Wild yeast is all around us!
To make your own starter, use an equal amount of flour (all-purpose, whole wheat, or a combination of the two) and warm water, measured in grams. I prefer to use 100 grams of each. If you don't have a scale, you can use 1 cup flour and ½ cup water.
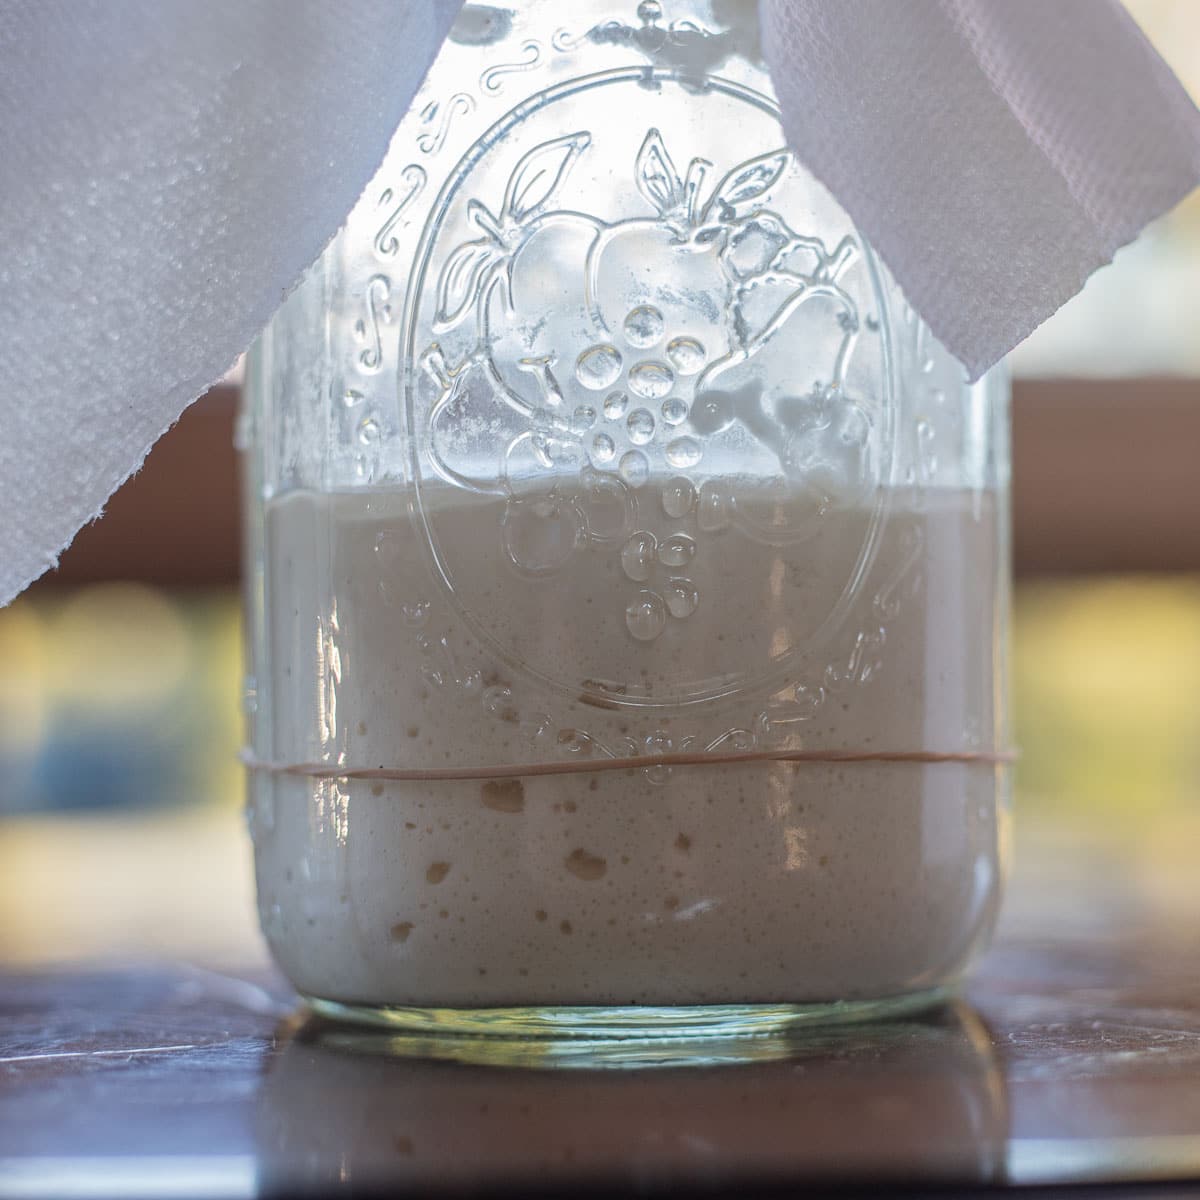
Simply combine the two in a mason jar or a sourdough starter jar and mix until combined. Loosely cover the jar with the lid or a paper towel fastened with a rubber band. Set aside in a warm spot for 48 hours.
On day 3, discard half of the starter (or use it to make Za'atar Sourdough Discard Crackers), leaving 100 grams. Next, you need to feed the starter with equal amounts of all-purpose flour and warm water (100 grams each).
Repeat this process on days 4-7, discarding half each day and mixing in an equal amount of water and flour. On day 7, your starter should be active and bubbly and ready to use!
Pro Tip: A 100 grams is an arbitrary number. If you want, you can use 50 grams, 60 grams or any other number. You'll need less flour too!
Another option is to get sourdough discard from a friend, to make your sourdough loaf recipe. If you don't have that option, you can purchase sourdough starter here.
How to Make A Sourdough Loaf
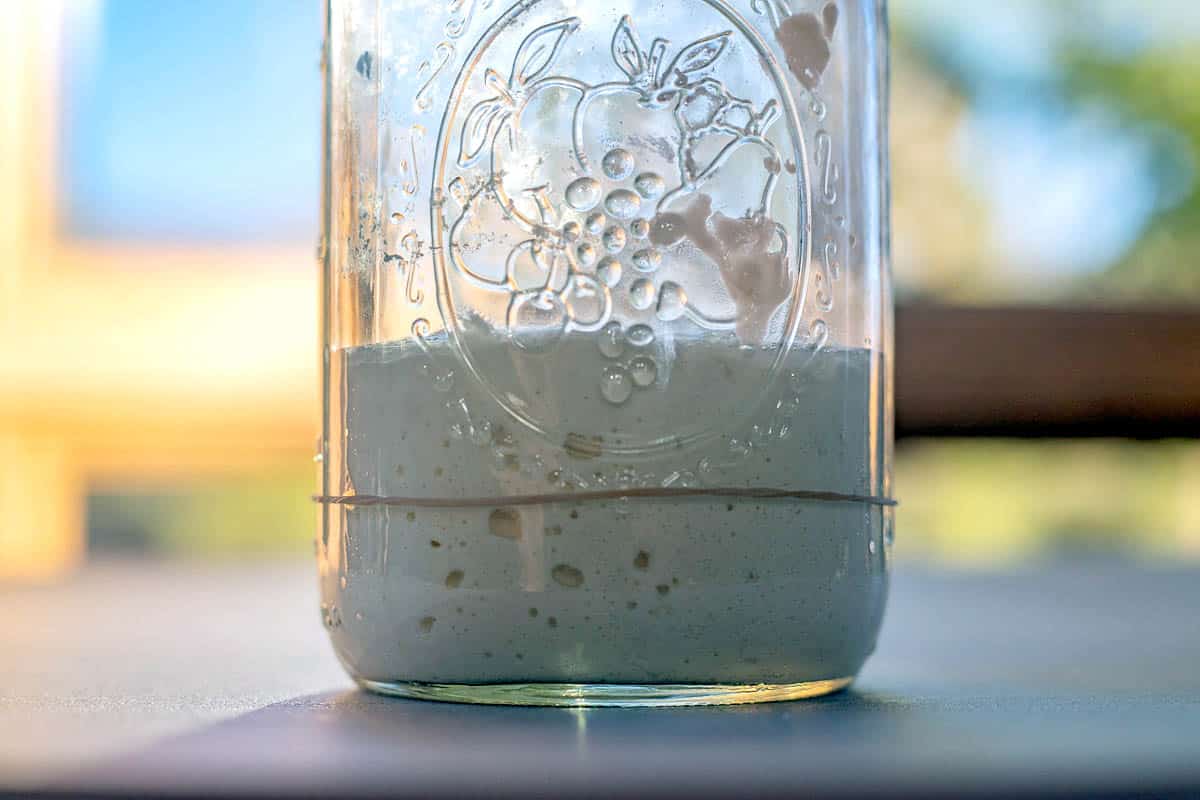
Make sure you begin with an active sourdough starter. Look for plenty of active bubbles, which will help your bread to rise.
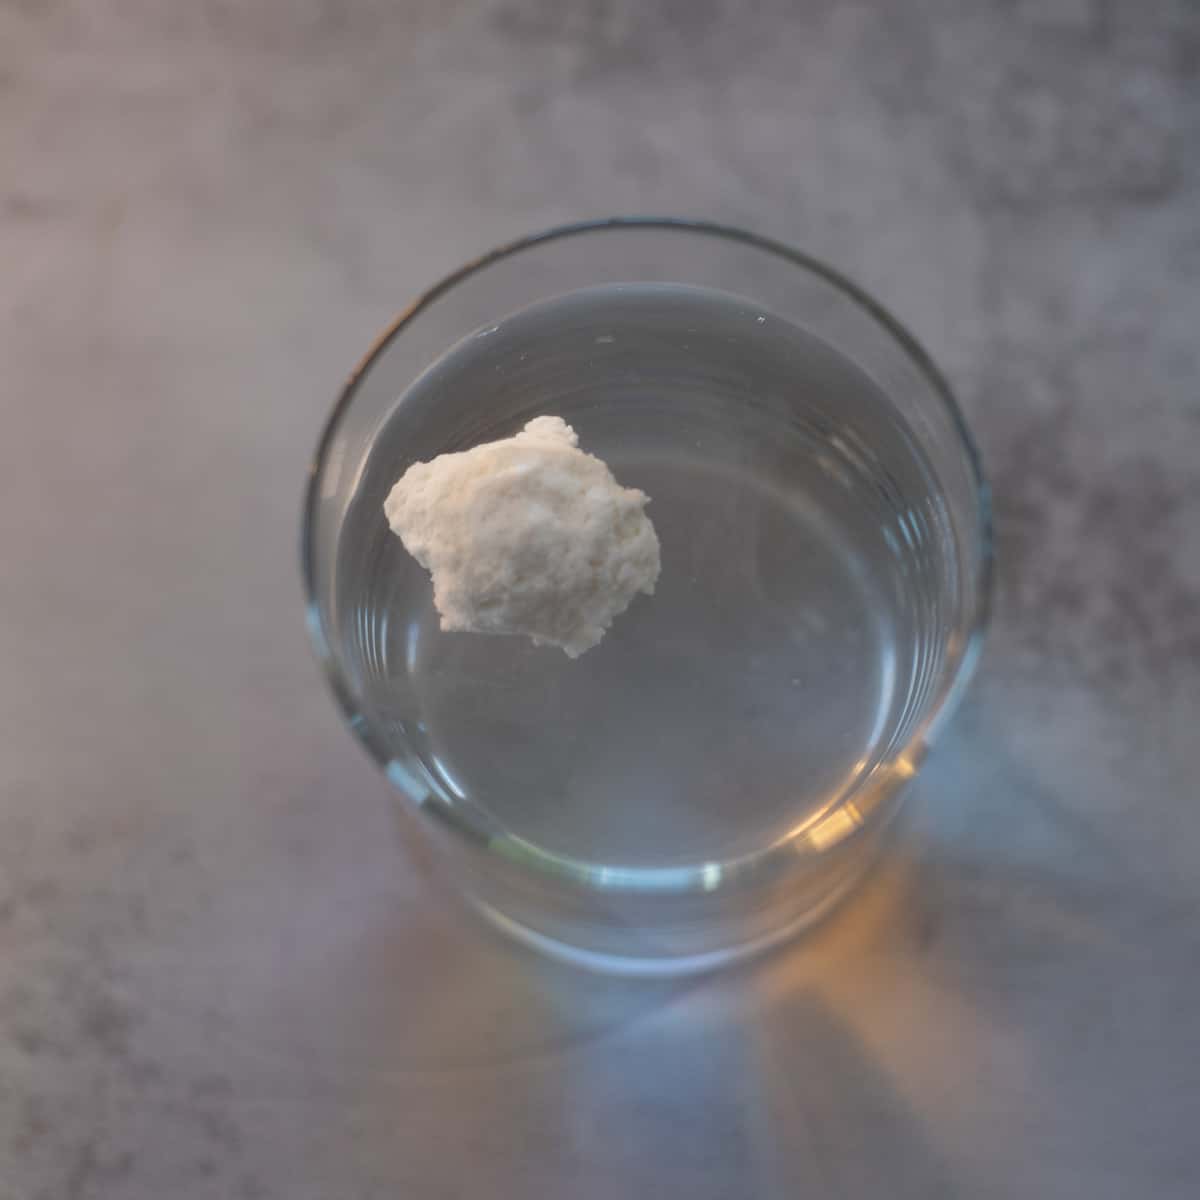
Pro Tip: You can also test the sourdough to see if it's active and ready to be used. Just plop a teaspoon full of sourdough starter into a glass of water. If it floats to the surface, it's ready to be used!
Autolyse
Autolyse simply means hydrating the flour. This is done by mixing the water and flour and allowing them to rest before introducing the starter and salt. You can try that method, or mix all the ingredients together from the start, which works for me!
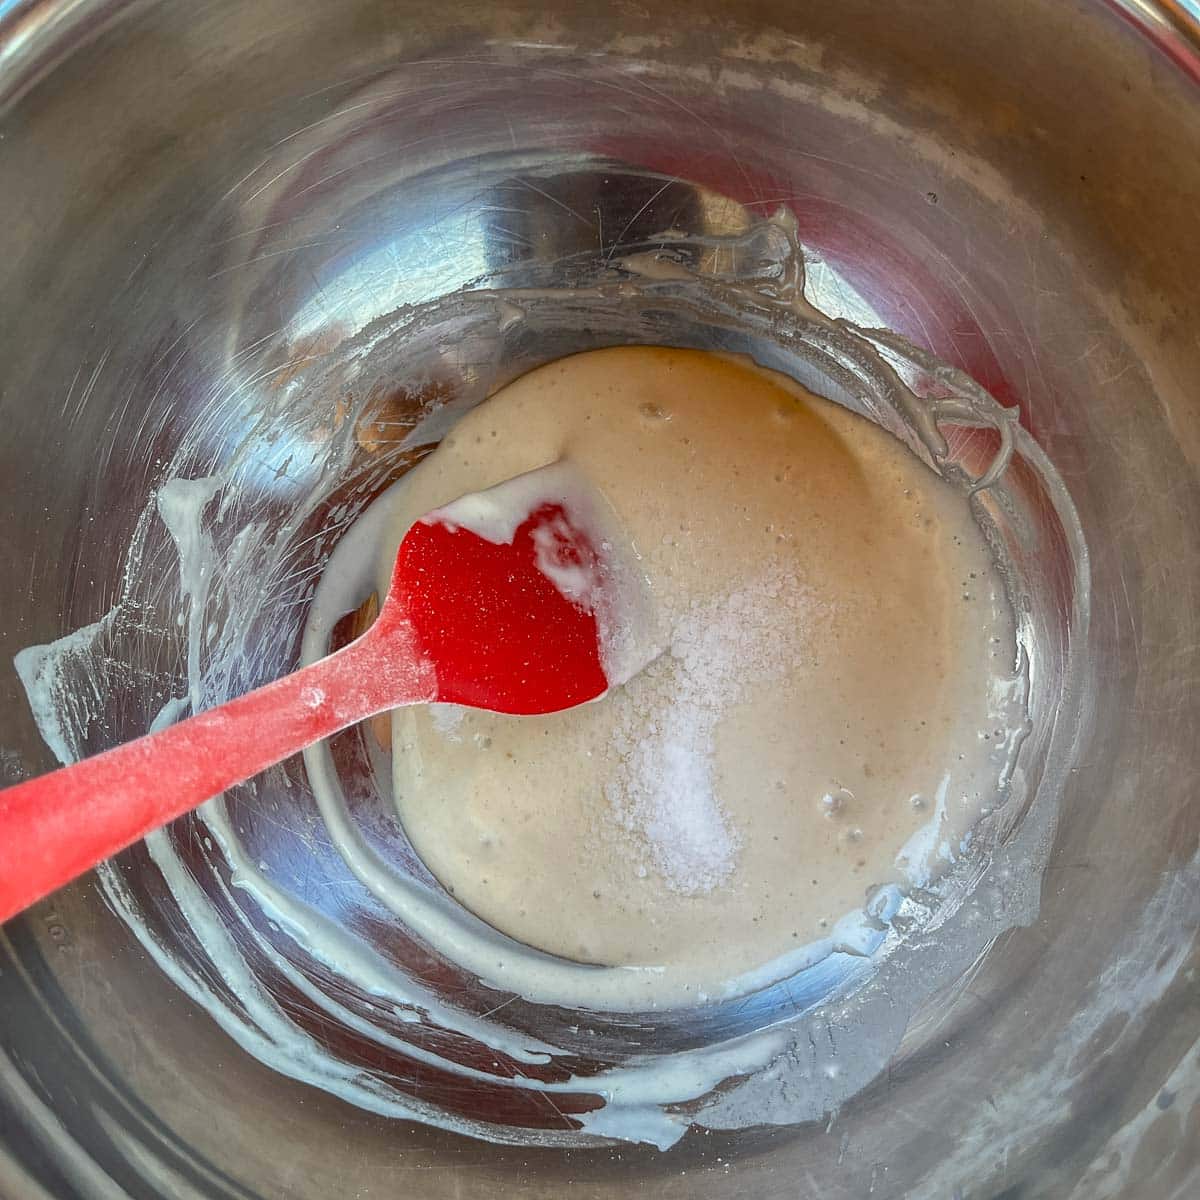
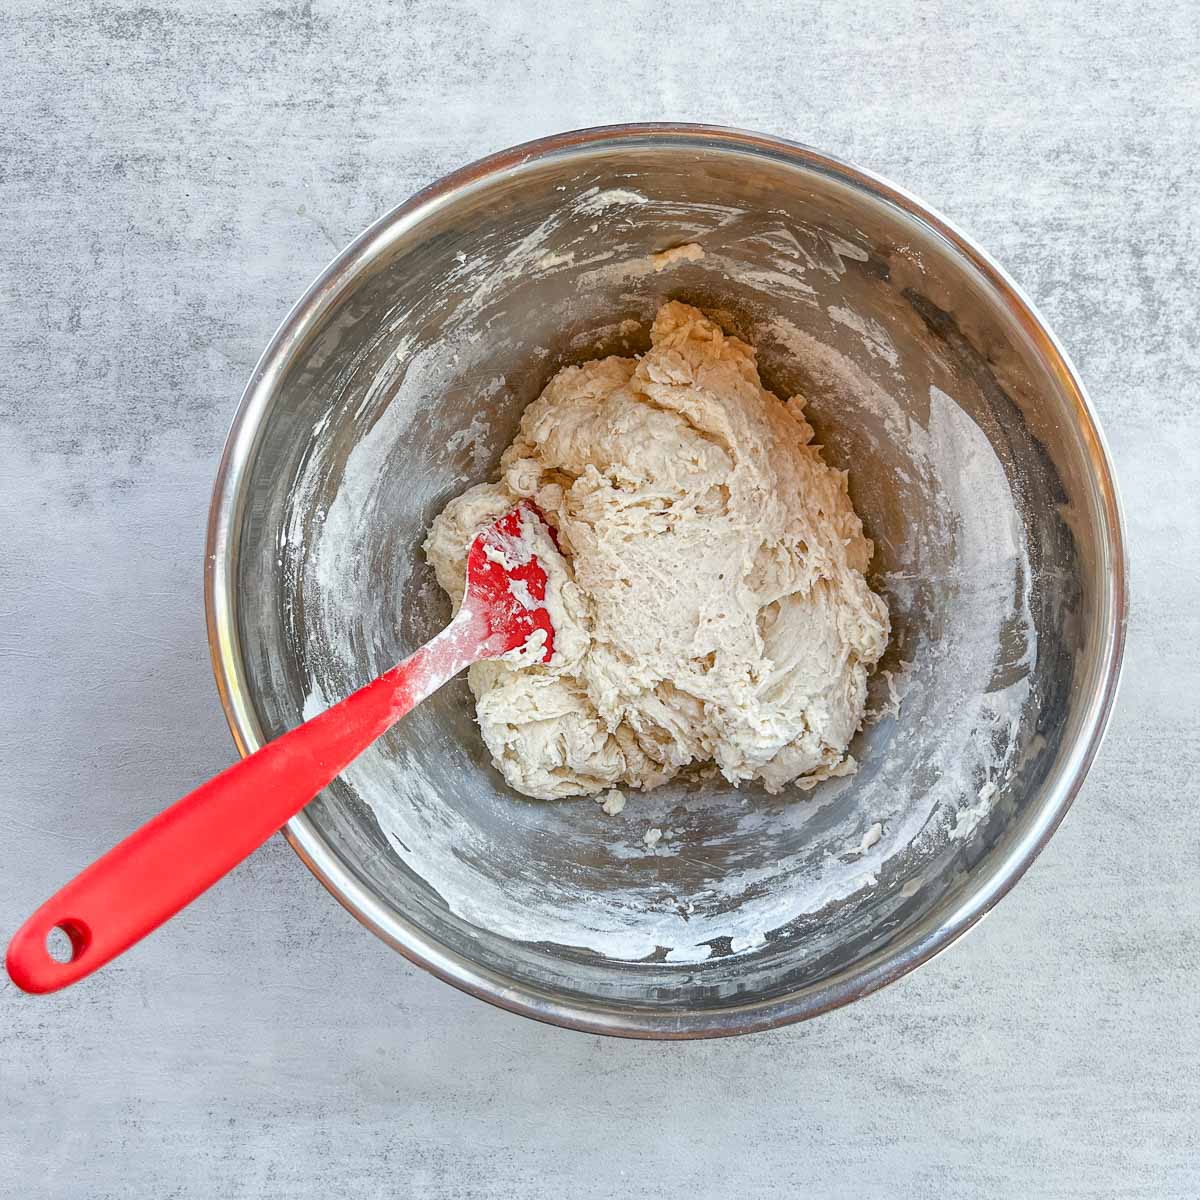
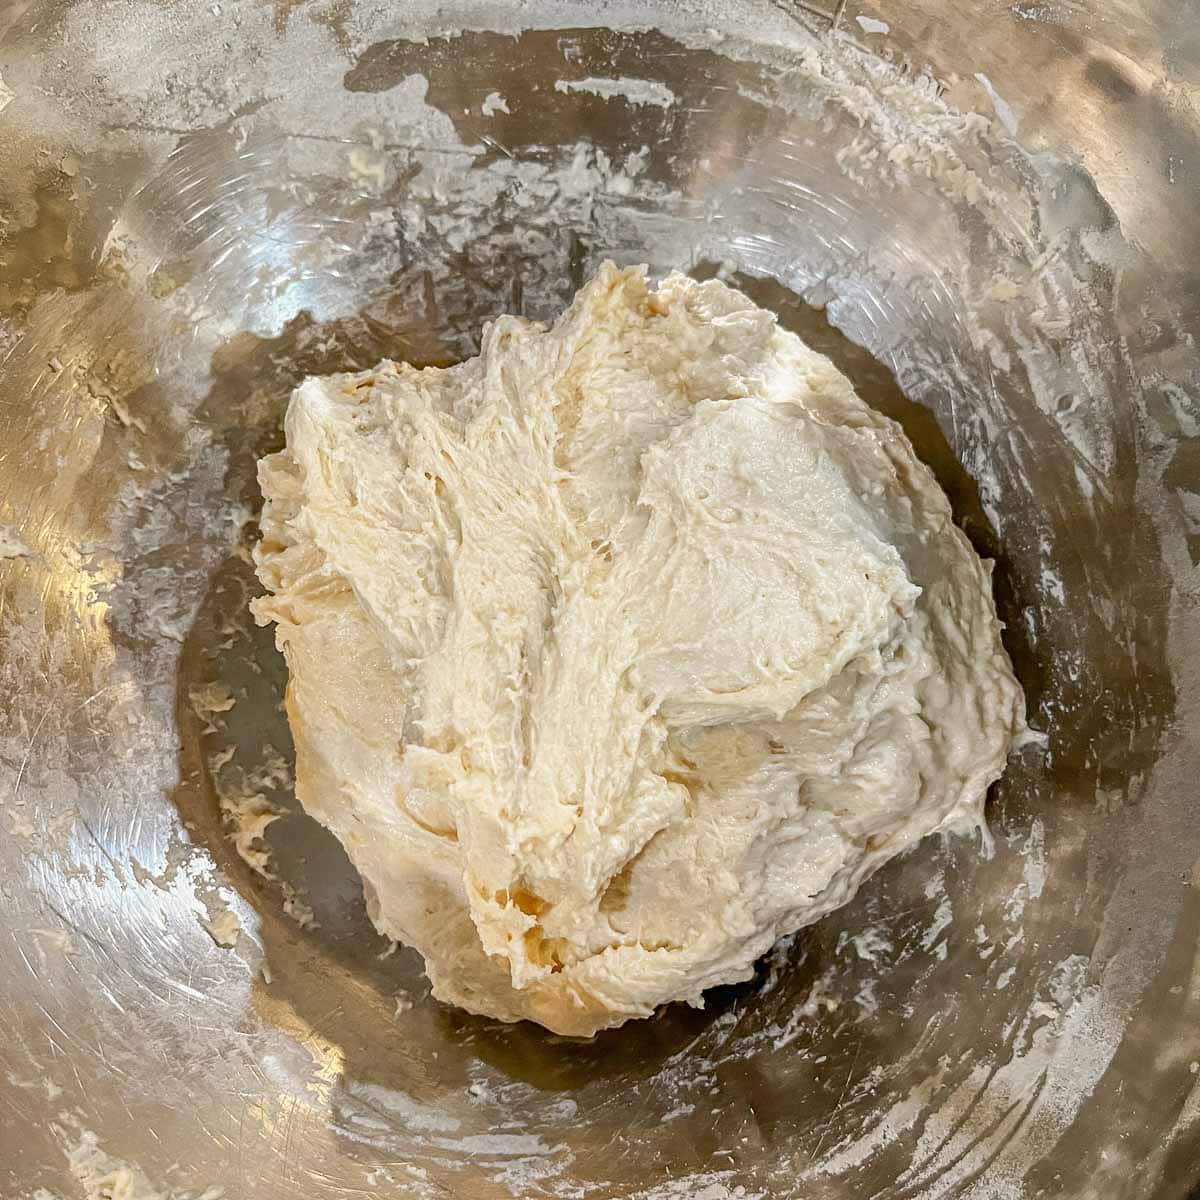
Step 1: Mix the sourdough starter, warm water, and salt in a medium-sized bowl. Add the bread flour and mix until a shaggy dough forms. Cover and rest in a warm spot for 30-60 minutes.


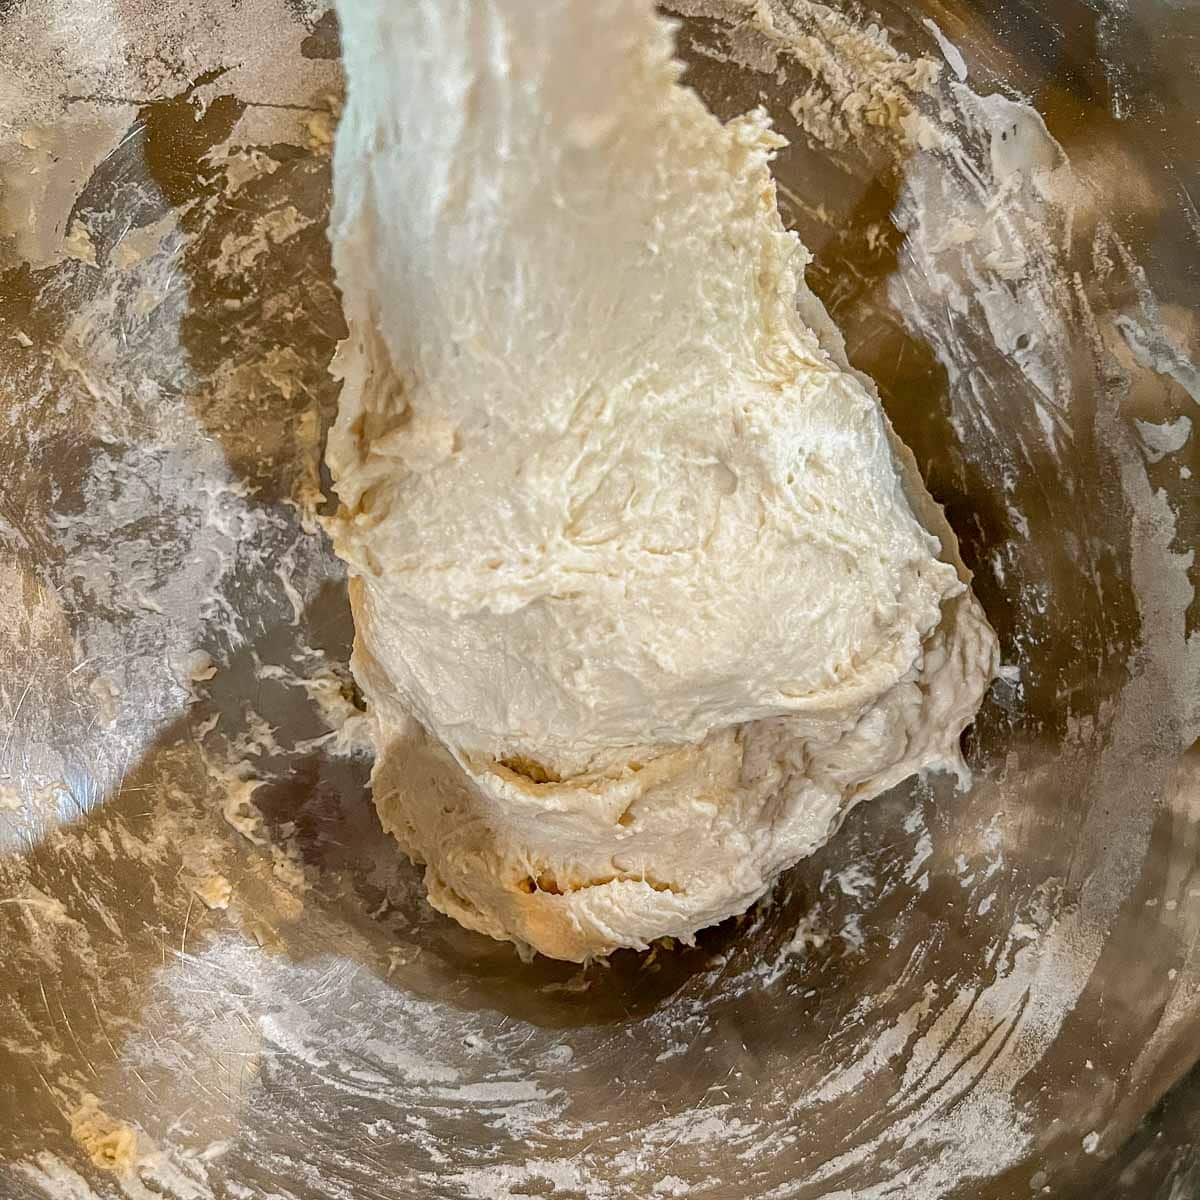
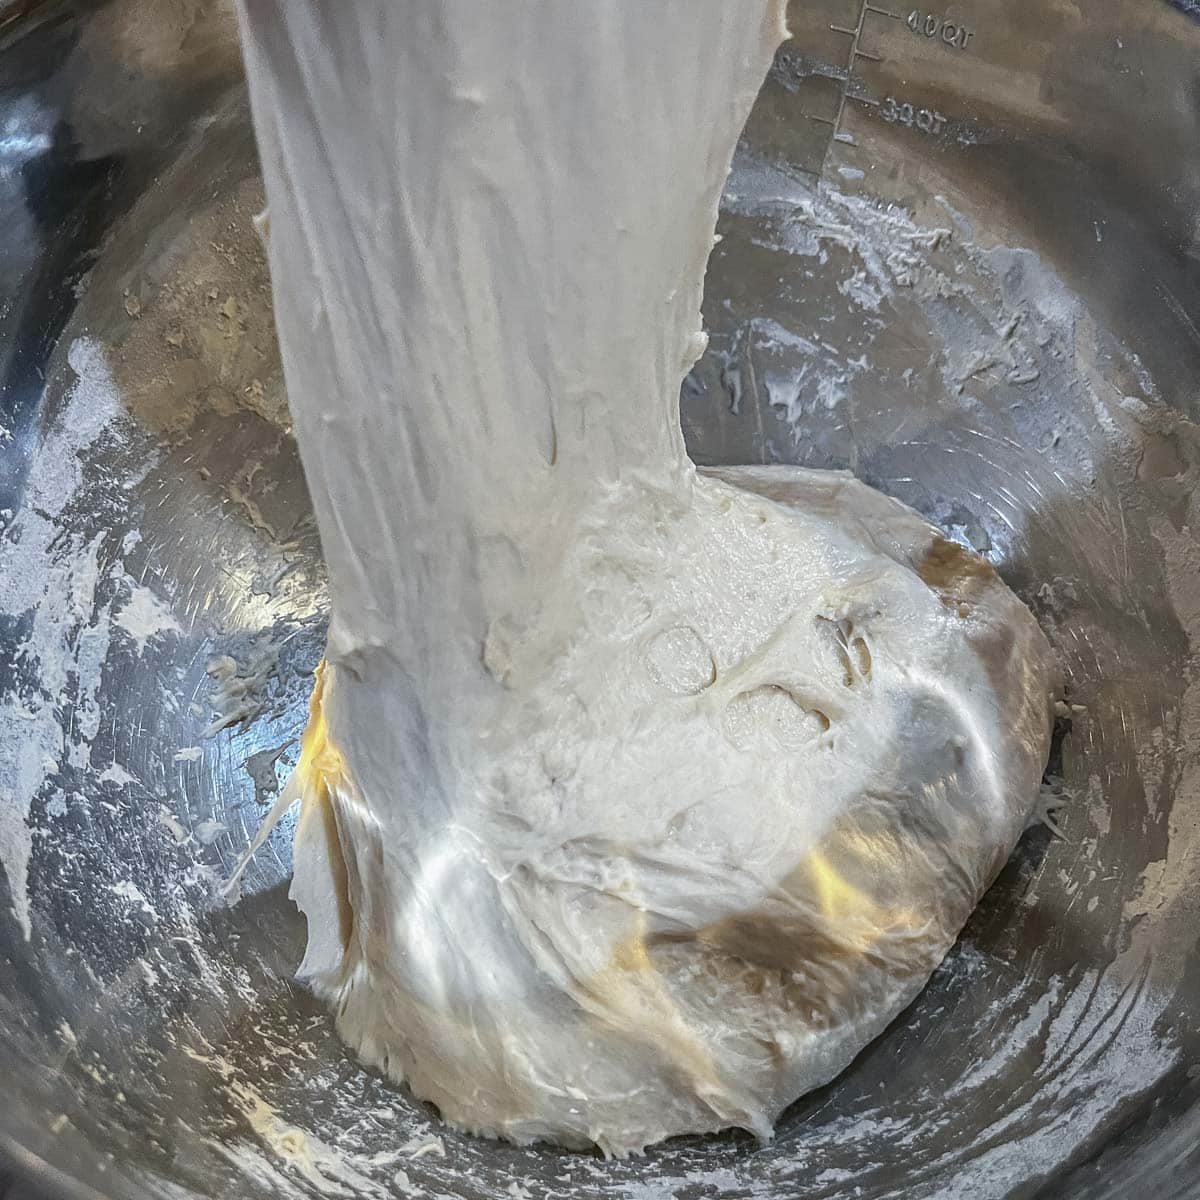
Stretch & Fold
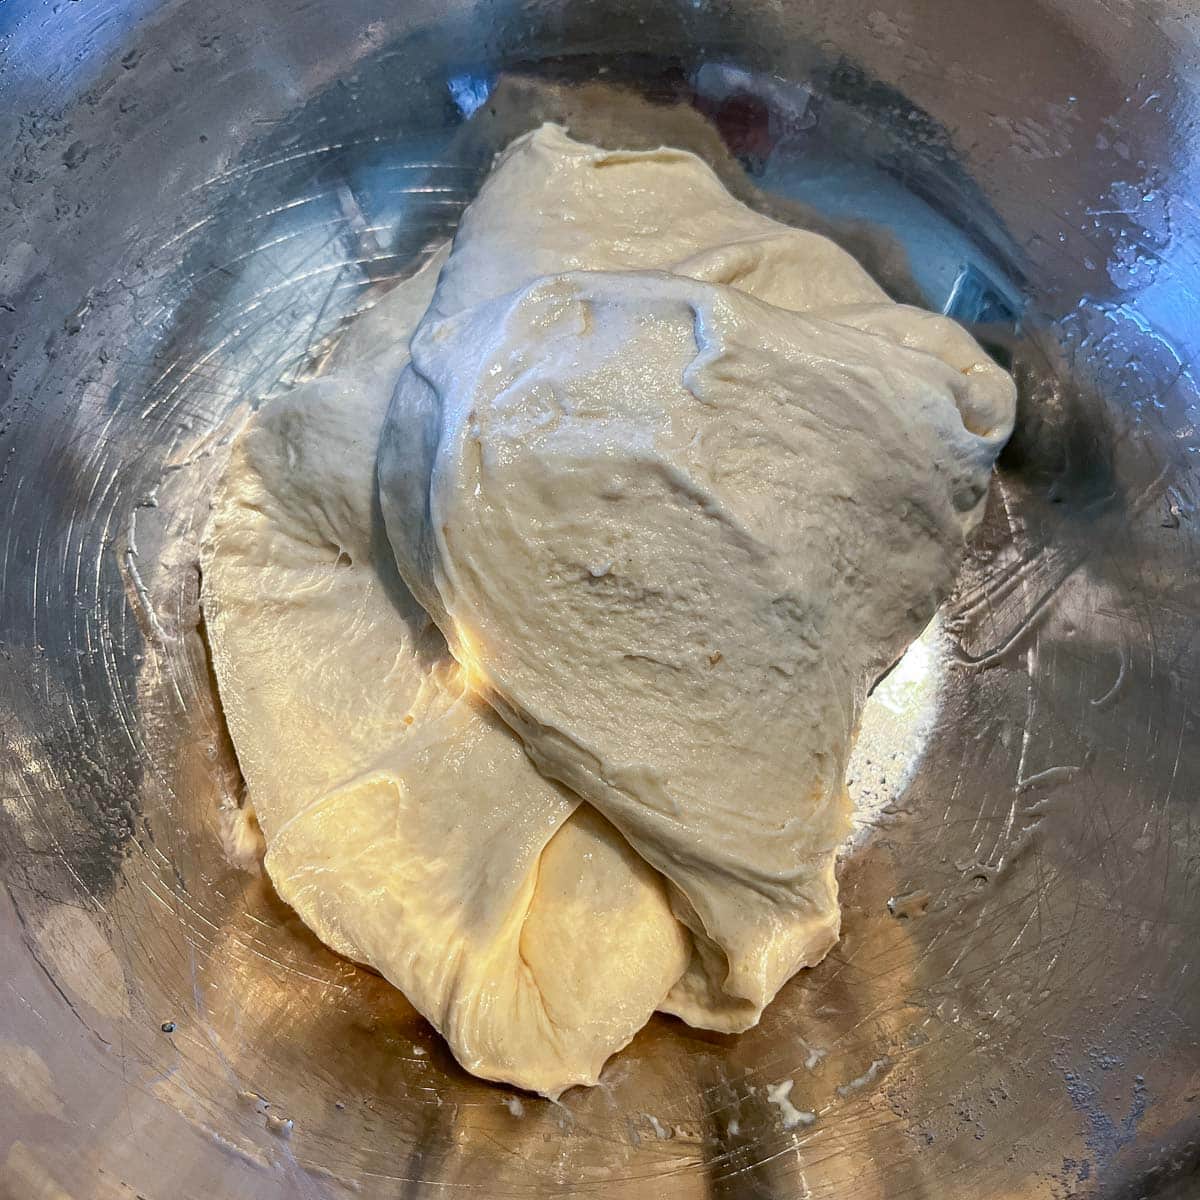
Step 2: After 30 minutes, stretch and fold the dough. This is done by stretching the dough up and then folding it over the remaining dough. Turn the bowl a quarter of a turn and stretch and fold the dough again. Do this 4 to 8 times, turning a quarter turn each time.
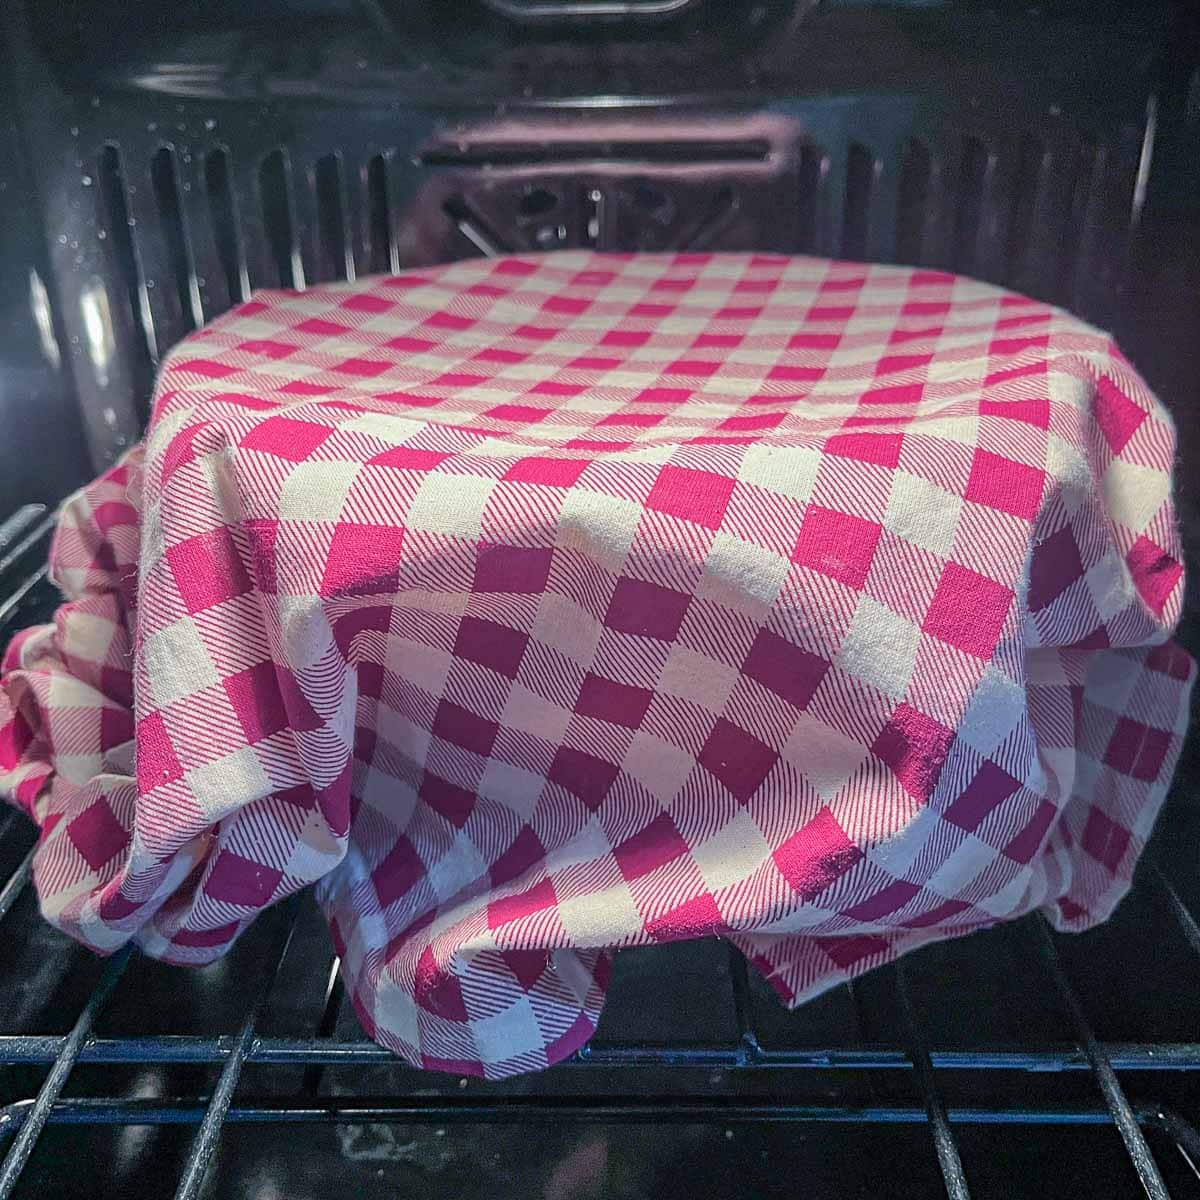
Bulk Rise
Step 3: Cove the dough once more and proof for 4 hours in a warm spot. A good place to proof the dough is in the oven with the oven light on. Set a timer and stretch and fold the dough once every hour for a total of 4 times in four hours.
Shape Dough
Step 4: Fold the dough onto itself, turn a quarter turn and repeat. Do this going around the bowl. This technique is often described as shaping the dough into an envelope.
Here is a video showing how to do the envelope method.
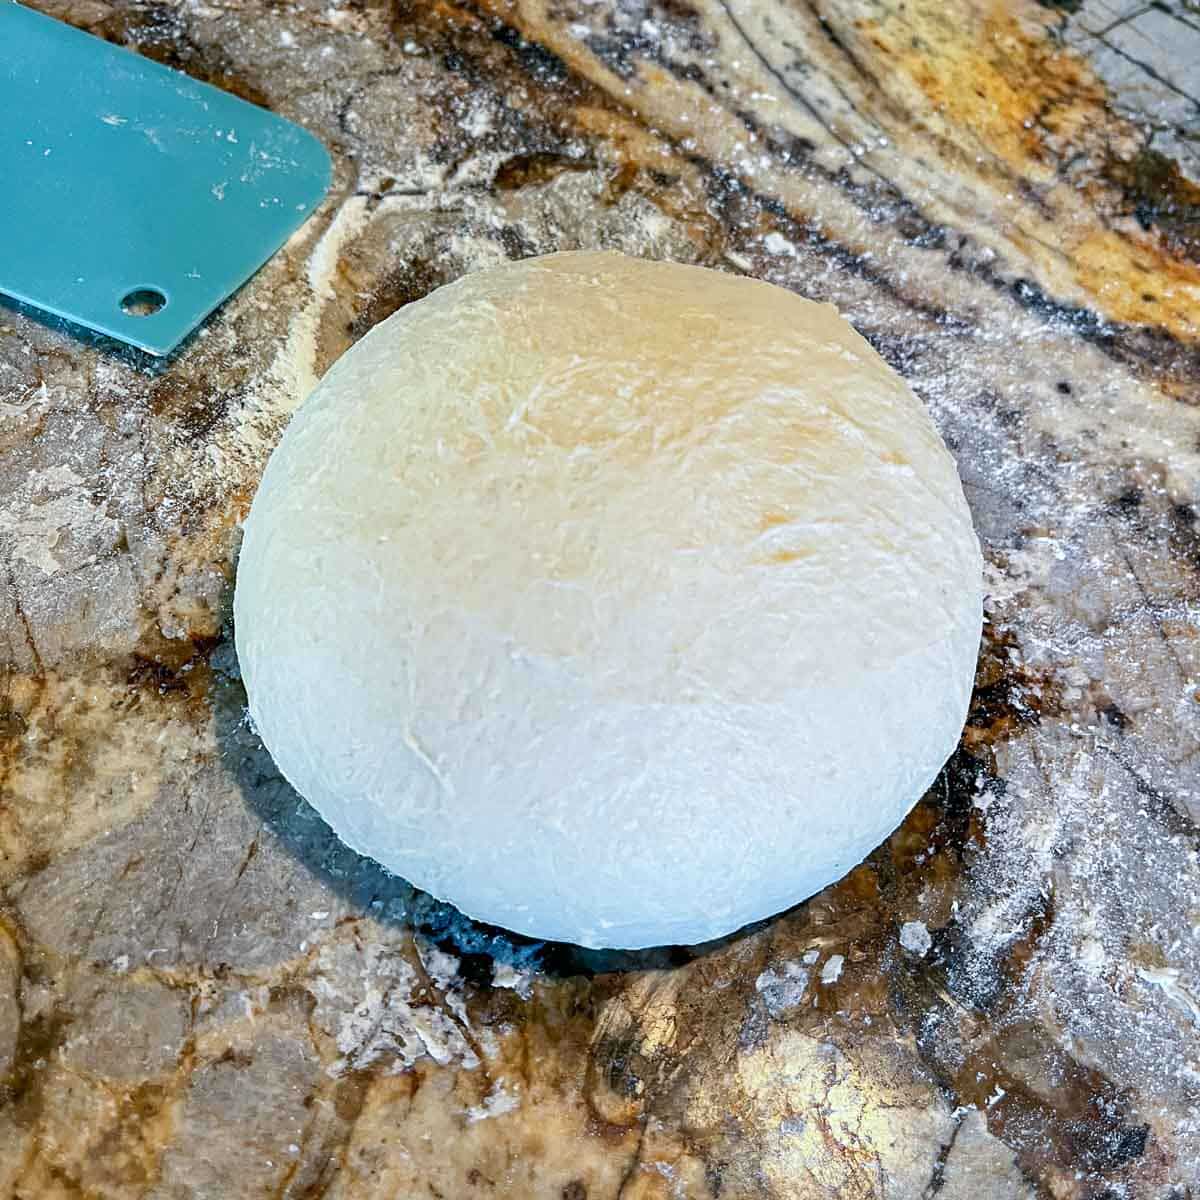
Step 5: Flip the dough ball over, seam-side down, and pull the dough towards the bottom to make a ball. Push the sides using a bench scraper. As you push on the sides, the end result will be a nice tight ball of dough.
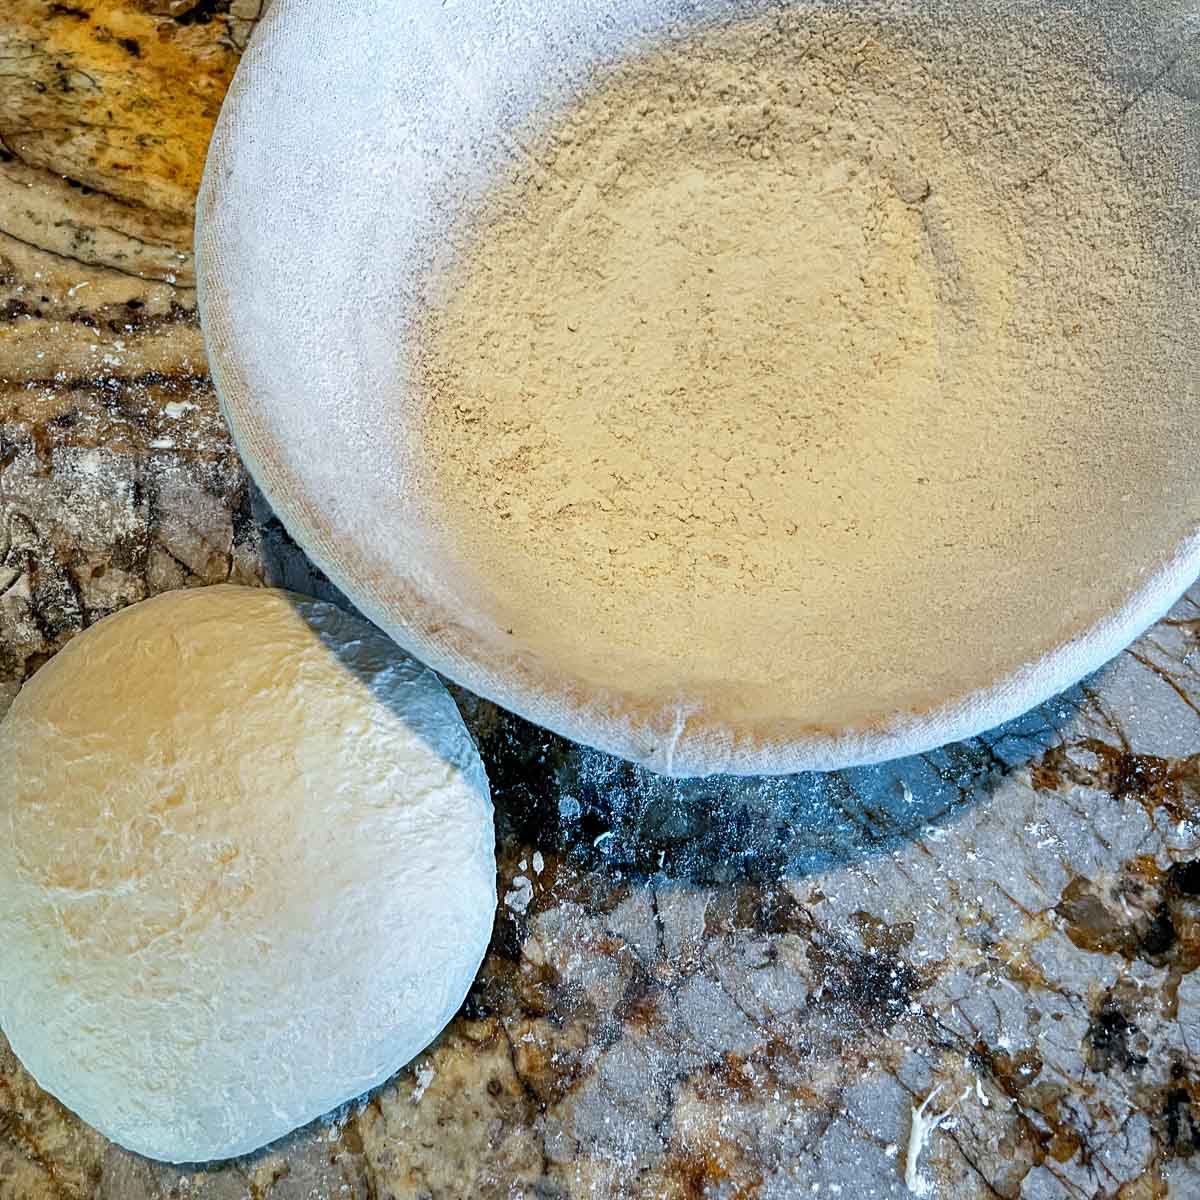
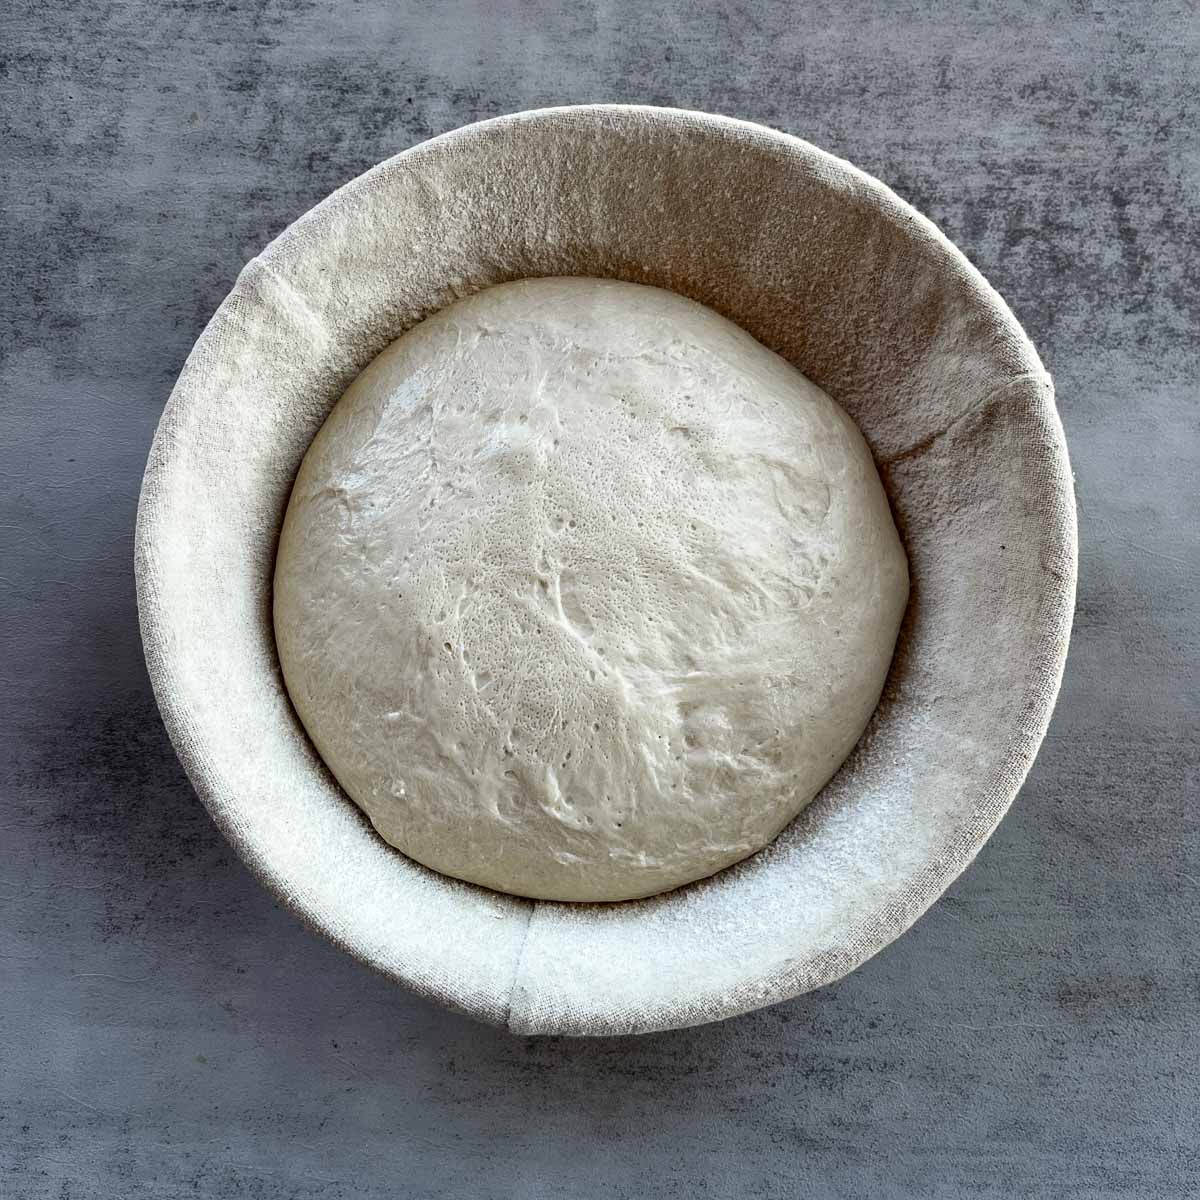
Step 6: Flour the banneton basket generously with all-purpose flour or rice flour. You don't want the dough to get stuck in the basket, so don't skimp on the flour. Get the sides too!
Second Rise
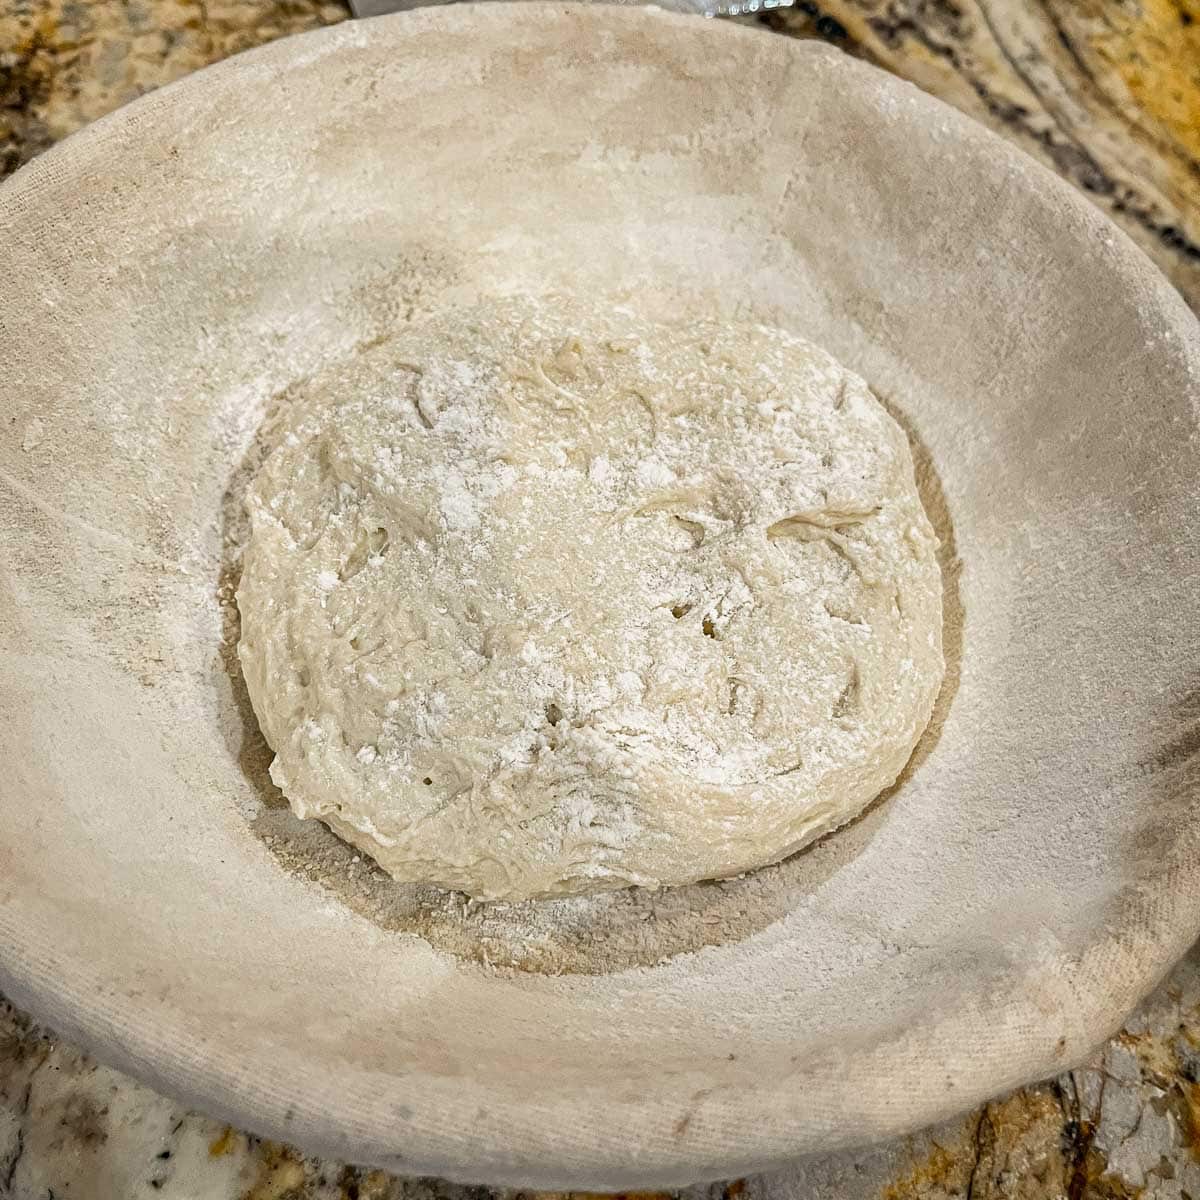
Step 7: Sprinkle flour on top of the dough ball, then gently transfer into the basket, seam-side-up. Sprinkle the top with more flour, then cover with a damp cloth or plastic wrap. Proof a minimum of 4 hours, but preferably overnight in a fridge.
Step 8: Remove the basket from the fridge, while you preheat the oven to 450 degrees F. Place a 3.5 quart sized dutch oven in the oven to heat.
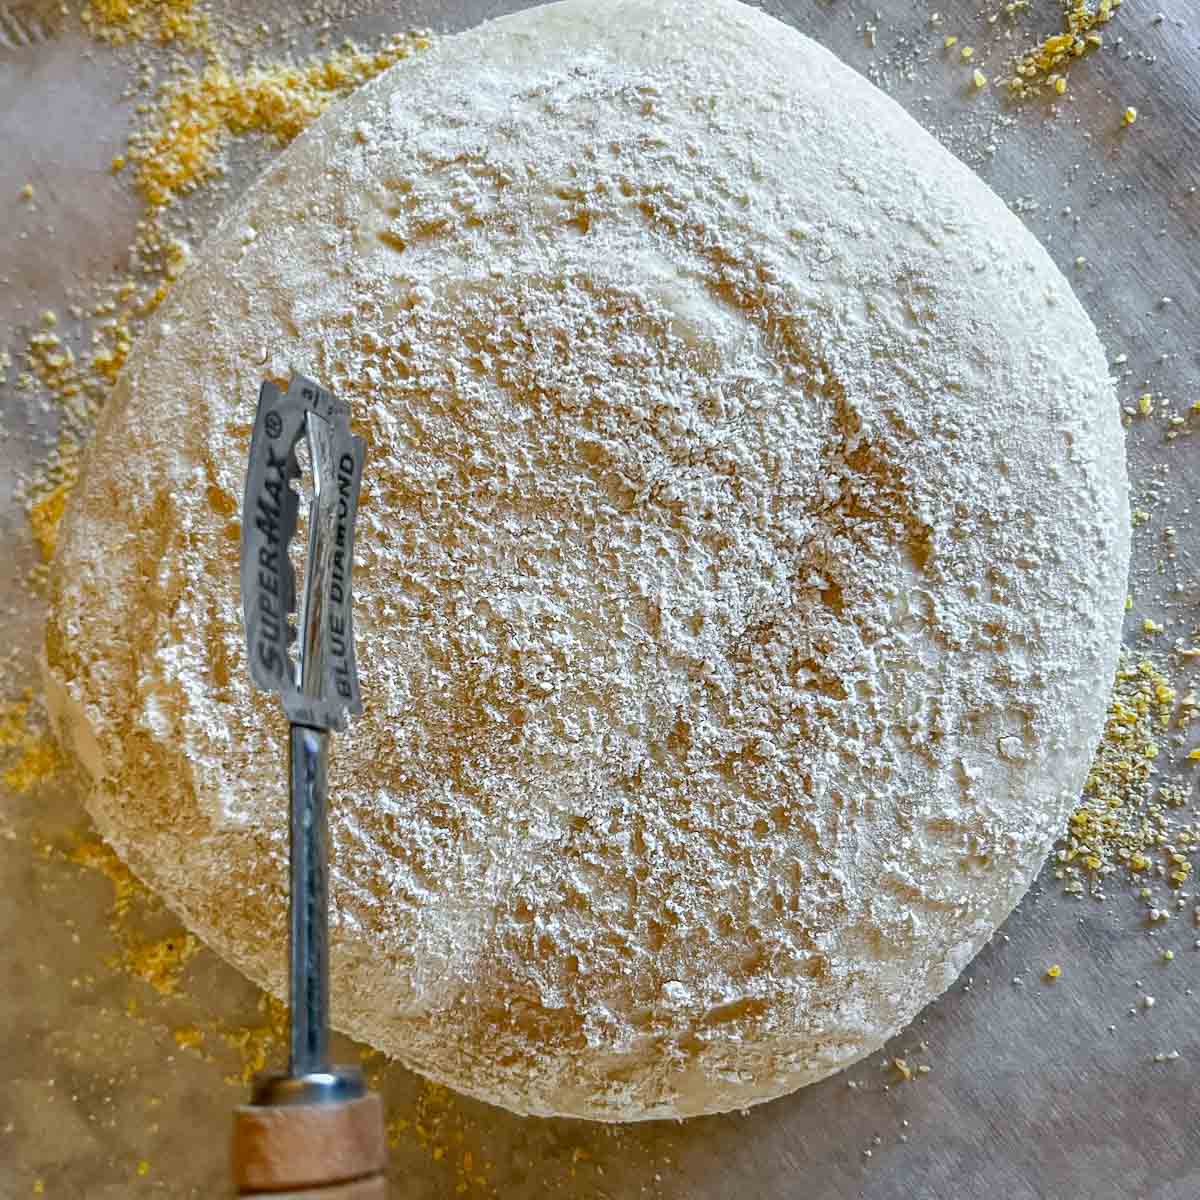
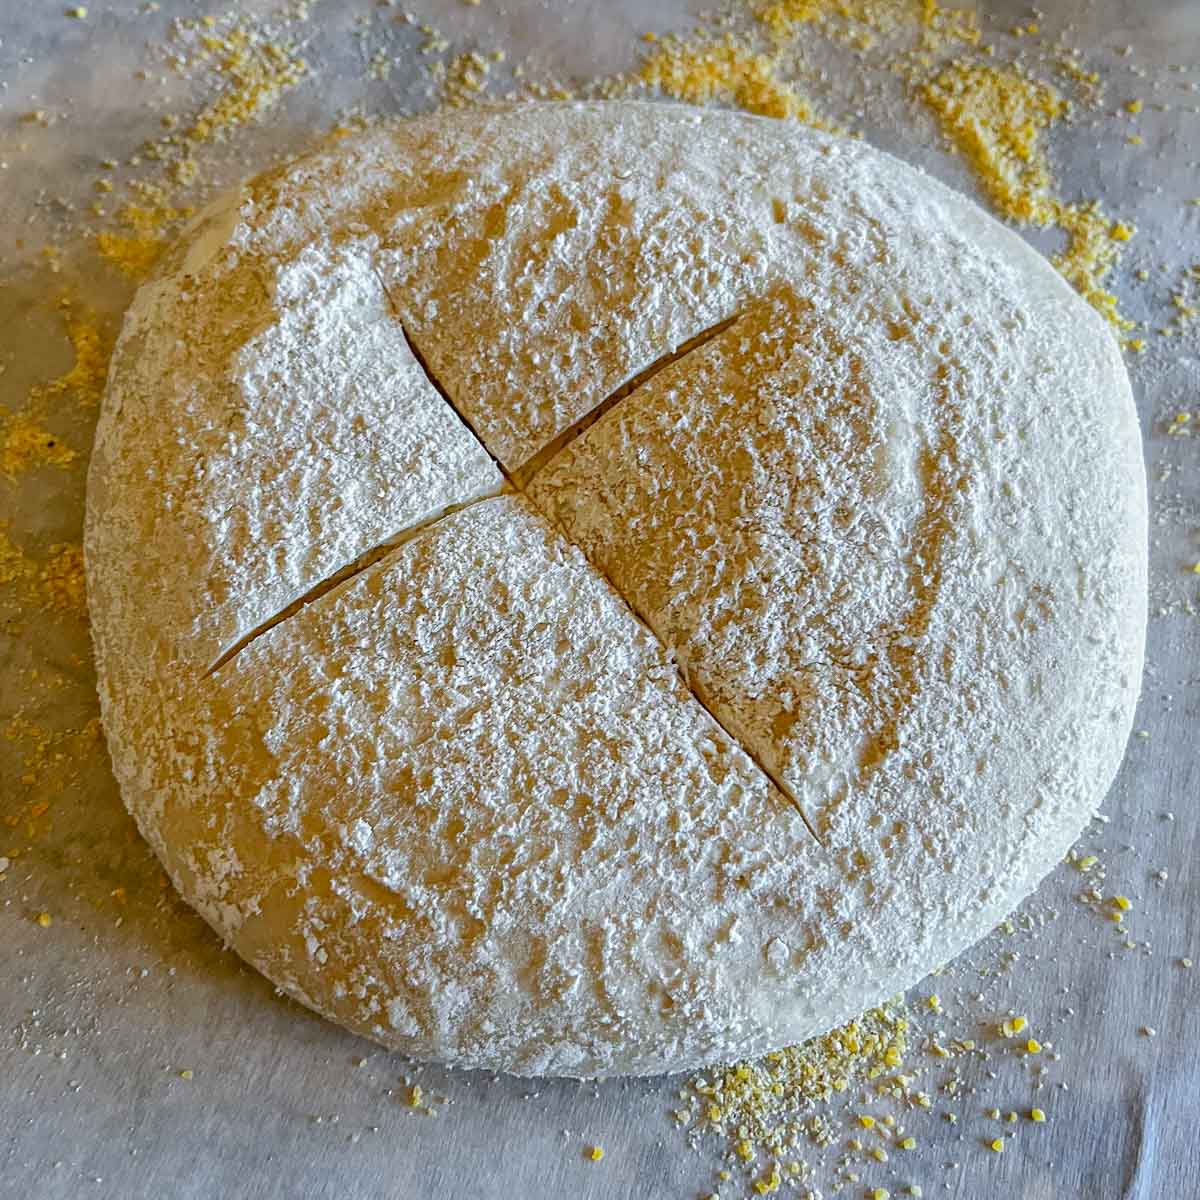
Scoring
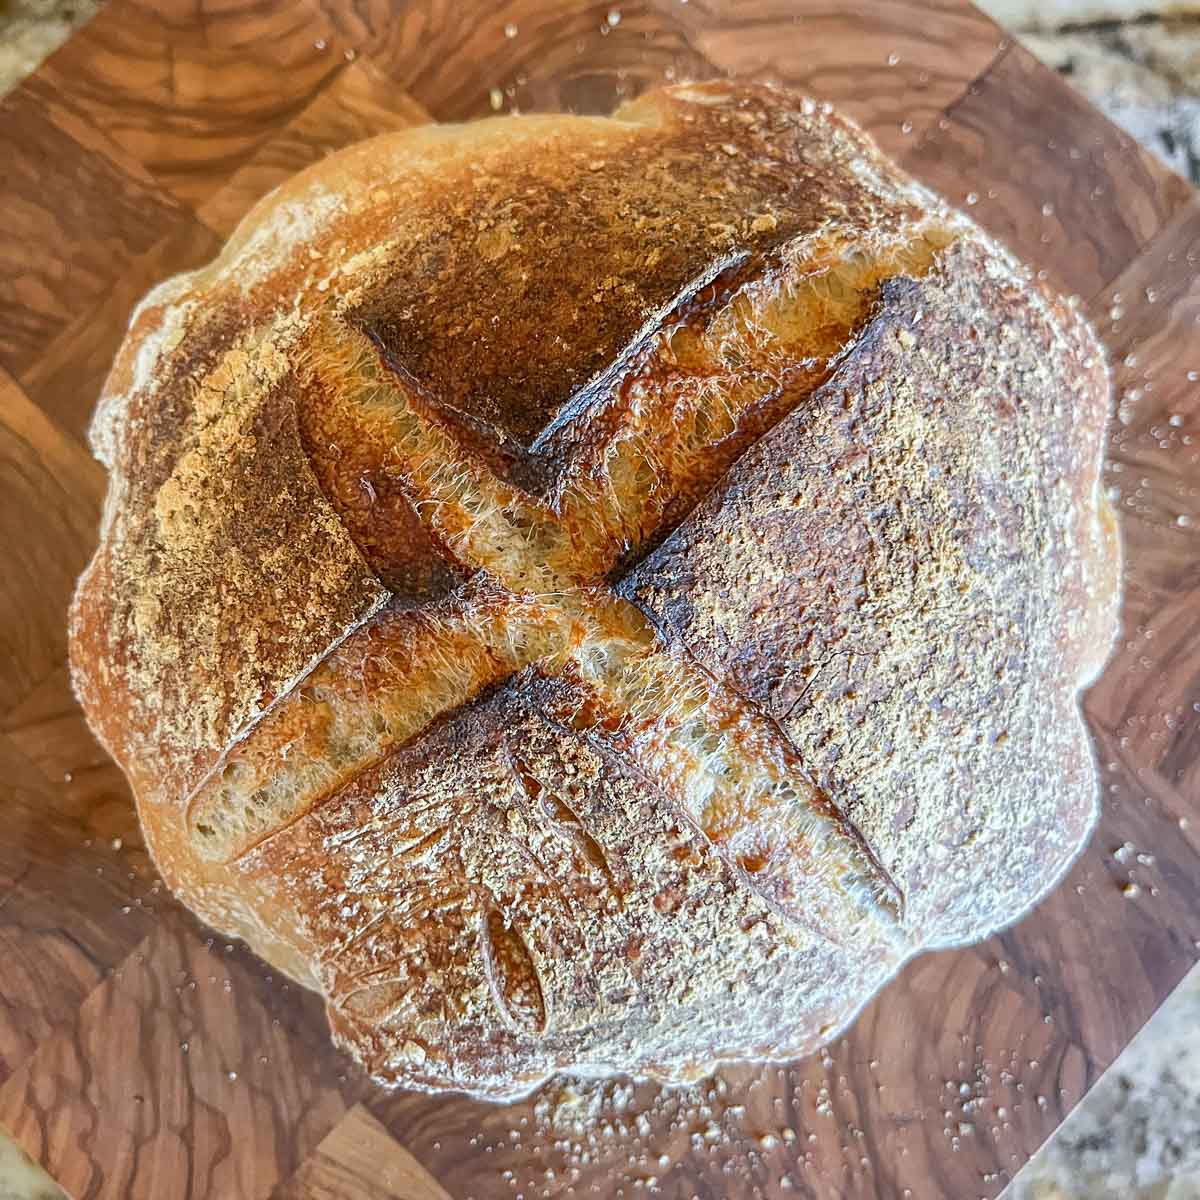
Step 9: Sprinkle cornmeal on a piece of parchment paper. Gently remove the dough from the basket and place it seam-side-down onto the parchment paper. Make a few expansion slashes (½" deep) using a sharp knife or a bread lame.

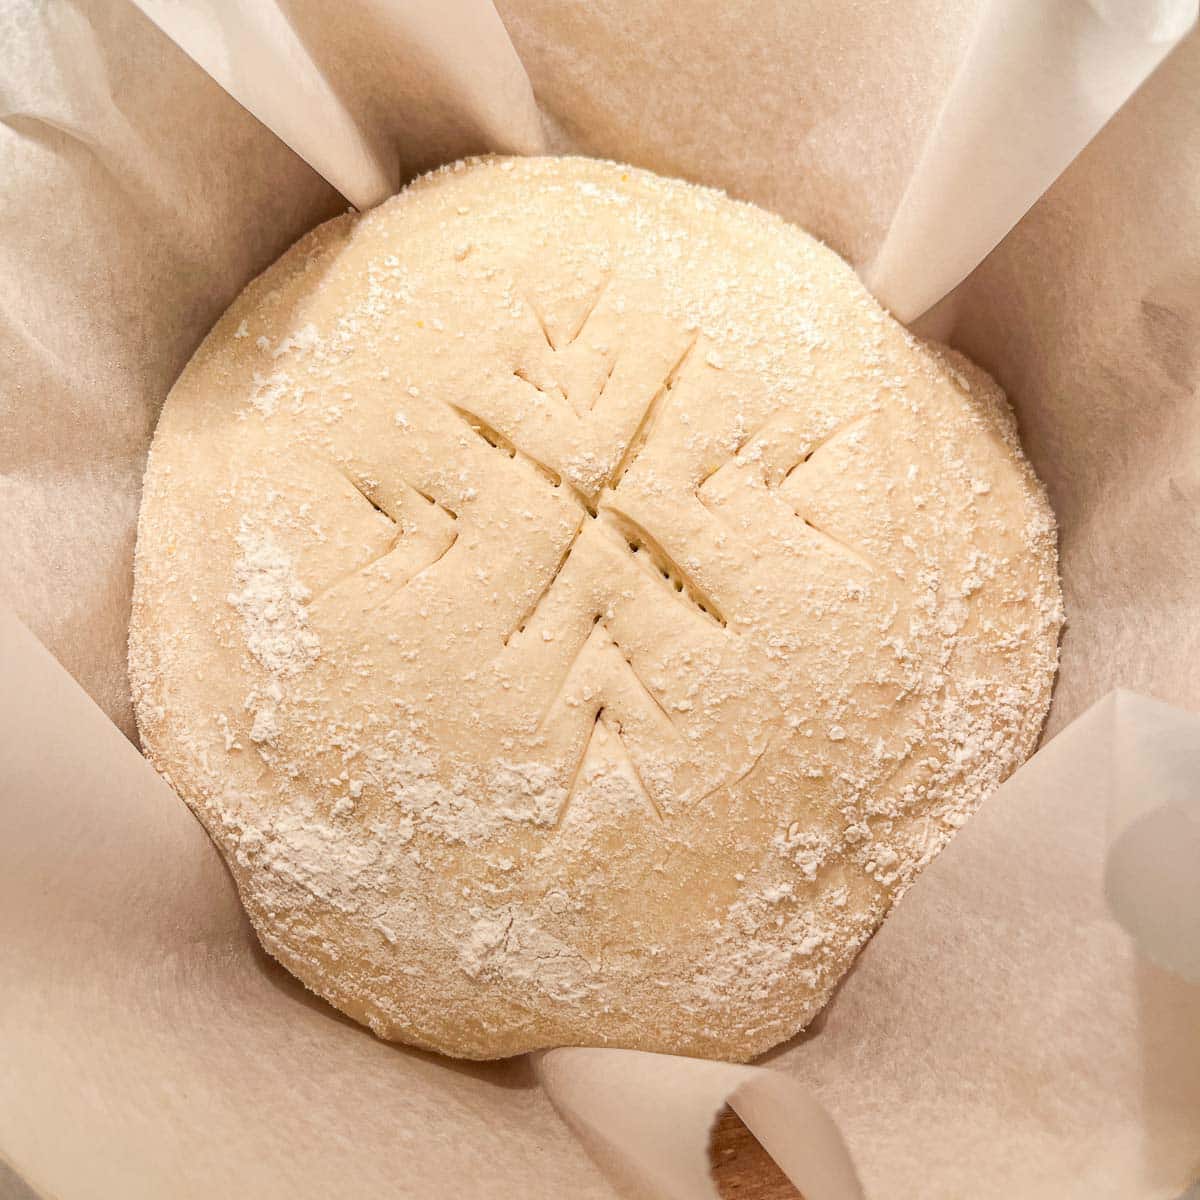
Pro Tip: I haven't played around much with decorative scoring but if you want to learn how to do that, check out this sourdough scoring post!
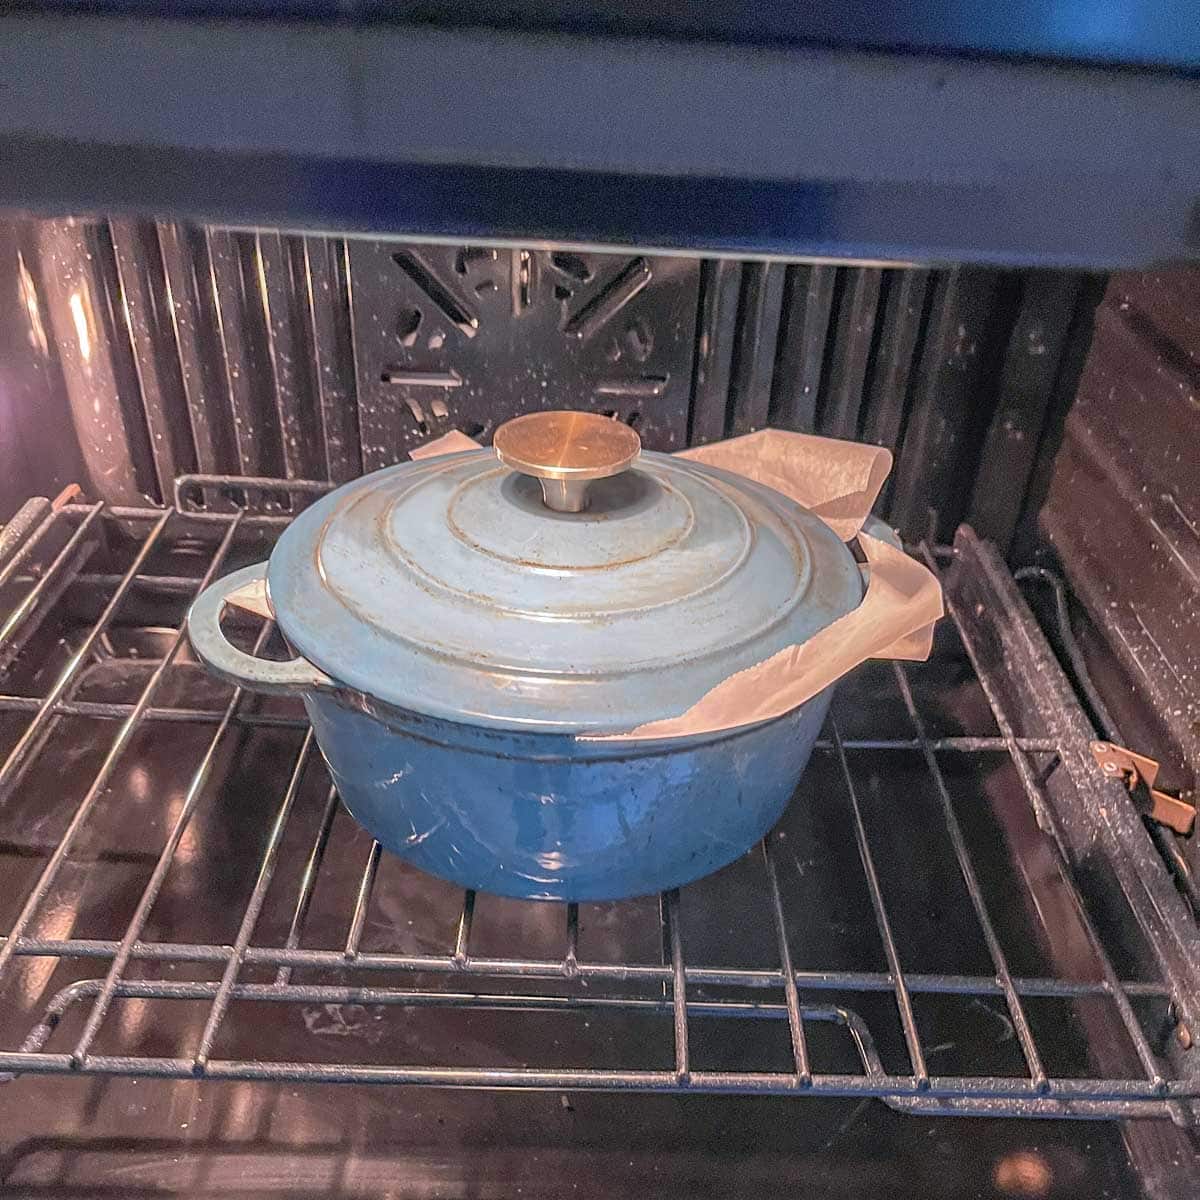
Step 10: Carefully remove the heated pot from the oven. Lift the parchment paper from the sides and gently place the dough ball into the hot pot.
Pro Tip: Another option is to use a silicone bread sling instead!
Baking Instructions
Step 11: Using a small spray bottle, spray the top of the dough with water. Cover the pot and bake for 20 minutes.
Step 12: Remove the Dutch oven's lid and bake an additional 20 minutes, uncovered, or until deep golden brown.
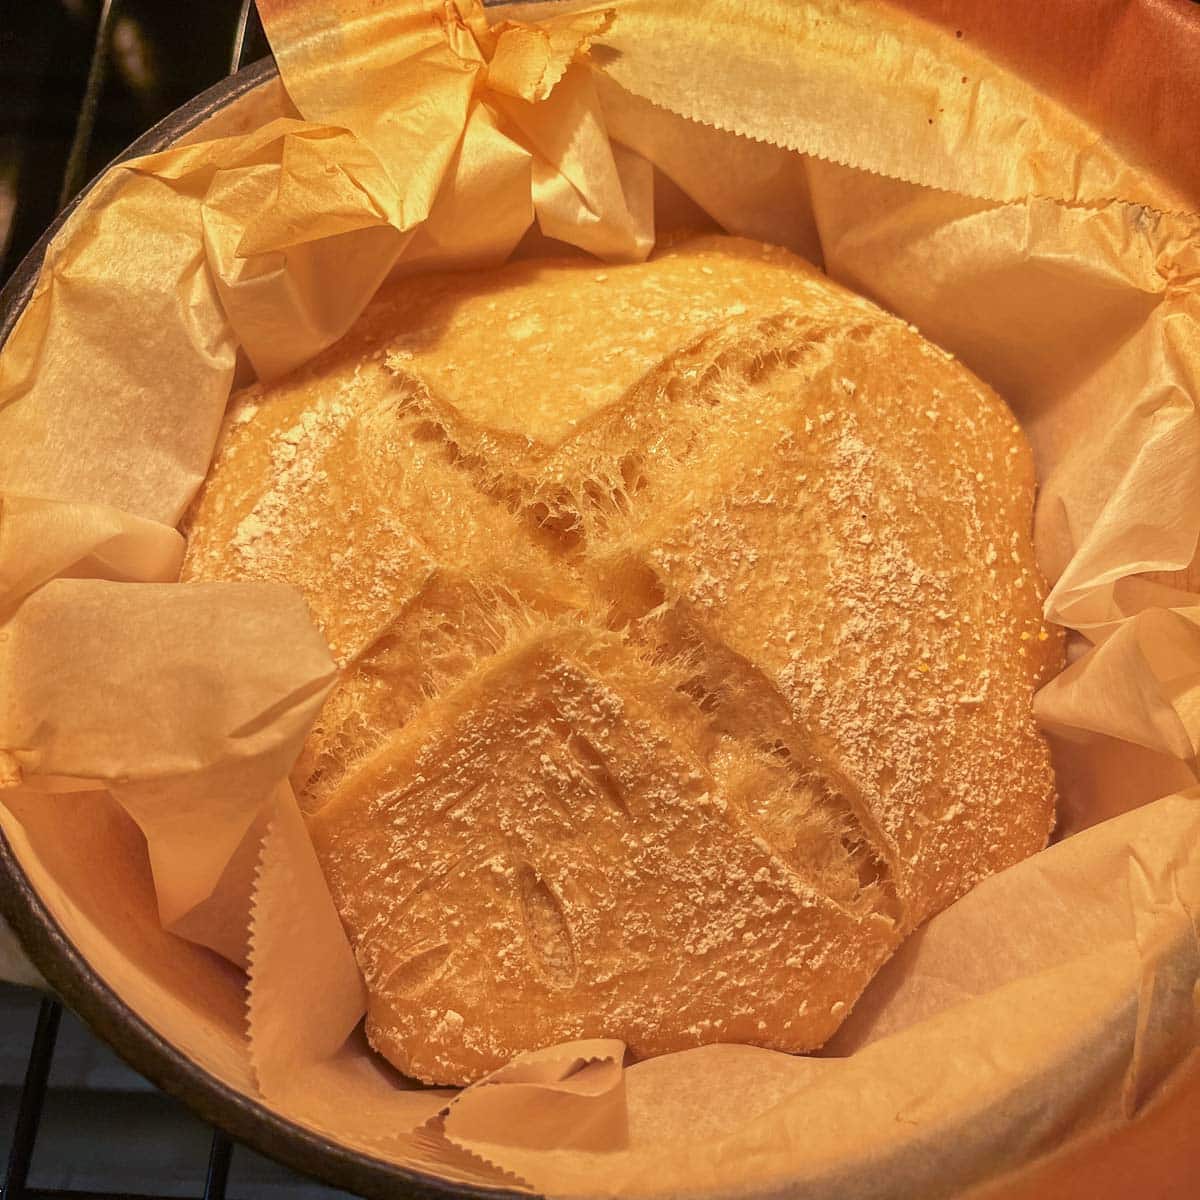
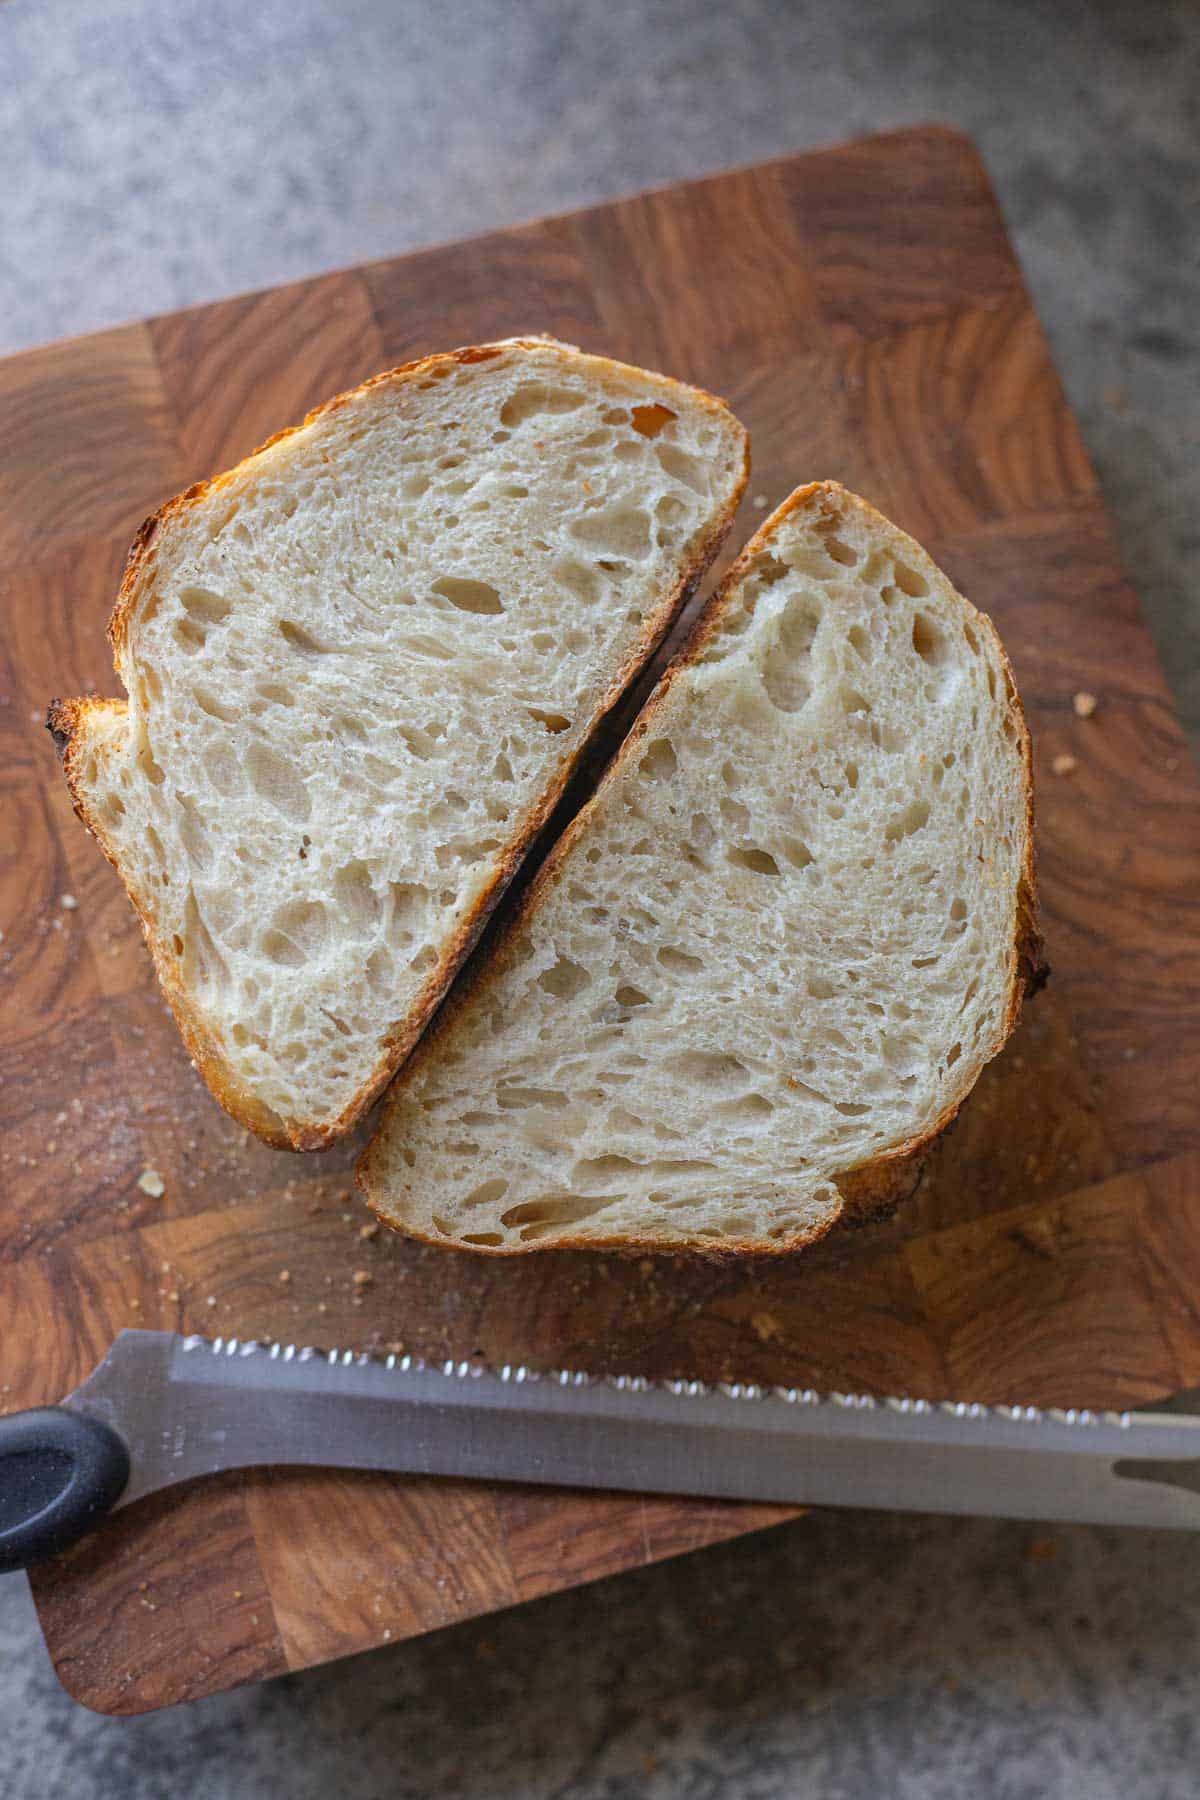
Step 13: Carefully remove the pot from the oven. Cool sourdough completely before slicing with a bread knife.
Now that you know how to make this easy sourdough recipe with your sourdough starter, what do you do with your discard? Well, you can use it to make all sorts of delicious recipes. Not sure where to start? How about these fluffy sourdough discard pancakes? They're lighter and healthier than regular pancakes!
🥖 More Bread Recipes!
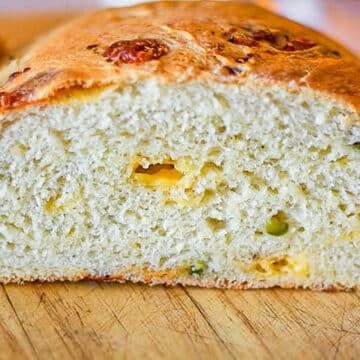
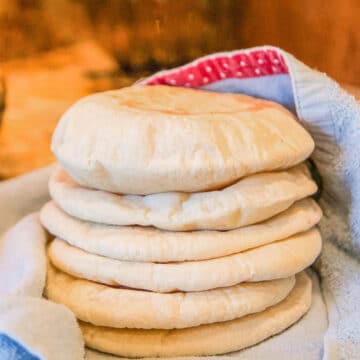
Once you get the hang of bread-making, you'll want to try all kinds of different bread recipes! This cheddar dill quick bread is a great option. It takes all the guess work out by using a boxed baking mix, then adding sharp cheddar cheese and dill! Yet another wonderful recipe to make at home is my pita pocket recipe. It's super easy and guaranteed to puff!
🤷🏻♀️ FAQs
Your sourdough starter should be at least a week old and fed daily for a week before it's active enough to bake with.
Yes, discard half of the starter daily, and feed the starter with equal amounts of warm water and flour. Luckily, the "discard" doesn't really have to be discarded. It can be sued to make bread, pizza crust, English muffins and more!
Should I spray my bread with water?
Spraying the bread with water will help create steam in the pot as the bread bakes. This helps the bread to rise and give your sourdough a beautiful crackly crust!
👩🏼🍳 Pro Tips
- You need sticky/stretchy dough to make sourdough bread. Although it's hard to work with, it makes all the difference.
- Banneton Baskets help the dough keep its shape and structure during the last proofing.
- If too much flour sticks to the dough after removing from the banneton basket, you can always gently brush the excess flour off.
- You can't rush sourdough bread. Taking two days to make the bread is highly recommended!
- If you don't want to feed your starter daily, you can store it in the fridge and feed it once a week.
- Another option is to freeze your starter and bring it back to life when you're ready to start baking sourdough again.
🥖 Related Recipes
If you enjoyed this easy sourdough recipe, check out these other bread recipe too!


Did you make this recipe?
📖 Recipe
Would you like to save this recipe?

Basic Sourdough Bread Recipe
Ingredients
Equipment
Method
- Mix the sourdough starter, warm water, and salt in a medium-sized bowl. Add the bread flour and mix until a shaggy dough forms. Cover and rest in a warm spot for 30-60 minutes.
- After 30 minutes, stretch and fold the dough. This is done by stretching the dough up and then folding it over the remaining dough. Turn the bowl a quarter of a turn and stretch and fold the dough again. Do this 4 to 8 times, turning a quarter turn each time.
- Cove the dough and proof for 4 hours in a warm spot. A good place to proof the dough is in the oven with the oven light on. Set a timer and stretch and fold the dough once every hour for a total of 4 times in four hours.
- Fold the dough onto itself, turn a quarter turn and repeat. Do this going around the bowl. This technique is often described as shaping the dough into an envelope.
- Flip the dough ball over, seam-side down, and pull the dough towards the bottom to make a ball. Push the sides using a bench scraper. As you push on the sides, the end result will be a nice tight ball of dough.
- Flour the banneton basket generously with all-purpose flour or rice flour. You don't want the dough to get stuck in the basket, so don't skimp on the flour. Get the sides too!
- Sprinkle flour on top of the dough ball, then gently transfer into the basket, seam-side-up. Sprinkle the top with more flour, then cover with a damp cloth or plastic wrap. Proof a minimum of 4 hours, but preferably overnight in a fridge.
- Remove the basket from the fridge, while you preheat the oven to 450℉. Place a 3½ quart sized dutch oven in the oven to heat.
- Sprinkle cornmeal on a piece of parchment paper. Gently remove the dough from the basket and place it seam-side-down onto the parchment paper. Make a few expansion slashes (½" deep) using a sharp knife or a bread lame.
- Carefully remove the heated pot from the oven. Lift the parchment paper from the sides and gently place the dough ball into the hot pot.
- Using a small spray bottle, lightly spray the top of the bread with water. Cover the pot and bake for 20 minutes.
- Remove the Dutch oven's lid and bake an additional 20 minutes, uncovered, or until deep golden brown.
- Carefully remove the pot from the oven and cool completely before slicing with a bread knife.
Nutrition
Notes
-
- You need sticky/stretchy dough to make sourdough bread. Although it's hard to work with, it makes all the difference.
-
- Banneton Baskets help the dough keep its shape and structure during the last proofing.
-
- If too much flour sticks to the dough after removing from the banneton basket, you can always gently brush the excess flour off.
-
- You can't rush sourdough bread. Taking two days to make the bread is highly recommended!
-
- If you don't want to feed your starter daily, you can store it in the fridge and feed it once a week.
-
- Another option is to freeze your starter and bring it back to life when you're ready to start baking sourdough again.
Diane Neff says
Made this today and it looks great! Wish I could post a photo. Can't wait to cut into it later.
Hilda Sterner says
Thanks, Diane! I hope you love it as much as I do!
Dot says
I can’t wait to try your recipe. I have started my starter. I’m on day 6 and it smells amazing.
I’ll post a comment when I bake my first loaf.
Hilda Sterner says
Looking forward to hearing how it goes!
Devon Stokes says
This was my very first attempt at making sourdough and it turned out perfectly!! thank you so much for such a great recipe! 🙂
HildaSterner says
That's great to hear! Thanks for coming back and leaving a review! ❤️
Lydia says
Hi!
I give 4 stars, but that is probably not due to your recipe, that’s more for my baking skills, haha! I used all purpose flour for my first bread, because I didn’t have bread flour (and now, Coronavirus and such, wasn’t so easy to get). It turned out I baked it a bit too hot as well. The taste was like sourdough bread, but I’m not completely satisfied with it. Now that I have bread flour, I am trying a second time. The bread already rose much better than the first one. It’s a long process to make, but it’s just so delicious.
HildaSterner says
Hi Lydia, Thank you so much for the review. It sounds like you're already ahead of most people with your baking skills. It took me forever to bake a loaf that I was satisfied with. The longer the starter ages the better it will be. Keep up the good work and stay safe!
Micha says
Tried the bread with half rye and half wheat. Is is fabulous. I had three slices as soon as it was cool enough to cut. Already have two more in the fridge to bake tomorrow .
HildaSterner says
Thank you so much for the review and the comment. I'm so glad you liked it. I went through months of making bread a few times a week... then all my clothes started to shrink. Coincidence?
Marjorie says
The link for the Dutch oven doesn't seem to work. Do you have another suggestion?
HildaSterner says
Hi Marjorie,
Thank you so much for letting me know that the link was expired. I went ahead and updated it with a very similar Dutch oven to the one I originally had up there.