Did you know that pita bread is likely the easiest Middle Eastern bread to master? Well, maybe not as easy as this lavash bread recipe, but pretty darn close! This pita bread recipe puffs up every time and has a wonderful flavor and texture!

Would you like to save this recipe?
The Middle East is known for its many delicious breads. From pita bread, to lavash, samoon, manakish, lahm bi ajeen, and khubuz, they are all delicious!
The only challenge to making this Middle Eastern bread recipe is waiting to eat it! And if it doesn't puff up (which is very unlikely) it will taste just as amazing. Just fold it in half like you would with flatbread or Greek pita bread!
But don't worry, I'm here to make sure you achieve the perfect puff every time with this tried and true Middle Eastern bread recipe! Follow these few simple steps, and you will be baking pitas like a Middle Eastern grandma in no time!
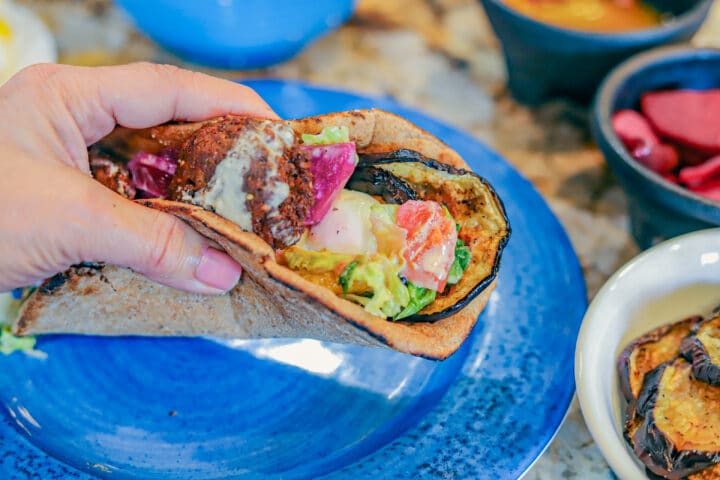
Serve freshly baked pita bread with Lebanese hummus, roasted eggplant dip, arook, maftoul, or as part of a falafel bowl. Or use them to make baked pita chips! It's also a staple on many Ramadan tables and pairs beautifully with soups and savory dishes served at iftar. If you're planning your menu, browse my full collection of Ramadan recipes for more ideas.
Jump to:
😍 Why You'll Love This Recipe
- This Middle Eastern bread recipe is super easy and fun. You can even include your kids in the process!
- Pita bread can be stored in the fridge for up to a week and refreshed in a skillet or over a flame.
- Middle Eastern bread can be stuffed with cheese, beef shawarma, lamb, or chicken shawarma. Or use it to make a falafel wrap or a gyro pita! Or dip into Mediterranean loaded hummus!
🔖 Ingredients & Substitutions
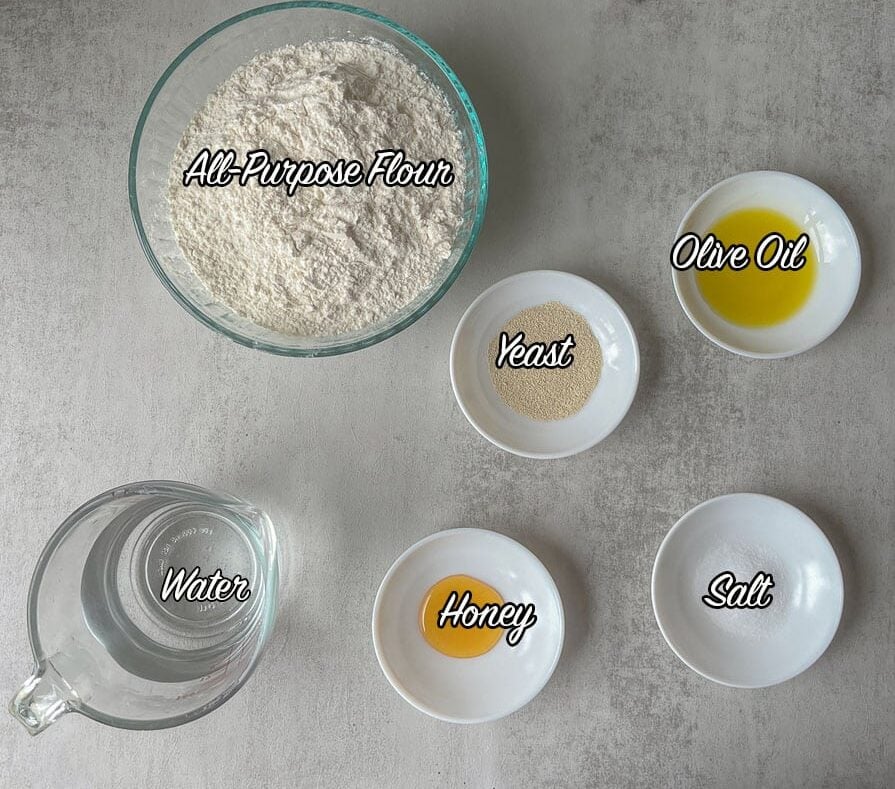
- Flour: This pita bread recipe requires all-purpose flour, but you can experiment with bread flour or substitute half of the white flour for whole wheat flour.
- Oil: I used olive oil, but you can substitute avocado oil or vegetable oil.
- Honey: If you don't have honey, substitute with 1 teaspoon of sugar.
*A full list of ingredients can be found in the recipe card!
🥙 How to Make Middle Eastern Bread
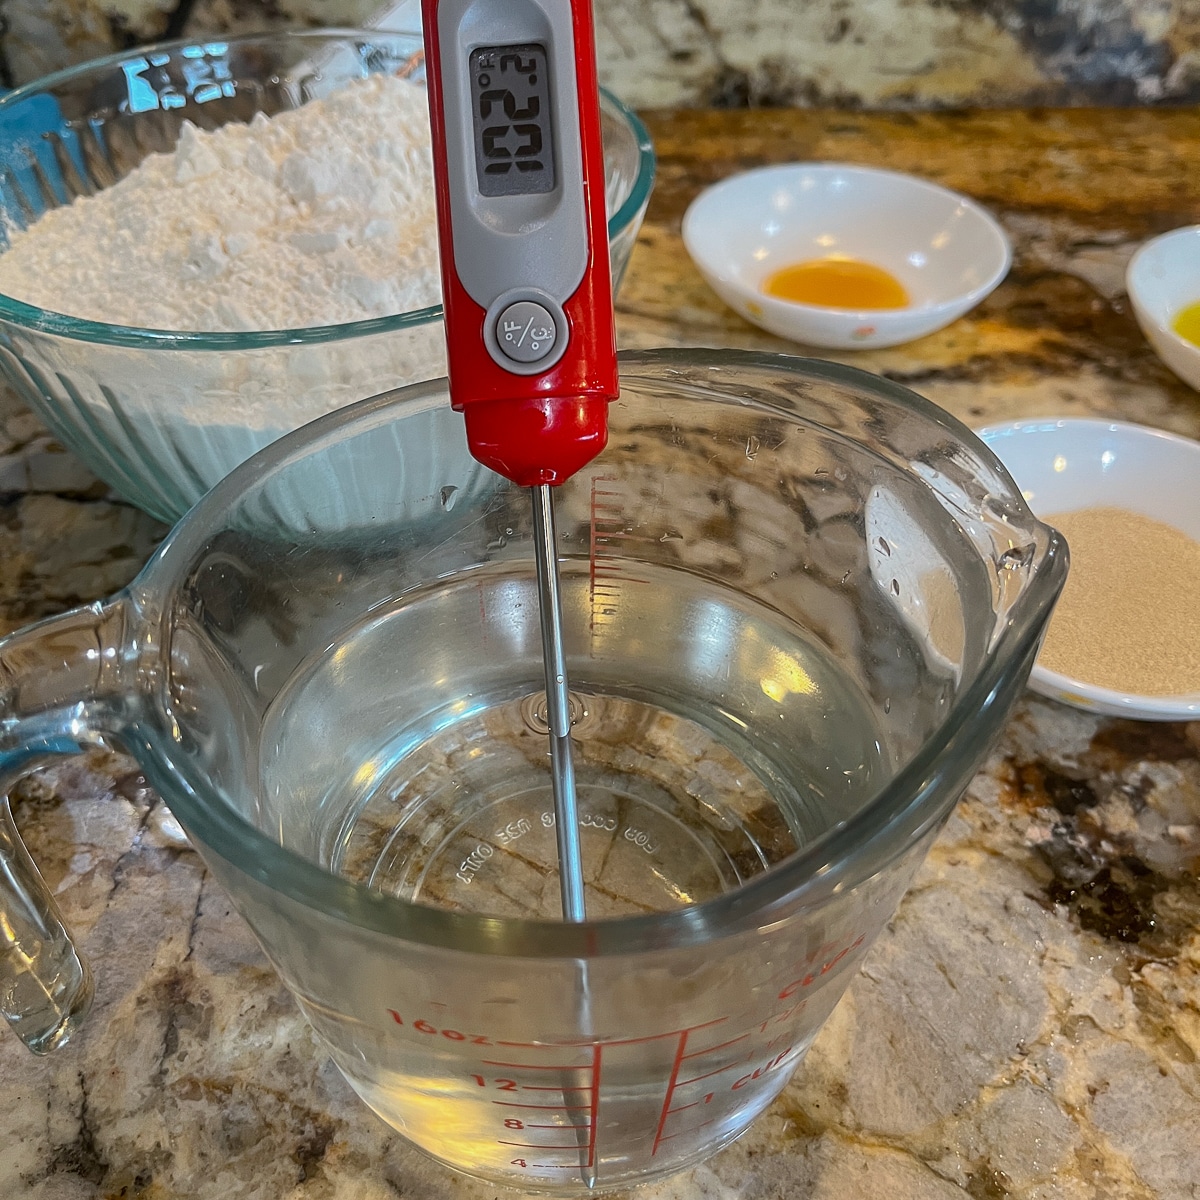
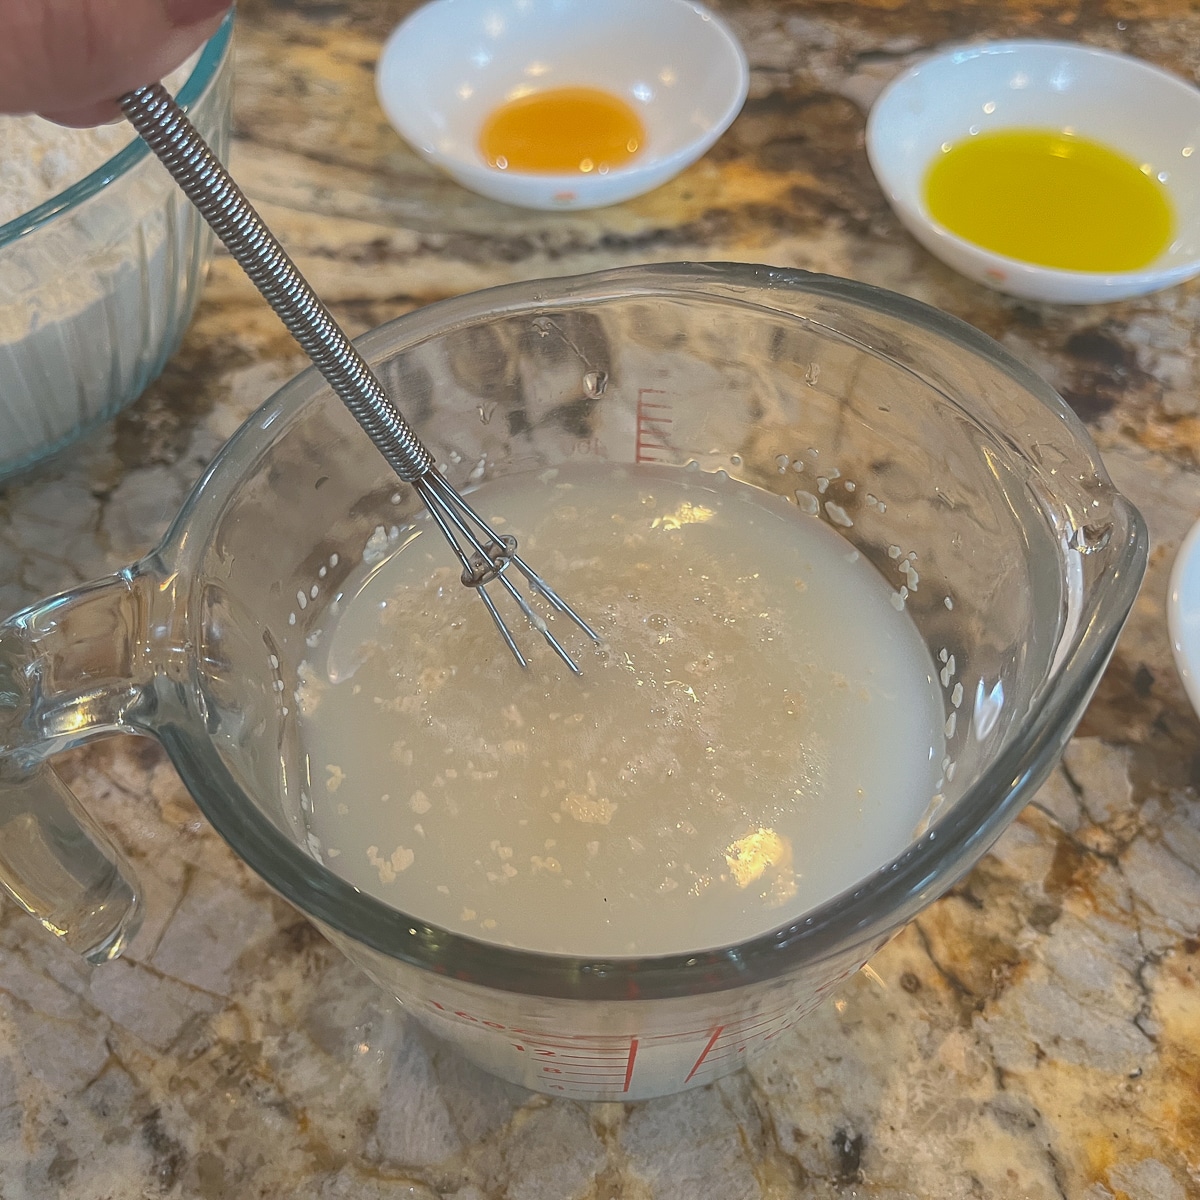
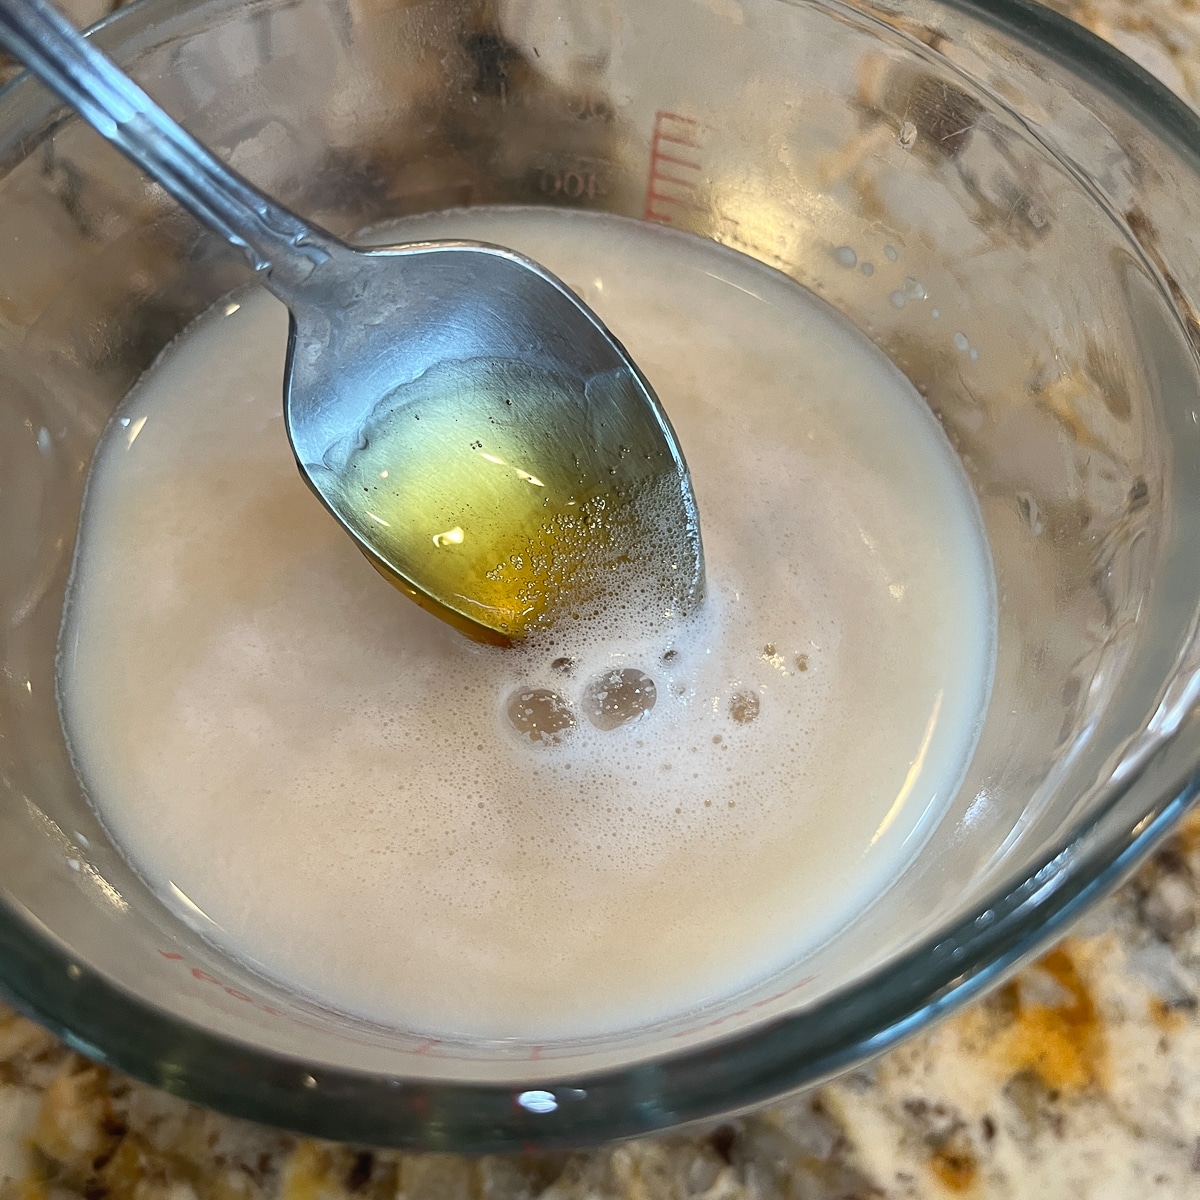
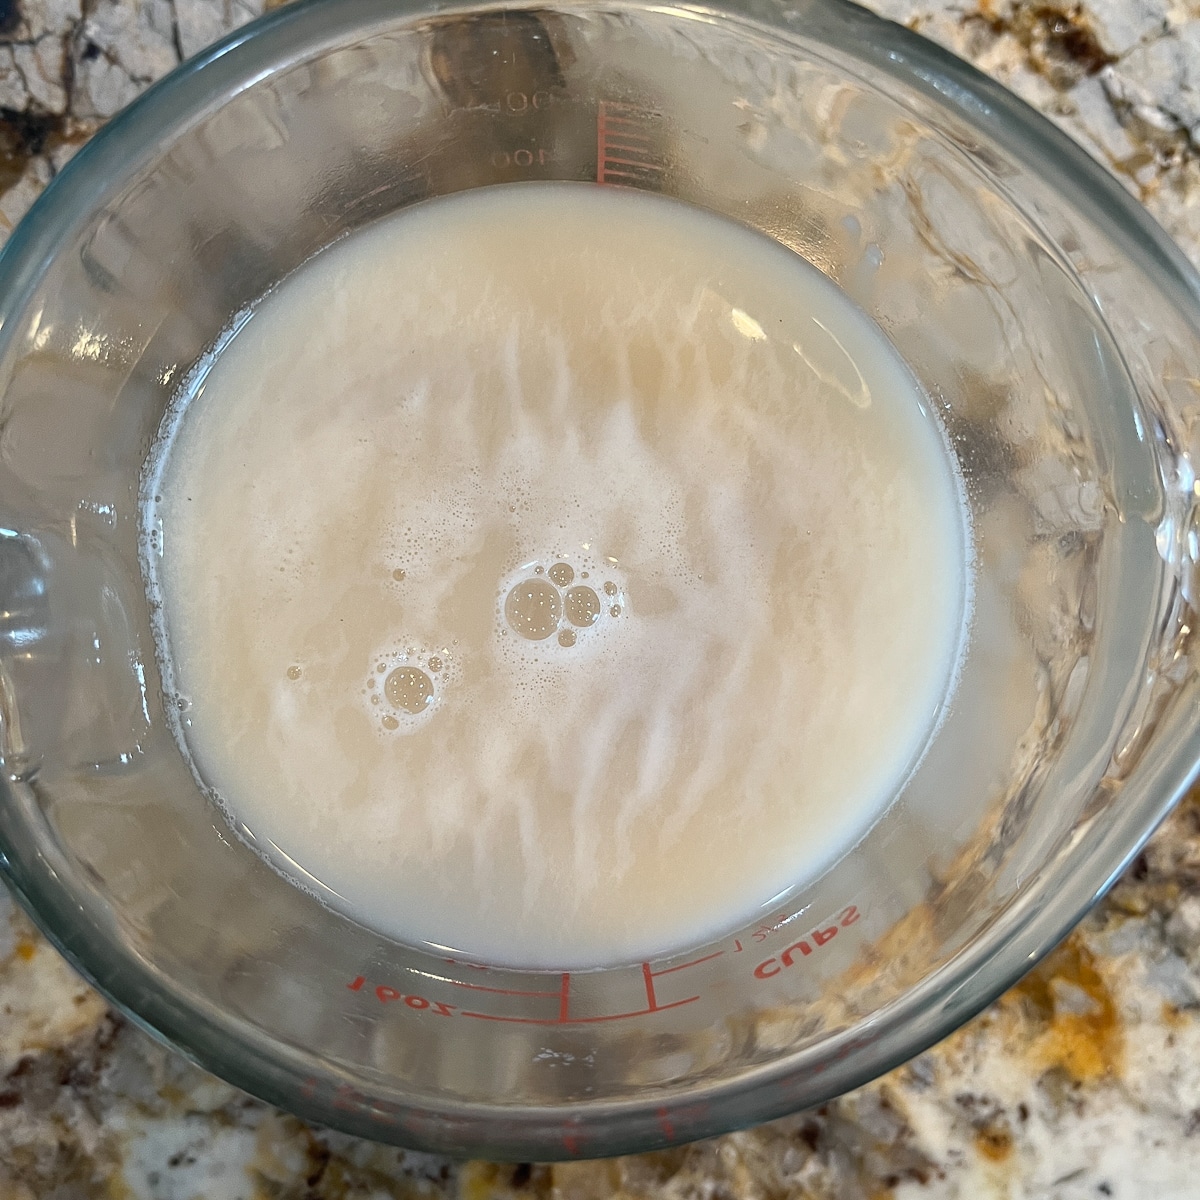
Step 1: Dissolve yeast in warm water. Stir in the honey and set aside for five minutes or until the water is frothy.
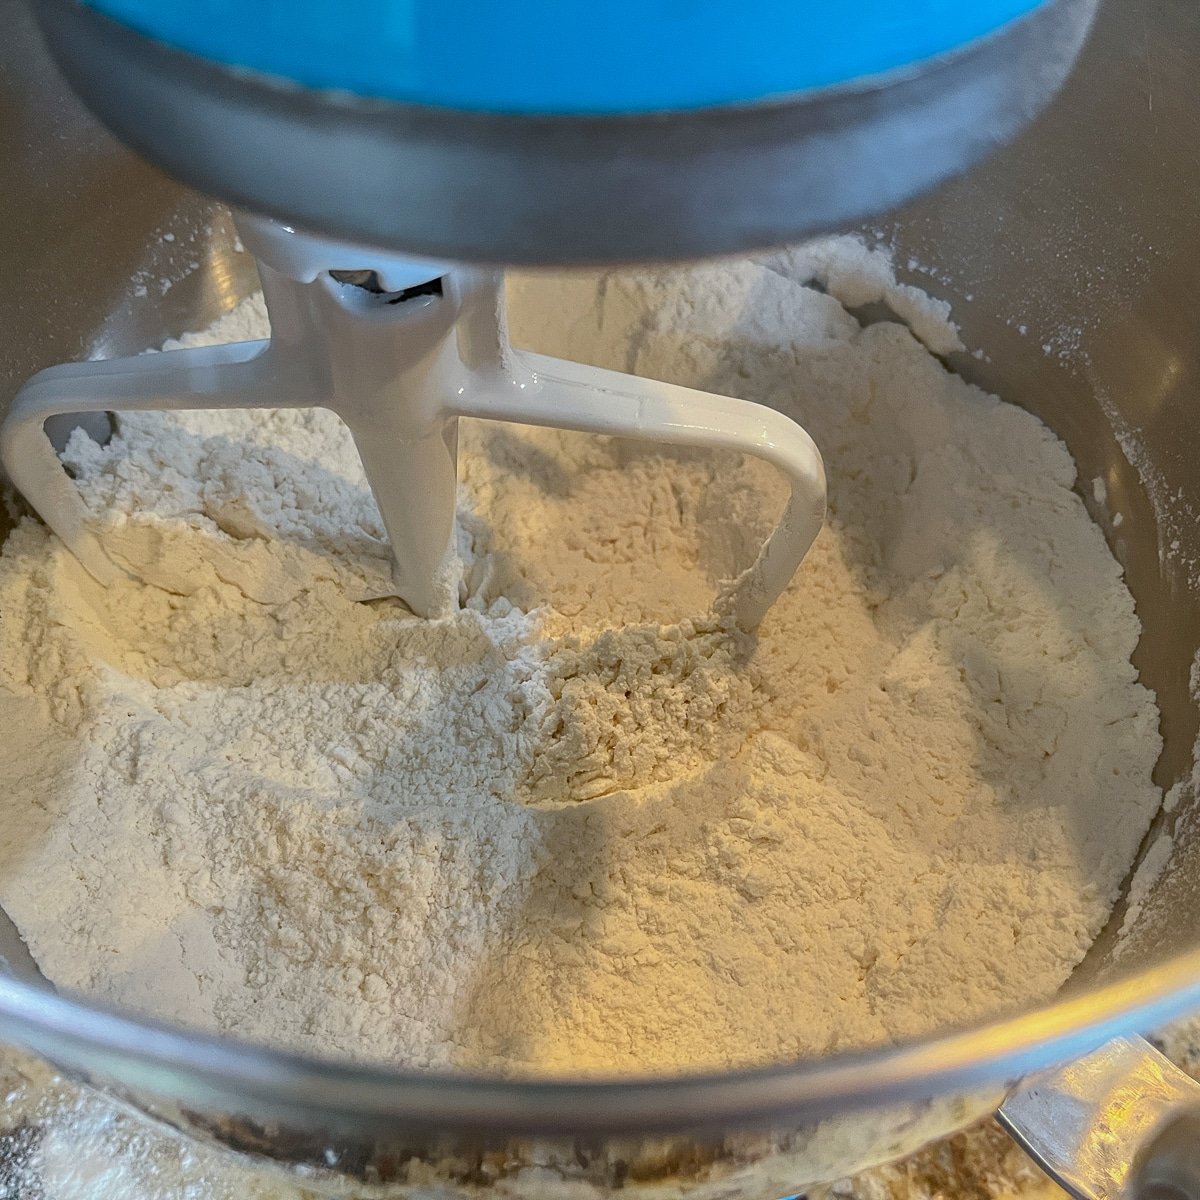
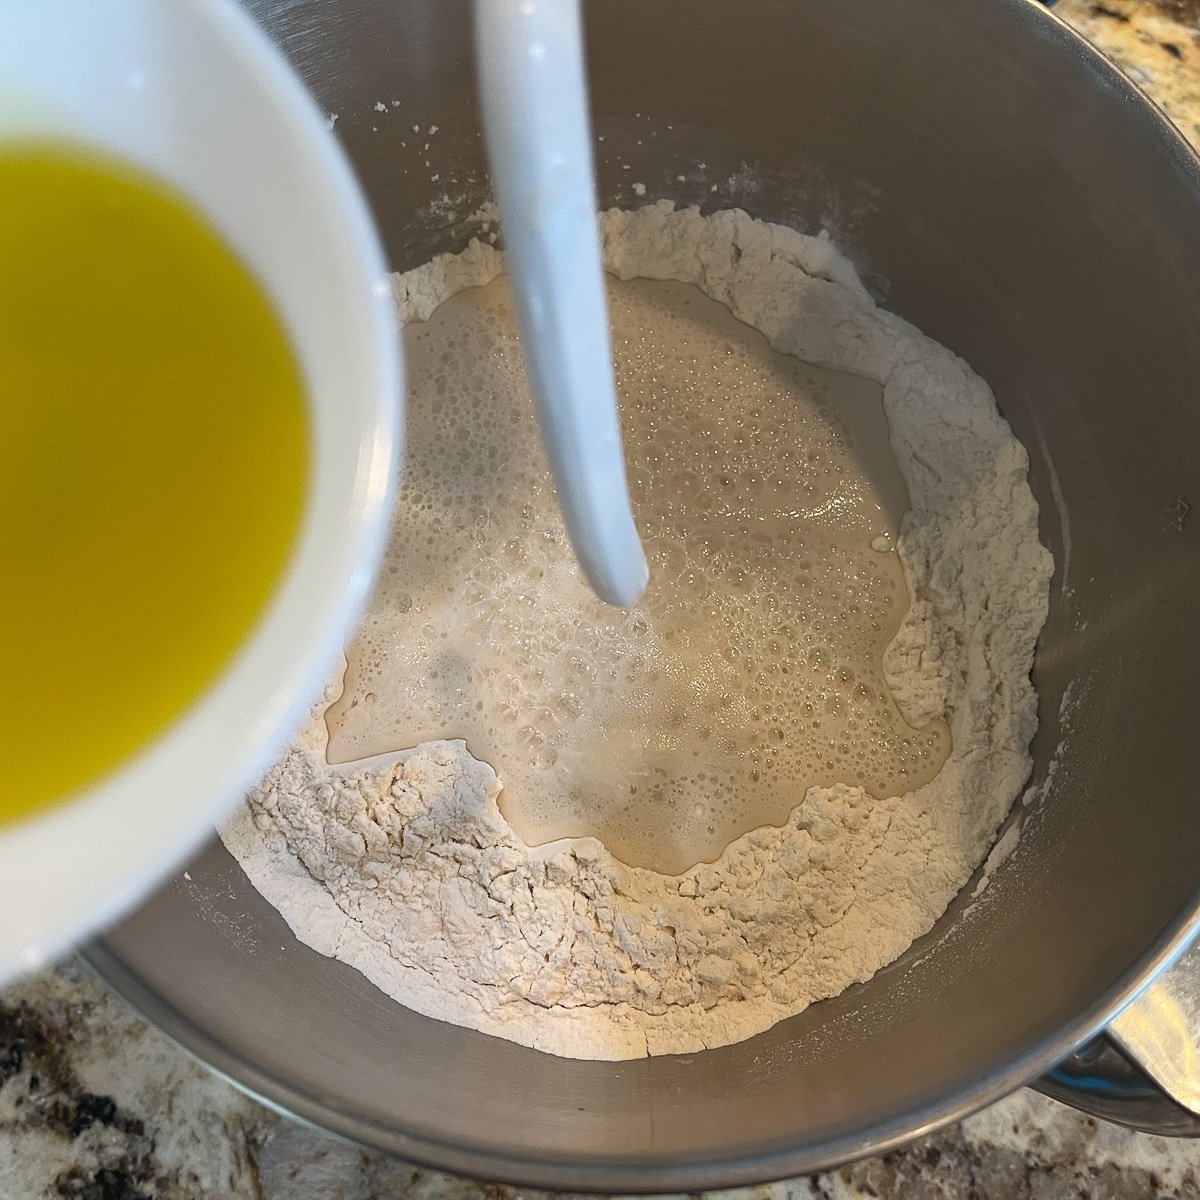
Step 2: Combine flour and salt in a large mixing bowl. Make a well in the center and add the yeast and water mixture, along with one tablespoon of olive oil.
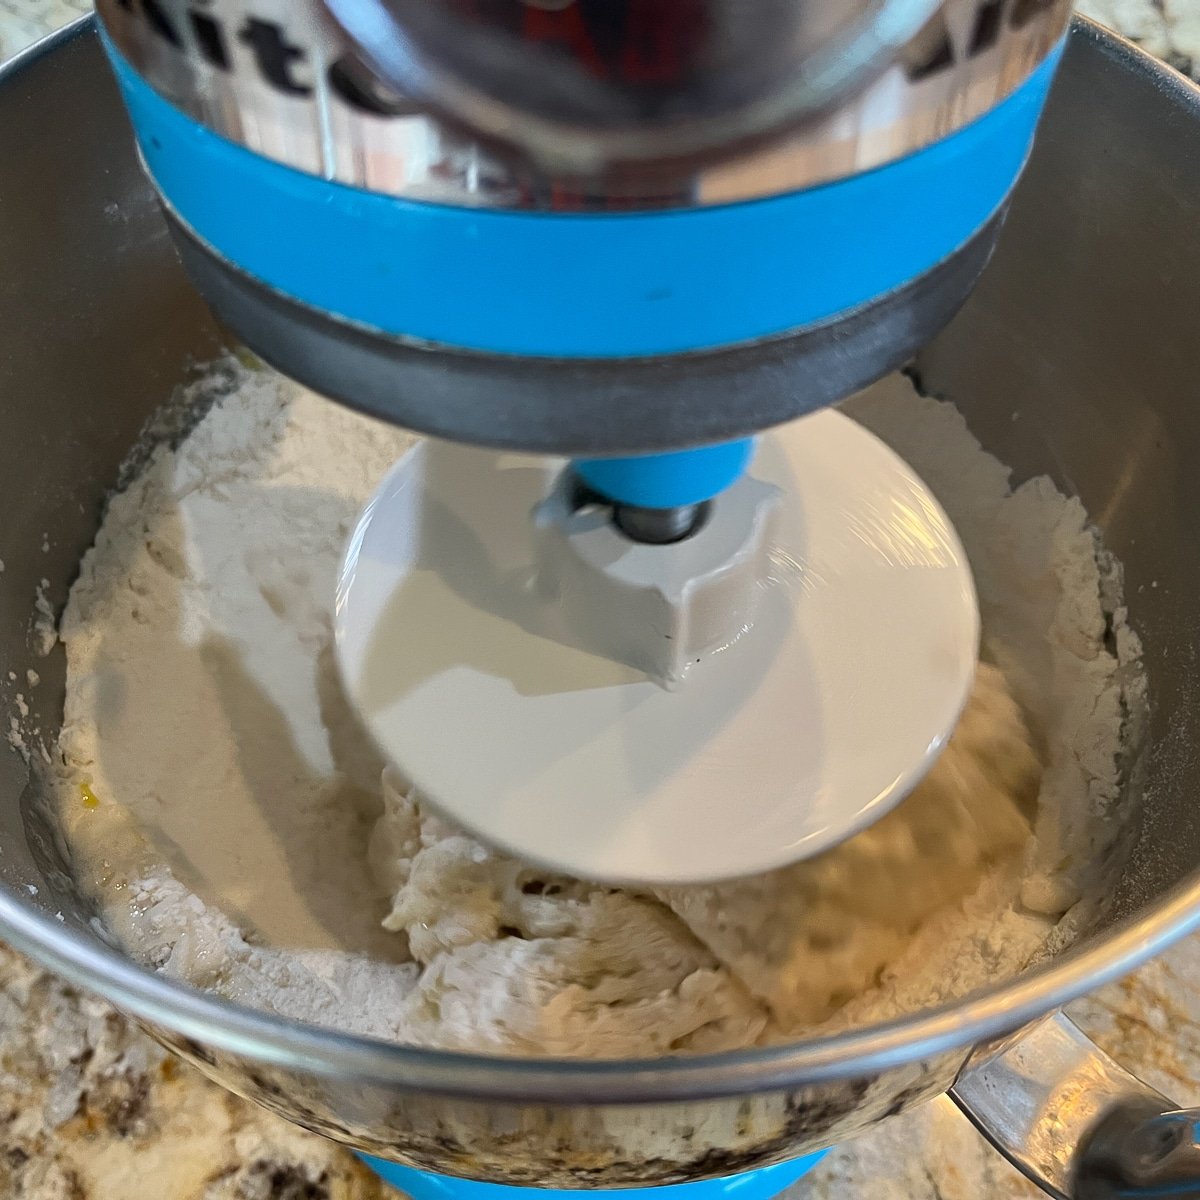
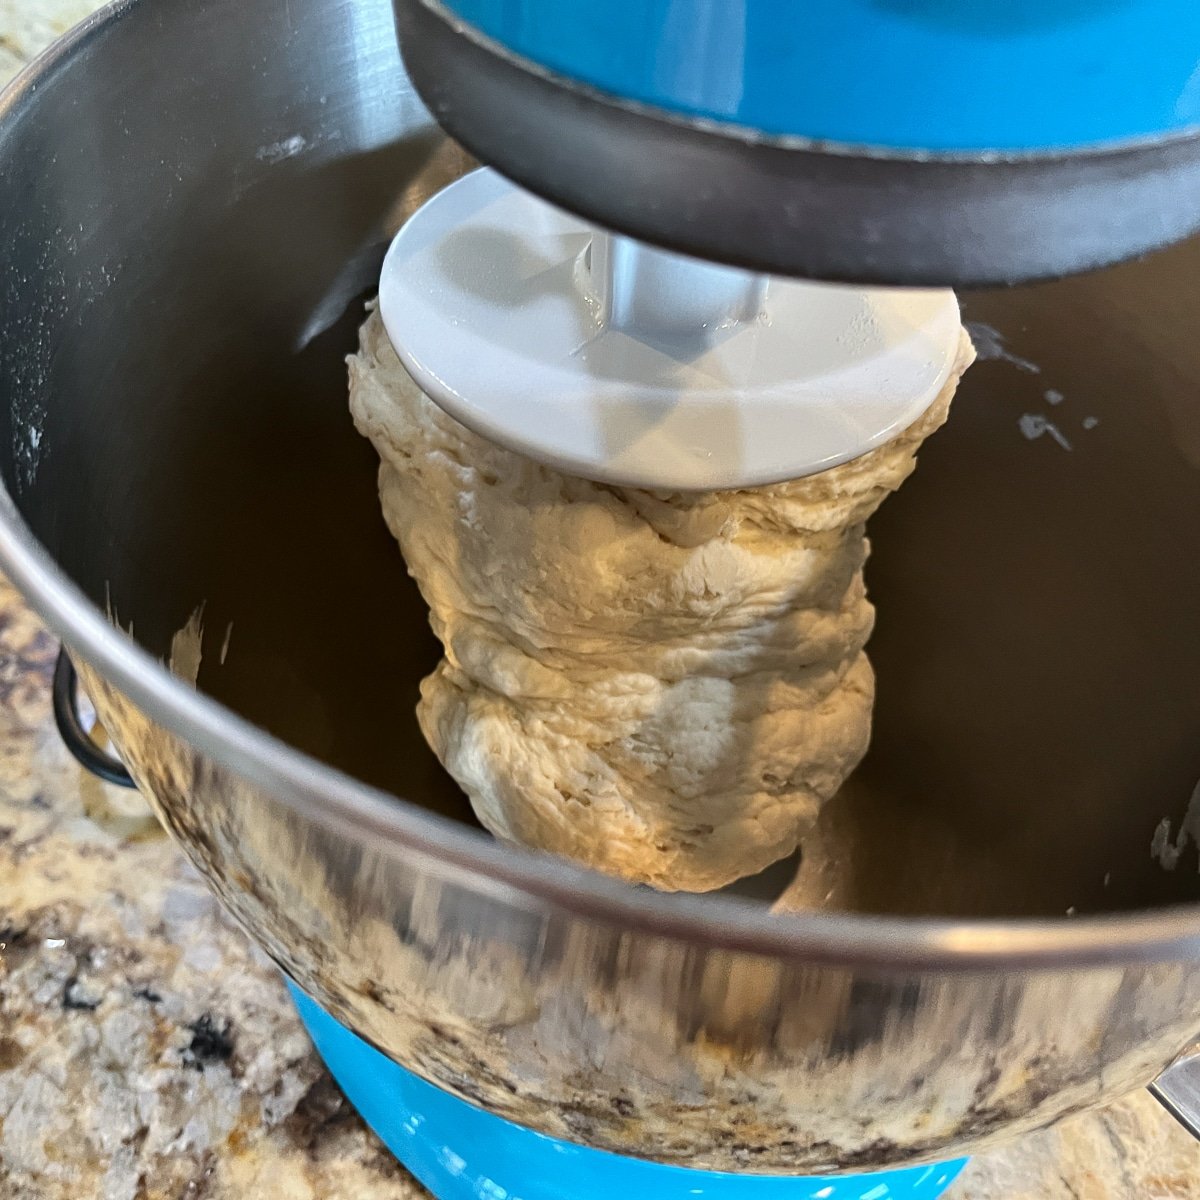
Step 3: Mix with a wooden spoon, knead by hand, or use a stand mixer with a dough hook attachment. Mix until the dough is elastic and smooth.
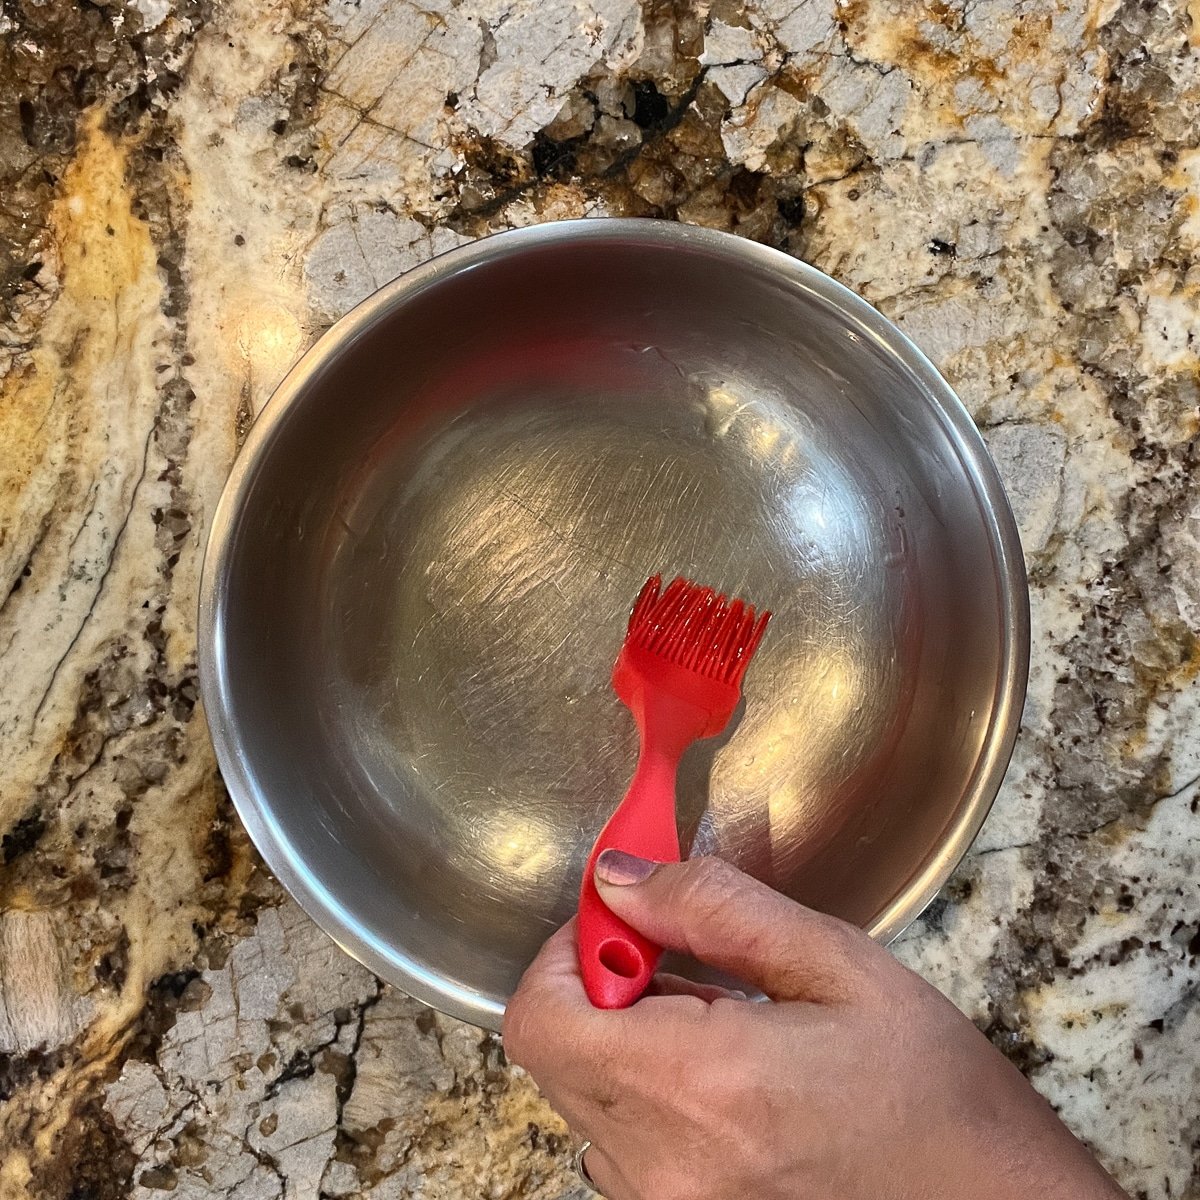
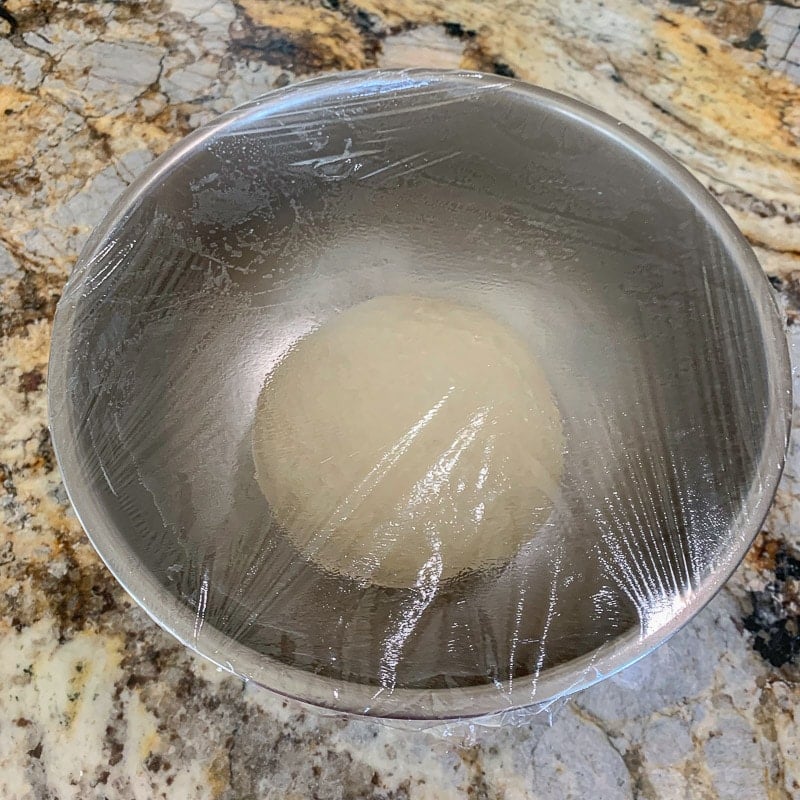
Step 4: Add dough to a bowl, coated with the remaining oil. Roll the dough to coat evenly with the oil. Cover with a towel or plastic wrap and allow to rest in a warm spot for two hours.
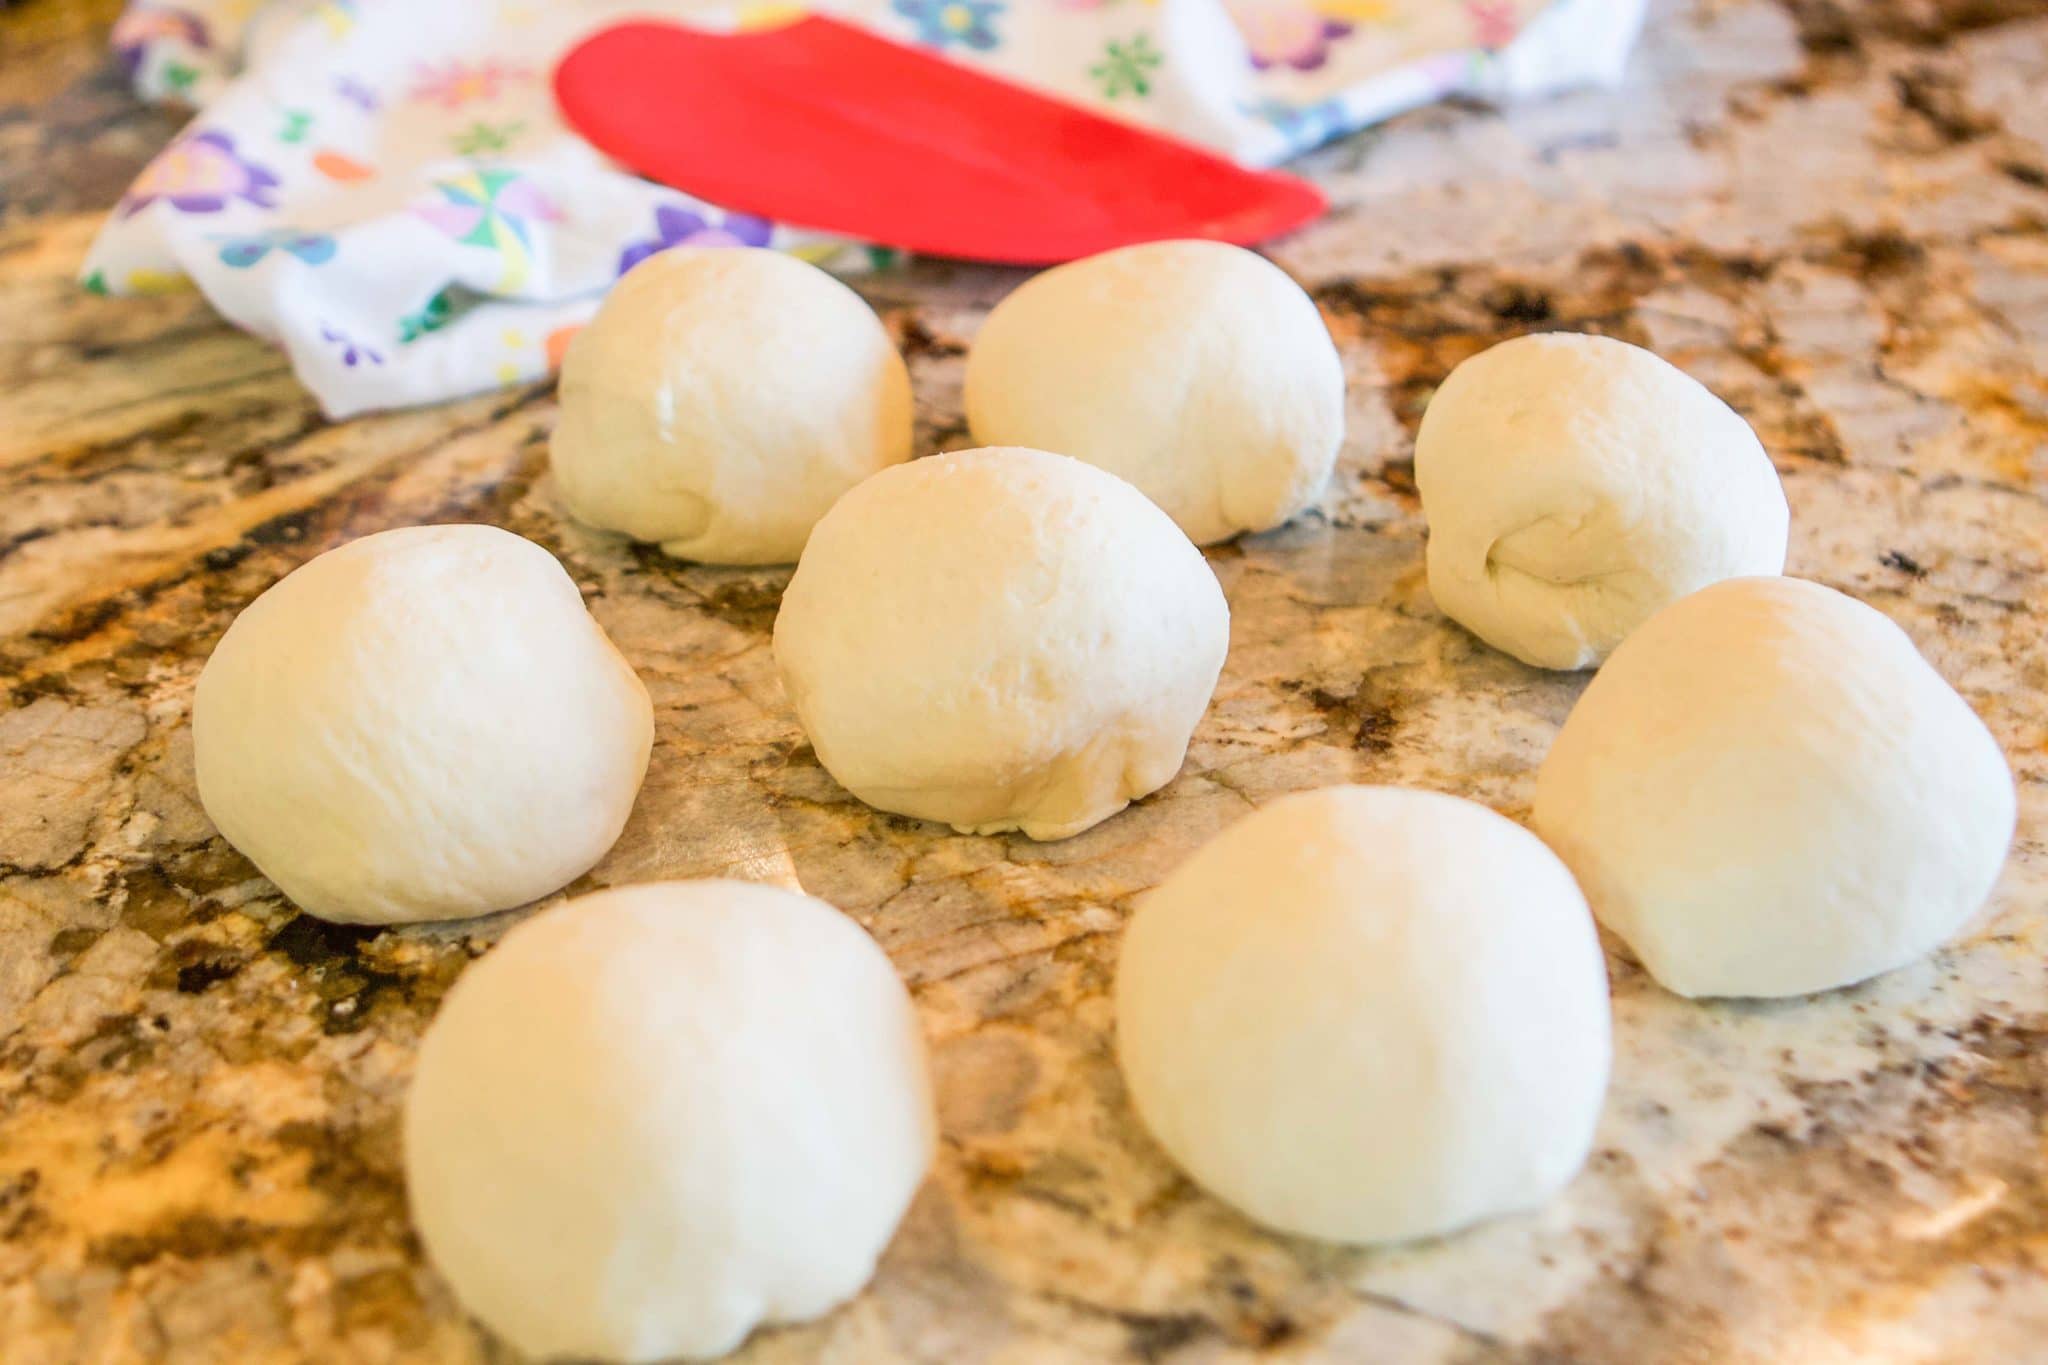
Step 5: Divide the dough into eight equal portions. Cover and allow to rest for 15 minutes.

Step 6: Remove the top racks from the oven, leaving only the lowest rack. Place a pizza stone or a cast-iron skillet on the bottom rack of the oven. Preheat the oven to 500°F.
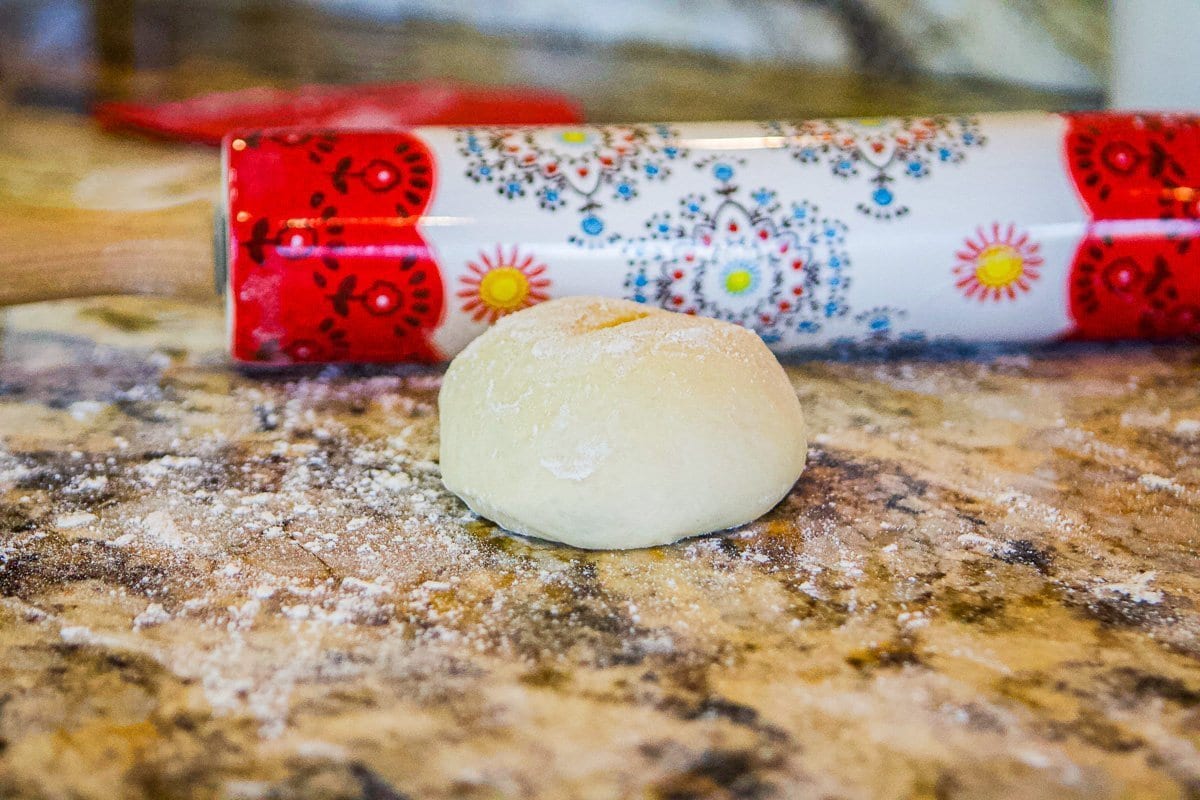
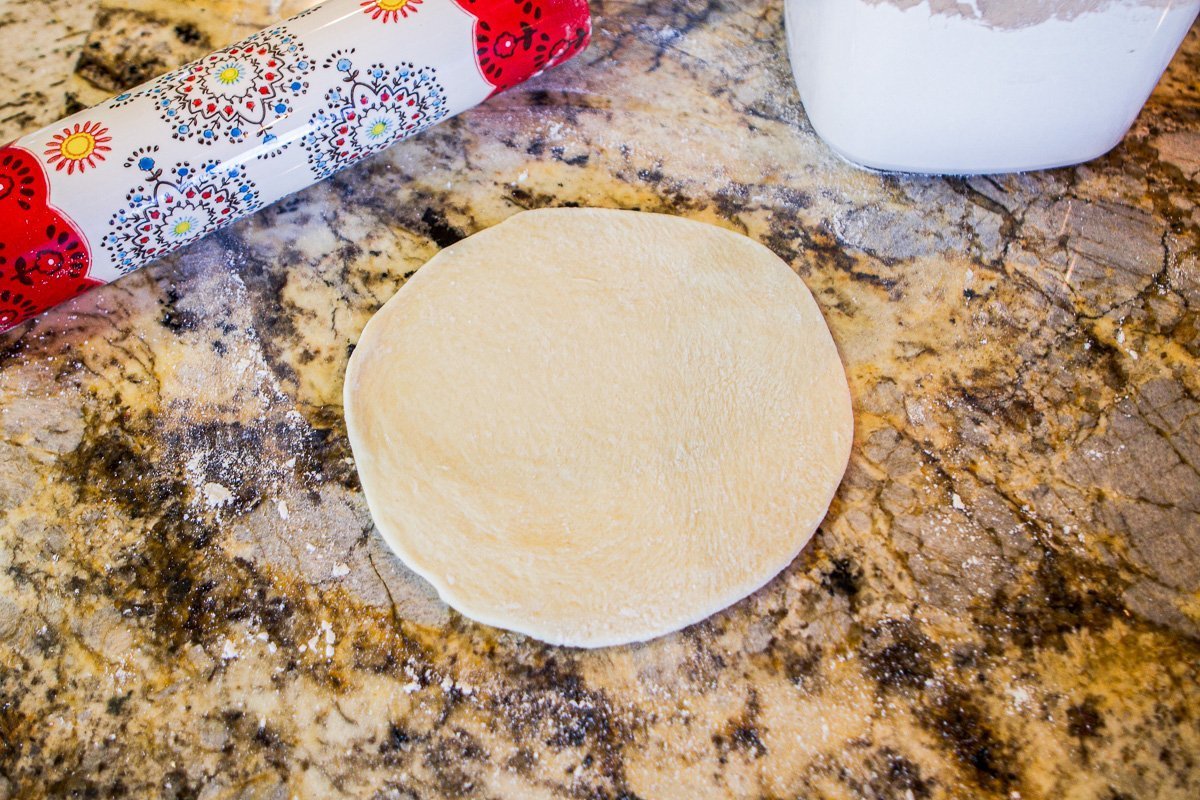
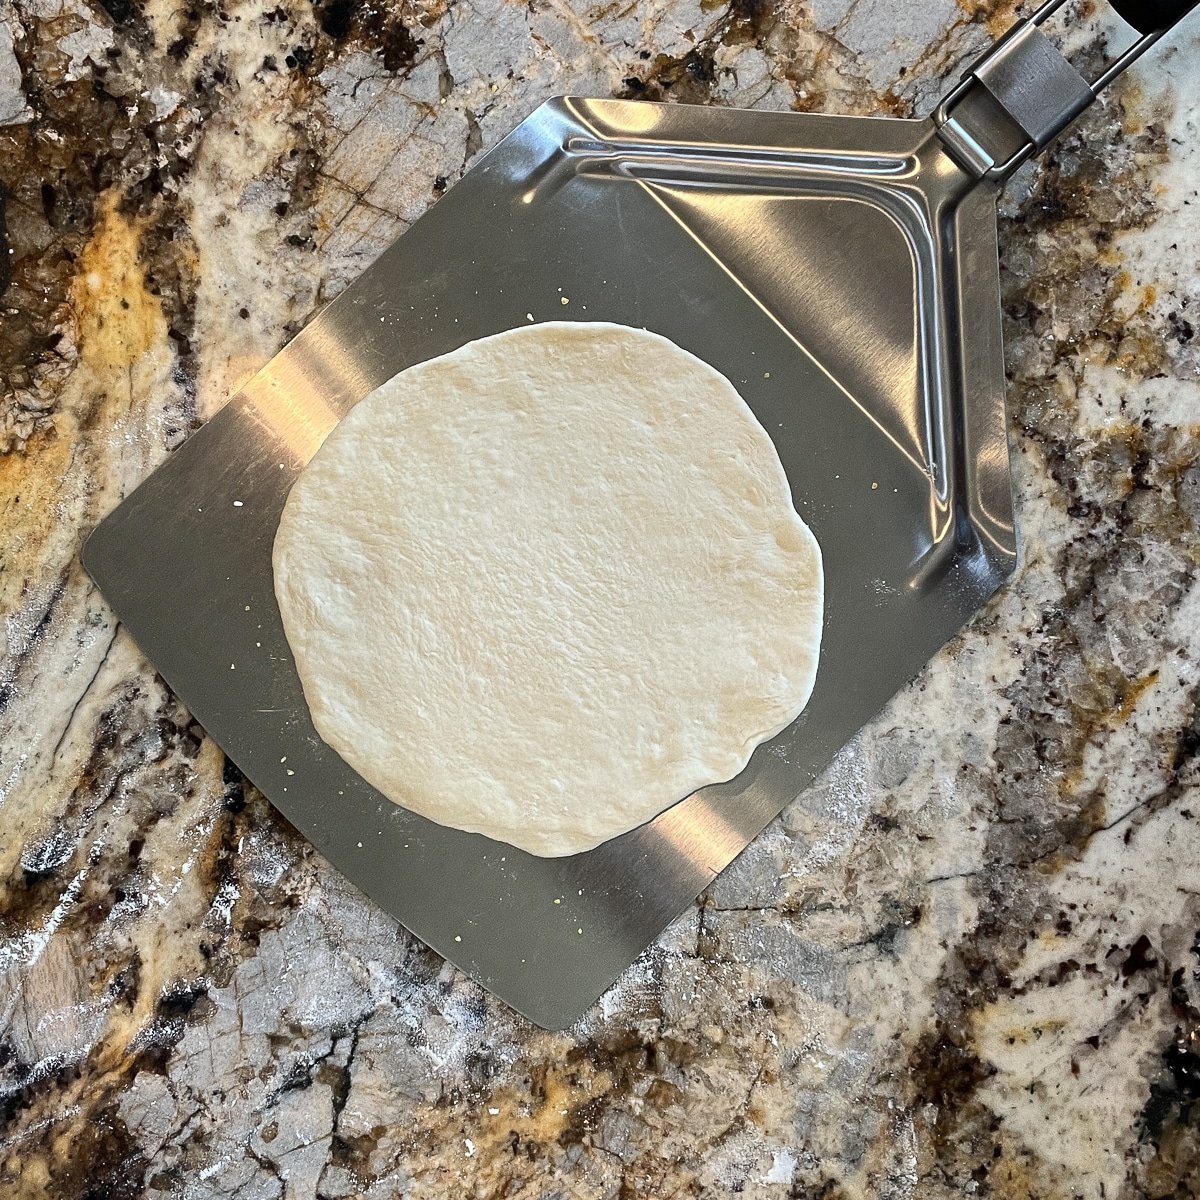
Step 7: Lightly flour the work surface. Using a floured rolling pin, roll out one portion of dough at a time into an 8" circle, and leave the remaining portions covered.
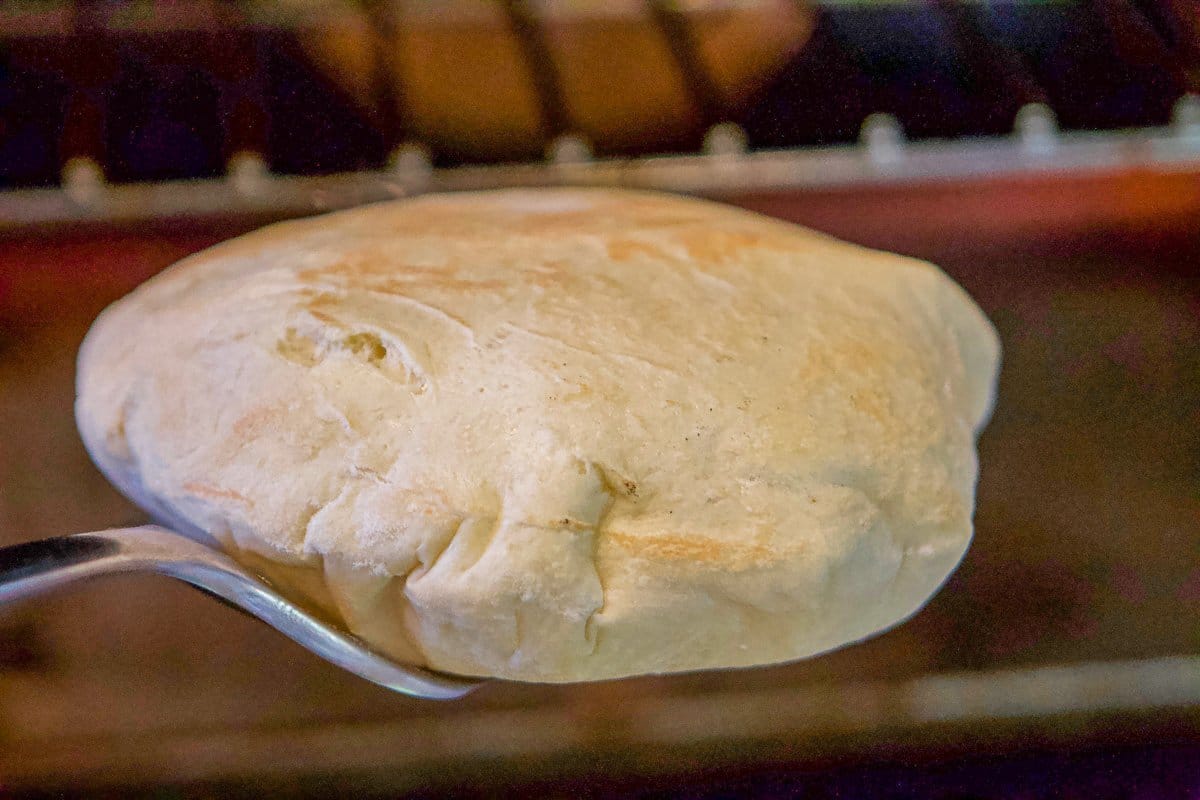
Step 8: Using a spatula, transfer the rolled-out dough onto the pizza stone or cast-iron skillet. Set a timer to three minutes.
Step 9: After three minutes have elapsed, turn the pita bread over with a spatula and cook for an additional minute.
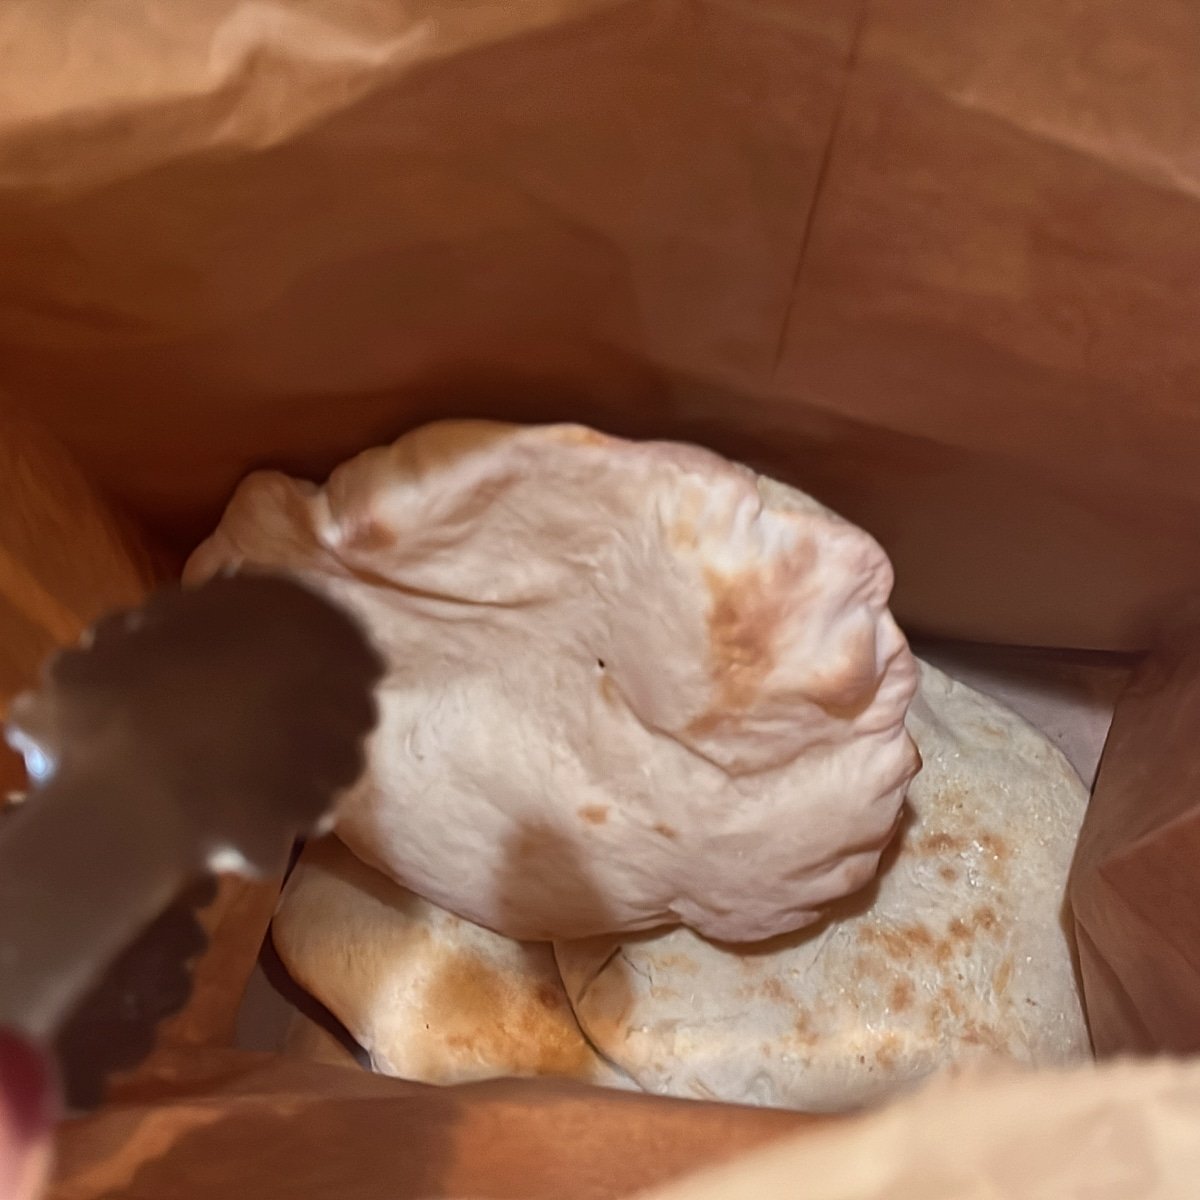
Step 10: Place the cooked pita bread into a paper bag and close the bag. Do the same with the remaining dough. The pita bread will stay soft if you cool it off in a paper bag.
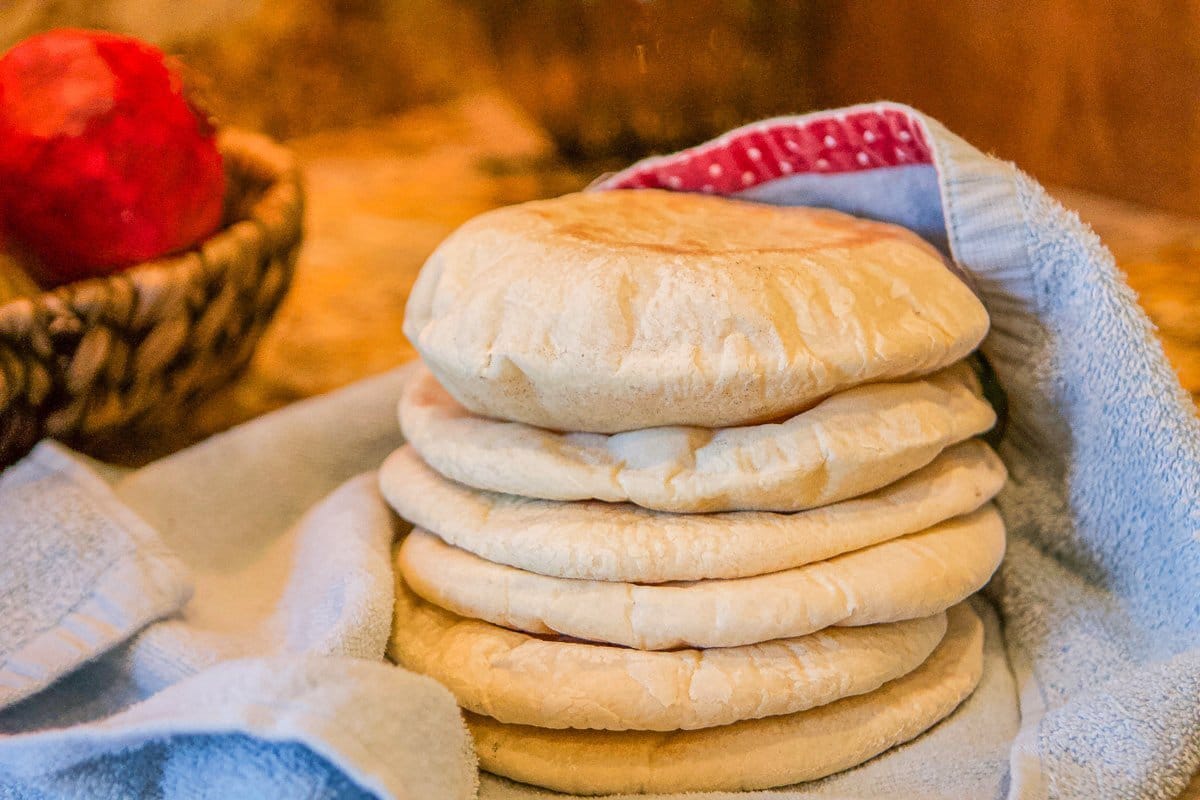
Pro Tip: Another option is to wrap the warm Middle Eastern bread in a clean dishtowel. Repeat with the remaining dough.
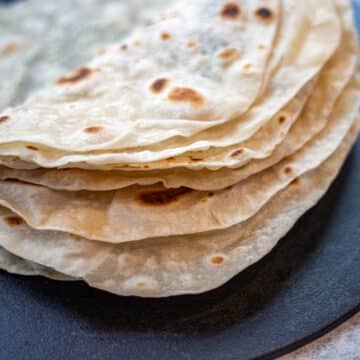
You may also be interested in this Arabic flatbread recipe. It's crips on the outside and soft and chewy in the middle.
🫓 How to Store & Reheat Middle Eastern Pita Bread
Store cooled Middle Eastern bread in a ziplock bag. You can reheat it in a toaster, over an open flame, or in a hot pan before serving.
🤷🏻♀️ Recipe FAQs
Yes, you can! Try substituting ½ cup of wheat flour for ½ cup of white flour. Or 2 cups of whole wheat to 2 cups of all-purpose flour.
Although you can cook pita bread in the oven and on the stove top, I have found that Middle Eastern pita bread does not puff up in a pan as often as it does in the oven.
Using either a pizza stone or a cast-iron skillet is a must when making Middle Eastern pita bread. Whichever you decide to use, be sure to heat it in the 500°F oven for 15 minutes first. I have found that cooking the pita bread for 2 minutes, then quickly flipping it over for an additional minute, helps to achieve the perfect puff.
👩🏼🍳 Pro Tips
- Enjoy Middle Eastern bread by itself, with geymar and jam, or with a cup of tea, olives, and some buried cheese.
- Dip pita bread into your favorite stew or soup, or stuff it with kofta kebab, feta, tomatoes, and onions. Or make arayes (meat-stuffed pita pockets).
- Middle Eastern bread makes amazing sandwiches, including an Israeli Sabich Sandwich.
🥐 More Bread Recipes
If you enjoy this Middle Eastern bread recipe, check out these other great recipes!

Did you make this recipe?
📖 Recipe
Would you like to save this recipe?
Middle Eastern Pita Bread
Ingredients
Equipment
Method
- Dissolve yeast in warm water. Stir in honey and set aside for five minutes, or until the water is frothy.
- Combine flour and salt in a large bowl. Make a well in the center and add the yeast and water mixture, along with one tablespoon of olive oil.
- Mix with a wooden spoon, knead by hand, or use a stand mixer with a dough hook attachment. Mix until the dough is elastic and smooth.
- Add dough to a bowl, coated with the remaining oil. Roll the dough to coat evenly with the oil. Cover with a towel and allow to rest in a warm spot for two hours.
- Divide the dough into eight equal portions. Cover and allow to rest for 15 minutes.
- Remove the top racks from the oven, leaving only the lowest rack. Place a pizza stone or a cast-iron skillet on the bottom rack of the oven. Preheat the oven to 500°F.
- Lightly flour your work surface. Roll out one portion of dough at a time into an 8" circle, leave the remaining portions covered.
- Using a spatula, transfer the rolled out dough onto the pizza stone or cast-iron skillet. Set timer to three minutes.
- After three minutes have elapsed, turn the pita bread over with a spatula and cook for an additional minute.
- Place the cooked pita bread into a paper bag and close the bag. Do the same with the remaining dough. The pita bread will stay soft if you cool it off in the paper bag.
- Another option is to wrap the warm pita bread in a clean dishtowel. Repeat with the remaining dough.
- Place cooled pita bread in a ziplock bag. Heat in a toaster or a pan before serving.
Nutrition
Video
Notes
- Enjoy pita bread by itself, with butter and jam, or with a cup of tea, olives, and some buried cheese.
- Dip pita bread into your favorite stew or soup, or stuff it with kofta kebab, feta, tomatoes, and onions. Another option is to make arayes (meat-stuffed pita pockets).
- Pita bread makes amazing sandwiches, including an Israeli Sabich Sandwich.
- Store pita bread in a ziplock bag in the fridge for up to a week or freeze for longer storage.
TERESA EVERS says
I love the way this pita pocket tasted. It’s light, fluffy, goes with so many types of food. Hilda’s recipe is simple, with few ingredients. I dipped my pita pocket in hummus. Check out Hilda’s recipe for hummus, you won’t be dissappointed.
Hilda Sterner says
I agree, Teresa, I don't make this bread too often because when I do, I want to eat it all!😬
Kelly Methey says
These are so fun and easy to make. I am amazed at how fast they puff up and cook. They are so good. I enjoyed them with butter and syrups as well as my favorite way with hummus. Everyone should try these as they were the best pita bread I have ever eaten.
Hilda Sterner says
Agreed, Kelly, they're so much easier than making tortillas and pretty much fool proof!