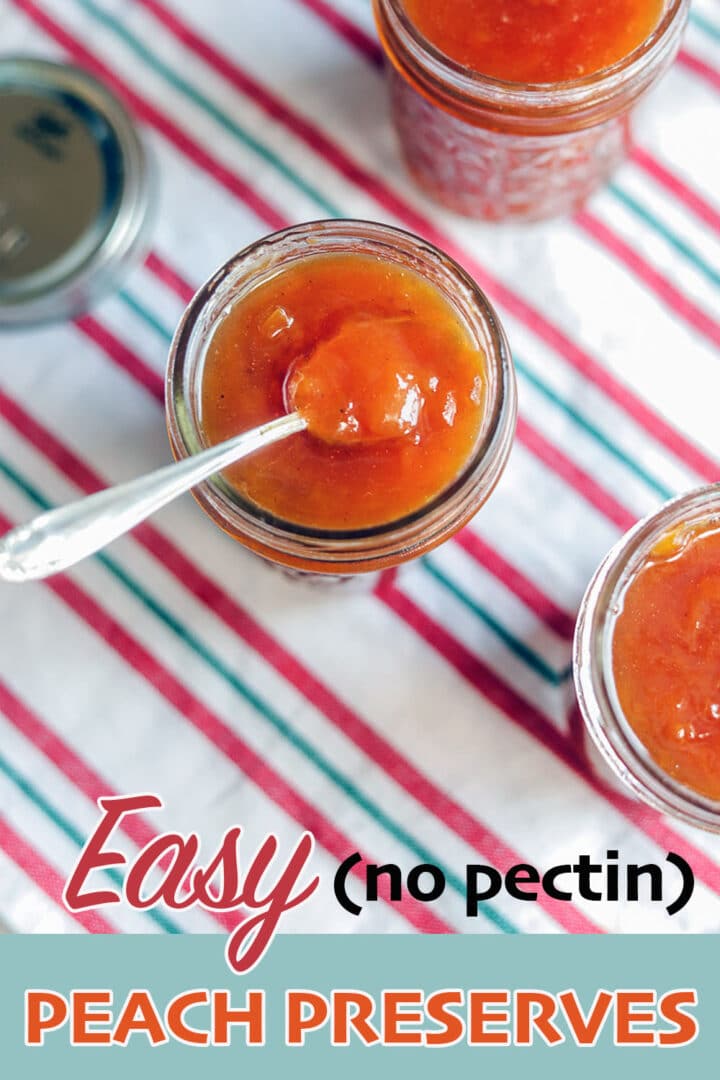
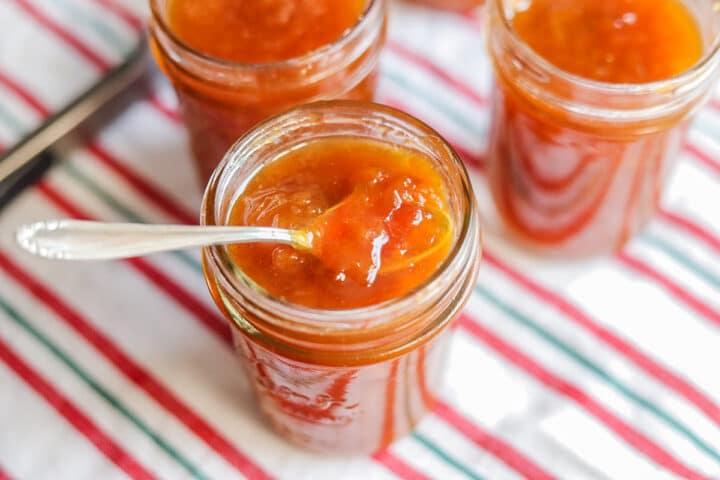
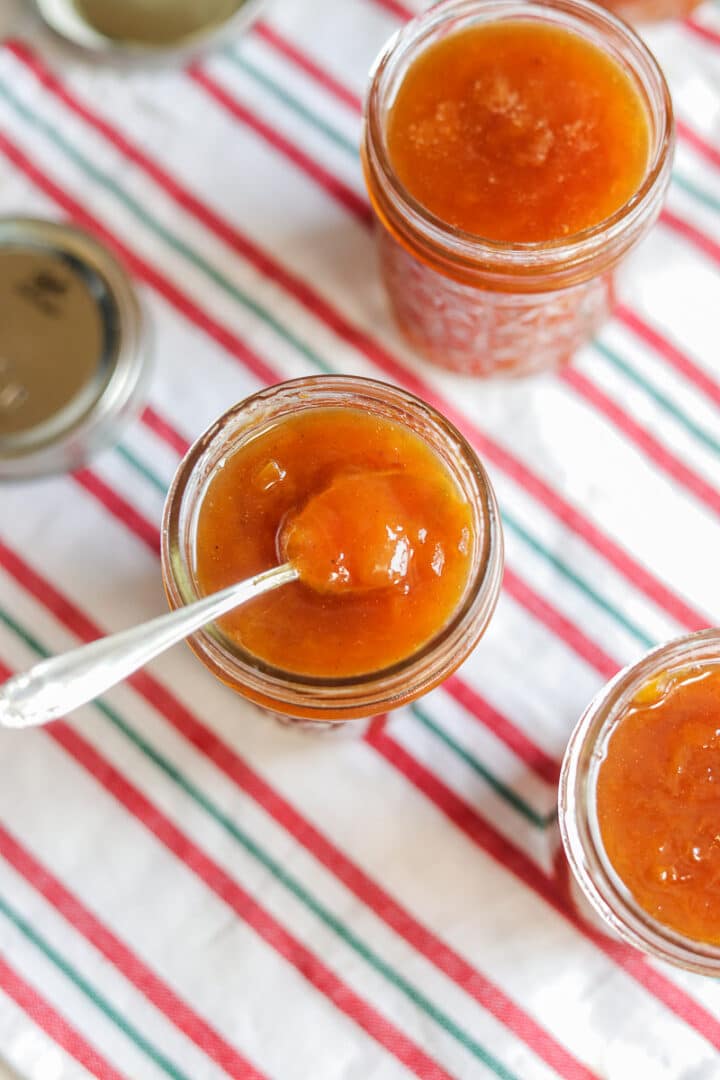
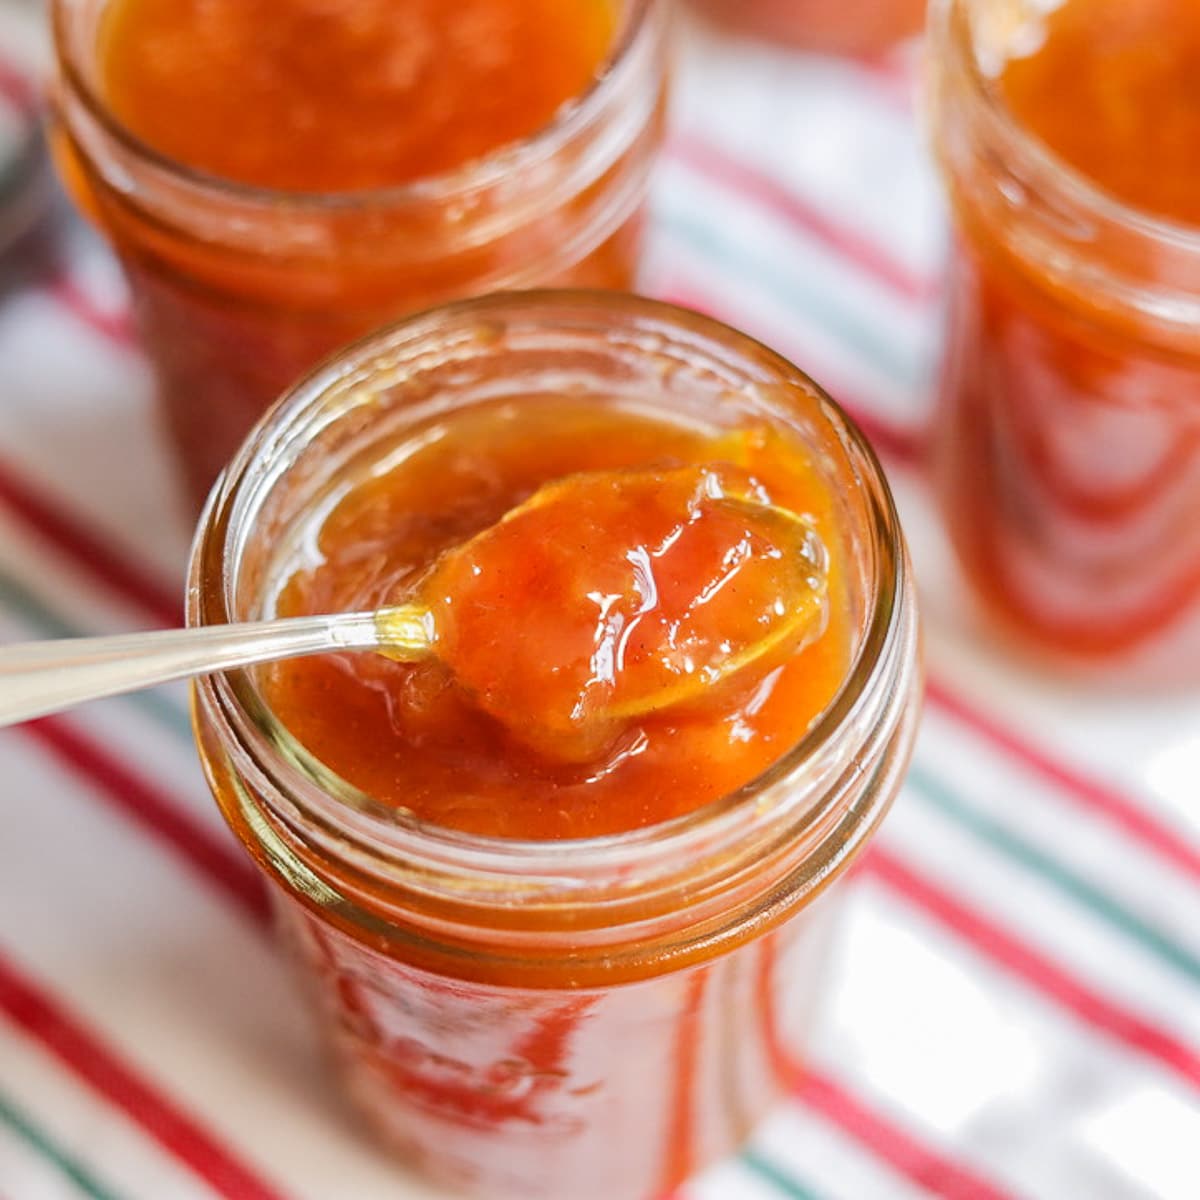
Learn how to make delicious Peach Preserves and Peach Jam without pectin. This small-batch peach preserves recipe will yield approximately four ½ pint jars of preserves. Serve it on toast, and set some aside to make these adorable Cheesecake Phyllo Cups!
Would you like to save this recipe?
Recently, while rummaging through my freezer, I found a ziplock bag full of chopped peaches that a friend gave me last year during peach season. I had used some of them to make my Easy Peach Cobbler recipe but didn't realize I still had another bag of chopped peaches left.
So what do you do when life (or Diane) gives you peaches? Well, if you're me, Peach Preserves seemed like the obvious choice!
Jump to:
😍 Why You'll Love This Recipe
This Peach Preserve recipe is easy to prepare and only requires a few ingredients. Do you have one hour to spare? Let's transform those wonderful, juicy peaches into a delicious batch of peach preserves!
Homemade peach jam is so much better without the added preservatives. Enjoy it with your family, or give it as a gift to brighten someone's day. For me, the best thing about making jam is gifting it to those I love!
This peach canning recipe is easily adaptable. Want to make peach jam instead? The preserves can be pureed to make peach jam. This can be done with an immersion blender, food processor, or an old-fashioned masher. Another option is to chop the peaches finer before preparing the jam.
Want to know another thing you can make with this peach preserves recipe? It can be used to make a tasty Peach Glaze. Glaze can be used in a variety of ways. Spread it over a cooled cheesecake or swirl it into the cake batter. Or hey, why not do both, like I did in my loquat cheesecake recipe?
🔖 Ingredient & Substitutions
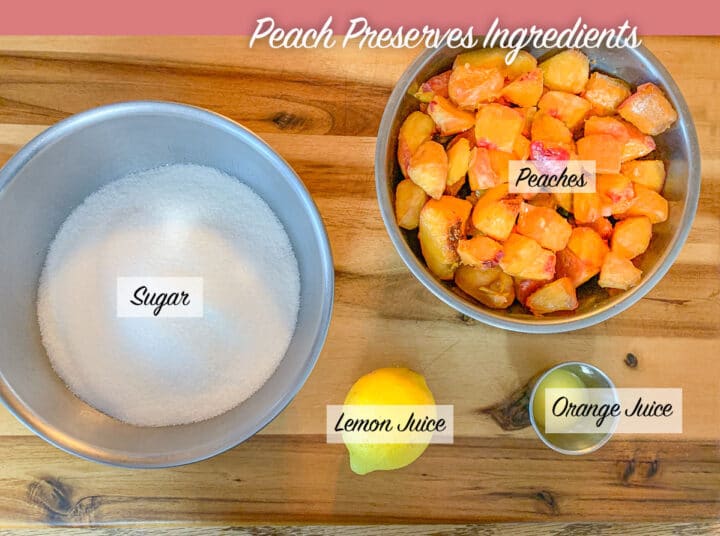
- Peaches - You can use frozen or fresh peaches. The same recipe steps apply to both fresh and frozen peaches. If possible, use ripe peaches.
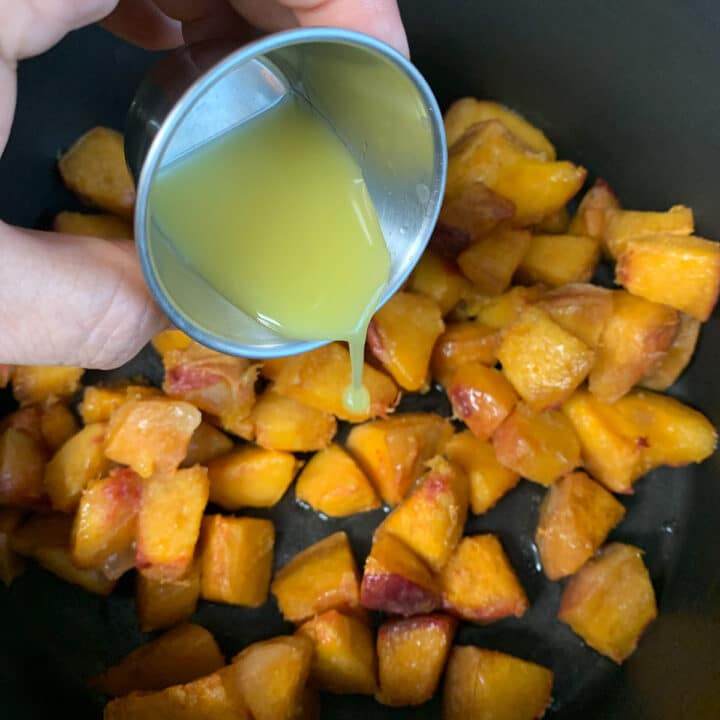
- Orange Juice - I like to add a small amount of orange juice to my jams and preserves. I love the subtle flavor it provides. If needed, the orange juice can be left out.
- Lemon - The lemon not only balances out the sweetness, but the lemon zest also helps to thicken the peach preserves, eliminating the need for a thickener like Pectin. The lemon juice also helps to keep the peach preserves from spoiling.
- Cardamom and Cinnamon - I'm listing cardamom and cinnamon as optional ingredients. If you want the peach flavor to shine through (like my daughter, Nena, prefers), don't add them. If, however, you want a little extra somethin'-somethin'', add a little cinnamon, cardamom, or both with the other ingredients. A little goes a long way, so you only need a pinch of each.
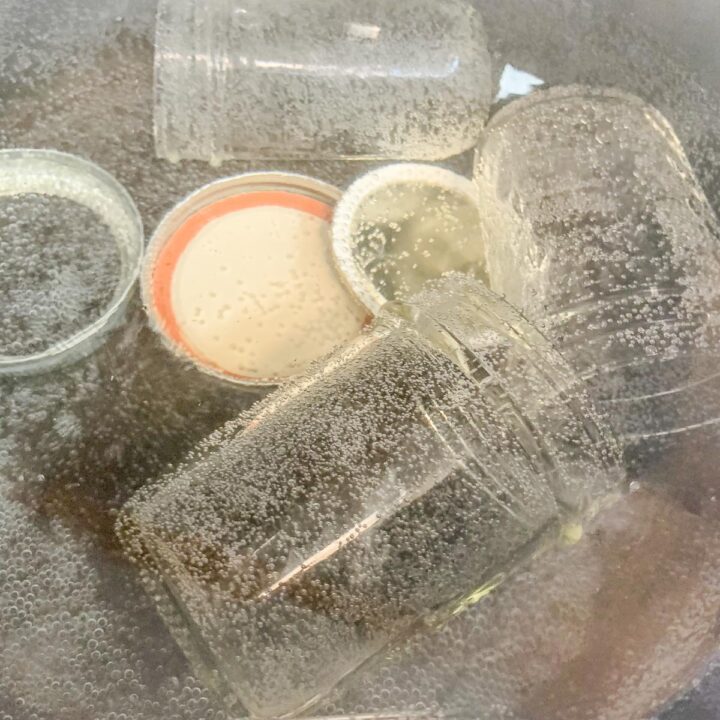
🫙 Prepare Canner
Before you start making the jam, wash the jars in hot soapy water and add them to the canner (minus the lids and collars). Cover with cold water and simmer over medium heat until the water begins to boil. Turn off the heat and leave the jars in the hot water while you prepare the peach jam. The lids and collars can be added to the hot water for a minute or two before you fasten them on the jars.
🍑 How to Make Homemade Peach Preserves
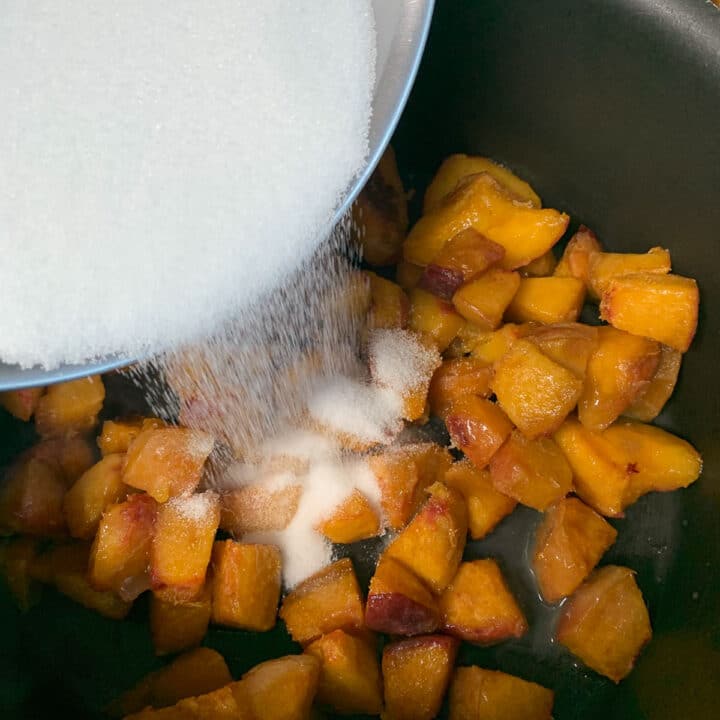
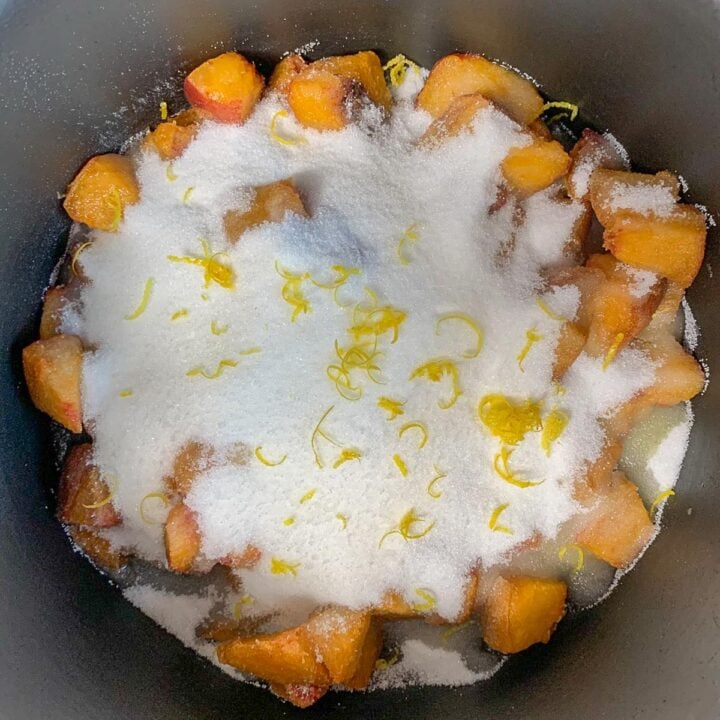
Step 1: Slice peaches into quarters and remove the pits. Chop peaches and add to a large pot. Cover with sugar, orange juice, lemon juice, and lemon zest.
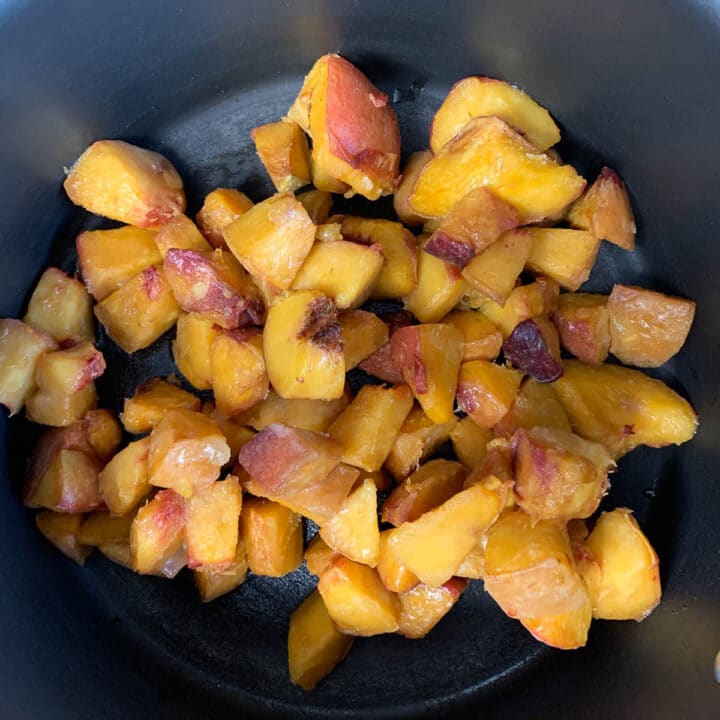
Pro Tip: If you prefer your peach jam without the skins, you can blanch the peaches first by dunking them into boiling water for 45 seconds, then submerge them immediately into ice-cold water. Blanching the peaches helps the peels to come off more easily.
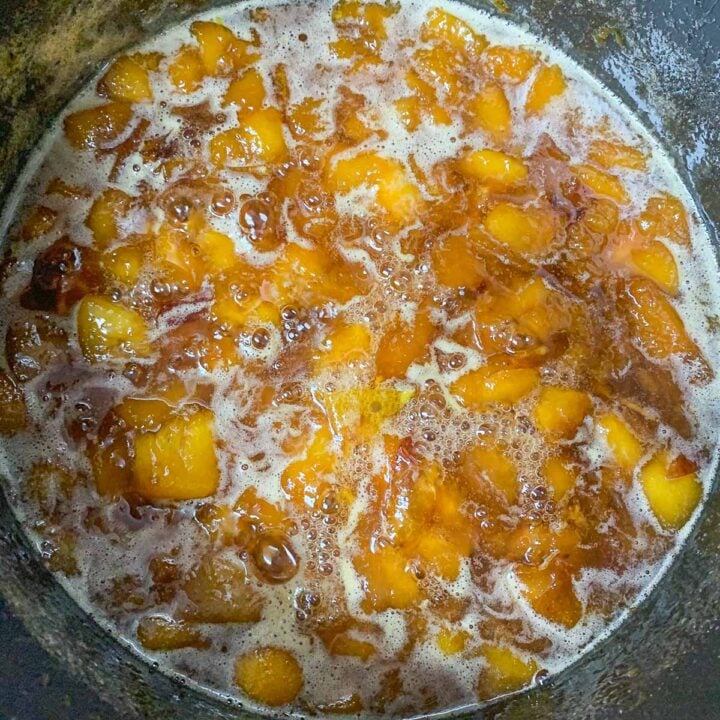
Step 2: Turn on the stove to the lowest setting to allow the sugar to slowly dissolve. Set the timer to 15 minutes.
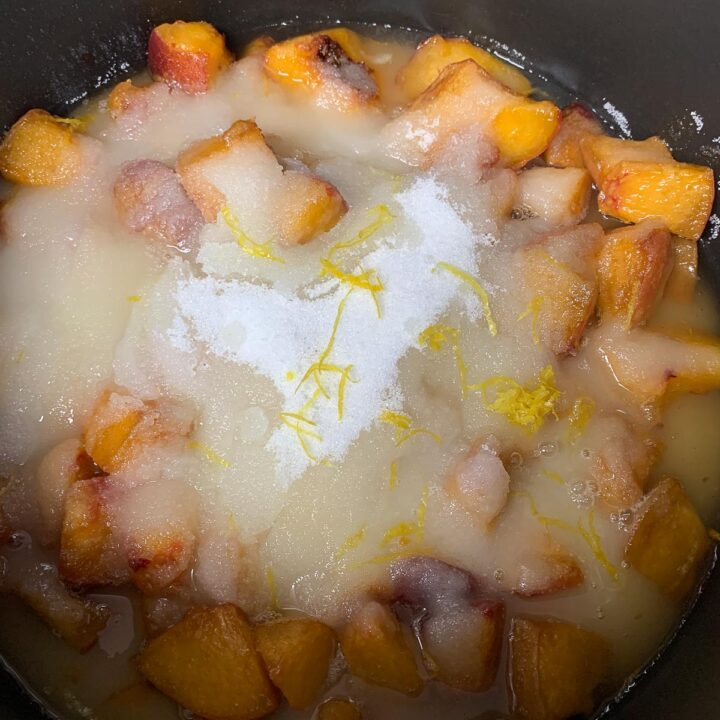
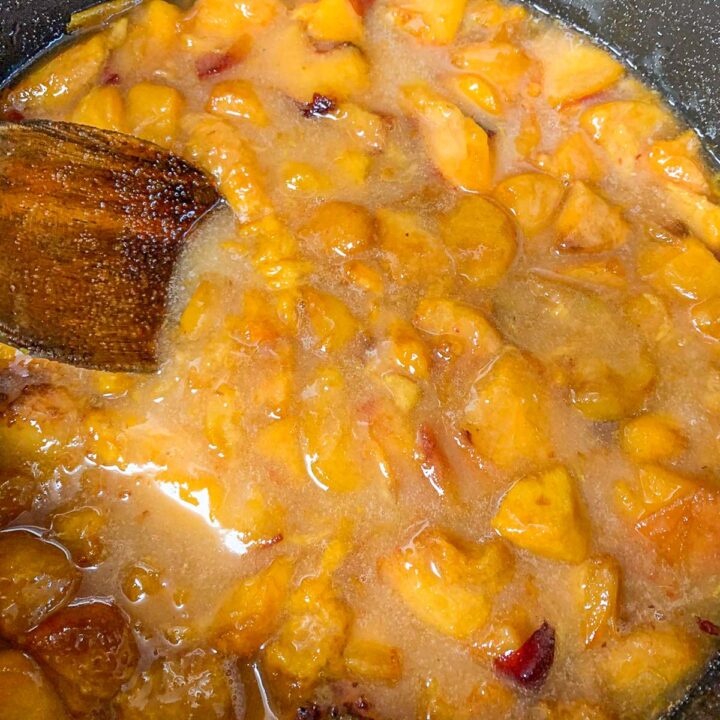
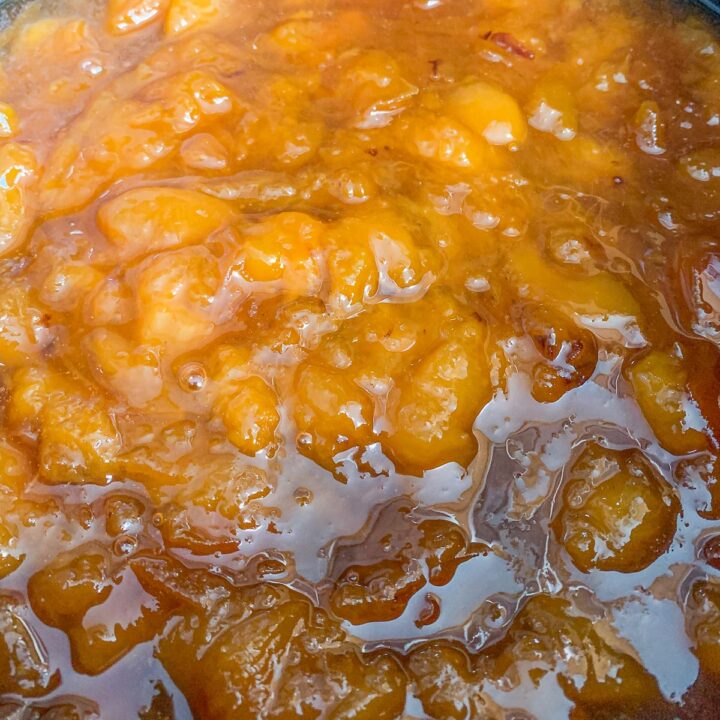
Step 3: Once the sugar has liquified, bring the peach mixture to a full rolling boil, then cook over medium heat, uncovered, stirring often, for twenty-five minutes or until thickened.
Pro Tip: Do not cover the pot with a lid as we're trying to cook the preserves down. You'll also want to stir it often to keep the bottom from scorching.
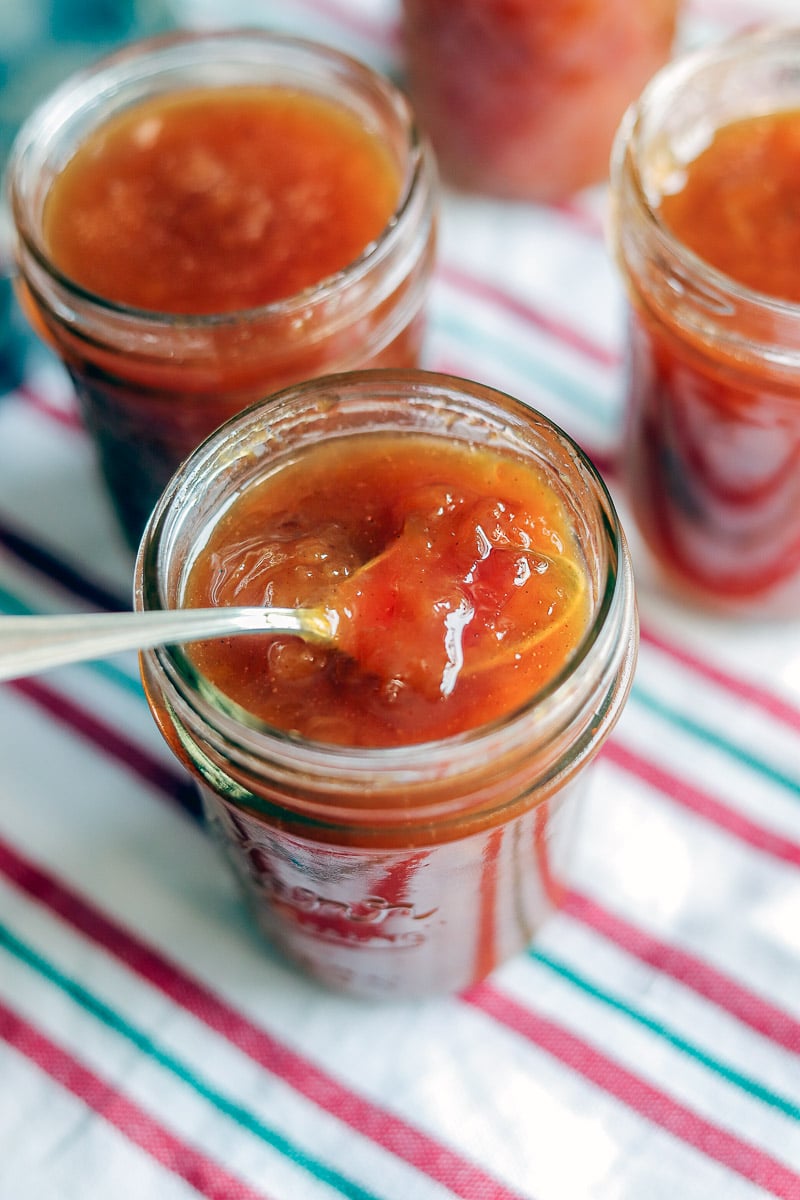
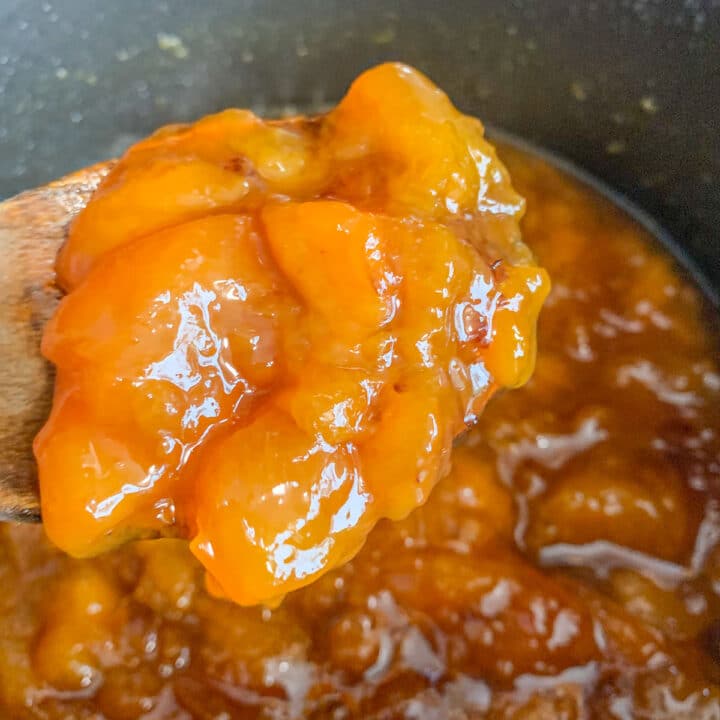
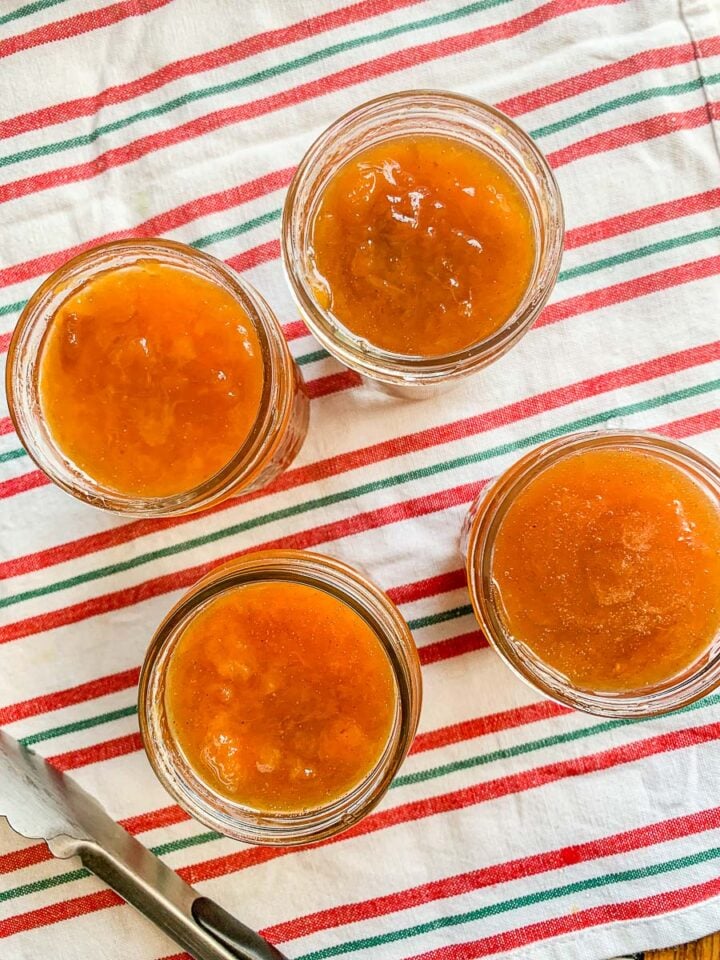
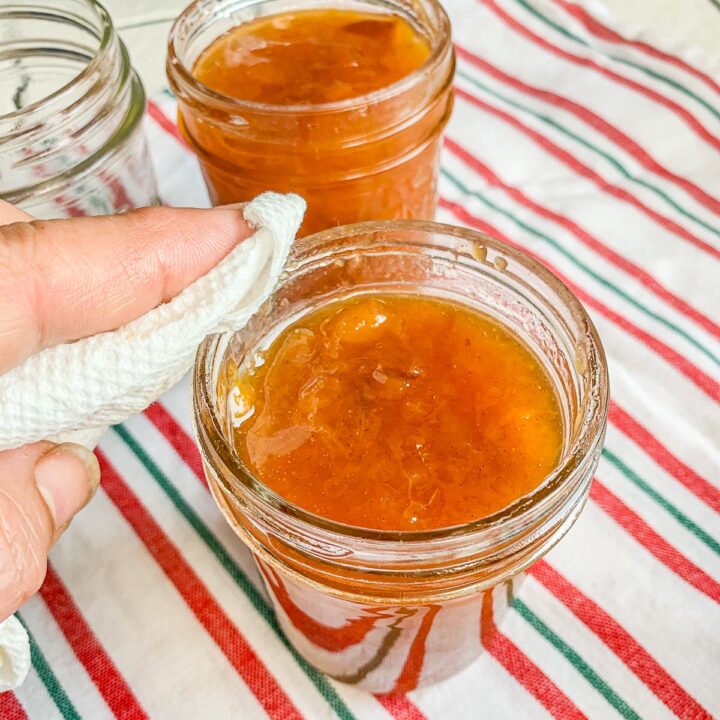
Step 4: Skim foam, if necessary, then ladle hot preserves into the hot, clean jars, leaving a ½-inch headspace. Remove any air bubbles by running a clean knife along the edges of the jar. Wipe rims with a damp washcloth or paper towel. Add lids and screw on the collars, hand-tight.
Processing Instructions
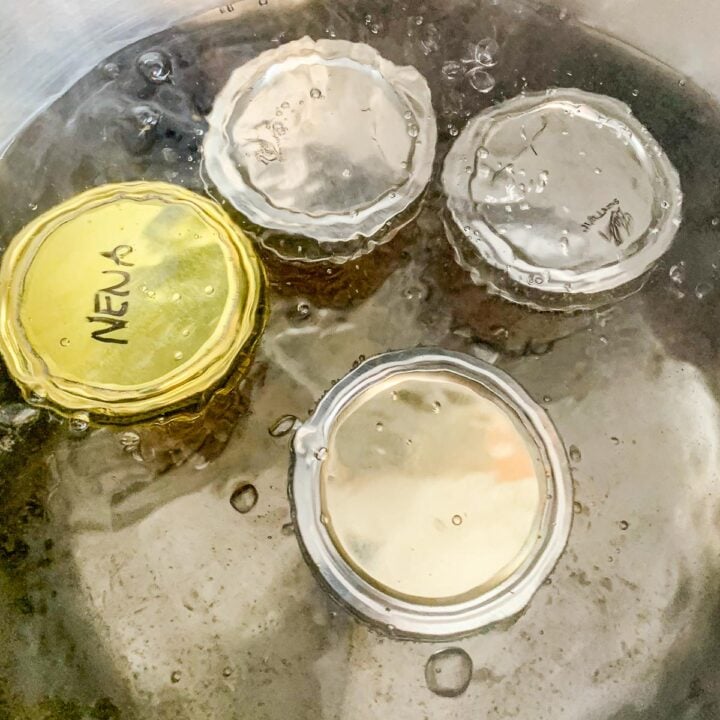
If you don't plan on storing the prepared preserves in the refrigerator, the jars will need to be processed in a hot water bath canner for 10 minutes or longer based on your elevation (see chart below).
Adjust Processing Time For Altitude
If you live 1000 feet or higher above sea level, you need to adjust the processing time for higher altitude. Follow the times listed below.
| Altitude | Additional Processing Time |
| 1,001 — 3,000 3,001 — 6,000 6,001 — 8,000 8,001 — 10,000 | 5 minutes 10 minutes 15 minutes 20 minutes |
Pro Tip: Store the processed and sealed jars of peach jam in a cool, dark place and have a shelf life of up to a year. The jars that don't seal should be eaten first or stored in the fridge.
🥄 How to test peach preserves for thickness
If you are unsure if the proper thickness has been achieved, a great way to test it is by turning off the heat, removing a small amount of jam, and placing it in the refrigerator to cool. This shouldn't take more than 10 minutes.
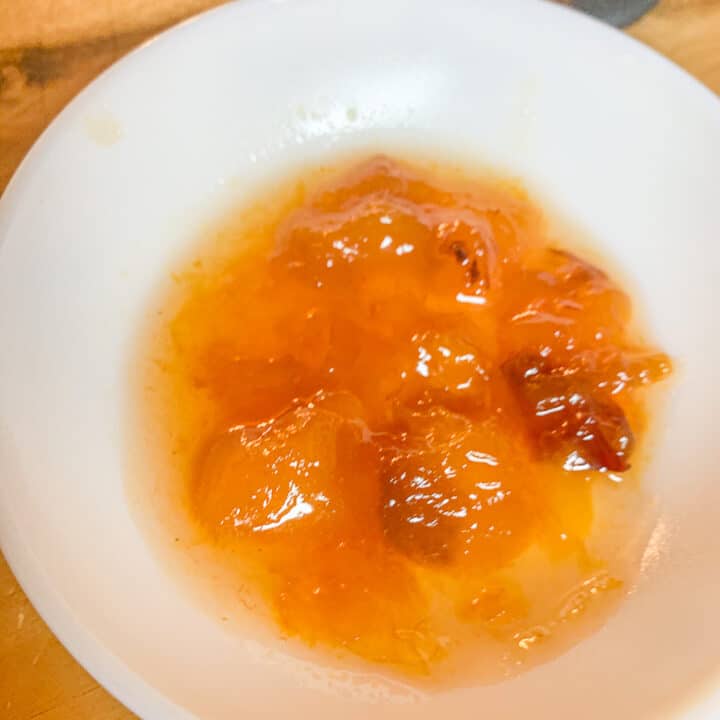
Once the refrigerated peach preserves has cooled off, see if it has thickened to your liking. If you prefer the preserves thicker, pour the sample back into the pot and cook it a little longer.
You can continue to use this method, adding 5 minutes of cooking at a time until you are satisfied with the thickness. Just keep in mind that the preserves will be thicker when refrigerated.
If you cook the peach preserves for too long, it can burn and have a glue-like texture. Try to stick as close to the recipes' cooking times as possible, and you should have delicious preserves.
🤷🏻♀️ Recipe FAQs
Peaches do not need to be peeled for jam. In fact, the peels add a wonderful texture to the jam. However, if you prefer a smoother-textured jam, you can blanch the peaches first by dipping them in hot water, then cold, to stop the cooking process. This process will help loosen the skin.
Another option is to leave the peach skins on and puree the jam instead. This can be done before canning the preserves.
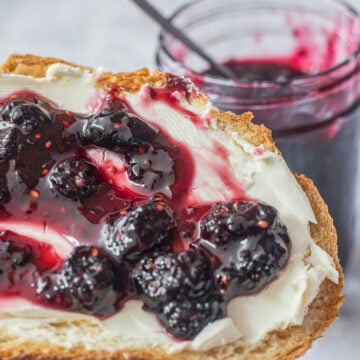
Peach preserves go great on buttered toast. Or spread it on plain bagels and cream cheese.
Additionally, peach preserves can be added to vanilla ice cream, swirled in cheesecake, or used in other desserts. 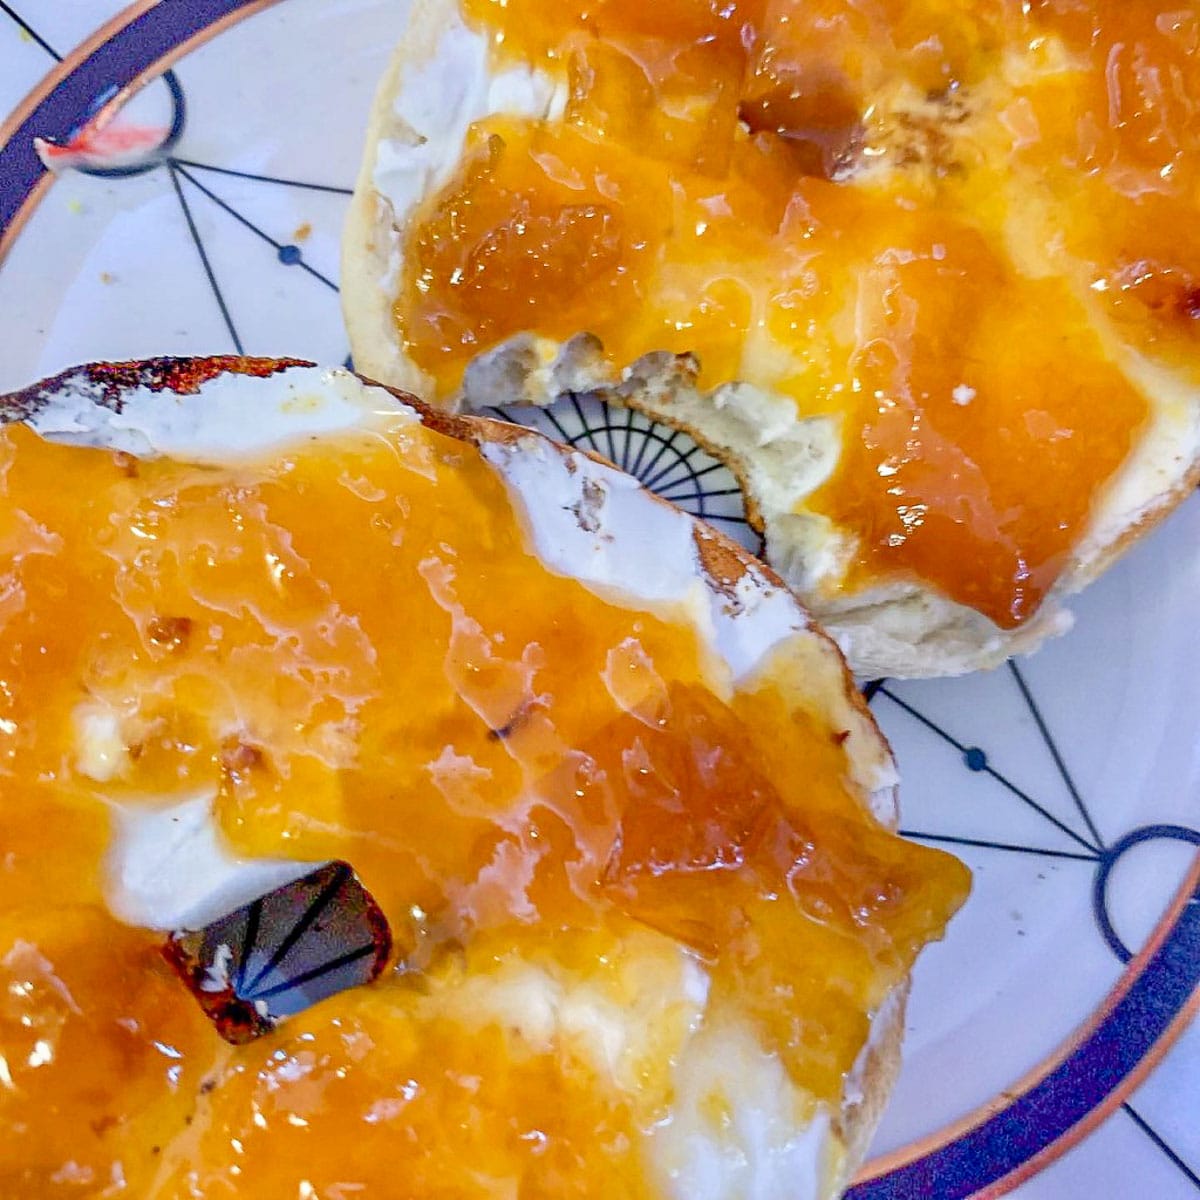
Peaches have a good amount of pectin, so they really don't need pectin to thicken. However, if you need to thicken your jam, you can either cook it longer until it reaches the right consistency, or add a thickener like Pectin, Gelatin, or Therm Flo.
The only difference between peach jam and peach preserves is the consistency. Peach jam has a smooth consistency while peach preserves is more chunky.
If you have lots of peaches and are looking for other ways to use them, I've got another great recipe for you... peach mango pie, or should I say pies? These adorable little pies are a copycat recipe, similar to the ones you can get at the Filipino chain called Jollibee.
🍐 More Jam Recipes
If you love making jam, give these other tasty jam recipes a try!
👩🏼🍳 Pro Tips
- I prefer my jam to taste a little tart. If you don't, start out with ½ the amount of lemon juice and adjust from there based on your taste.
- Make sure the lids aren't too tight when you process the jars in boiling water. This allows the air bubbles to escape from the jars and helps to seal the jars. The lids can be tightened after you hear the pop sound they make when the jar is sealed all the way. This usually happens after the jars are removed from the boiling water.
- Label the jars with the date the jam was made. This is especially helpful when you make more batches and want to use up the older batch first.
- When using an immersion blender, be careful of the hot splatter. This can be avoided by keeping the blade deep in the pot while blending and not continuing to press the blend button while you are removing the blender from the pot of jam.
🥭 More Canning Recipes
If you like this peach preserves recipe, check out these related recipes!
Did you make this recipe?
📖 Recipe
Would you like to save this recipe?
Easy Peach Preserves And Jam Without Pectin
Ingredients
Equipment
Method
- Before you start making the jam, wash the jars in hot soapy water and add to a canner (minus the lids and collars). Cover with cold water and simmer over medium heat until the water begins to boil. Turn off the heat and leave the jars in the hot water while you prepare the peach jam. The lids and collars can be added to the hot water for a minute or two before you fasten them on the jars.
- Slice peaches in quarters and remove the pits. Chop peaches and add to a large pot. Cover with sugar, orange juice, lemon juice, and lemon zest. If you don't want skins in your jam, blanch the peaches first.
- Turn on the stove to the lowest setting, to allow the sugar to slowly dissolve. Set the timer to 15 minutes.
- Once the sugar has liquified, bring the peach mixture to a full rolling boil, then cook over medium heat, uncovered, stirring often, for twenty-five minutes or until thickened.
- Skim foam, if necessary, then ladle hot jam into sterilized jars, leaving a ½ inch headspace. Remove any air bubbles by running a clean knife along the edges of the jar. Wipe rims with a damp washcloth or paper towel. Add lids and screw on the collars, hand tight.
- If you don't plan on storing the prepared preserves in the refrigerator, the jars will need to be processed in a hot water bath canner for 10 minutes, or longer based on your elevation.
- Store the processed and sealed jars of peach jam in a cool, dark place and have a shelf life of up to a year. The jars that don't seal should be eaten first or stored in the fridge.
Nutrition
Notes
- Do not cover the pot with a lid as we're trying to cook the preserves down. You'll also want to stir it often to keep the bottom from scorching.
- I prefer my jam to taste a little tart. If you don't, start out with ½ the amount of lemon juice and adjust from there based on your taste.
- If you prefer your peach jam without the skins, you can blanch the peaches first by dunking them into boiling water for 45 seconds then submerge them immediately into ice cold water. Blanching the peaches helps the peels to come off more easily.
- Make sure the lids aren't too tight when you process the jars in boiling water. This allows the air bubbles to escape from the jars and helps to seal the jars. The lids can be tightened after you hear the pop sound they make when the jar is sealed all the way. This usually happens after the jars are removed from the boiling water.
- Label the jars with the date the jam was made. This is especially helpful when you make more batches and want to use up the older batch first.
- When using an immersion blender, be careful of the hot splatter. This can be avoided by keeping the blade deep in the pot while blending and not continuing to press the blend button while you are removing the blender from the pot of jam.
Heavenly. Homemaker says
Would have been good to put the part about blanching skins and not covering the pot up in the recipe instead of at the bottom! Oh well, hoping for the best.
Hilda Sterner says
Thanks for the suggestions, it's hard to fit every tip and trick in the main recipe. This is why I always include tips on the bottom of the post. However, I went ahead and added your suggestions because they were valid. Thanks!
Chris says
Does this recipe keep the skins on the peaches?
Hilda Sterner says
Hi Chris,
I like the skins off but it's a matter of preference!
Deborah Lynn Totzkay says
Dreamy and bright peach flavor. A big hit with the folks I gifted a jar!
Hilda Sterner says
Hi Deborah, thank you for the review. I'm happy to hear it was enjoyed!
JANICE KAY GARTH says
Thank you for this simple and delicious recipe! Used it last year and using it again this year.
Hilda Sterner says
Thanks, Janice, I'm glad you found the recipe easy and delicious!
Becky says
Can you freeze after making?
Hilda Sterner says
Hi Becky, I've never frozen jam before. I usually process it and store it in the pantry but I don't see why you can't freeze it if that's what you want to do!
Patricia B. says
I’ve tried several peach jam and preserves recipes in the past couple weeks And this is by far the easiest and best of them all. Thank you so much!!!
Hilda Sterner says
Hi Patricia,
What a great compliment!Thank you so much and thank you for taking the time to write a review!
Jan says
Absolutely Delicious and so easy! Thank you!
Hilda Sterner says
Thank you, Jan! I appreciate the review and comment!
beni says
My sweet neighbor gave me a basket full of peaches. I thought about making peach jam for the first time, but was very nervous about it. However, your recipe was so easy to follow and with few ingredients. The jam was amazing. Thank you!
Hilda Sterner says
Thank you very much, enjoy your jam!
Tricia says
EASY! And delicious! We used Freestone peaches and the preserves are amazing!
Hilda Sterner says
Thank you, Tricia, I'm so glad you like it, enjoy!
Sheila says
This was delicious. I enjoyed having this on my toast in the morning. Flavor was perfect
Hilda Sterner says
Thank you, Sheila! I'm glad you enjoyed it.