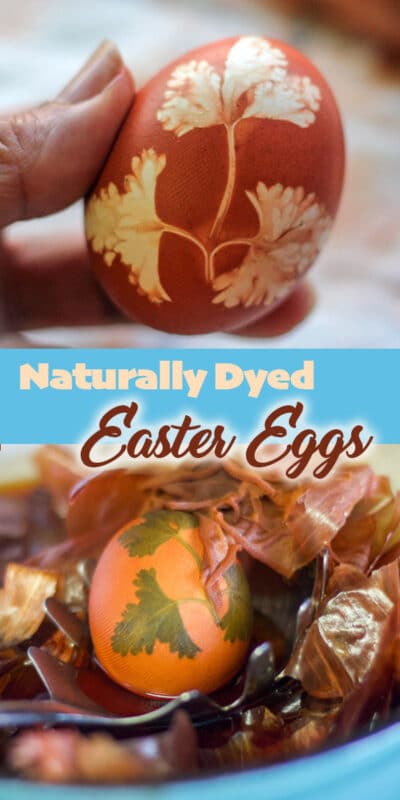
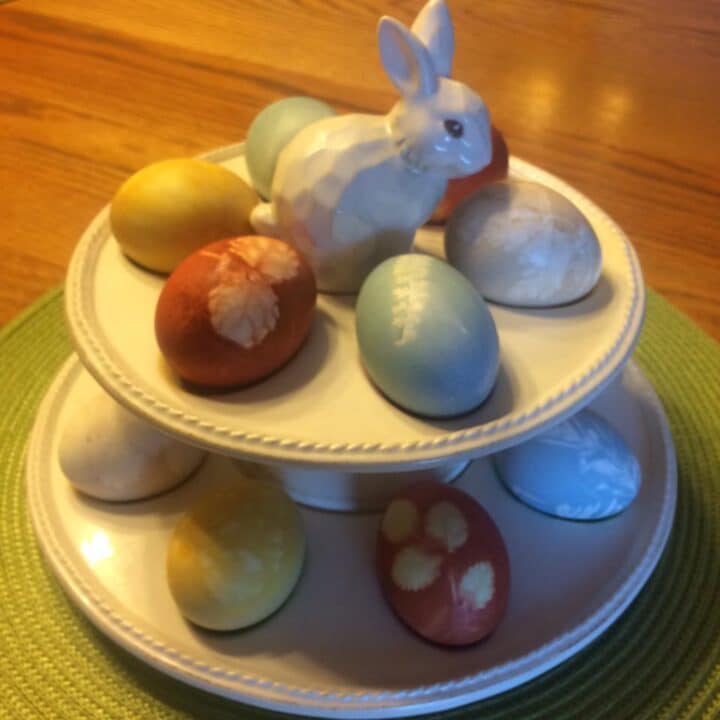
Dyeing Easter eggs with natural egg dye is easy and super fun! Assyrians have used onion skins to dye eggs for centuries! The decorated eggs can be used as a beautiful Easter centerpiece. Leftover hard-boiled eggs can be used to make keto deviled eggs!
Would you like to save this recipe?
I first shared this natural egg dye method in my cookbook Mom's Authentic Assyrian recipes, which was published in 2008. Since then, the idea seems to have really taken off! Mom only used onion skin dye when making Easter eggs, but we'll also try other natural egg dyes like cabbage, tea, coffee, and beets!
Jump to:
😍 Why You'll Love This Method
Dyeing Easter Eggs using onion skins and other natural egg dyes is a great way to connect to the past and learn how many cultures, including Assyrians and Greeks, dyed Easter eggs before egg dyeing kits were available. Once taught to your kids, they can pass down the tradition to their kids.
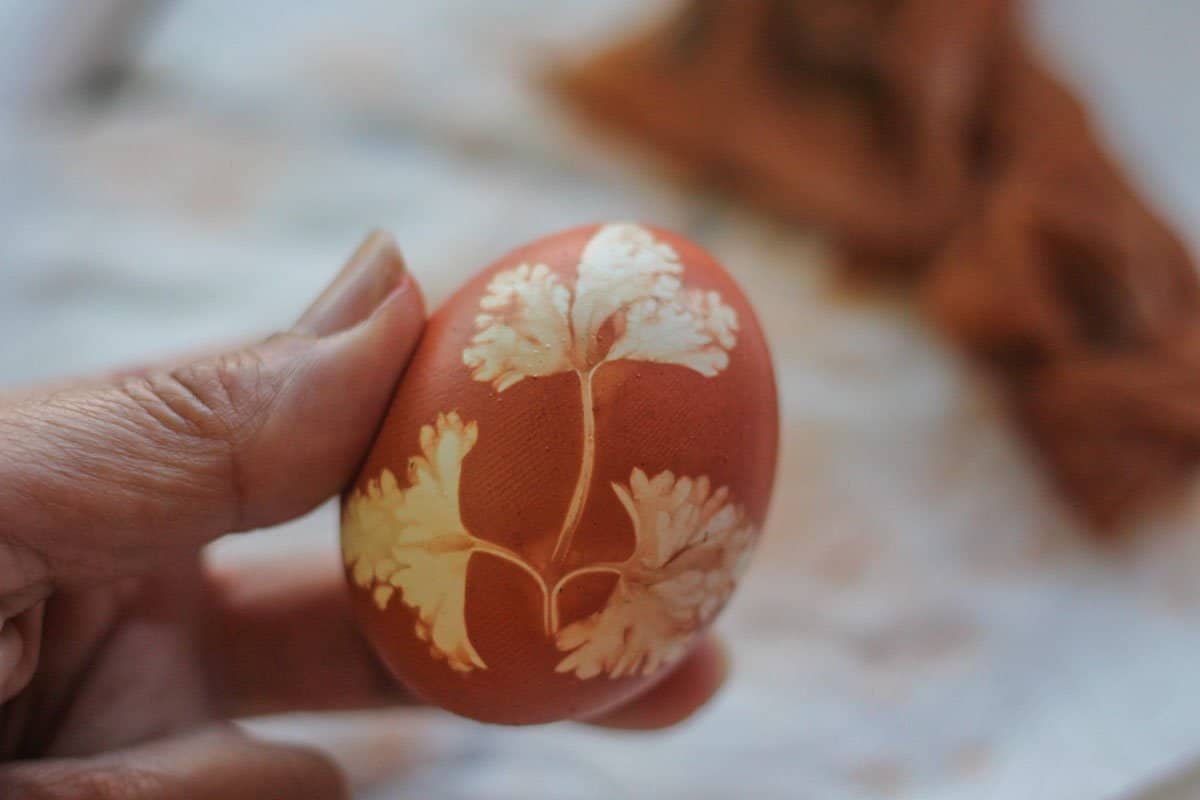
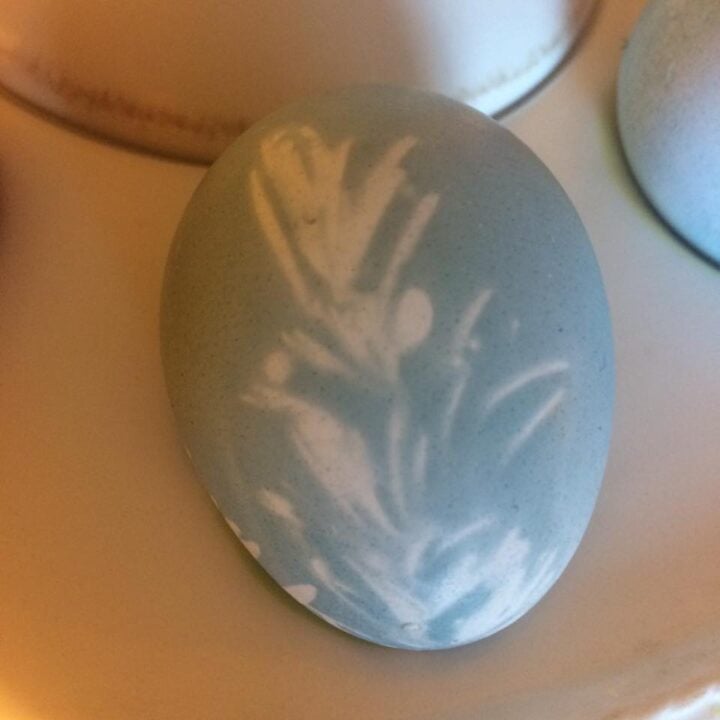
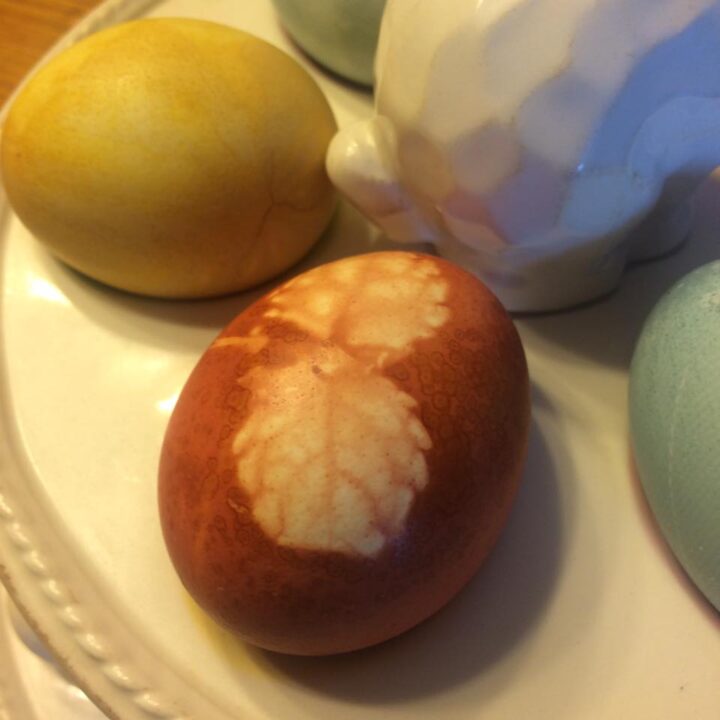
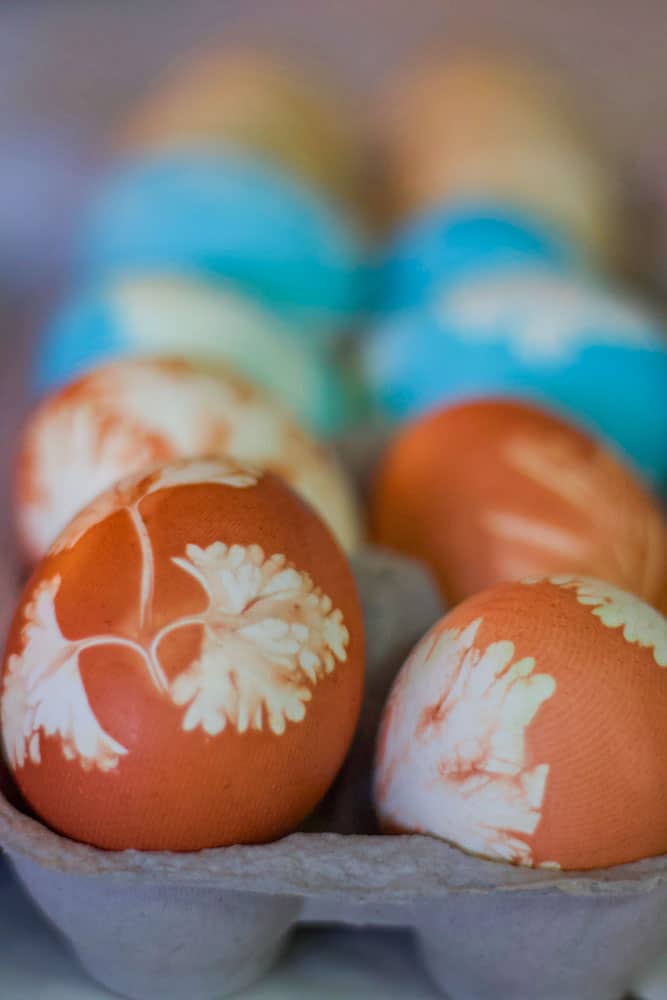
Using various herbs, leaves, plants, and flowers allows you to create beautiful and intricate designs without any chemicals or having to buy dyeing kits. This method is similar in concept to how Ukrainian Easter Eggs are prepared. The idea here is that the covered part of the egg remains white.
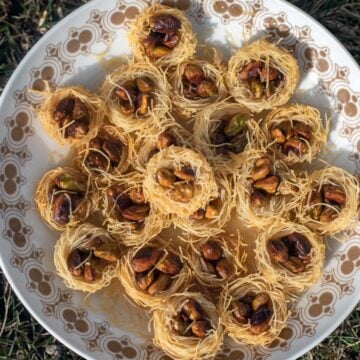
Once you make naturally dyed Easter eggs, include them in your Easter charcuterie board!
🔖 What You Need to Dye Eggs with Onion Skins
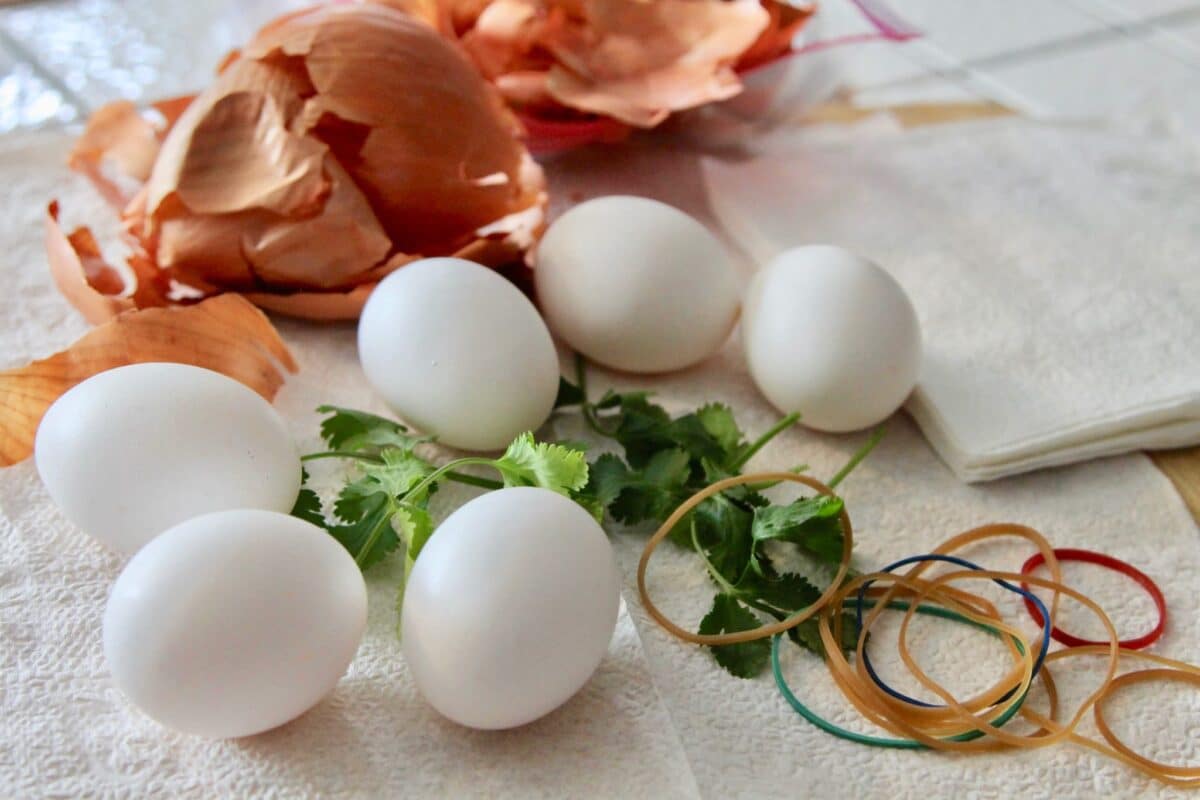
- Eggs: To dye Easter eggs, you obviously need eggs, white eggs preferably.
- Herbs: Various plants, flowers, and herbs (to make the pattern on the eggs).
- Fabric or Paper Towels: You can use paper towels, nylon stockings, or pieces of fabric to wrap the eggs with.
- Rubber bands: Rubber bands or string are used to tie the paper towels or fabric into place.
🥚 Dyeing Eggs with Onion Skins
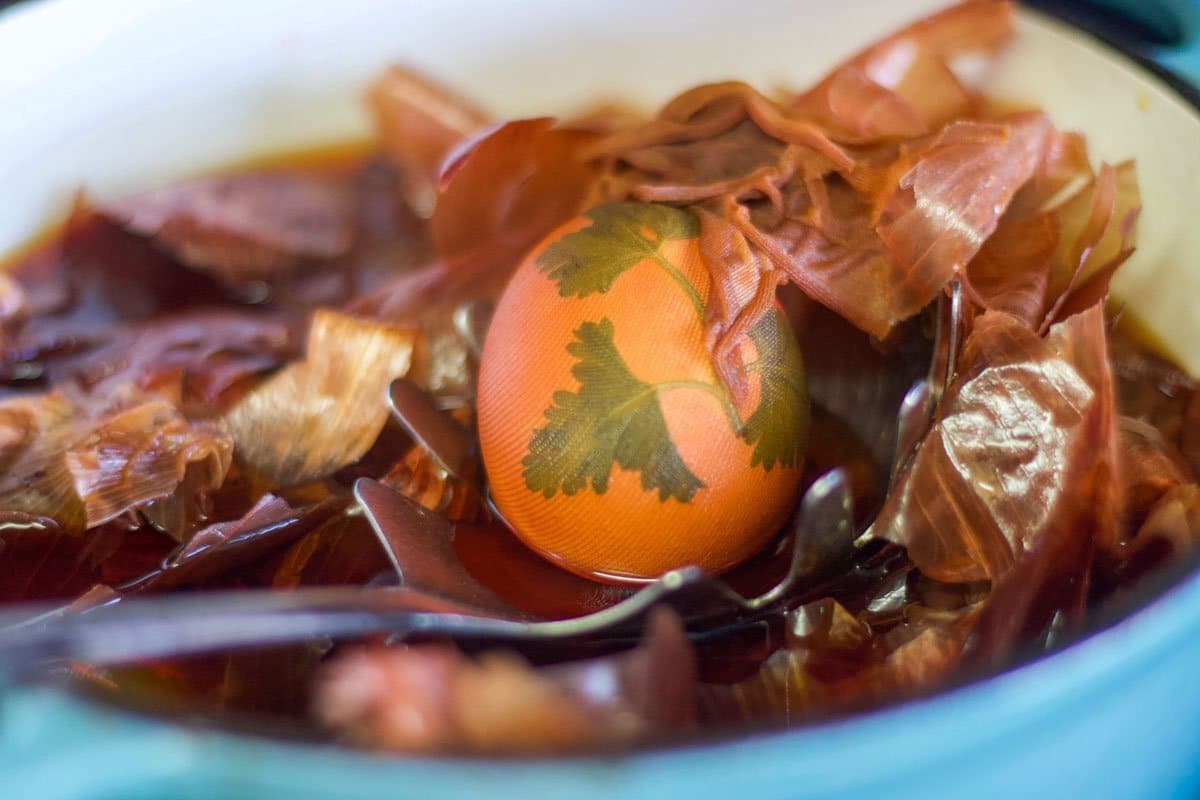
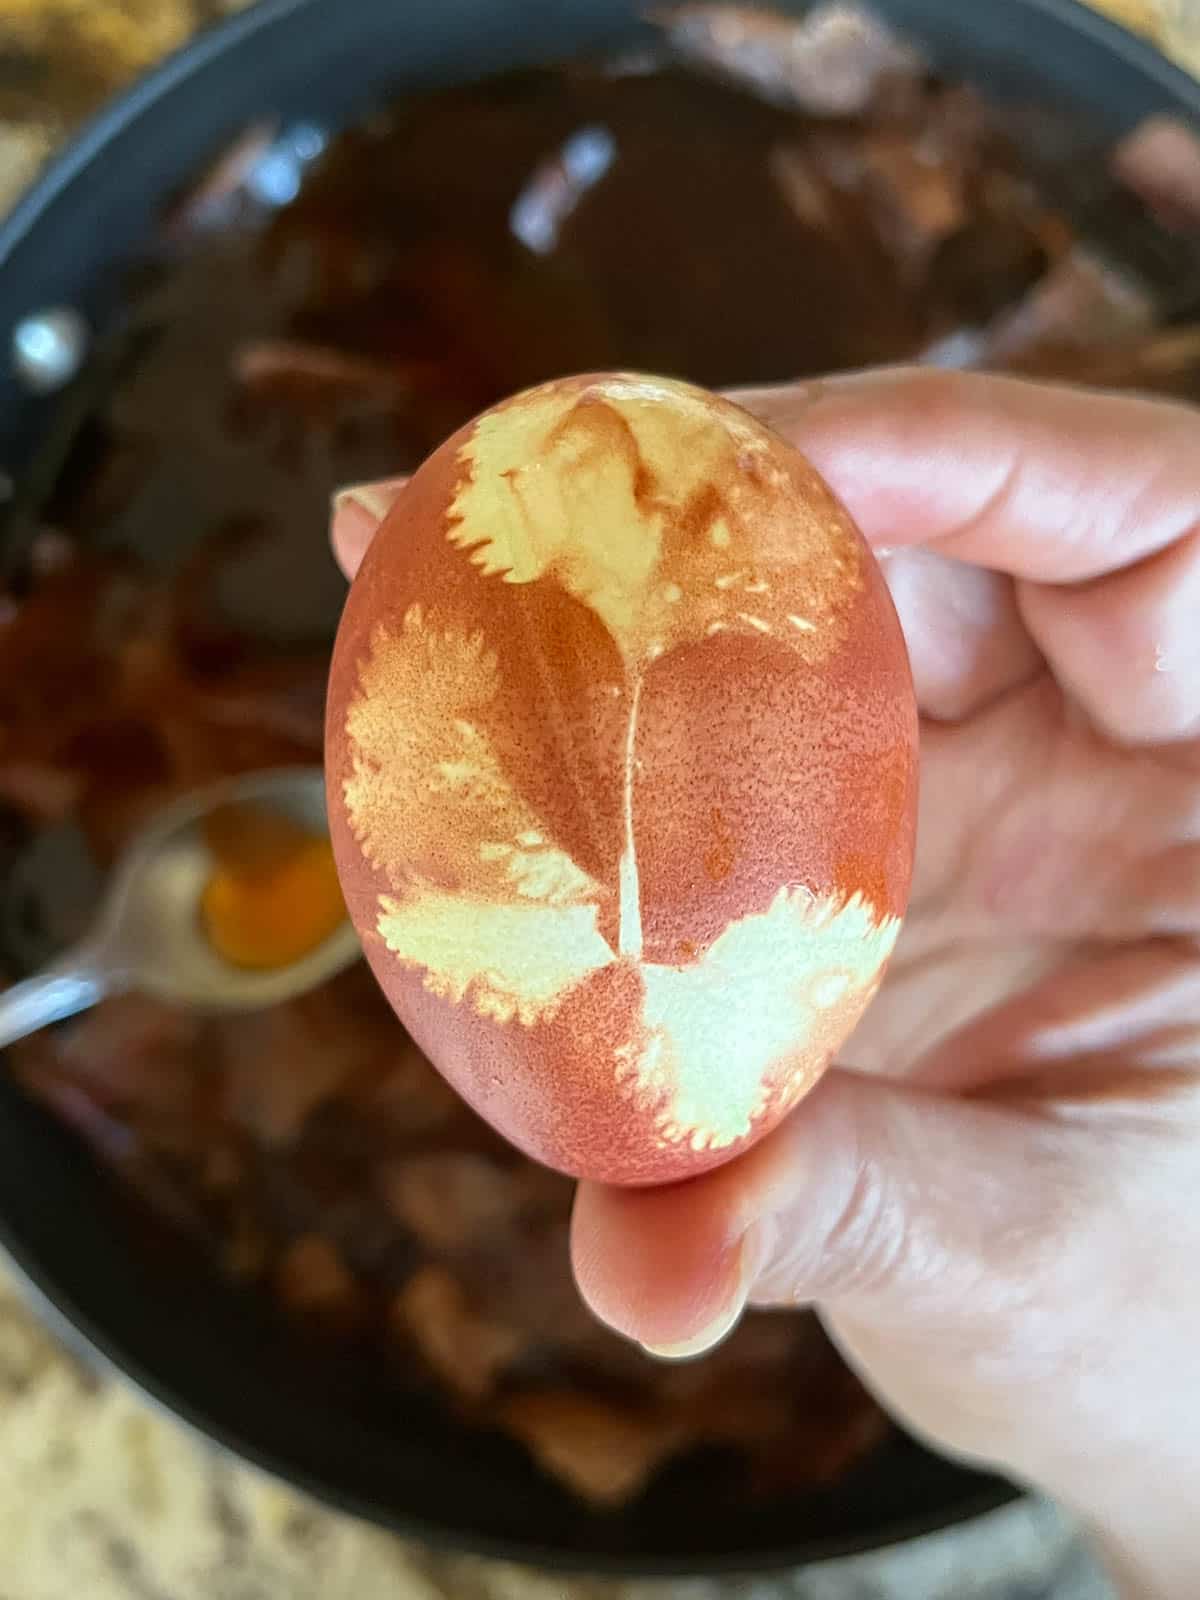
Step 1: Place one sprig of cilantro or Italian parsley over each egg. Carefully cover the egg with fabric or nylon. Gather the material toward the back and tie a knot or fasten the material in place with a rubber band or twine. Repeat with the remaining eggs.
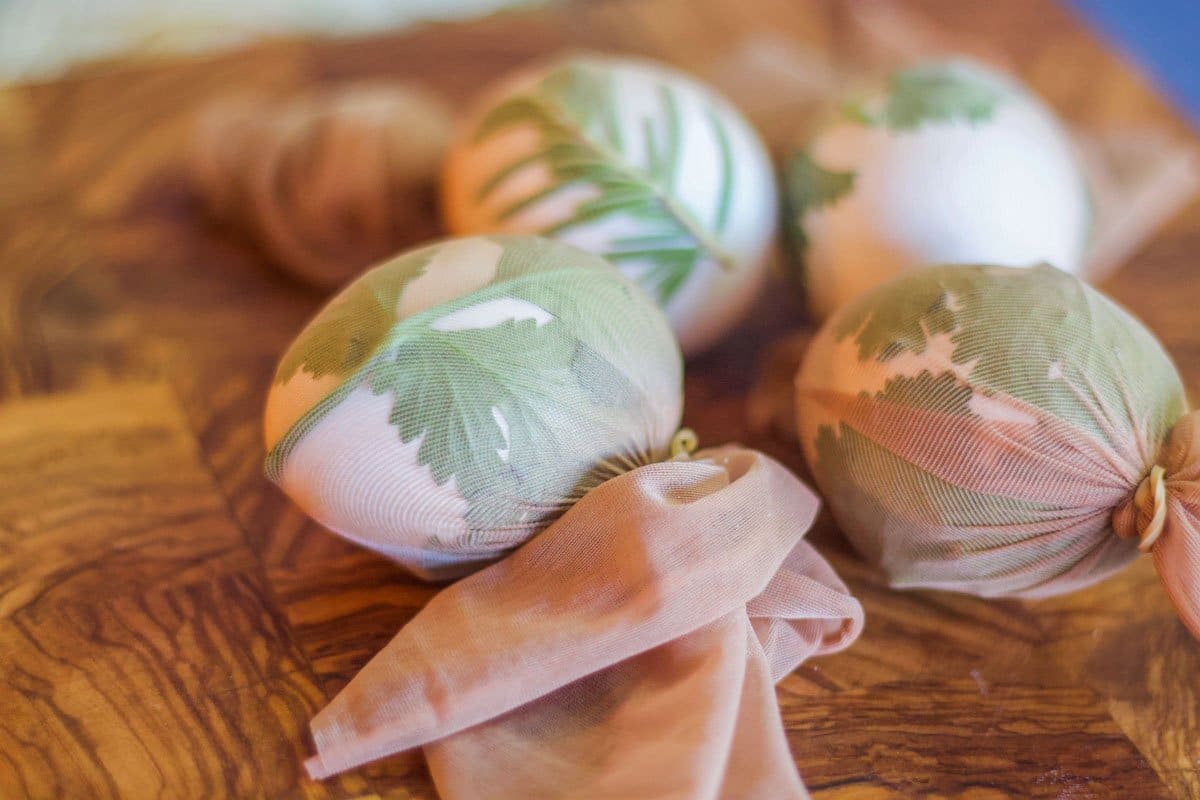
Pro Tip: Make sure the leaves lie flat on the egg. The herbs stick better if you moisten the egg first.
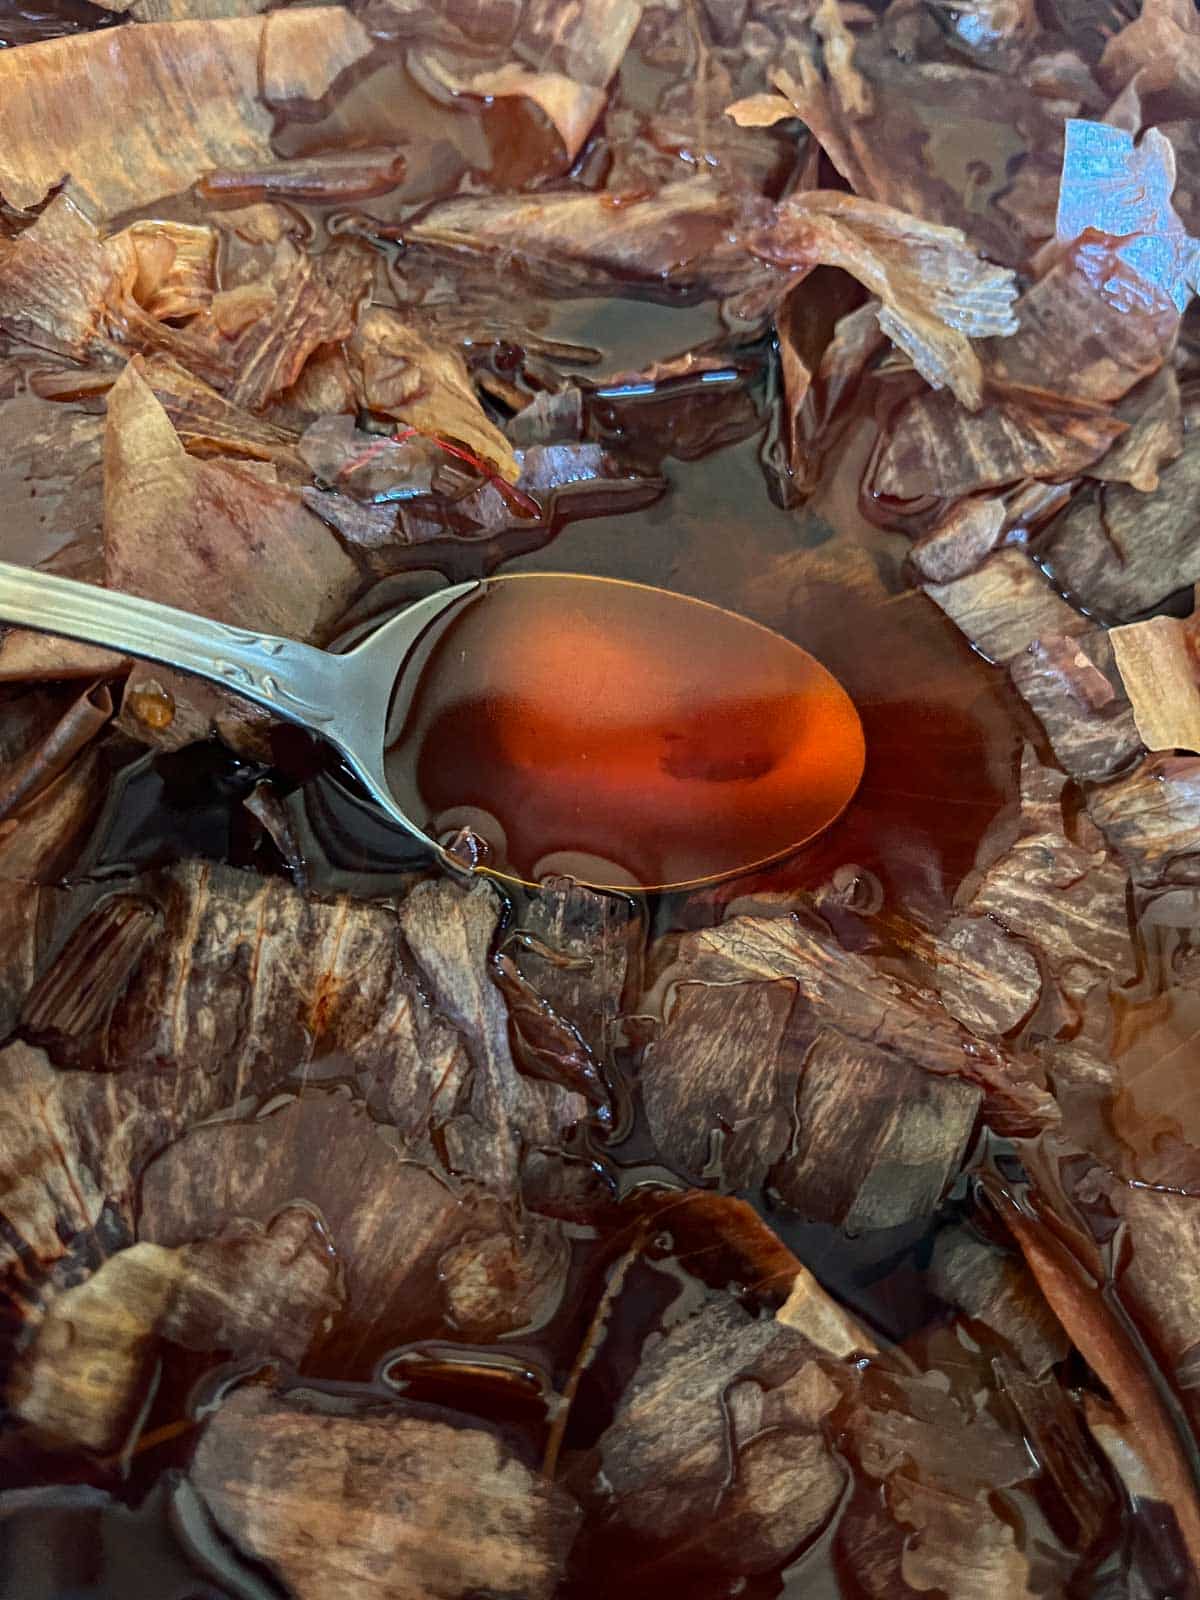
Step 2: Carefully place the eggs in an electric tea kettle or a pot. Don't overcrowd the eggs. Cover the eggs with onion skins, then fill the pot or tea kettle with water.

Step 3: Bring the water to a boil. If using an electric kettle, it will shut off once the water boils. Otherwise, boil for five minutes, then turn off the stove and leave the eggs in the dye until cool enough to handle.
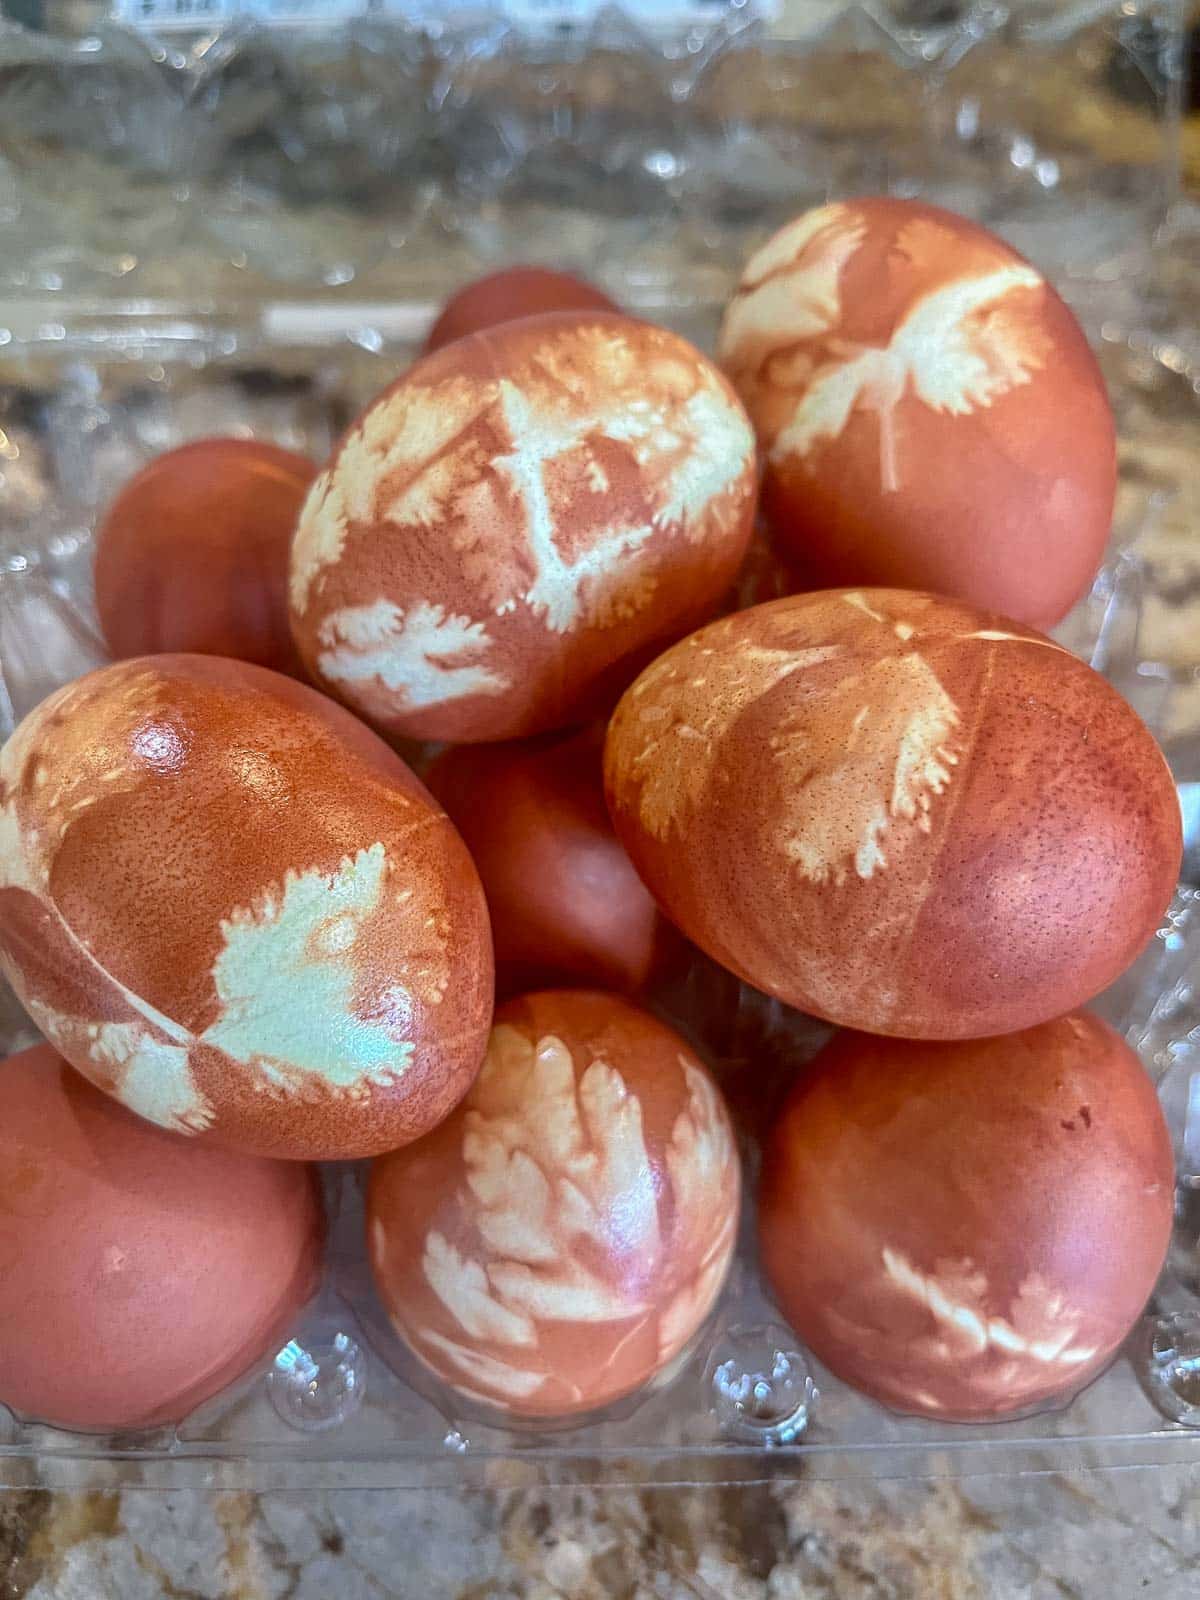
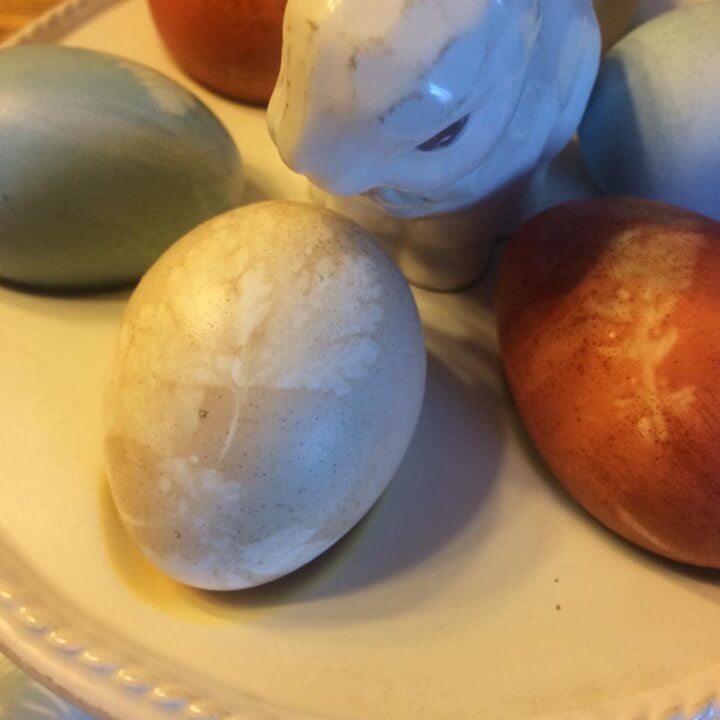
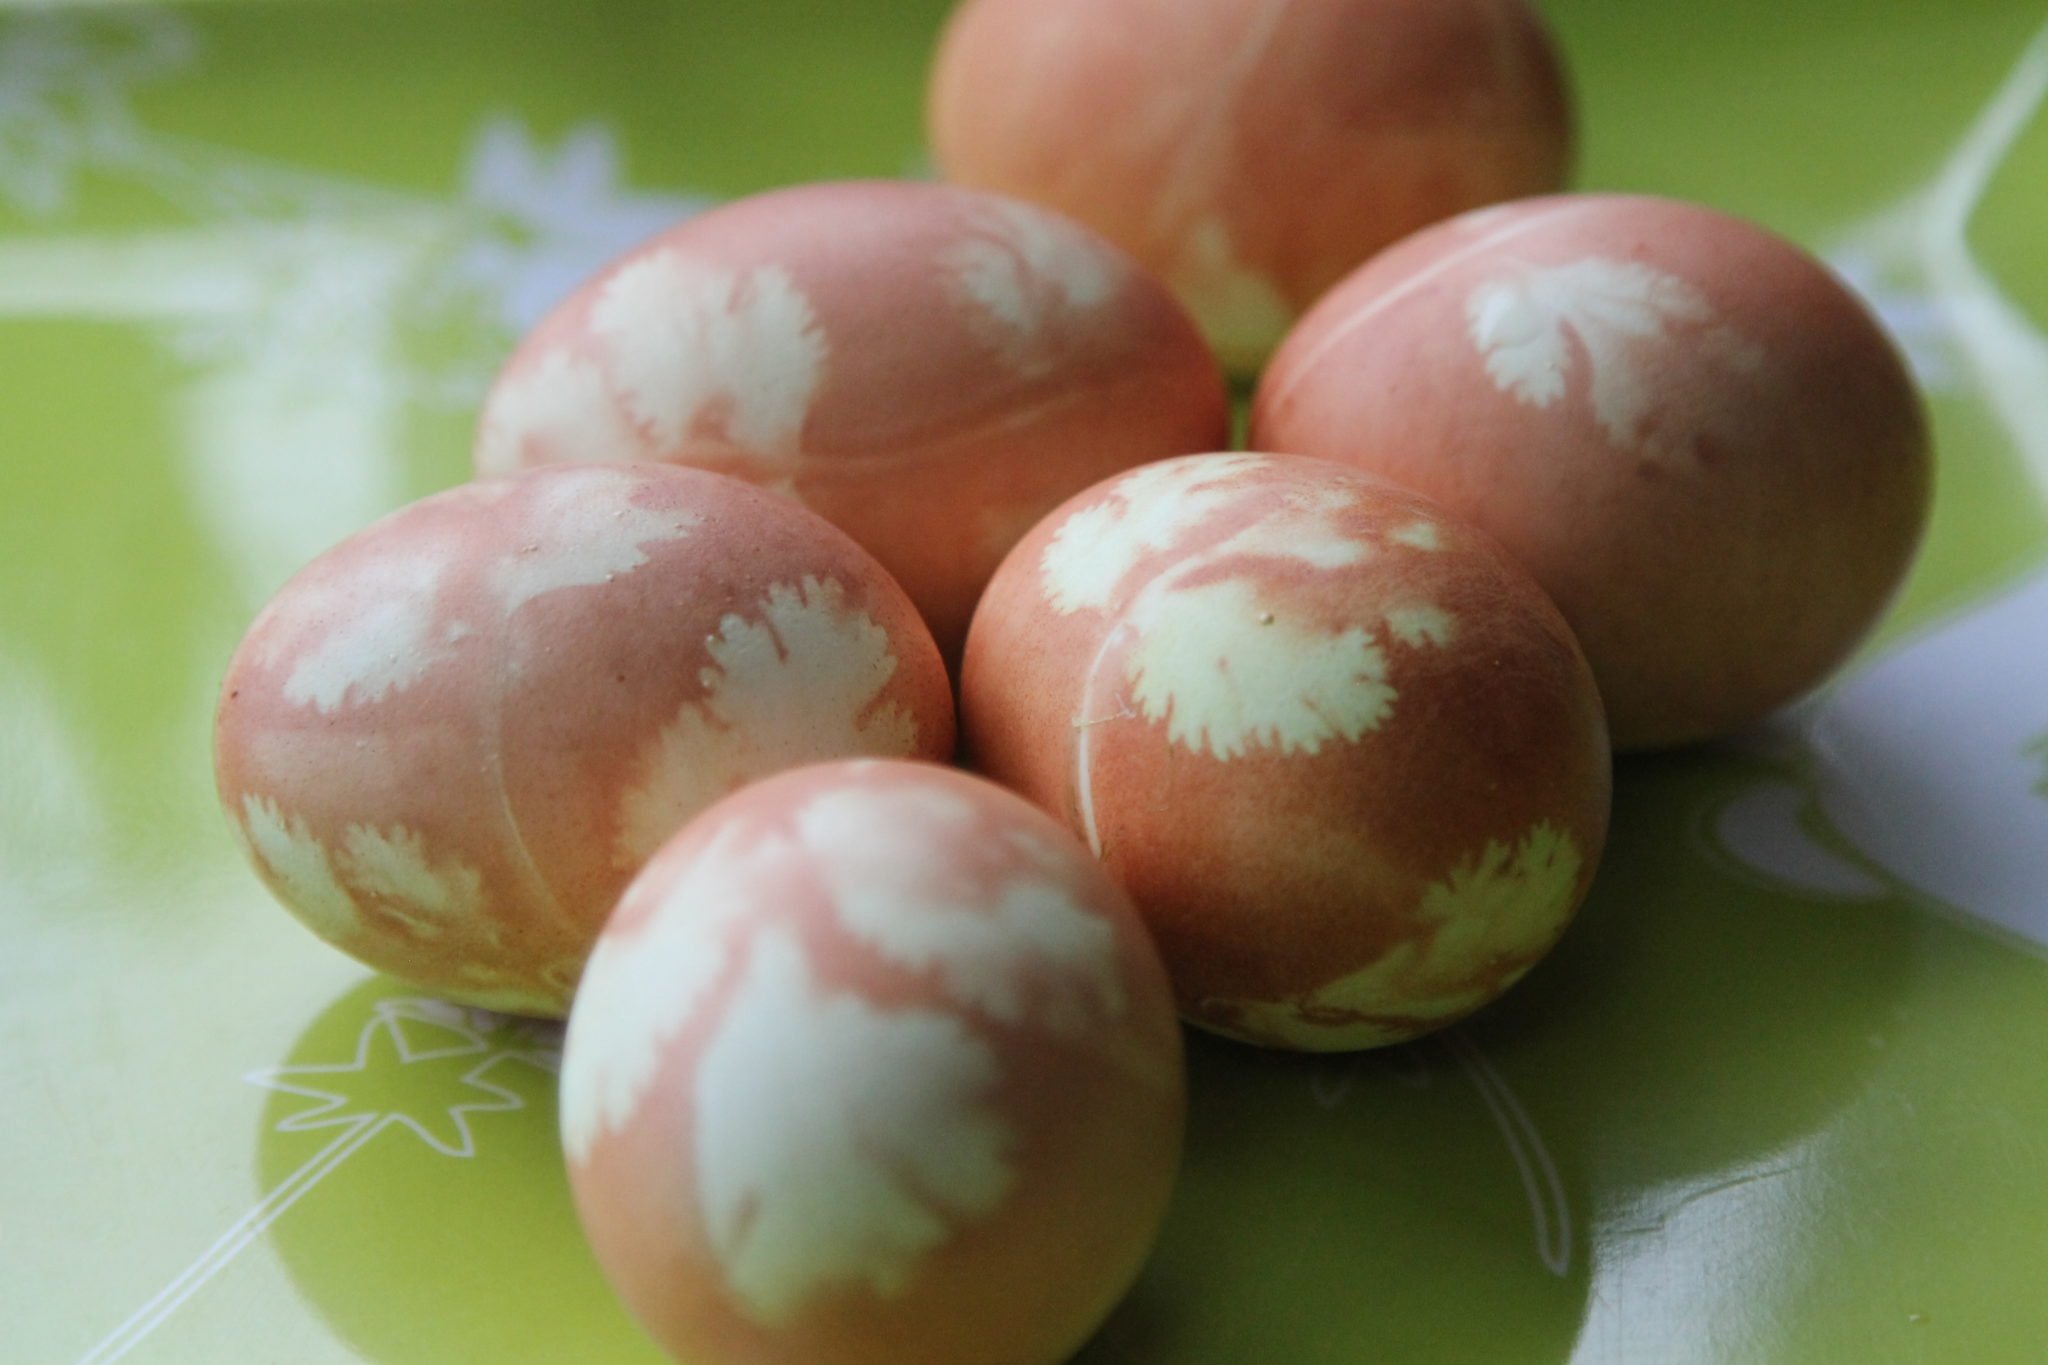
Step 4: Carefully remove the eggs with a slotted spoon. Unwrap the eggs and gently remove the herbs, leaves, or flowers. Continue until all the eggs are uncovered, then display those beautiful eggs proudly!

If you enjoy boiled eggs, try Instant Pot boiled eggs. You'll get perfect results every time!
What readers are saying...
These are so beautiful and done with natural ingredients! Thanks for sharing something that I had never heard of before.
-Vox
🌼 Other Natural Egg Dye Options
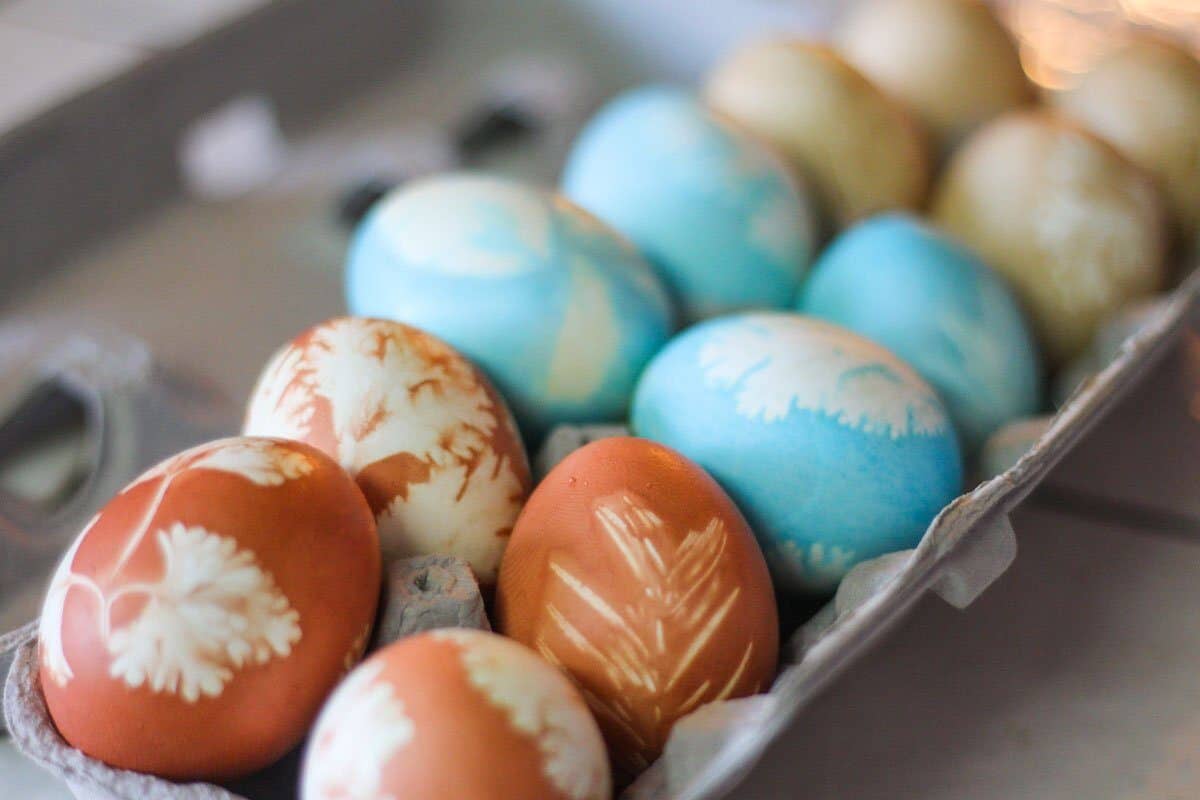
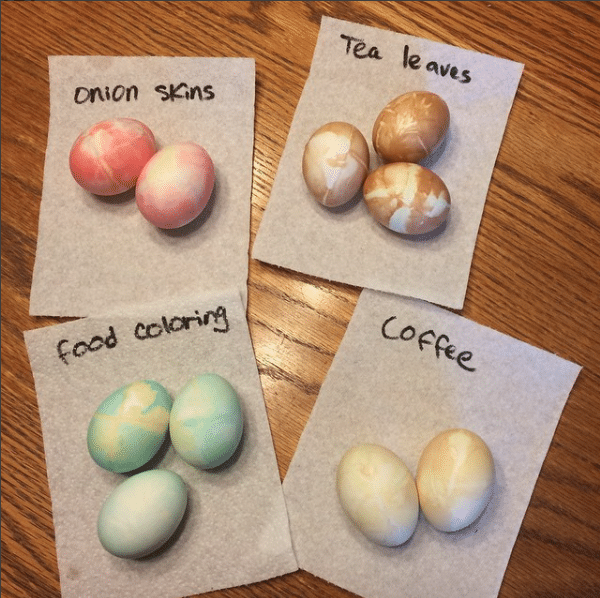
Over the years, I've played around with different natural egg dye ingredients to achieve various colors. Some of the ingredients I've used include:
- tea
- coffee
- turmeric
- food coloring
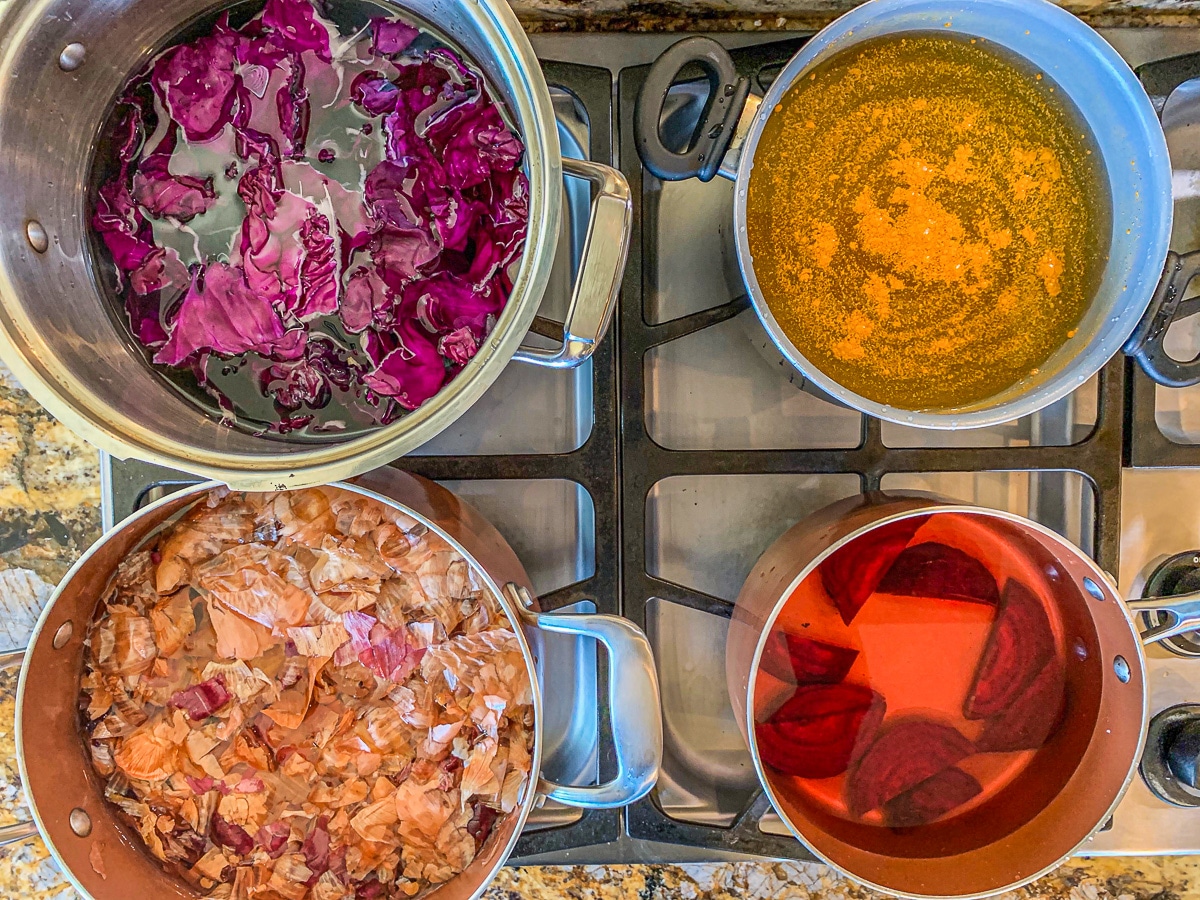
Play around with other natural ingredients to see what colors you can create. In the photo above, each saucepan has a different dyeing agent, including onion skins, turmeric, red cabbage, and beets.
What Material to Wrap Eggs In
I've tried different things to wrap the eggs, and they all work pretty well. It just depends on what you have handy. If making eggs as a group, I recommend each person use a different type of egg wrap so that when you pull out the eggs, you'll know whose eggs they are.
Here are some of the materials I have used successfully to wrap the Easter eggs in.
- Napkins
- Pantyhose
- Very thin fabric
What Herbs and Flowers to Use
Besides using different dyes and different materials to wrap the Easter eggs in, I've also experimented with various leaves, flowers, and herbs to achieve a variety of patterns.
Part of the fun of making naturally-dyed Easter eggs is hunting for flowers and leaves from your own garden. Just make sure the plants are not poisonous!
Some of the plants and flowers I've used include:
- Italian parsley
- Cilantro
- Rosemary
- Rose leaves
- Nasturtiums
- Impatiens
👩🏼🍳 Pro Tips
- Mom used to collect red onion skins and yellow onion skins throughout the year so that when Easter rolled around, she had plenty of onion skins to dye her eggs with. I do the same now.
- Although mom used fabric pieces and string to hold the herbs in place, I find it more convenient to use disposable paper towels and rubber bands.
- Add a few tablespoons of white vinegar if you'd like. The vinegar is supposed to help the color adhere better, but my mom didn't use it.
- Dyed eggs can be eaten or used to make egg salad or deviled eggs.
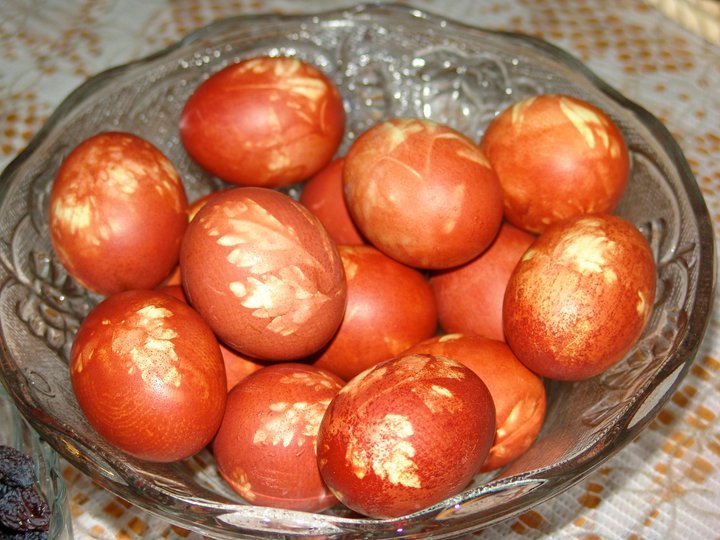
Mom's eggs were always so deep in color; no vinegar was needed, only her special touch! To achieve this color, double the amount of onion skins!
🥮 More Easter Recipes
Another wonderful Easter tradition is making resurrection cookies and empty tomb rolls! Both tell the story of Easter in a fun and creative way that your kids will love!


Did you make this recipe?
📖 Recipe
Would you like to save this recipe?
Dyeing Easter Eggs with Natural Egg Dye
Ingredients
Equipment
Method
- Place one sprig of cilantro or Italian parsley over each egg. Carefully cover the egg with fabric or nylons. Gather the material towards the back and tie a knot or fasten the material in place with a rubber band or twine. Repeat with the remaining eggs.
- Carefully place the eggs in an electric tea kettle or a pot. Don't overcrowd the eggs. Cover the eggs with onion skins, then fill the pot or tea kettle with water.
- Bring the water to a boil. If using an electric kettle, it will shut off once the water boils. Otherwise, boil for five minutes then turn off the stove and leave the eggs in the dye until cool enough to handle.
- Carefully remove the eggs with a slotted spoon. Unwrap the eggs and gently remove the herbs, leaves, or flowers. Continue until all the eggs are uncovered, then display those beautiful eggs proudly!
Nutrition
Video
Notes
- Make sure the leaves lie flat onto the egg. The herbs stick better if you moisten the egg first.
- Mom used to collect red onion skins and yellow onion skins throughout the year so that when Easter rolled around, she had plenty of onion peels to dye her eggs with. I do the same thing now.
- Although mom used pieces of fabric and string to hold the herbs in place, I find it more convenient to use disposable paper towels and rubber bands.
- Add a few tablespoons of white vinegar if you'd like. The vinegar is supposed to help the color adhere better, but my mom didn't use it.
- Dyed eggs can be eaten or used to make egg salad or deviled eggs.
Kathy Fisher says
It's really fun doing this with a few girlfriends. They turned out beautiful. Some more than others. The best were the ones we used parsley and cilantro for decorations. Don't bother with oregano or other broad leaf herbs - not as pretty.
Hilda Sterner says
Thanks, Kathy! Sure enjoyed having you ladies over to make some. Don't forget to save your onion skins for next year! 😉
Kelly Methey says
These are so fun and interesting to make. I loved getting creative with all the different herbs and leaves. This really is a fantastic way to color and decorate eggs.
Hilda Sterner says
Loved having you guys over. Don't forget to save your onion skins for next year! 😉
Teresa Evers says
Wow, what a unique way of making Easter eggs, looks like fun. The eggs are beautiful, and all natural no artificial ingredients.
HildaSterner says
Thanks, Mom's eggs were always so beautiful and dark! I always imagine her in the kitchen with me when I make them.
Laura Tulip says
Very interesting read and the eggs look beautiful! The horns amused me too 🙂
HildaSterner says
Thanks, Laura! Glad you enjoyed the post!
tidbitsbytaylor says
Wow I have never seen this before either, they are pretty. The game seems fun too, might have to try it. Thanks for sharing 🙂
HildaSterner says
Thanks! I'm glad there's still people out there that haven't been exposed to this technique yet. A few years ago, someone posted a video on my FB page showing how to do this method. I thought to myself, "Dang it! Someone beat me to sharing mom's egg-dyeing method!" Although, I did share it in my cookbook that was published in 2008, so technically I beat them... As you can see, I'm not competitive at all! 😉 Anyways, they're super easy to make, and the game is fun too! You should definitely try both.
Vox says
These are so beautiful and done with natural ingredients! Thanks for sharing something that I had never heard of before. ?
HildaSterner says
Thank you so much for stopping by and for the sweet comment!