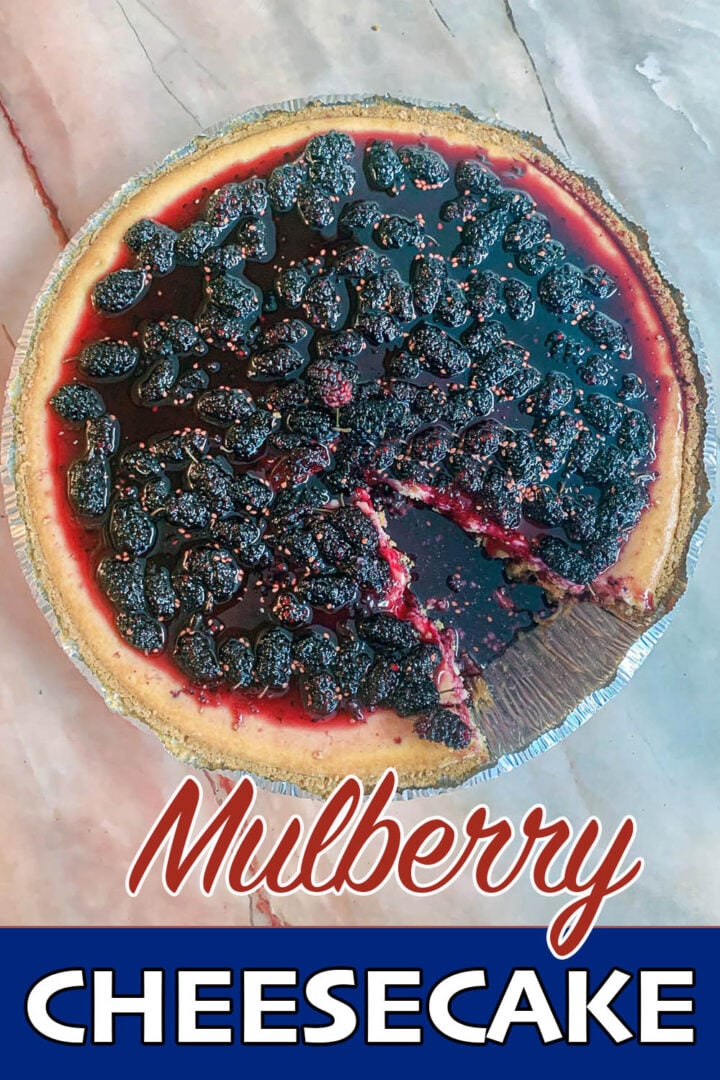
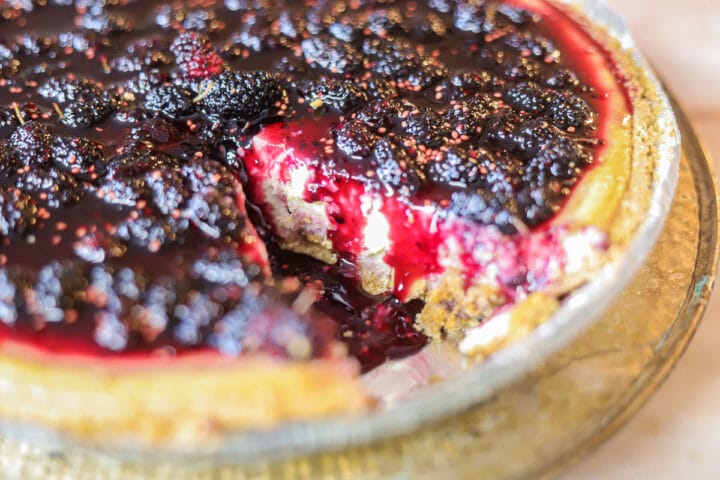
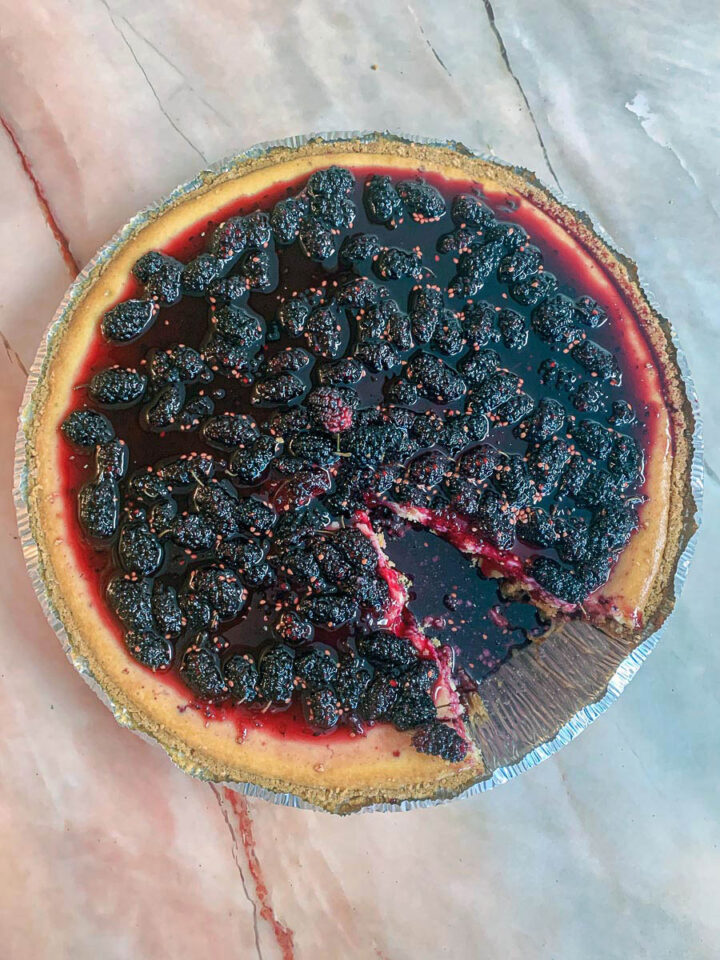
Mulberries can be eaten fresh or enjoyed in a variety of recipes, including this decadent and Simply Delicious Mulberry Cheesecake. I swirl my yummy Mulberry Preserves into the cheesecake batter and also use it as a topping. This easy-to-make cheesecake serves up an impressive dessert that will wow your guests.

Would you like to save this recipe?
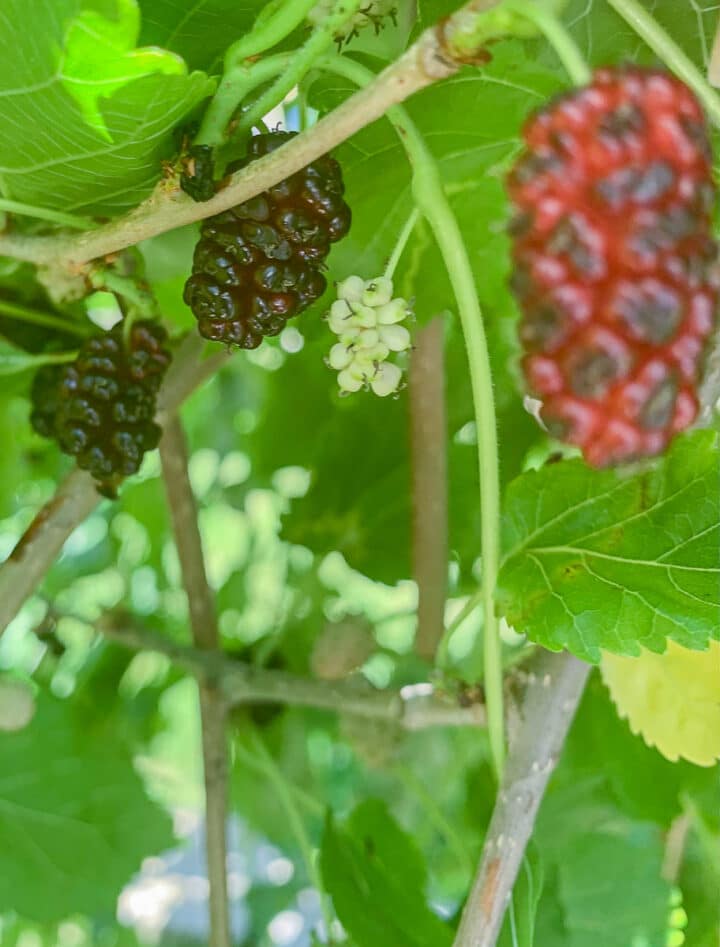
Are you familiar with mulberries? Some varieties resemble boysenberries or blackberries, only smaller and not as plump. Other varieties are skinnier and longer, ranging anywhere from 2" to 3" in length. Ripe mulberries range from red to purple, to black, except for White Mulberries, which stay white, even after they're fully ripe. Dried Mulberries can also be enjoyed as a snack.
Mulberry trees can make quite a mess as the mulberries fall off the tree due to windy conditions or birds and other critters feasting on the tasty fruit.
Mulberries are also notorious for staining anything they come in contact with (including your hands, feet, and tongue). However, I hope you don't let that stop you. The unique sweet and earthy flavor of the mulberries is soooo worth it!

Jump to:
😍 Why You'll Love This Recipe
I just love the simplicity of this Mulberry Cheesecake recipe, while appearing complex and sophisticated. It's almost impossible to screw up this recipe. So if you're a novice baker, there is no need to be intimidated.
We're keeping it simple by using a pre-made Keebler Graham Crust. Yes, we can make our own, but this time, we're going to let the Keebler elves do all the work. They make them in 2 other flavors too, shortbread and chocolate. Sadly, not in the 9-ounce size needed for this recipe.
There is an added step of making Mulberry Preserves but the nice part is that you will have the preserves to enjoy long after the cheesecake has been devoured. You can also swirl it into my Mulberry Muffins, which a reader recently compared to Fig Newtons.
🛒 What Goes into this recipe
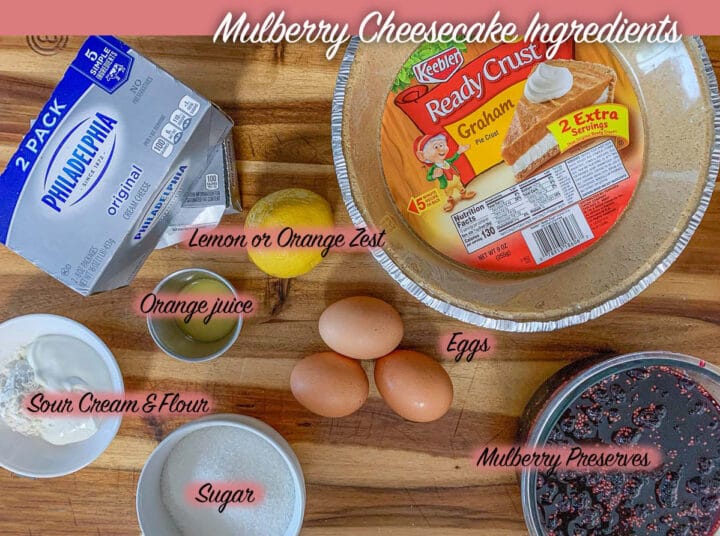
🔖 Ingredient & Substitutions
- Mulberry Preserves - I use my homemade preserves, but boysenberry preserves can be substituted.
- Cream Cheese - If possible, don't use generic cream cheese when making a cheesecake. Philadelphia Cream Cheese works best.
- Orange Juice - The fresh orange juice and orange zest can be replaced with lemon zest, and lemon juice, or a few teaspoons of vanilla extract.
- Graham Cracker Crust - When purchasing the graham cracker pie crust, choose the nine-ounce crust, which provides two extra servings and can accommodate the amount of cheesecake batter we'll be preparing.
🍇 How to Make Mulberry Cheesecake
Adjust the oven rack to the middle position and preheat oven to 350°F (177°C). Place a bowl of water on the lower rack. The steam will help the cheesecake to bake evenly and will keep it from splitting or cracking.
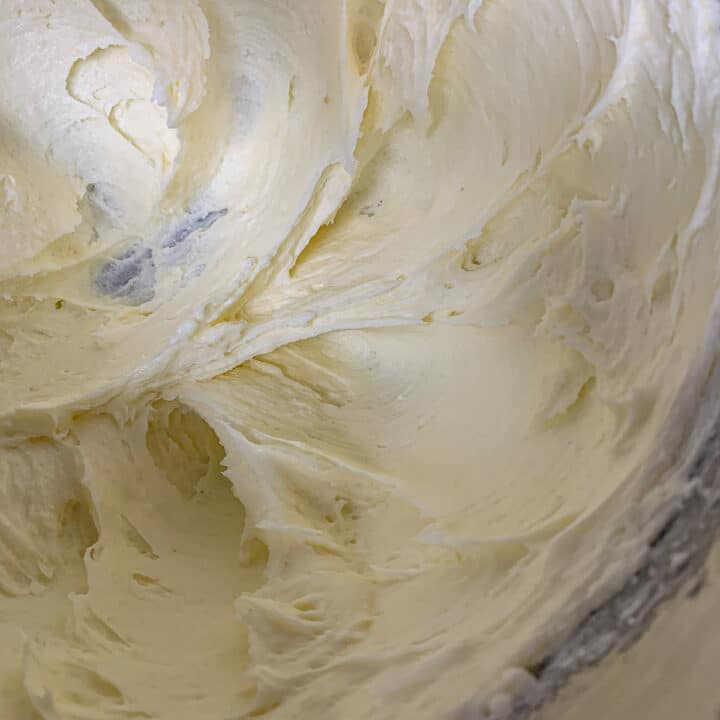
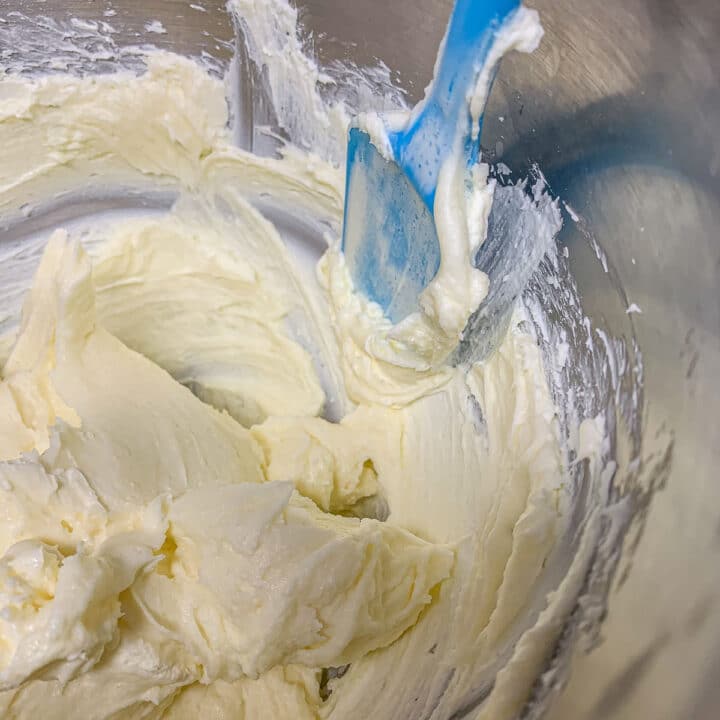
Step 1: Using a hand-held or stand mixer fitted with a paddle attachment, beat the cream cheese and granulated sugar on medium speed until the mixture is smooth and creamy, 1-2 minutes.
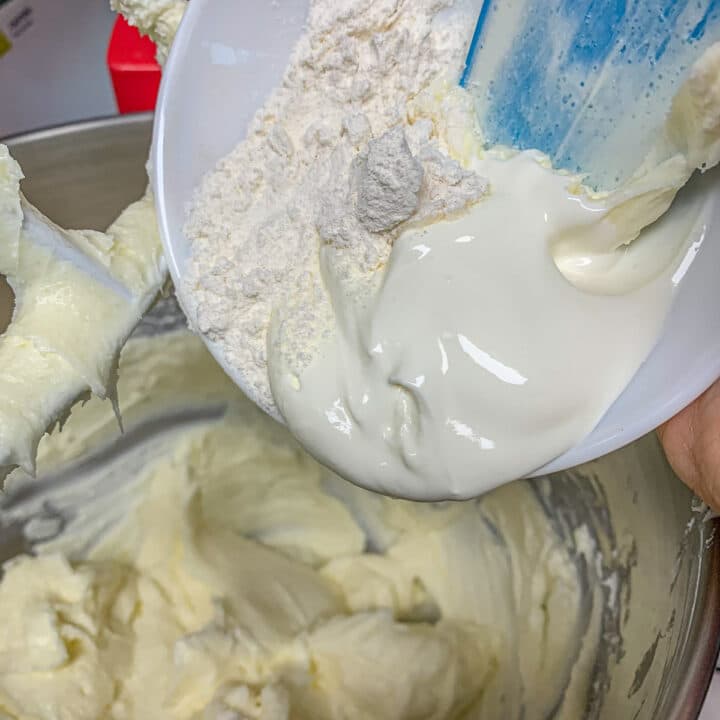
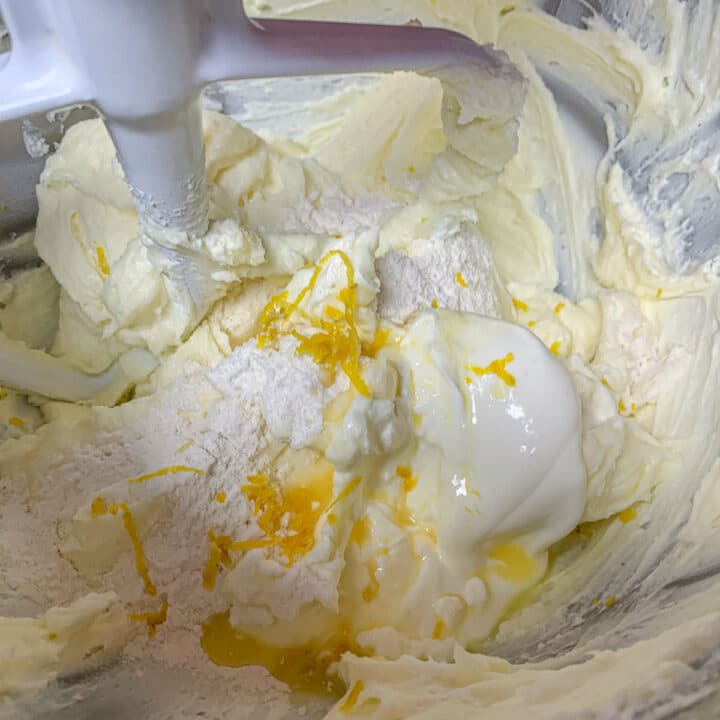
Step 2: Add the sour cream, flour, orange juice, and zest. Mix until combined.
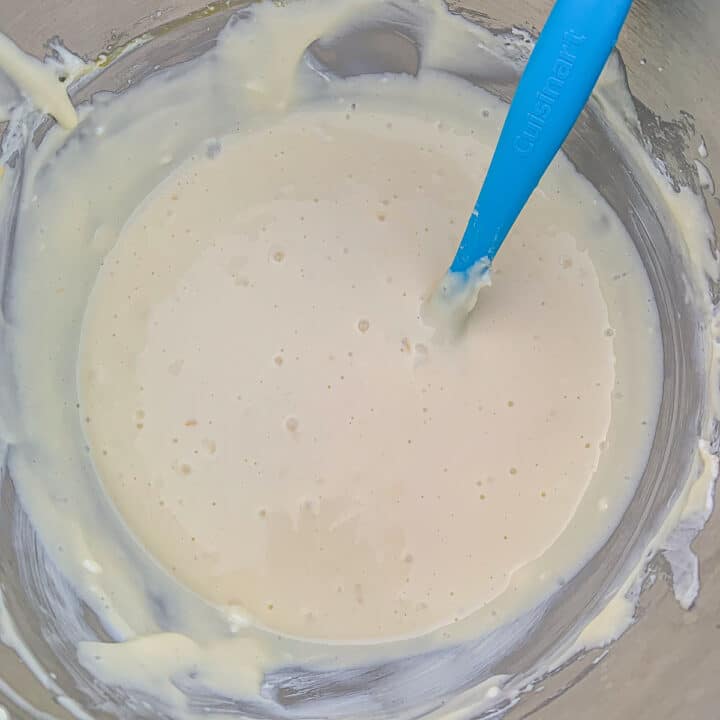
Step 3: Whisk eggs and pour into the mixing bowl, beat until combined. Avoid over mixing to keep the cheesecake from deflating and cracking.

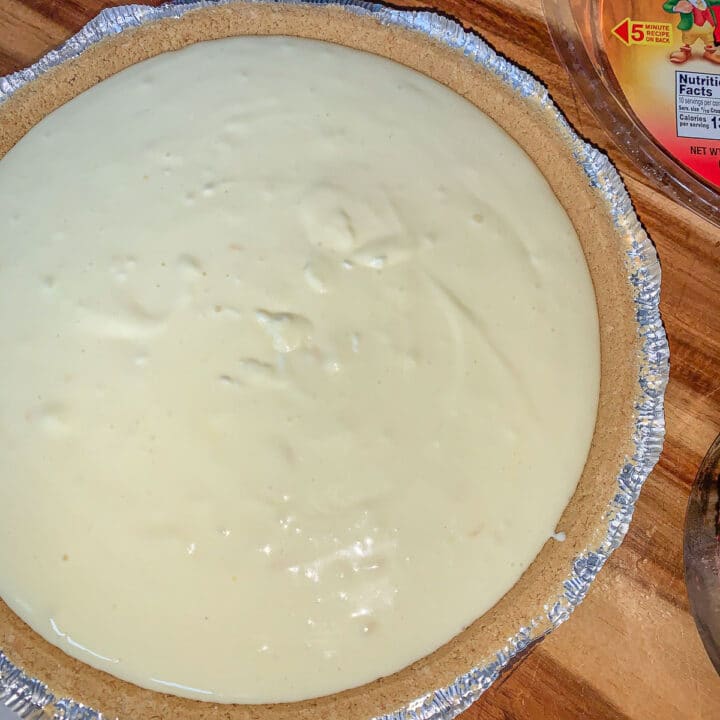
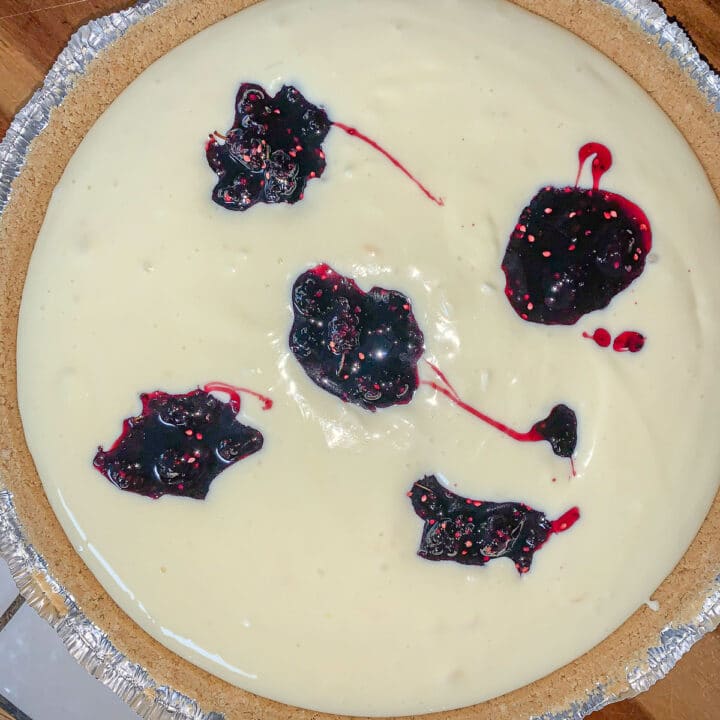
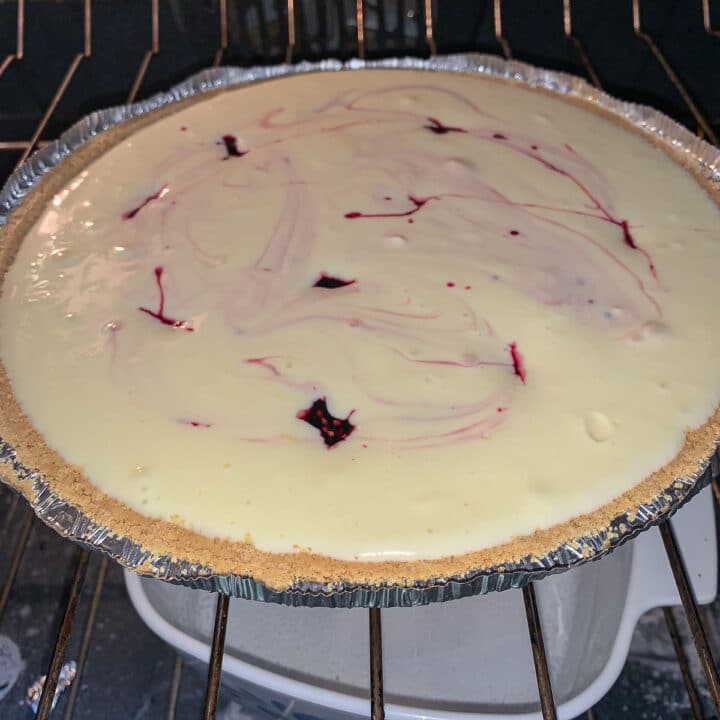
Step 4: Remove the plastic lid from the pie crust and set it aside until needed. Pour the batter into the crust. Tap gently on the counter to bring any bubbles to the surface. Add approximately 5 tablespoons of mulberry preserves to the surface of the cheesecake. Swirl the preserves into the cheesecake using a chopstick or butter knife.

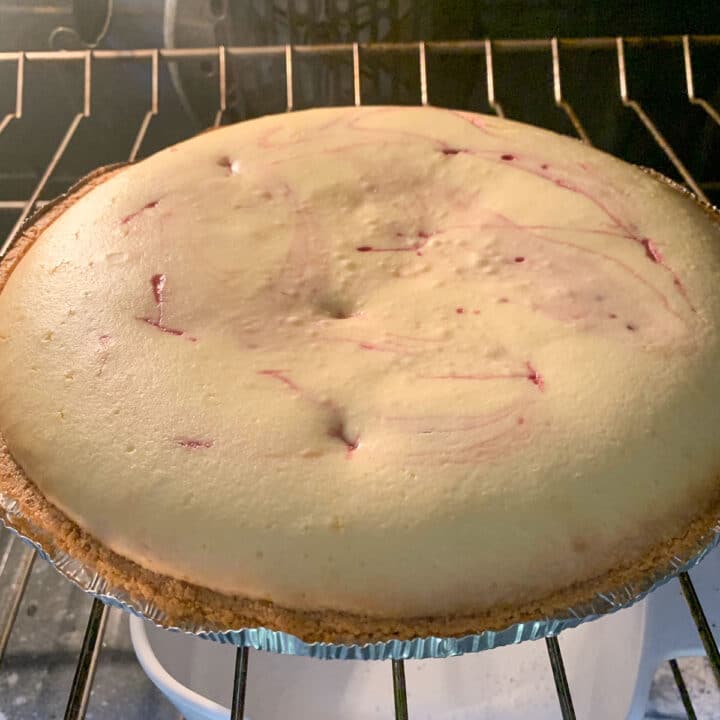
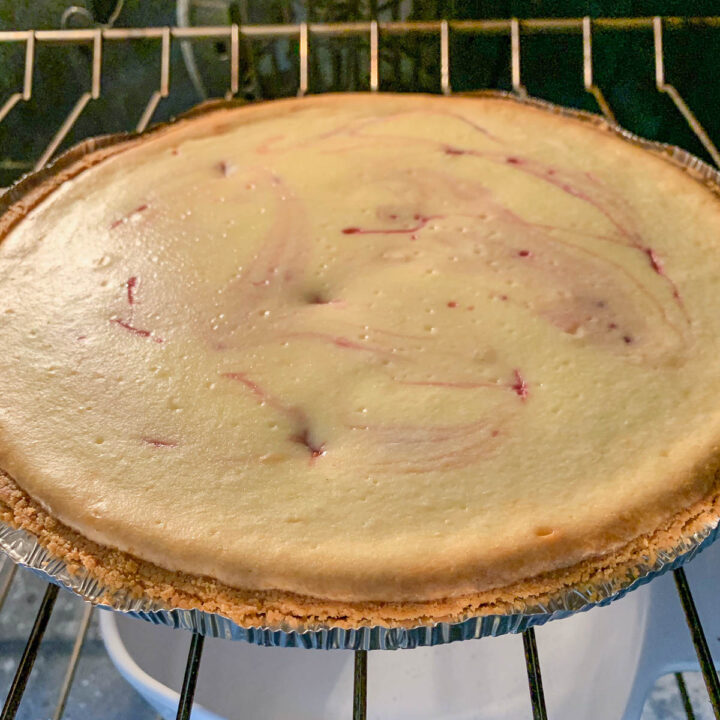
Step 5: Bake the cheesecake in the center rack for approximately one hour, or until the center is almost set but slightly jiggly. If the cheesecake begins to brown on top too quickly, gently tent it with foil for the remainder of the baking time.
Step 6: Turn off the oven and leave the door slightly ajar. Let the cheesecake cool down in the oven for an hour. Cool cheesecake on the counter for another hour, then chill in the refrigerator for 4 or more hours.
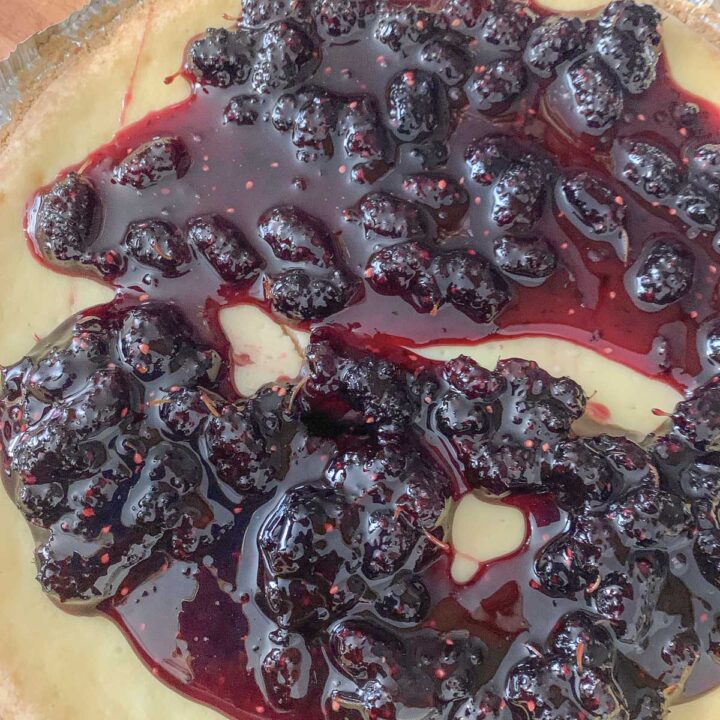
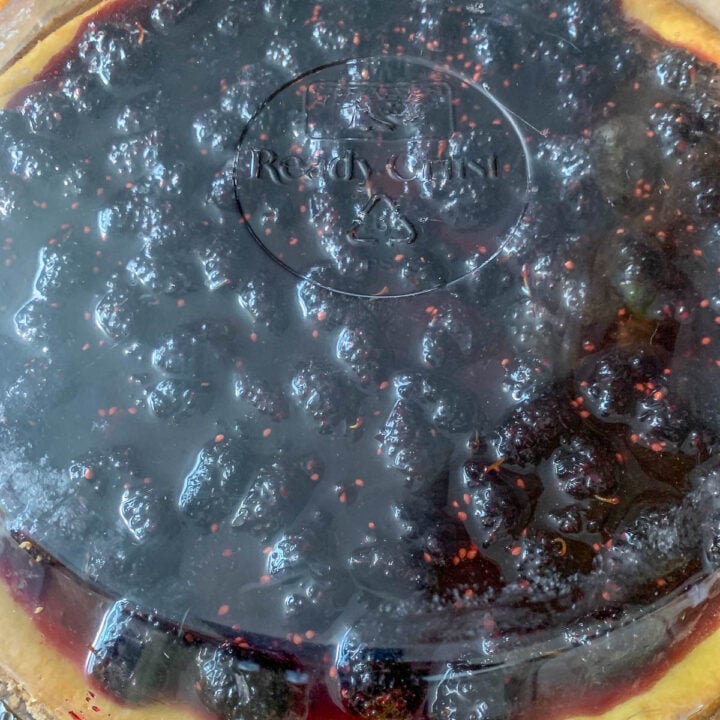
Step 7: Pour the remaining mulberry preserves over the cooled cheesecake and spread evenly to cover the entire surface. Cover with the plastic lid and crimp the edges to keep the lid on.

🤷🏻♀️ Recipe FAQs
Refrigerated cheesecake is good for up to a week. Make sure the cheesecake is covered to keep it from absorbing flavors from other dishes in the refrigerator.
Cheesecake can be frozen and enjoyed up to 3 months from the time it's frozen.
Wrap the whole, or sliced cheesecake in plastic wrap, following by foil. If possible, slip into a large freezer bag then place in the freezer.
Frozen cheesecake can be defrosted in the fridge, overnight, or on the counter for 2 to 4 hours.
👩🏼🍳 Pro Tips
- If you don't have enough mulberry preserves to cover the entire cheesecake, mix in some fresh mulberries, or other berry-based preserves, like boysenberry or blackberry preserves.
- If the cheesecake cracks, don't panic. The mulberry topping will conceal the crack.
- If you're making this cheesecake ahead of time, don't top it with the preserves until you will be serving it. The preserves can run off the sides and settle on the bottom, which can result in a soggy crust.
- If you will be freezing any or part of the mulberry cheesecake, leave off the topping and add it just before serving the cheesecake.
🍒 Related Recipes
If you're looking for more mulberry recipes, be sure to check out my 26 must try mulberry recipes round up!

Did you make this recipe?
📖 Recipe
Would you like to save this recipe?
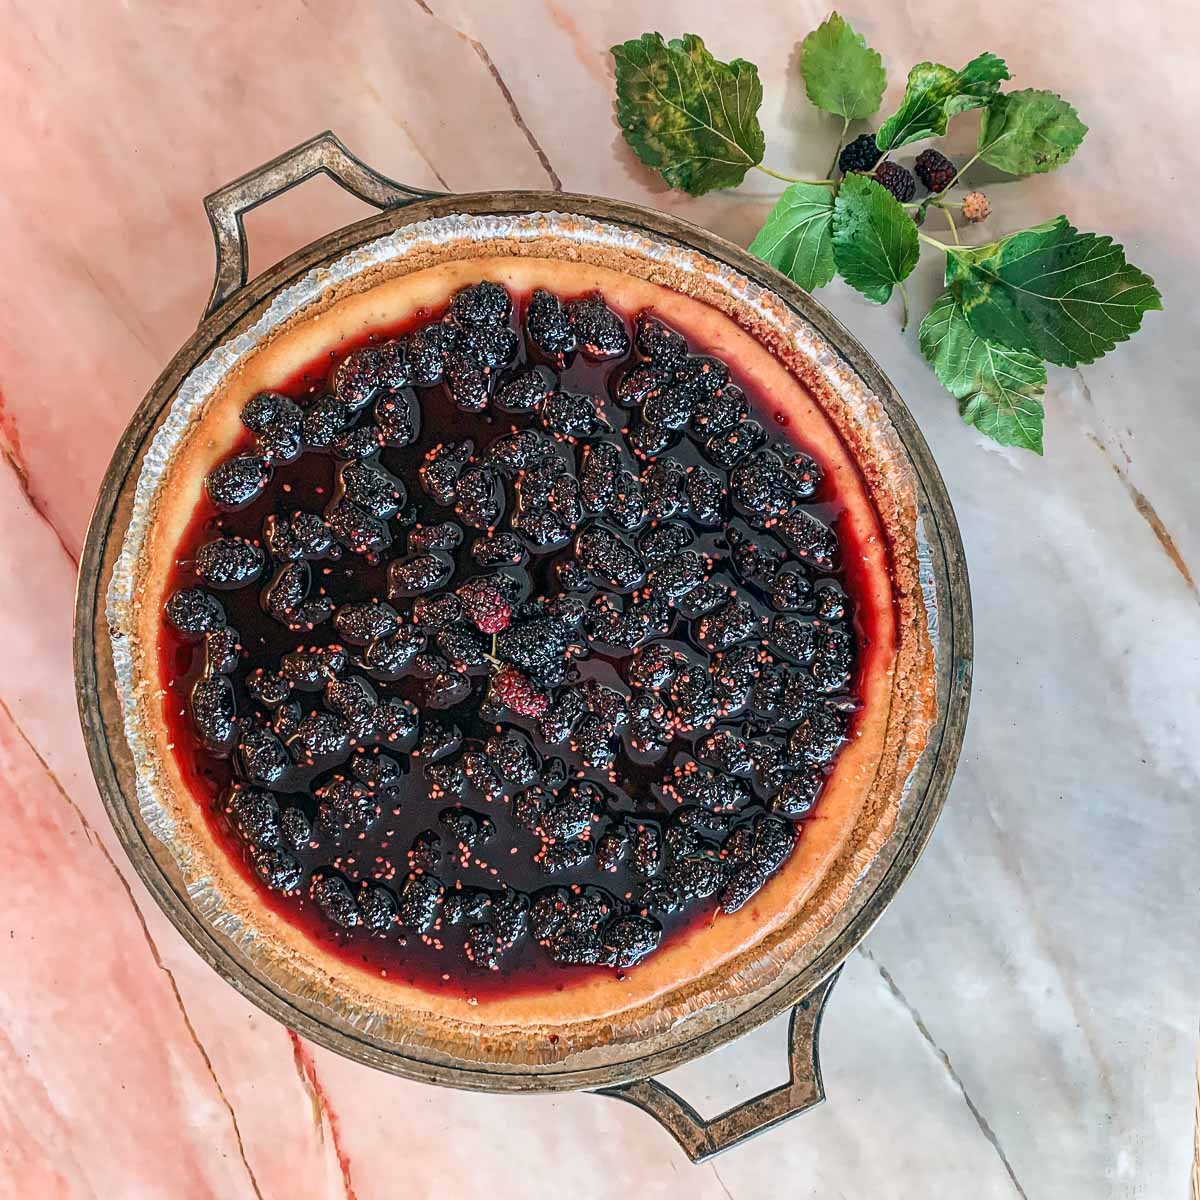
Simply Delicious Mulberry Cheesecake
Ingredients
Method
- Adjust the oven rack to the middle position and preheat the oven to 350°F (177°C). Place a bowl of water on the lower rack. The steam will help the cheesecake to bake evenly and will keep it from splitting or cracking.
- Using a hand-held or stand mixer fitted with a paddle attachment, beat the cream cheese and granulated sugar on medium speed until the mixture is smooth and creamy, 1-2 minutes.
- Add the sour cream, flour, orange juice, and zest. Mix until combined.
- Whisk eggs and pour into the mixing bowl, beat until combined. Whisk eggs and pour into the mixing bowl, beat until combined. Avoid over mixing to keep the cheesecake from deflating and cracking.
- Remove the plastic lid from the pie crust and set it aside until needed. Pour the batter into the crust. Tap gently on the counter to bring any bubbles to the surface. Add approximately 5 tablespoons of mulberry preserves to the surface of the cheesecake. Swirl the preserves into the cheesecake using a chopstick or butter knife.
- Bake the cheesecake in the center rack for approximately one hour, or until the center is almost set but slightly jiggly. If the cheesecake begins to brown on top too quickly, gently tent it with foil for the remainder of the baking time.
- Turn off the oven and leave the door slightly ajar. Let the cheesecake cool down in the oven for an hour. Cool cheesecake on the counter for another hour, then chill in the refrigerator for 4 or more hours.
- Pour the remaining mulberry preserves over the cooled cheesecake and spread evenly to cover the entire surface. Cover with the plastic lid and crimp the edges to keep the lid on.
Nutrition
Notes
- If you don't have enough mulberry preserves to cover the entire cheesecake, mix in some fresh mulberries, or other berry-based preserves, like boysenberry or blackberry preserves.
- If the cheesecake cracks, don't panic. The mulberry topping will conceal the crack.
- If you're making this cheesecake ahead of time, don't top it with the preserves until you will be serving it. The preserves can run off the sides and settle on the bottom, which can result in a soggy crust.
- If you will be freezing any or part of the mulberry cheesecake, leave off the topping and add it just before serving the cheesecake.
Adriana says
Beautiful recipe.
WENDY CHANDLER says
Hey, what a well-explained recipe! I'm going to try this one for the mulberry crop I get every year from the two trees in my garden. Here's my tip: you know the stalks of mulberries are a bit of a problem, being messy to snip off one by one. You don't need to leave them on. Before making the mulberry preserve, freeze the berries nice and icy. In an icy cold condition the stalks simply snap off! So give the berries a good shake in a sealed tupper and scoop the berries off the fallen stalks with a pasta scoop or slotted spoon.
Hilda Sterner says
Thanks Wendy, love the tip!