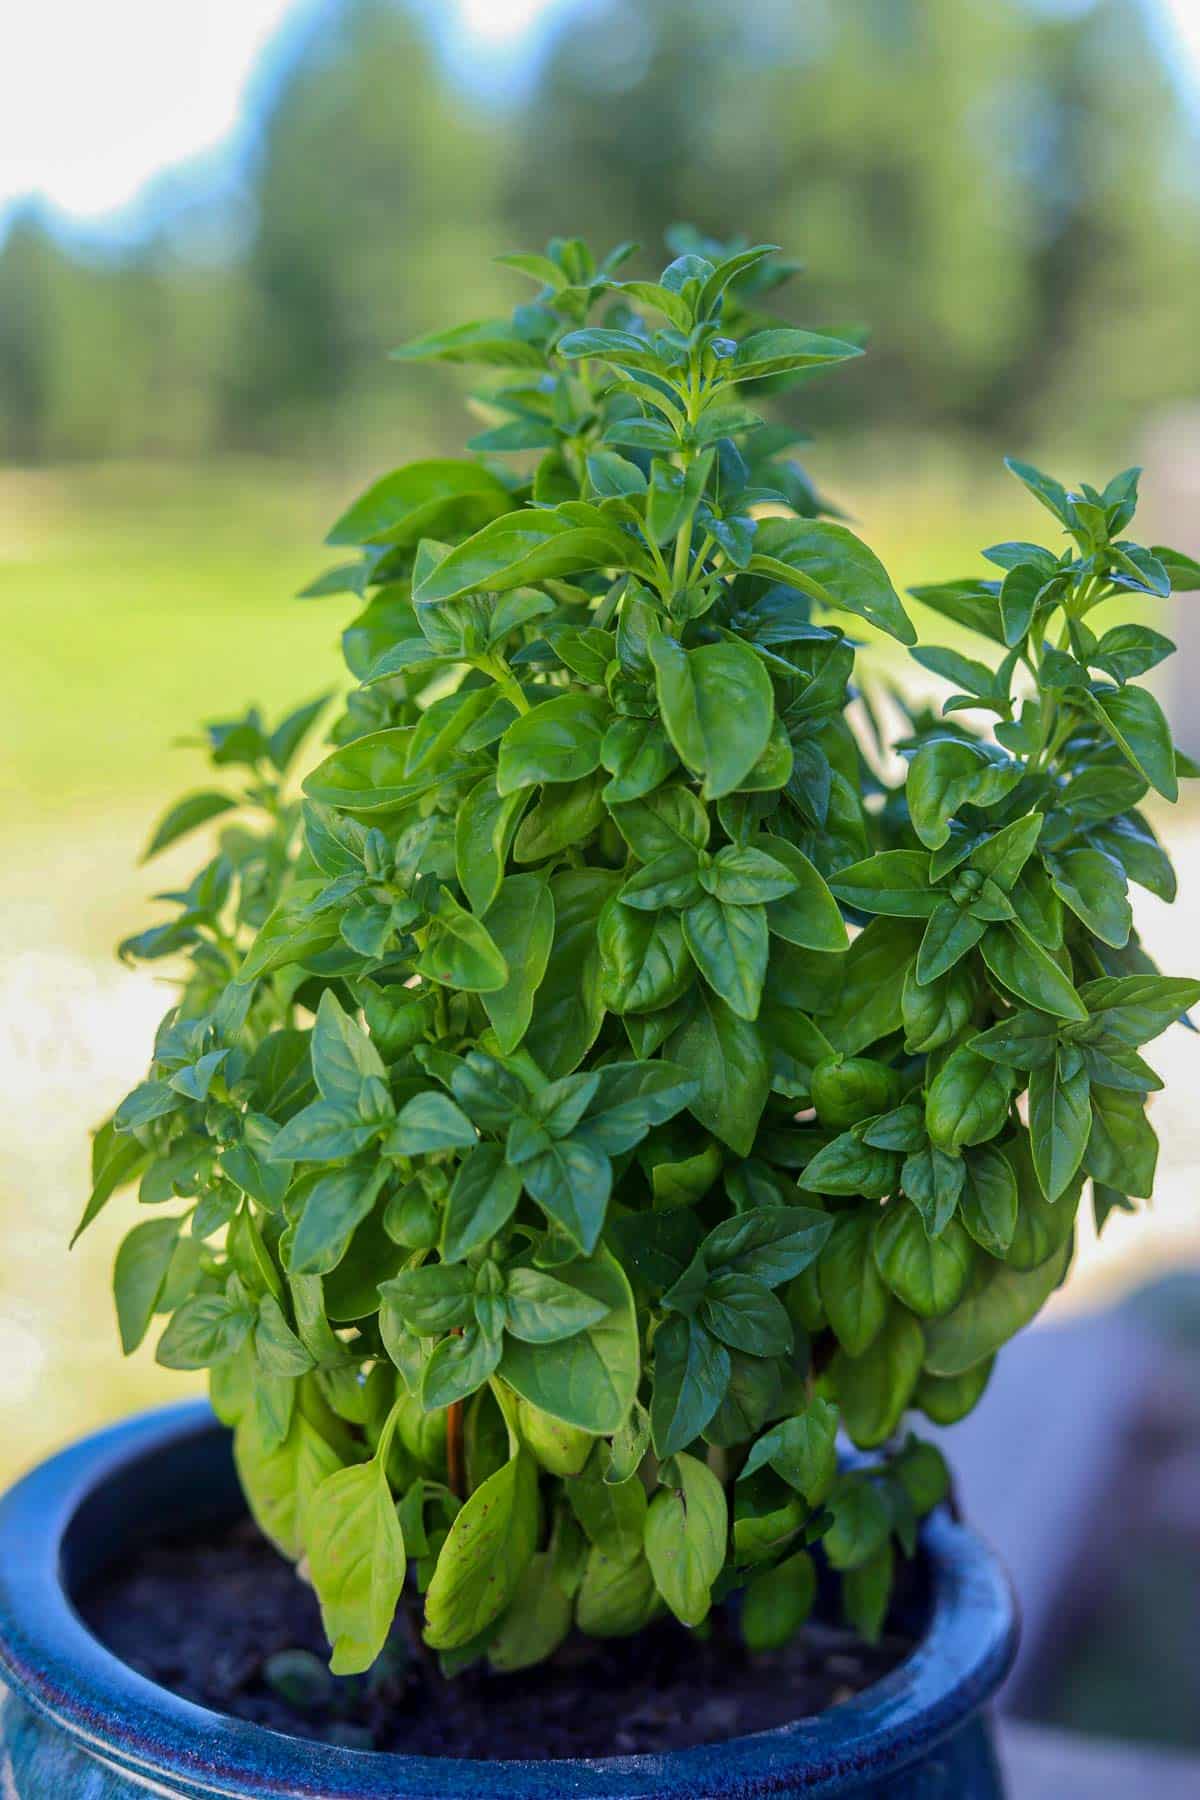
Summer is in full swing, which means that basil is in season. Summer is a great time to dry basil! This is great news for anyone hoping to enjoy some fresh spring rolls with basil or trying to up their grilled cheese sandwich with the addition of this tasty herb.
Would you like to save this recipe?
There's nothing like including fresh basil in your recipes; however, basil might not be so easy to find once autumn rolls around, especially in cold climates. In this post, I'll show you how to dry basil leaves so they can be enjoyed year-round.
Basil is a staple in kitchens worldwide, as its distinct flavor is used in many different cuisines. Assyrians add a ton of basil to their meatball soup, while Italians love to add it to their spaghetti sauce.
Fresh herbs are typically best to work with in terms of flavor and aroma, but drying herbs is a means of preserving them long after they've gone out of season.
Cultures across the Middle East and Asia have been drying herbs since ancient times, and that tradition is still going strong today.
Jump to:
🧐 Why should I dry basil?
Basil leaves can be used in countless ways, but fresh basil can be hard to come by when it's out of season. Drying basil leaves allows you to keep a supply of them year-round, so you always have some on hand.
Each of the dehydration processes I'm going to share is very simple. Once you have your dried basil prepared, you can:
- Use it for cooking: Dried basil makes a great addition to dry rubs, spaghetti sauces, marinades, soups & stews, dressings, compound butters, you name it!
- Make your own herbal tea: Mix dried basil leaves with your other favorite dried herbs and/or fresh fruit to enjoy as a tea. I like to make this really refreshing strawberry basil tea and serve it iced.
- Add it to your skincare routine: Did you know that basil has been known to work wonders on acne-prone skin? Its anti-bacterial and anti-inflammatory properties effectively calm and soothe irritated skin, and can also lighten dark spots. You can use it to make soap or add it to aromatherapy bath sachets.
🌿 Tips for drying basil
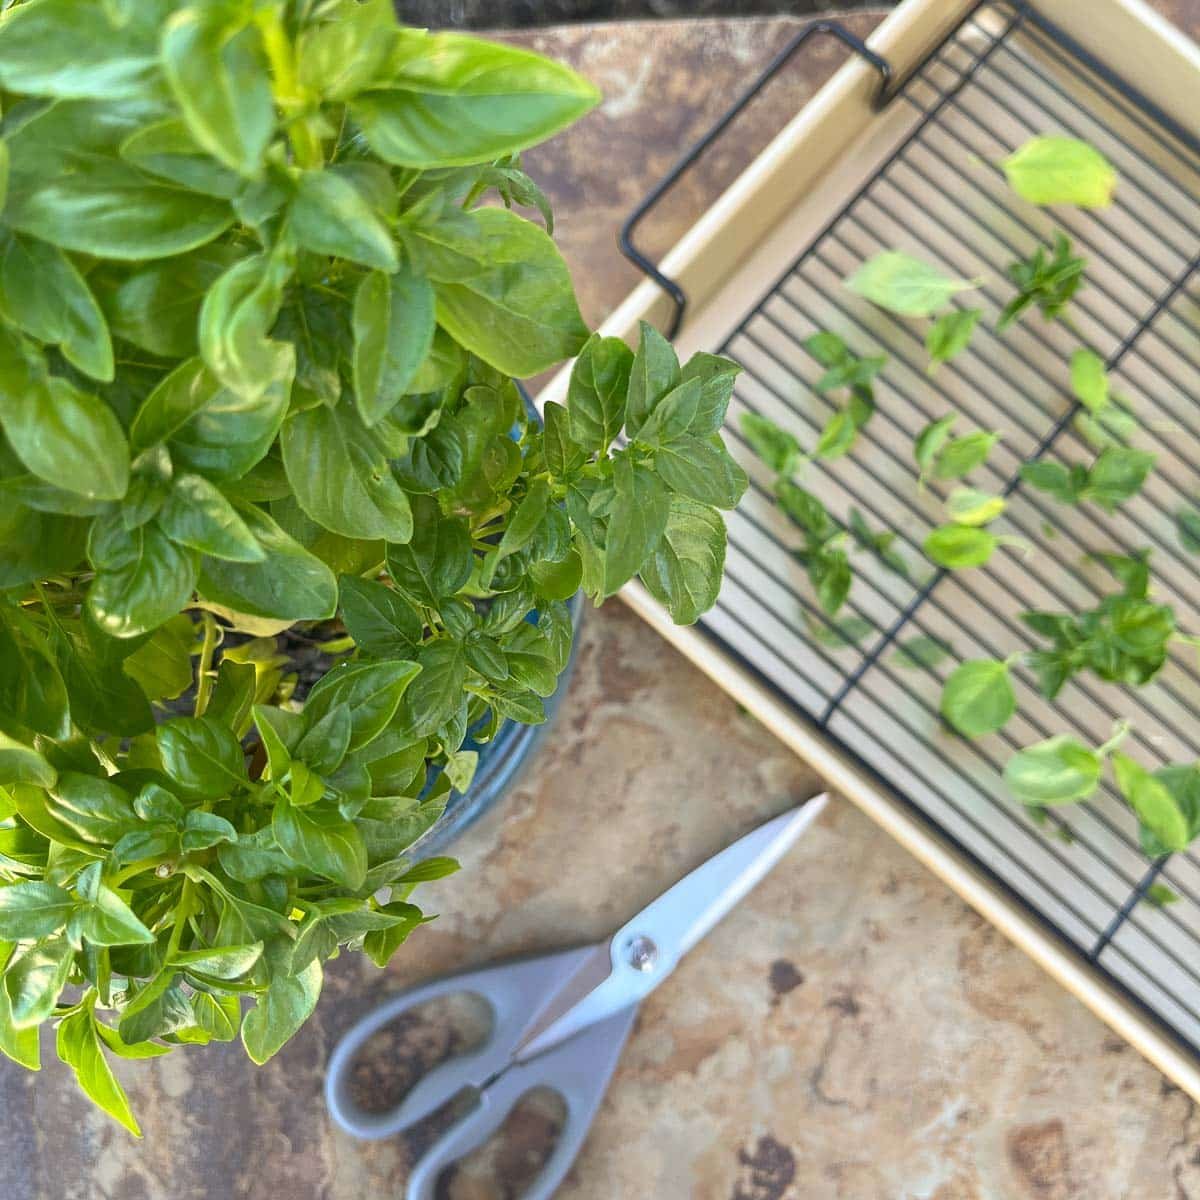
- I recommend picking the basil right before drying it because this will help maximize the finished product's flavor. No one wants to work with withered basil.
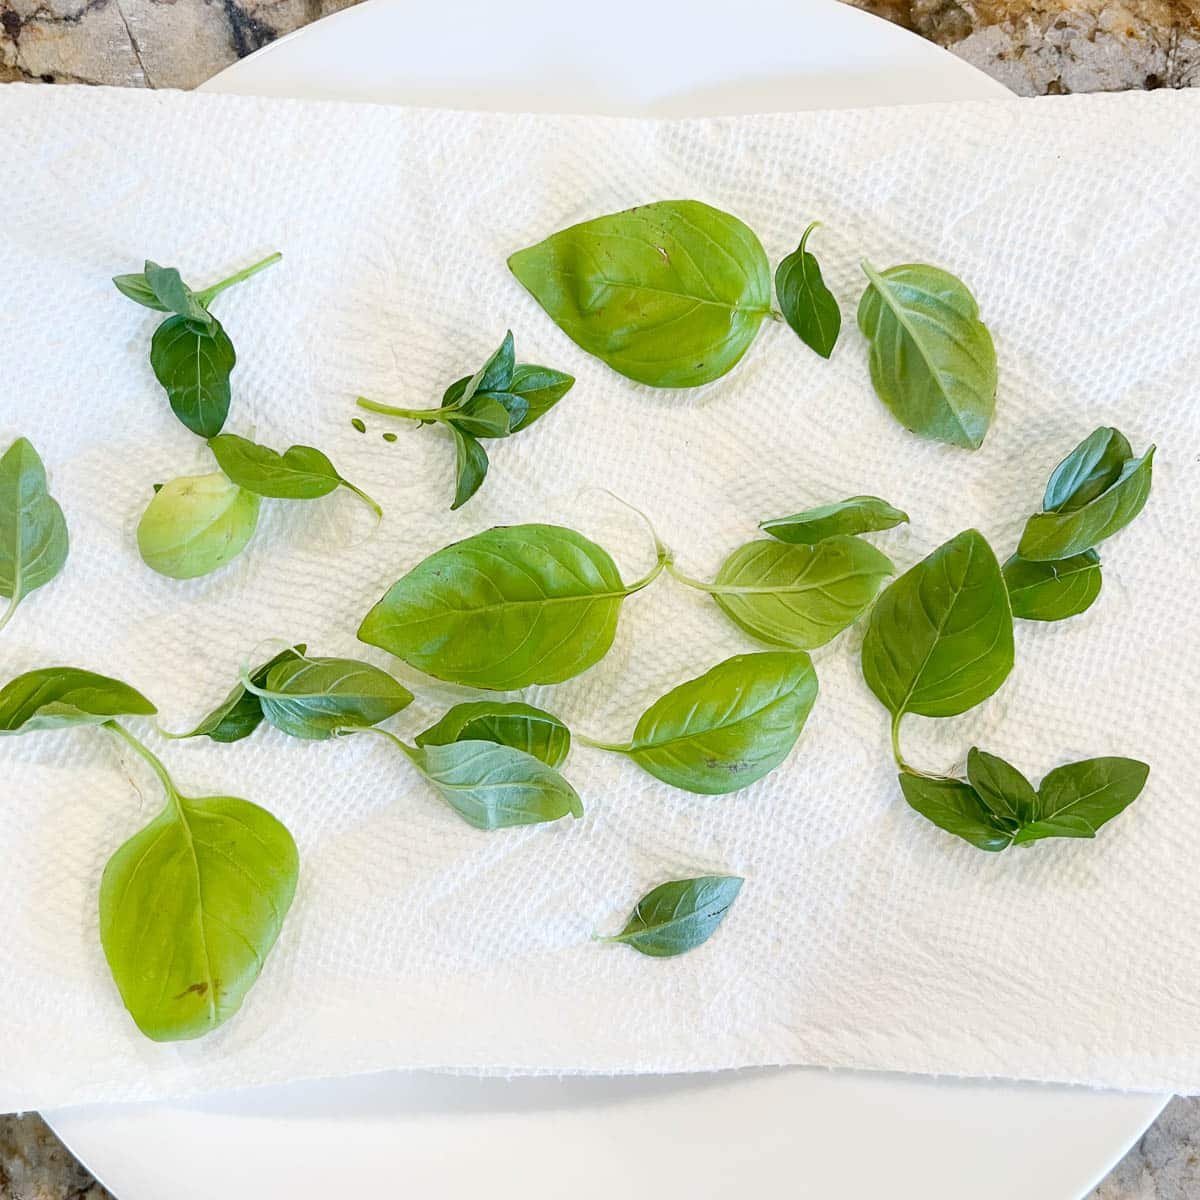
- Before you dry your basil, make sure to start by washing the leaves with cool water and then patting them dry to remove any excess moisture.
- Insects like to lay their eggs on the back of the leaves, so check to make sure there aren't any left behind before you start drying them.
- After you've washed it, taste the fresh basil to make sure it's a flavorful bunch. The more flavor the basil has when it's fresh, the more flavorful the dried basil will be.
- A good rule of thumb to keep in mind when choosing a drying method: the longer the leaves take to dry, the more flavorful they'll be.
- When you've decided which drying process you want to use, test a small batch and make sure you're happy with the result before proceeding with the rest of the basil leaves.
- If you're unsure if your leaves are dry enough, try the crumble test: If the leaves don't easily crumble between your fingers, then there's still too much moisture left in them, which can cause mold growth.
⚡️ How to Dry Basil in the Microwave
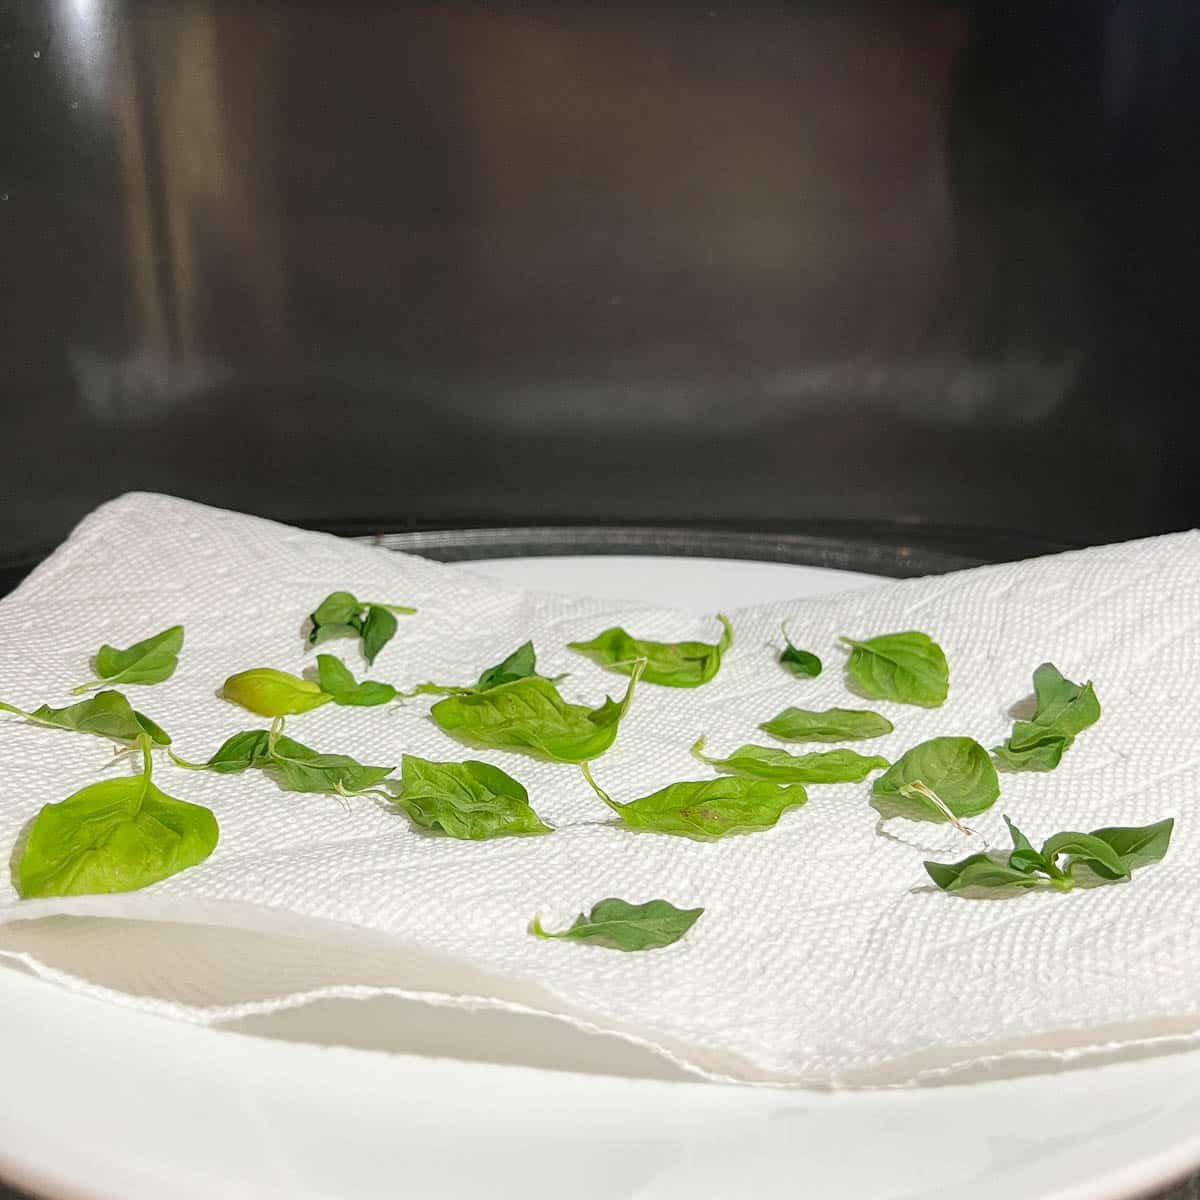
Let's start with the quickest and easiest method: the microwave.
Put a paper towel on a plate and set basil leaves on top. Microwave for 30 seconds and check. If they aren't crispy and dry yet, microwave them for another 30 seconds.
Pros:
- This is the quickest and easiest method by far.
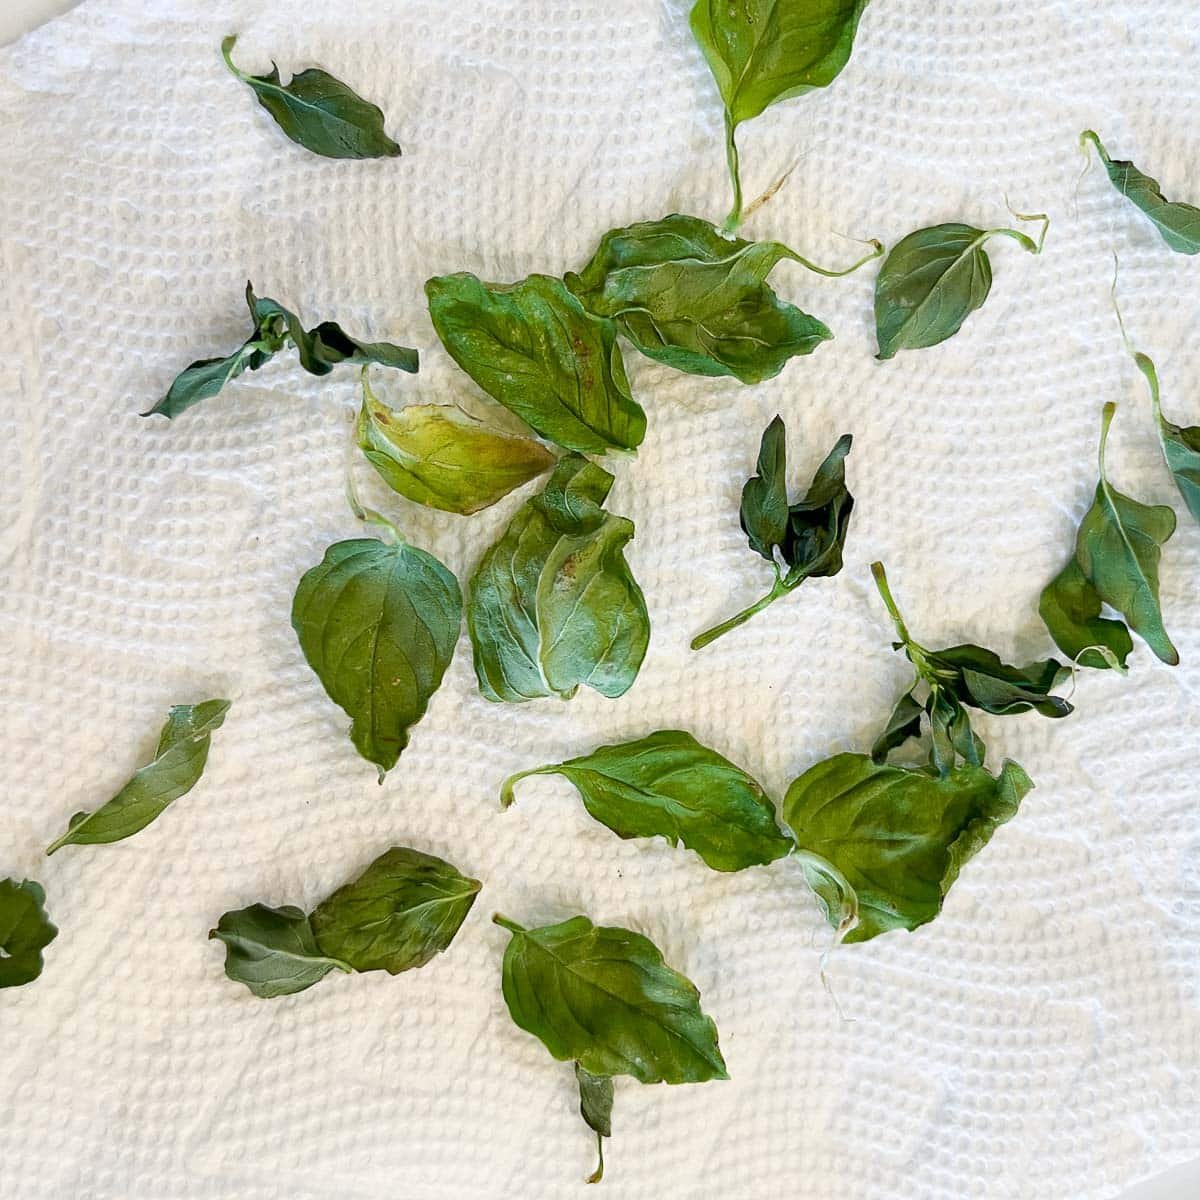
- The basil maintains a beautiful shade of green.
Cons:
- When we tried this method, we found that it resulted in the least flavorful leaves out of all the methods.
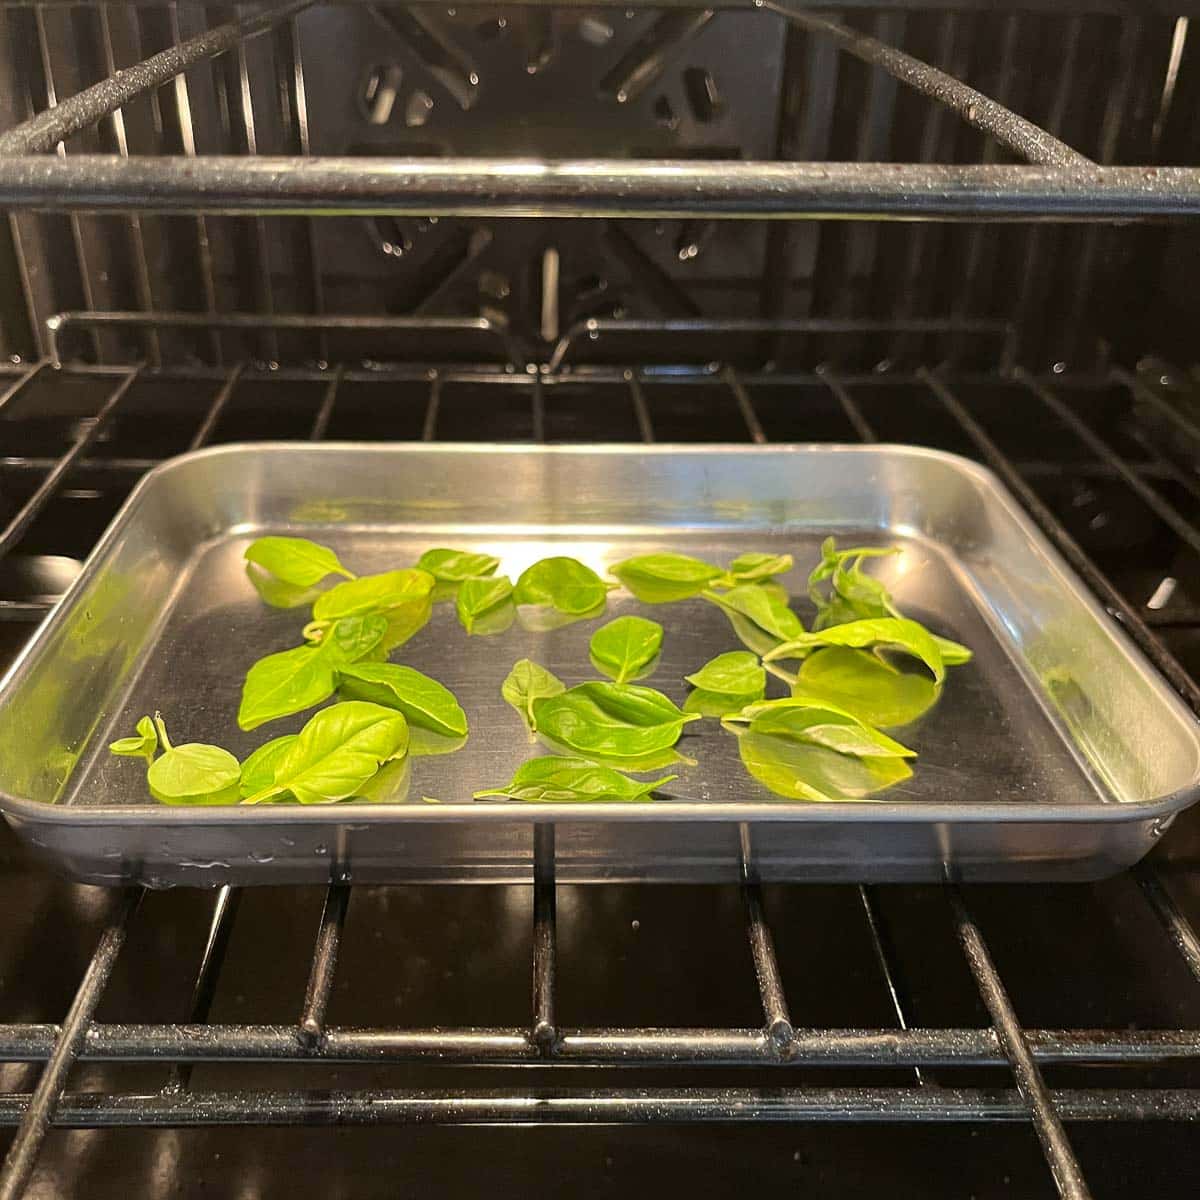
🔥 Drying Basil in the Oven
Full disclosure: This ended up being my least favorite method to dry basil leaves. Some people swear by it, though, so if this is the method that speaks to you, go for it.
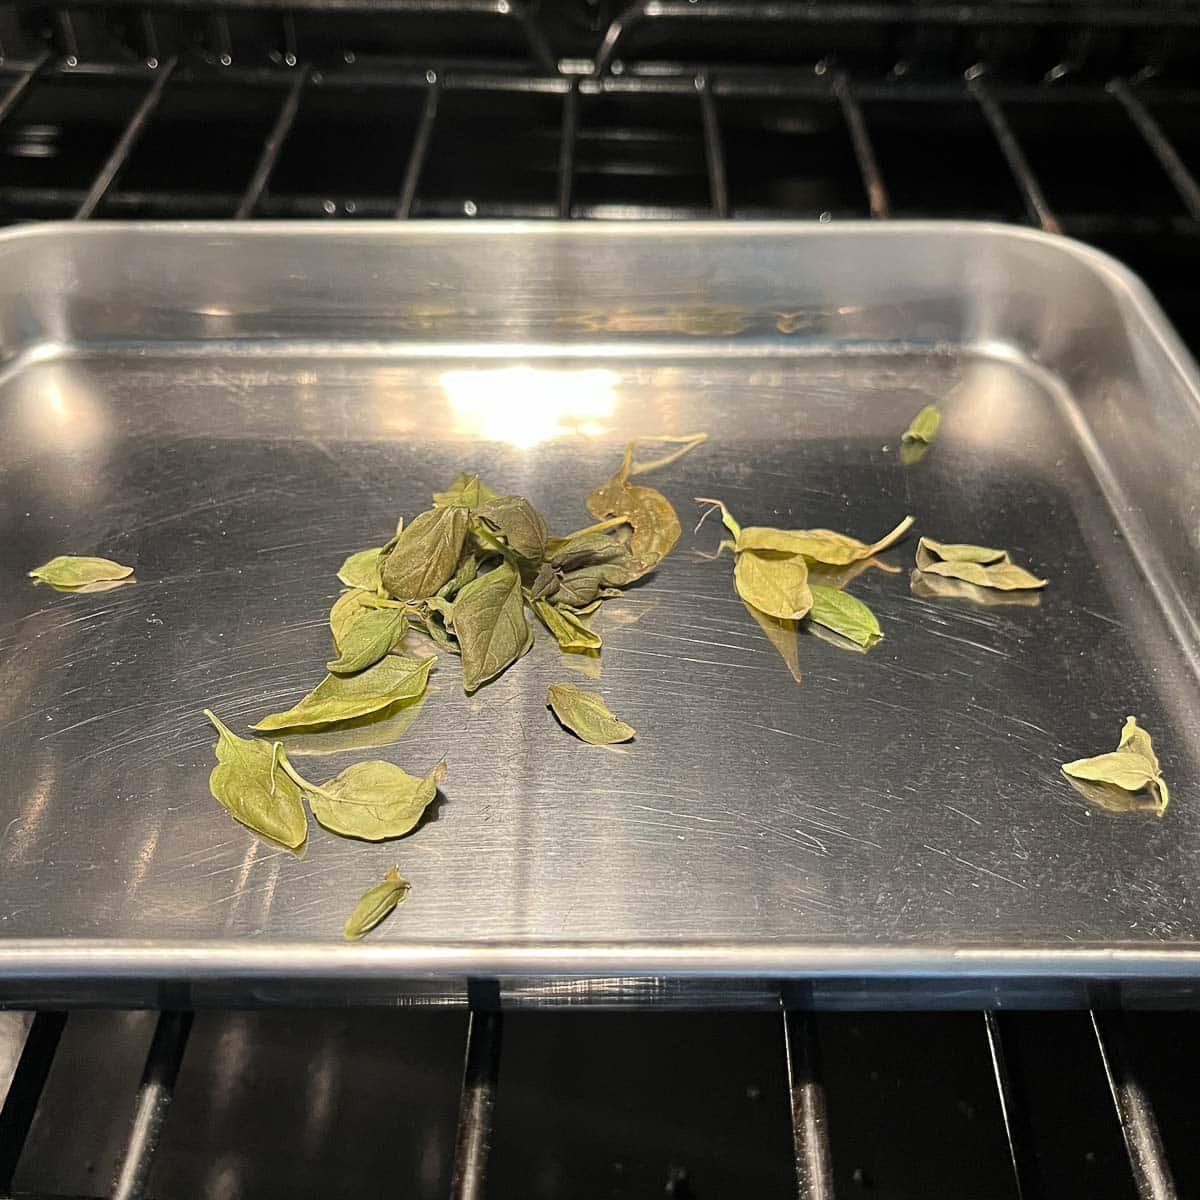
No two ovens are quite the same, unfortunately, so your results may vary from ours. Our oven's lowest setting is 175F, and after only 20 minutes, our basil leaves had started to burn. We put another batch in for 15 minutes, and that seemed to be the sweet spot.
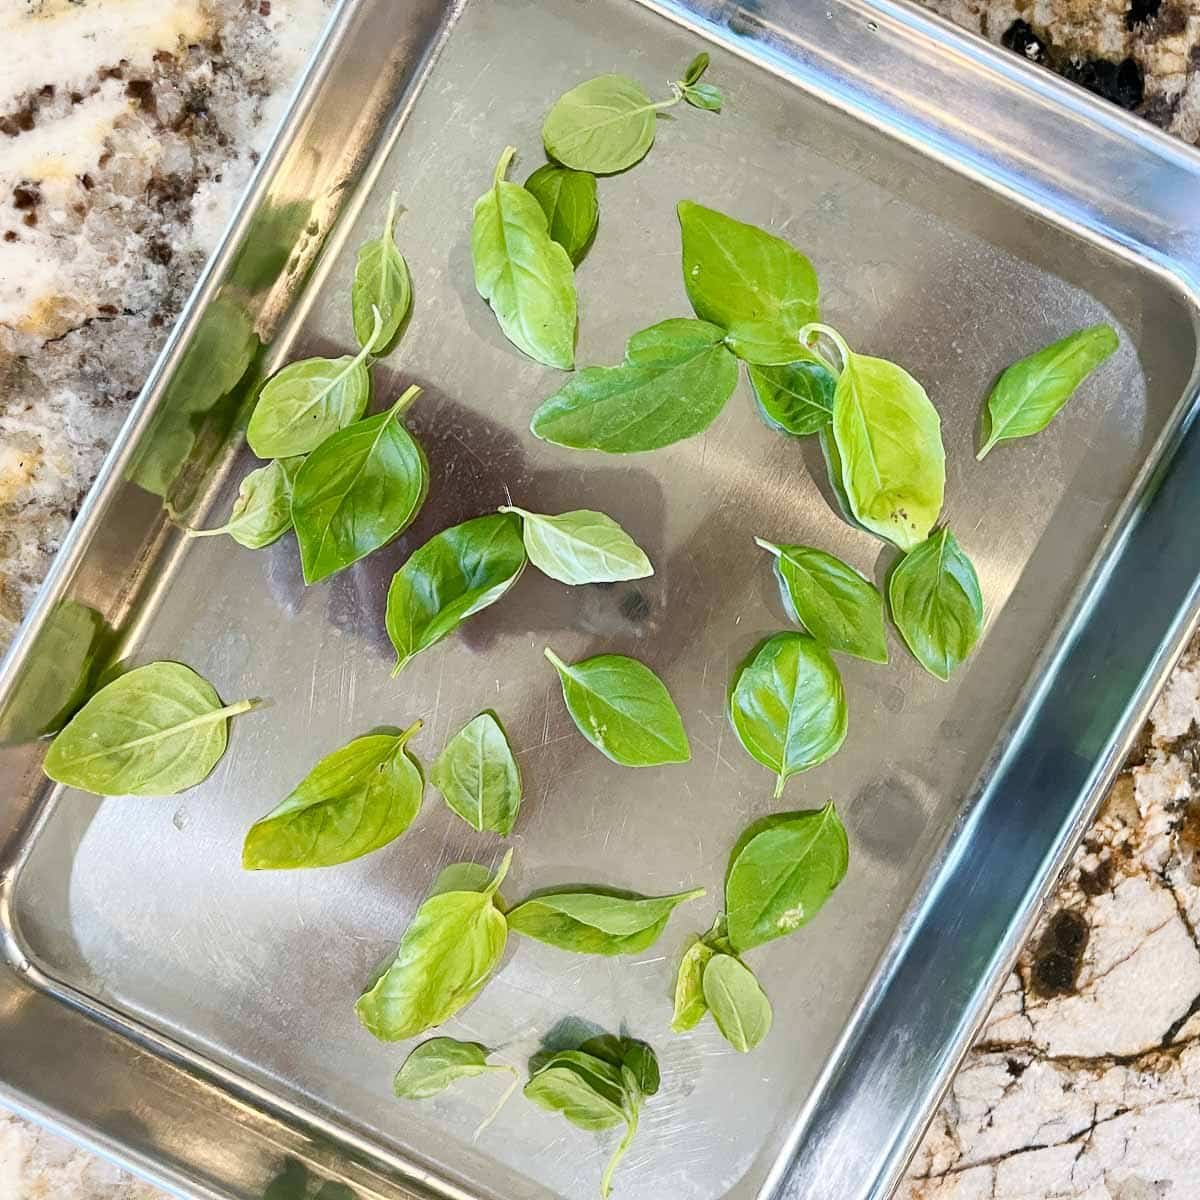
For the best results, you want to spread your basil leaves out on a baking sheet and set your oven's temperature as low as it can go. (If your oven can go down to 105-120F or even lower, you will probably yield better results than we did.)
You may only need to dry your basil for 10 minutes, or as long as an hour and a half, depending on your oven's lowest setting. I recommend checking on it in 10-minute increments until it looks like it's done.
Pros:
- This is a relatively fast method.
Cons:
- The leaves can burn easily.
- They also dried pretty unevenly.
- The result was still not very flavorful.
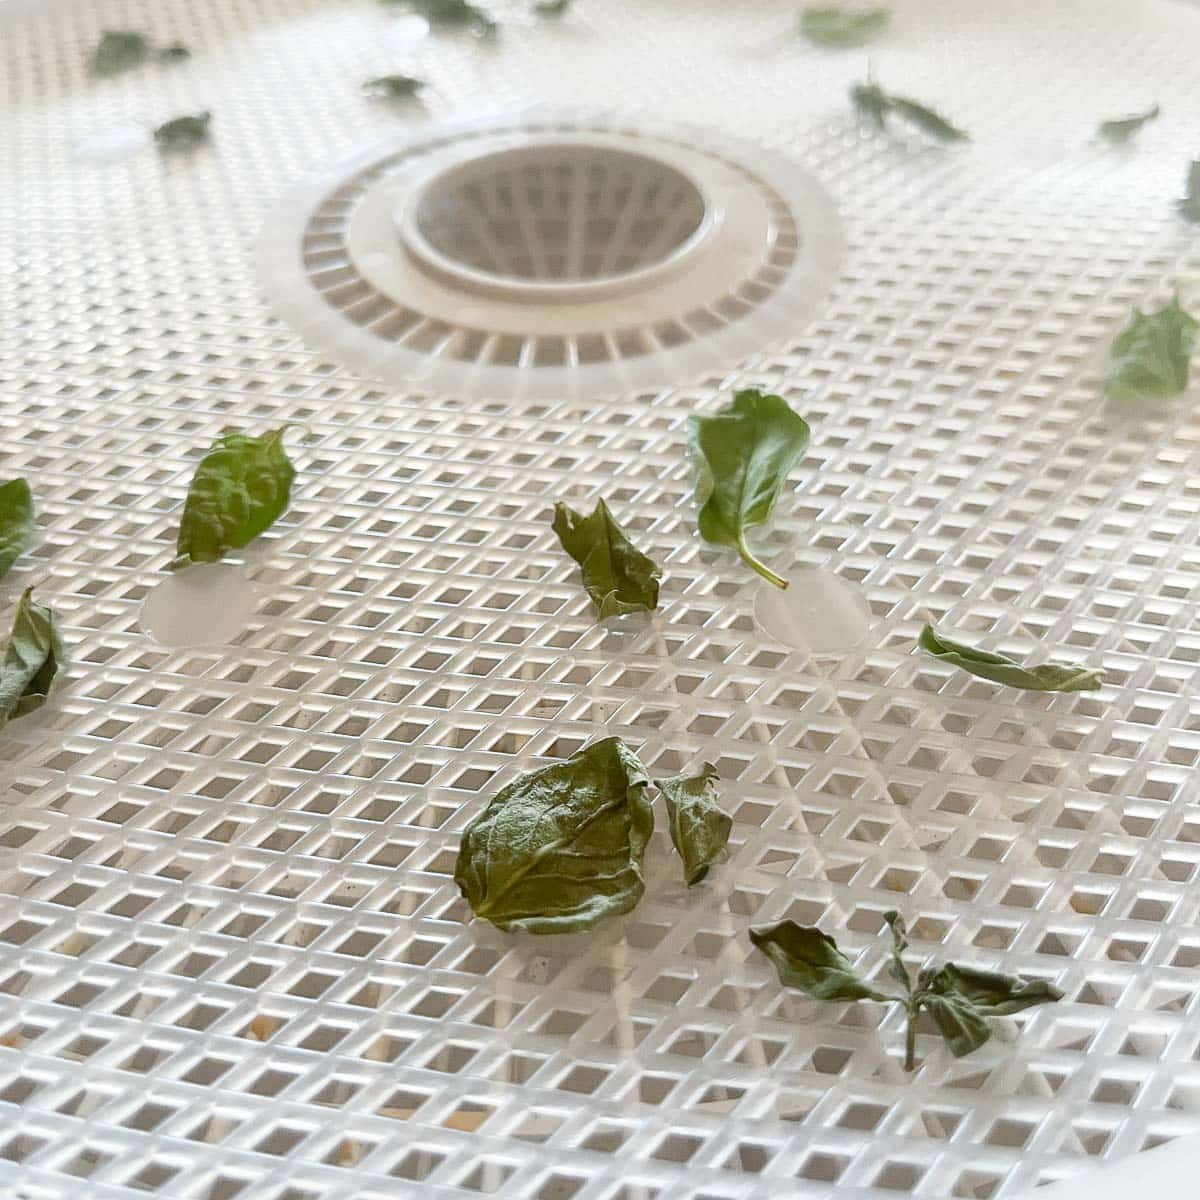
🌱 How to Dry Basil in a Dehydrator
We LOVE our dehydrator for so many reasons (mostly for making delicious elk jerky), and I'm pretty happy with the result this method produced.
You want to put your dehydrator on its lowest setting or select the "herb" option if your dehydrator has one. We dehydrated ours for 8 hours, and they ended up maintaining a lot of their flavor.


Pros:
- Much more flavorful than the ones dried in the microwave or oven.
Cons:
- The leaves seemed to dry a little unevenly.
- Takes about 8 hours or more.
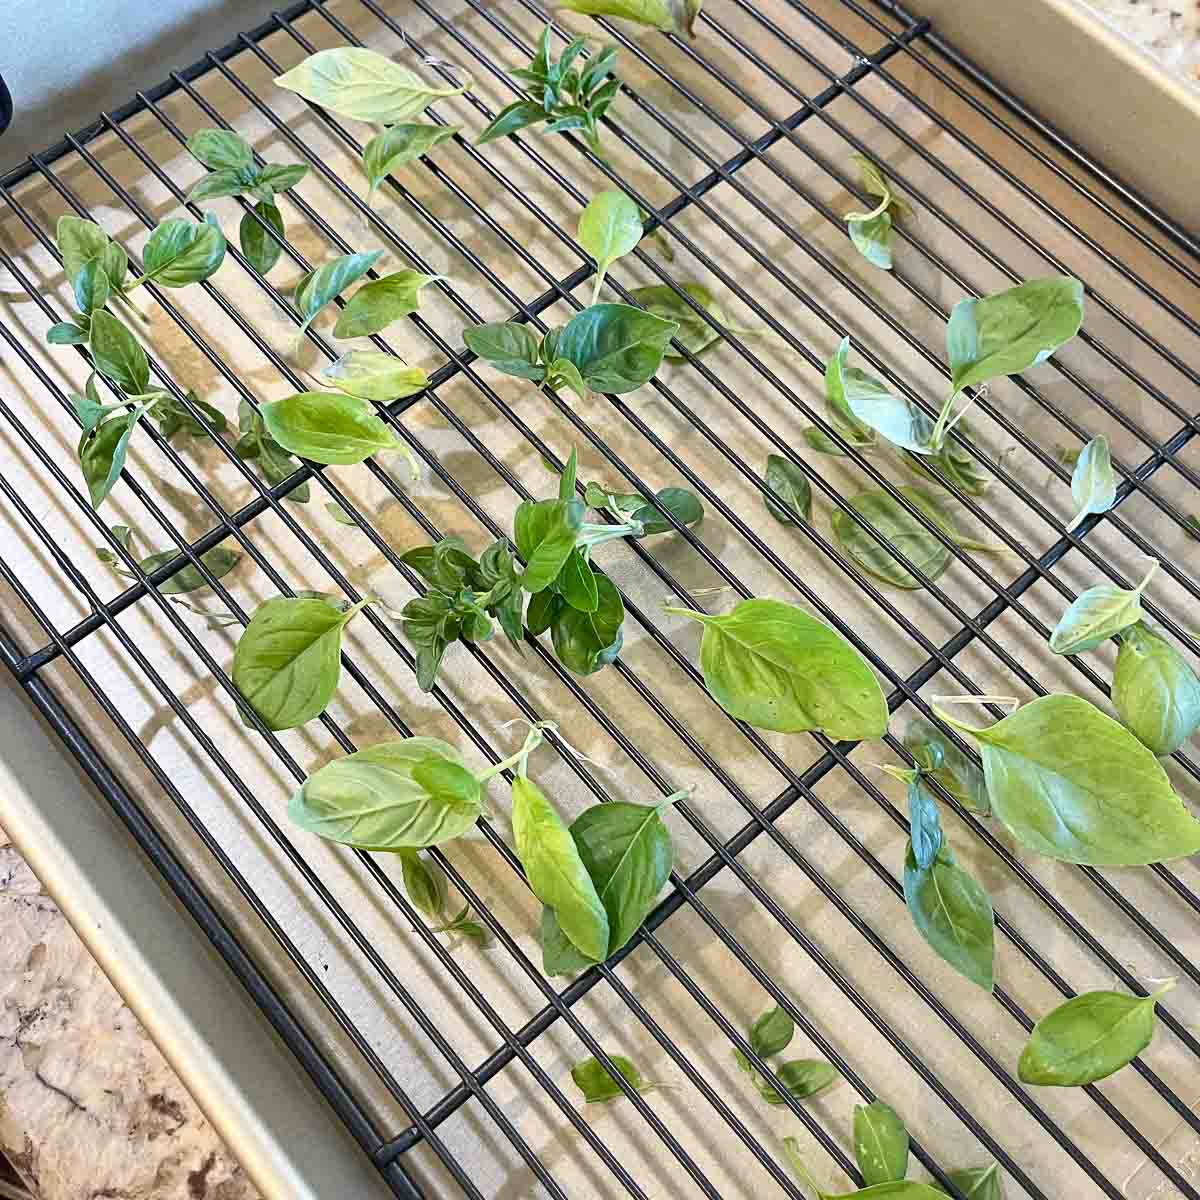
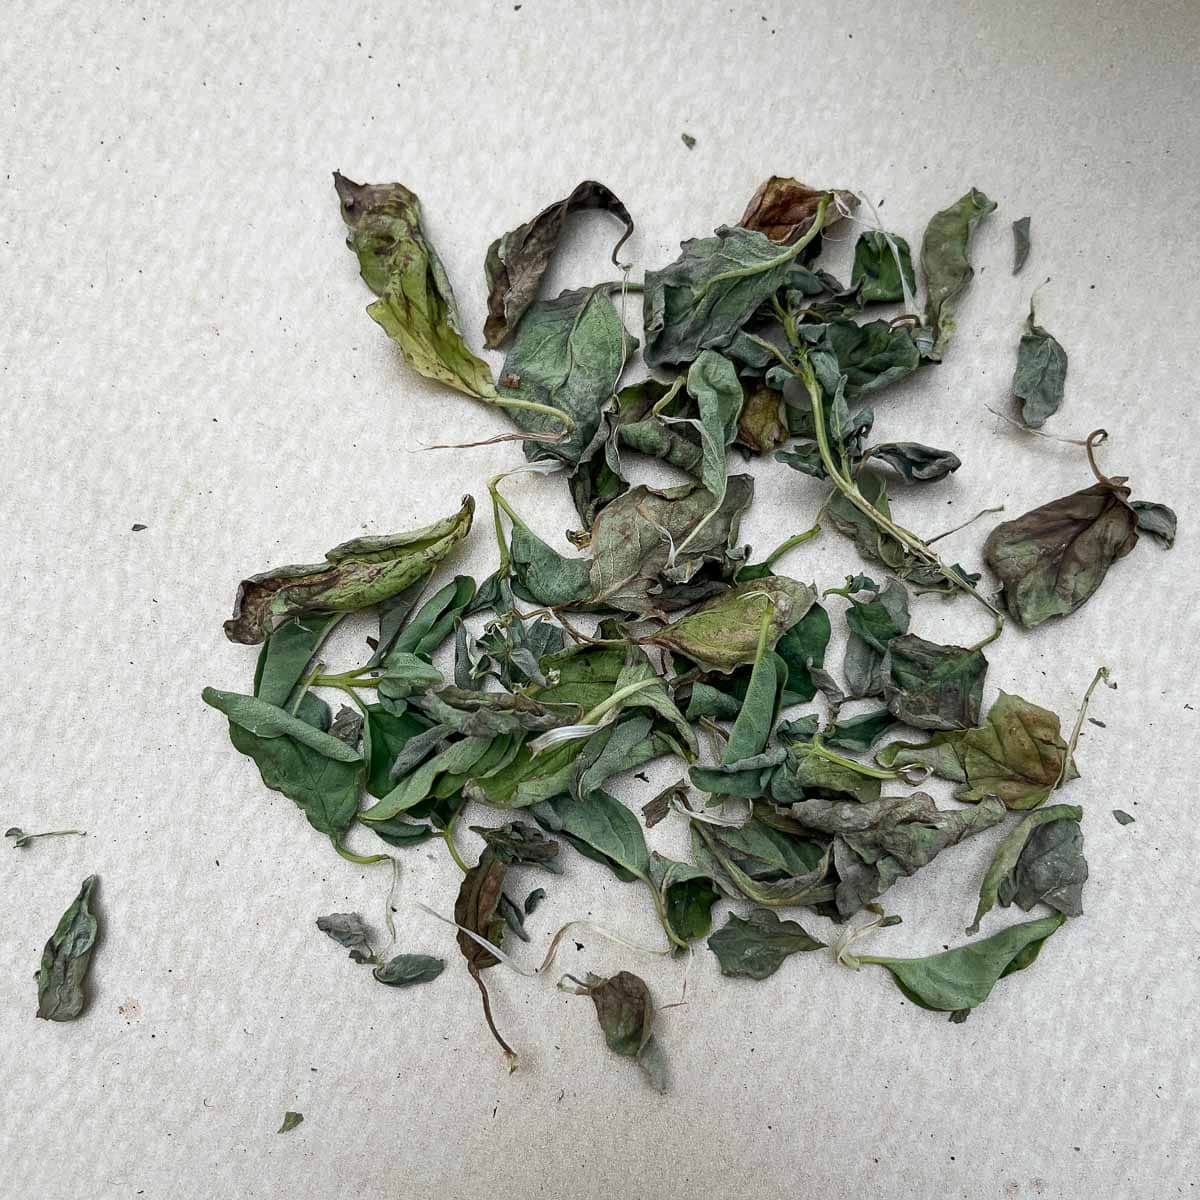
🍃 Air drying basil leaves
This is by far the most tried and true method, as it's the one our ancestors have been using since as early as 12,000 B.C. However, it's also the most time-consuming method. Even so, this process yielded the best results so I don't mind trading time for quality.
Although technically you could dry your leaves outdoors, I recommend doing it indoors. Drying them outside might take slightly less time, but you have to consider the weather, direct sunlight vs shade, insects... It's just a lot easier to control the environment indoors.
All you have to do is place the basil leaves in one layer on a rack and leave them to dry on the counter for 4-7 days (not in direct sunlight).
The total amount of drying time will depend on the temperature and humidity of your home. Remember the crumble test we mentioned earlier: If the leaves don't easily crumble between your fingers then there's still too much moisture left in them which can cause mold growth.
Air drying is time-consuming, but the result was perfection.
Pros:
- These basil leaves were the most potent and flavorful out of all 4 methods.
Cons:
- This method will take 4+ days for the leaves to dry completely.
Freeze-drying herbs such as basil, is yet another option, but one that requires a freeze dryer.
🧂 How to store dried basil
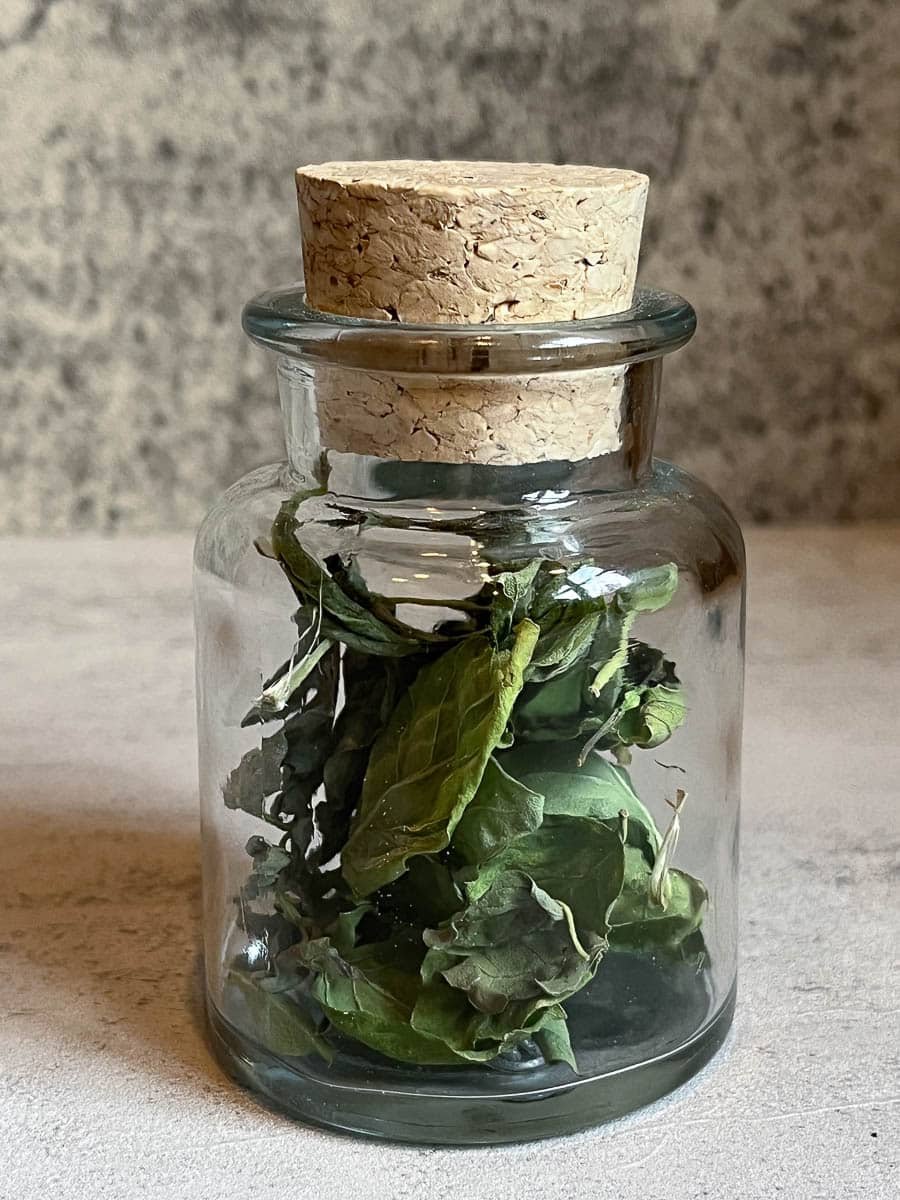
It's best to store your dried basil leaves in your pantry or somewhere else cool and dark. You can crush the leaves if you like, but I prefer to leave them whole and store them in a spice jar, glass bottle, or any airtight container.
Keeping the leaves whole allows them to retain more of their flavor and aroma for a longer period of time. When stored properly, your dried basil leaves will be good for at least a year.
🤷🏻♀️ FAQs
You should always wash fresh basil before drying it to ensure that it's free of any dirt or insects. Rinse the basil leaves or soak and swish them in water to make sure they're as clean as possible. Then you can pat them dry or use a salad spinner to remove excess moisture.
It's crucial that you remove all the excess moisture before dehydrating the basil, so you may want to let them air dry for about 30 minutes, then pat them dry again just to make sure they're completely dry. If you try to dehydrate them while they're still damp, you may end up burning the leaves.
Whether you freeze or dry basil all comes down to how you intend to use it. Freezing basil is a great option if you're trying to preserve the unique flavor and potency of fresh basil. However, frozen basil will only last for about 5 months, whereas dried basil will last at least a year, maybe even two!
You can absolutely air-dry fresh basil; in fact, I've found that it's the best method. We tried microwaving it, oven drying it, and using a dehydrator, but none of these drying methods worked as well as air drying.
The air-dried leaves definitely retained the most flavor and the strongest aroma, so it was worth the three days it took for them to dry.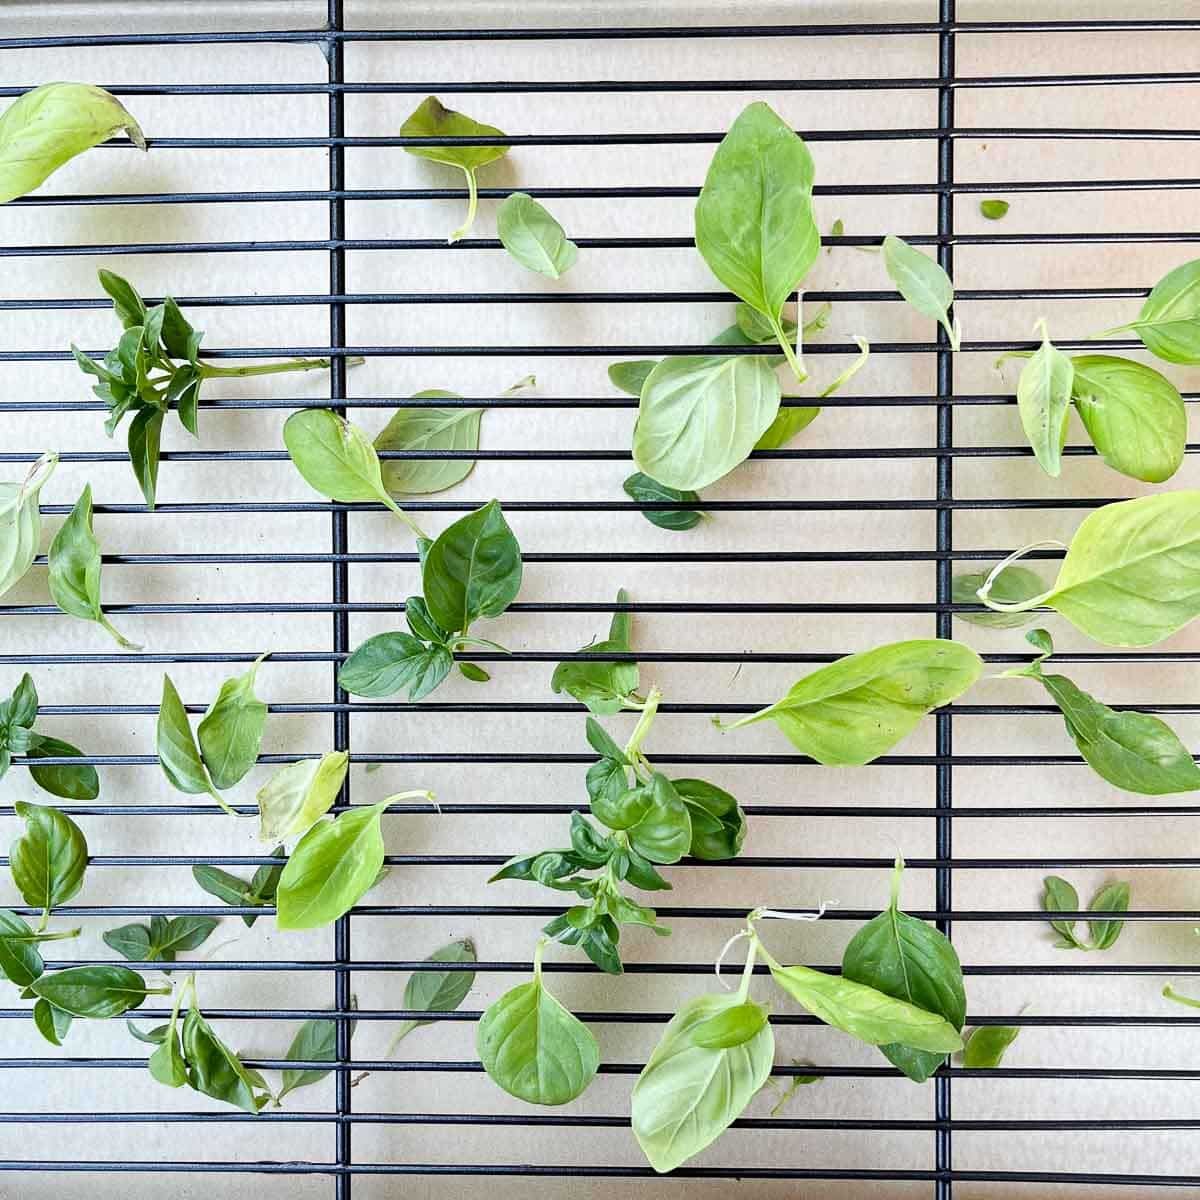
After experimenting with the microwave, oven, dehydrator, and drying rack, I can conclusively say that the best way to dry basil is good old-fashioned air drying.
It takes longer than the other methods, but the result is soooo worth it. The air-dried basil leaves were by far the most flavorful and aromatic. It's no wonder we've been air-drying our herbs for over 14,000 years!
👩🏼🍳 Pro Tips
- If your microwave's wattage is higher than 1200 watts, you may want to try microwaving them for 15 seconds at a time to make sure they don't burn.
- It's important to keep the leaves on a rack as you dry the basil leaves to ensure consistent air circulation, which will prevent mold and allow the leaves to evenly dry. However, we discovered that, even though we used large leaves, they curled up as they were drying and fell through the slits in the rack. To prevent this from happening, you can cover your rack with a mosquito net or invest in an herb drying rack.
Kelly Methey says
Thanks for this informative post. I love basil and will be trying air drying and dehydrating.
Nena Sterner says
Glad you enjoyed it, Kelly! Good luck with your basil! 🙂
Barbara says
Thanks- this was helpful. My basil has grown wild in this summer’s heat. I will be setting up my dining room table to air dry on racks for next few days.
Nena Sterner says
That's awesome! I hope yours turns out as well as ours did! Good luck!