This holiday season, wow your guests with this creamy No-Bake Pumpkin Pie recipe with a ginger snap crust. But don't save it just for the holidays, enjoy it anytime you crave a slice of Homemade Pumpkin Pie. It's the perfect match for a freshly brewed cup of moka pot latte!
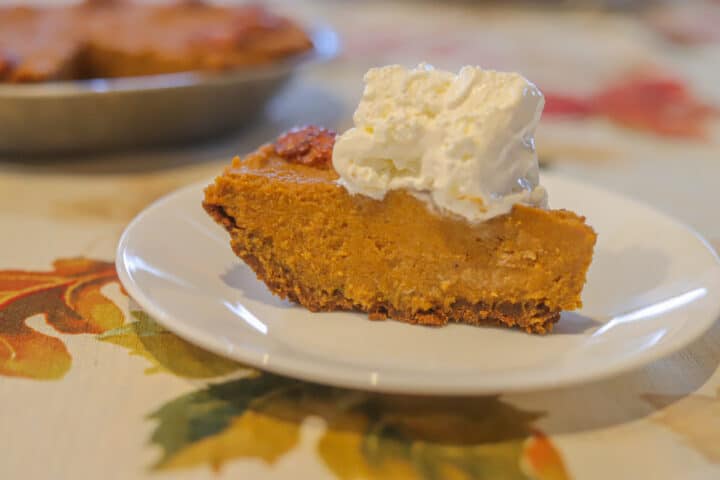
Earlier in the year, I found an old cookbook at a local thrift store that featured 2000 dessert recipes, submitted by Military Officers' wives. How random is that?
While flipping through the worn and discolored pages, I came upon an Icebox Pumpkin Pie recipe that sounded wonderful. This no-bake pumpkin pie was inspired by that recipe.
This pie tastes like the real deal! It has a silky-smooth texture with the perfect amount of spice.
Jump to:
😍 Why You'll Love This Recipe
What I like the most about this recipe is that it does not require baking. After not having a working oven for many months, I sympathize with anyone whose oven dies suddenly, especially during the holidays! As it turns out, you don't need an oven to make an AMAZING pumpkin pie!
The filling is cooked on the stovetop, for around 10 minutes. Once the filling is cool, you can take a shortcut and pour the filling into a graham cracker shell. You know, the kind the little Keebler Elves make? However, I urge you to take an additional 10 minutes and make my no-bake ginger snap crust. It will leave those little elves envious, I assure you!
The flavors in the ginger snap crust work beautifully with the spices used in the pie filling. Together, they make every bite memorable!
🛒 What You Need For This Recipe
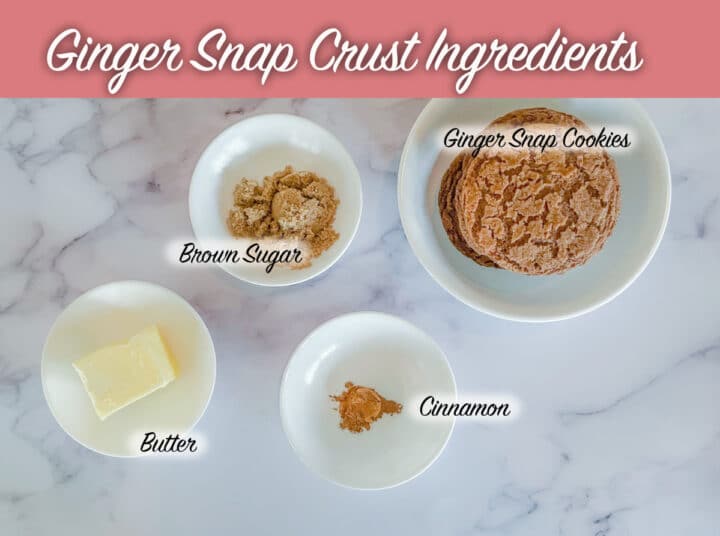
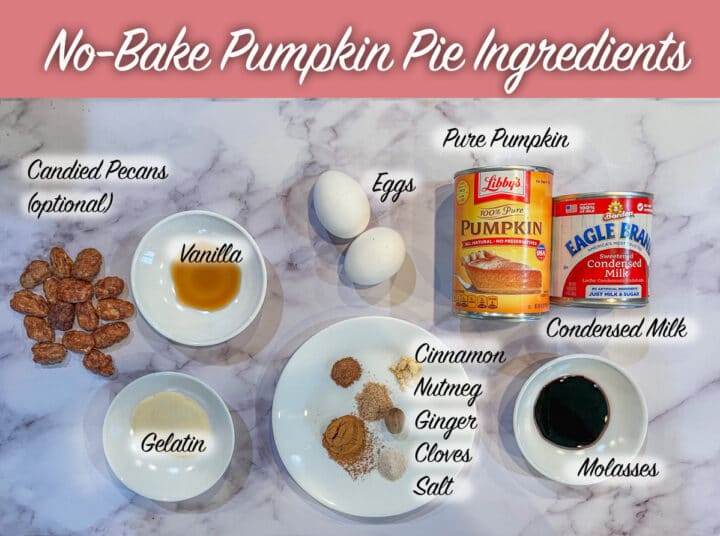
🔖 Ingredients & Substitutions
- Pie Crust — As mentioned above, you can use a graham cracker pie crust, which comes in various flavors including chocolate, Oreo, shortbread, and pecan. However, I highly encourage you to try my easy gingerbread-flavored pie crust that takes this No-Bake Pumpkin Pie to a whole new level!
- Spices — For the sake of convenience, you can use 2 teaspoons of pumpkin pie spice (paid link) in the filling. However, I recommend using the specified spices listed in the recipe.
- Canned Pumpkin — When buying canned pumpkin, make sure to get the pure canned pumpkin and not pumpkin pie filling, which comes pre-flavored.
- Whipped Cream — Serve the sliced pie with your favorite whipped topping including Cool Whip and Reddi Wip. If you're ambitious, you can make homemade whipped cream instead.
🎃 How to Make A No-Bake Pumpkin Pie
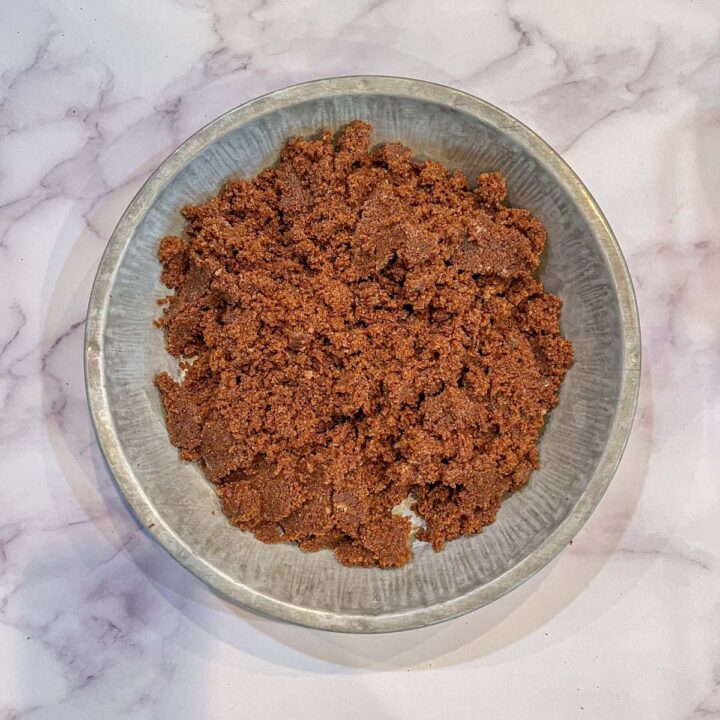
Step 1: Break ginger snap cookies into smaller pieces and add to a food processor (paid link). Pulse until crumbly. Add butter, brown sugar, and cinnamon. Pulse a few times more until the ingredients are incorporated.


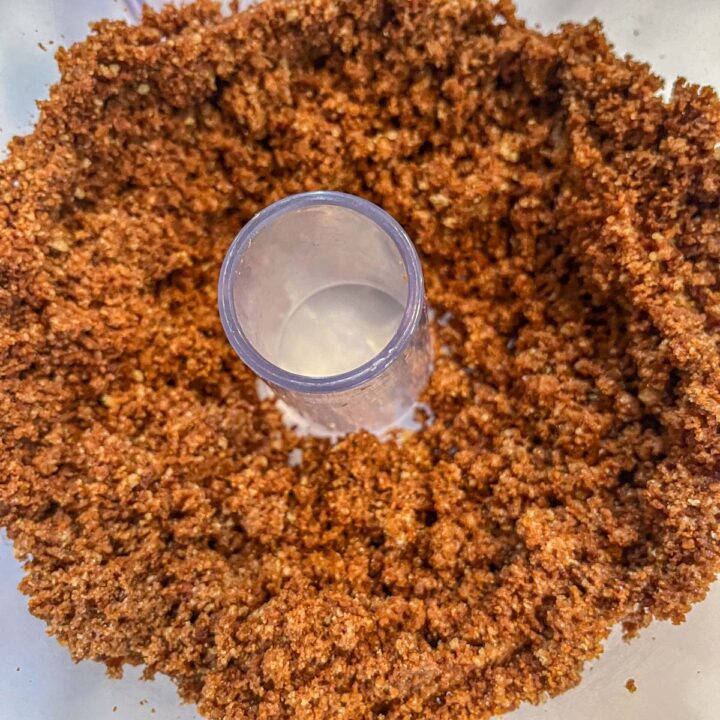
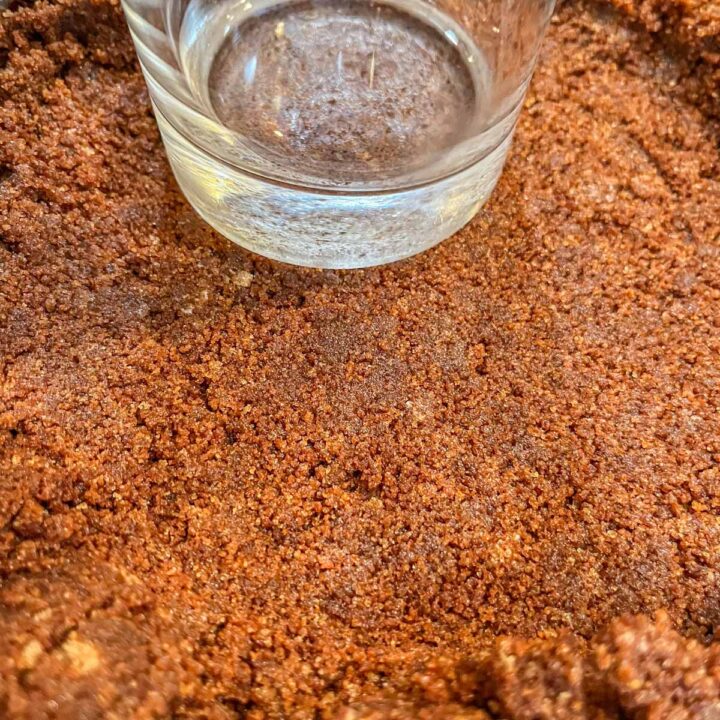
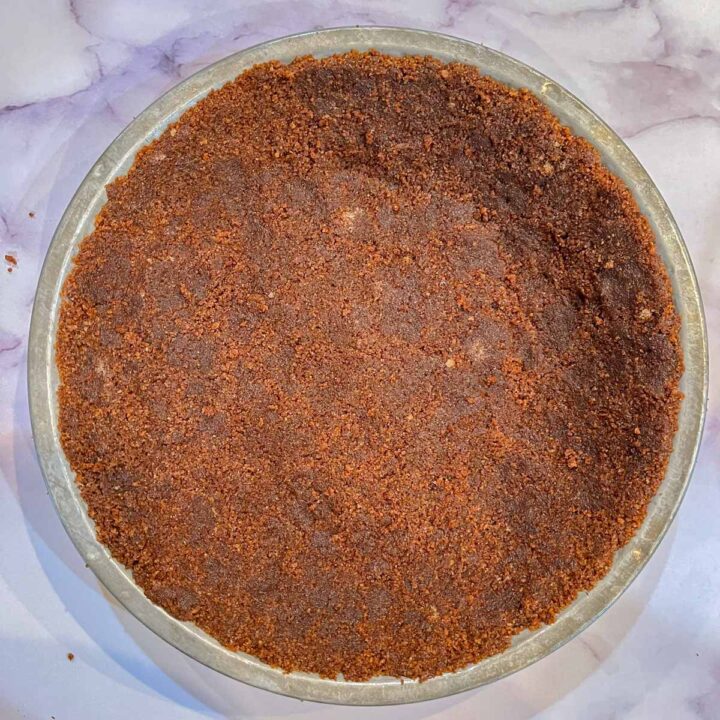
Step 2: Pour the ginger snap crust crumbs into a 9" pie plate and press the mixture into place using the bottom of a glass or your palm to compact the bottom and the sides of the crust. Refrigerate the crust for at least one hour so it can set.

Step 3: Meanwhile, combine pure pumpkin, condensed milk, beaten eggs, vanilla, molasses, cinnamon, nutmeg, ginger, cloves, sea salt, and gelatin. Whisk until smooth.
Would you like to save this recipe?


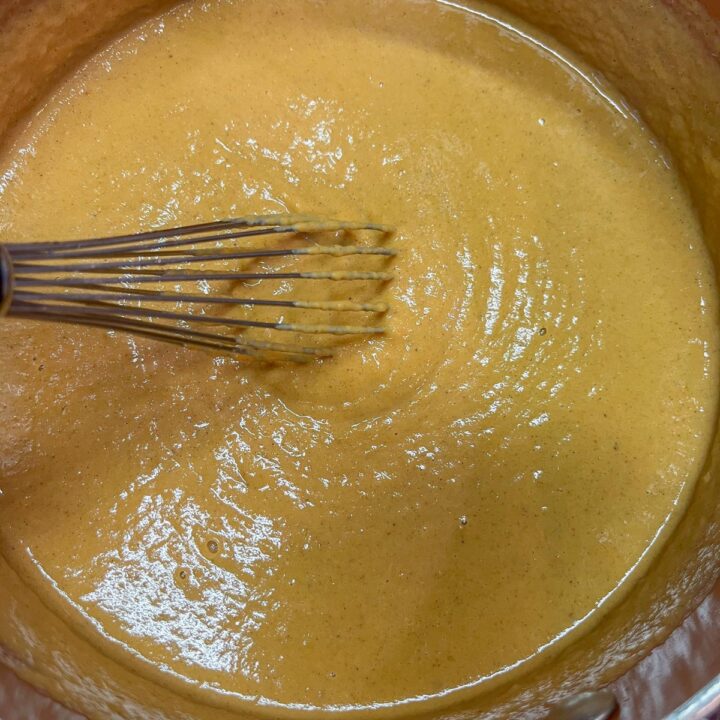
Step 4: Cook, over low heat, while continually whisking the pumpkin pie filling for approximately 10 minutes, or until the mixture has thickened.
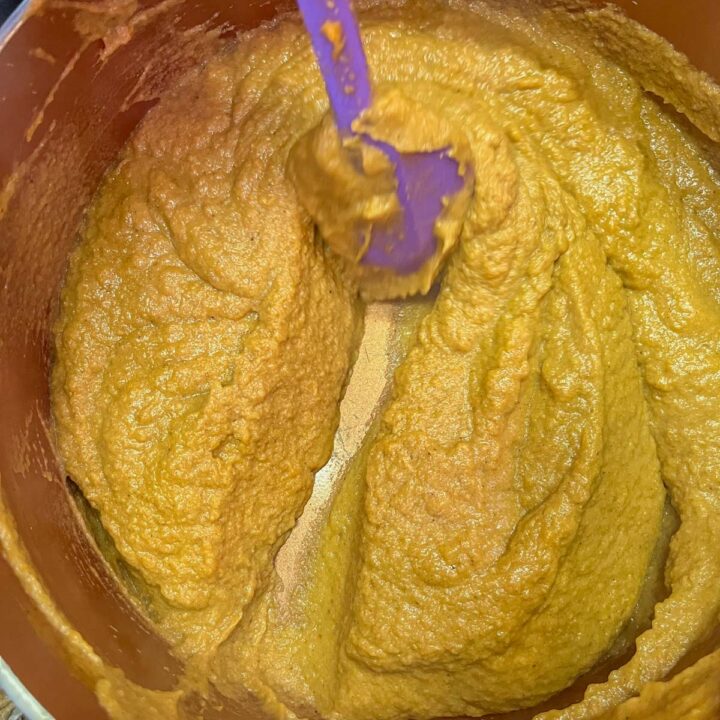
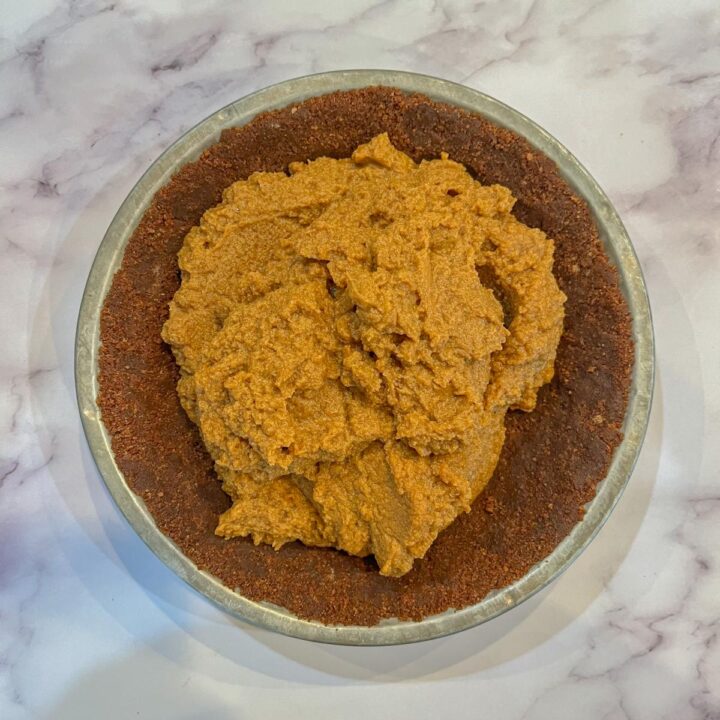
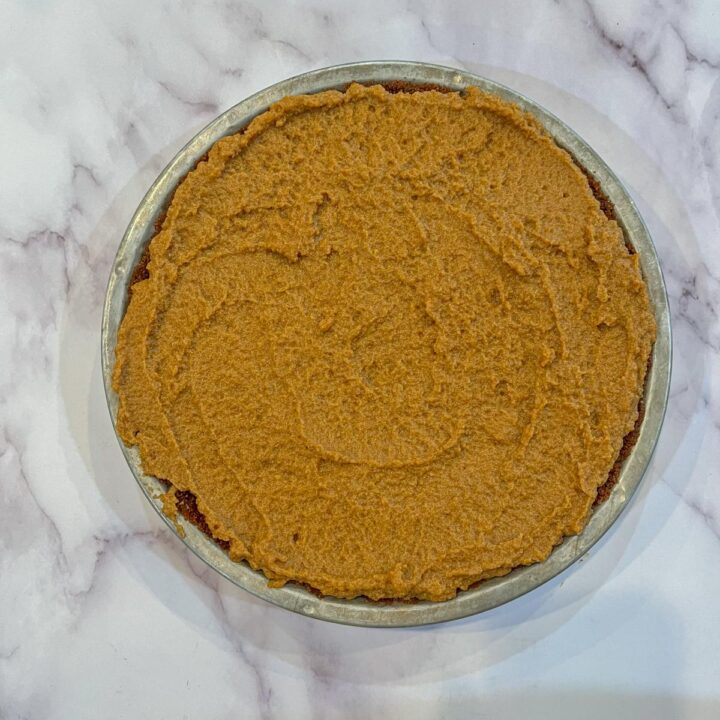
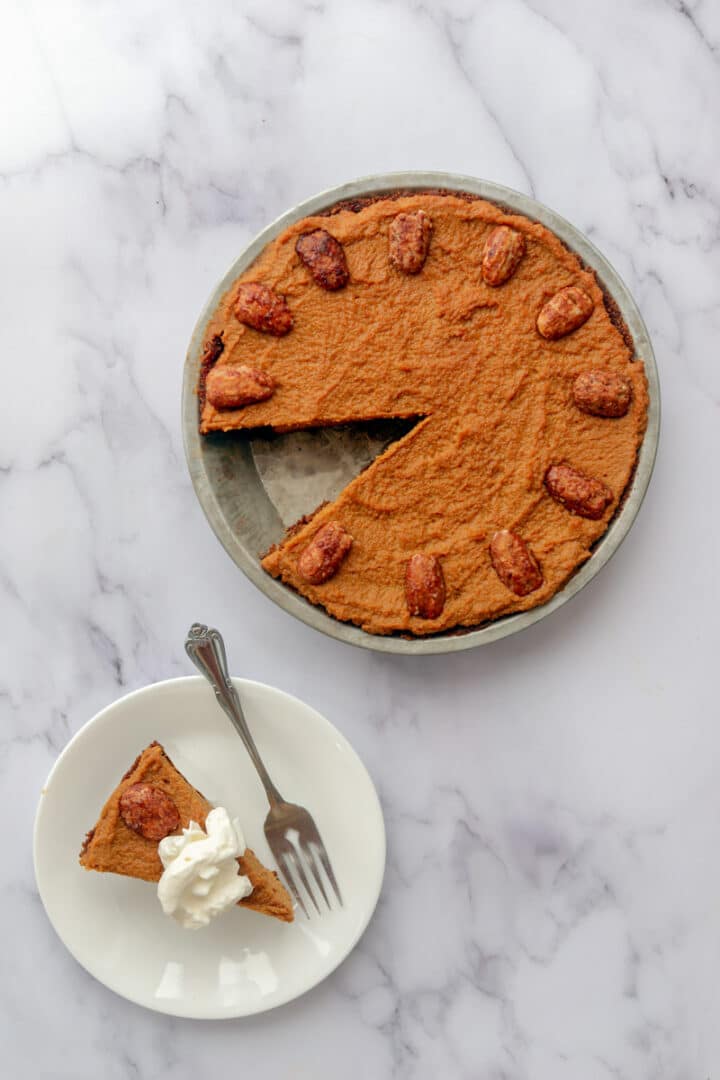
Step 5: Cool pumpkin pie filling, then pour into the chilled pie crust. Smooth out the top using a rubber spatula. Refrigerate for 2½ to 3 hours to allow the pie to set. Decorate with candied pecans (optional) just before serving.
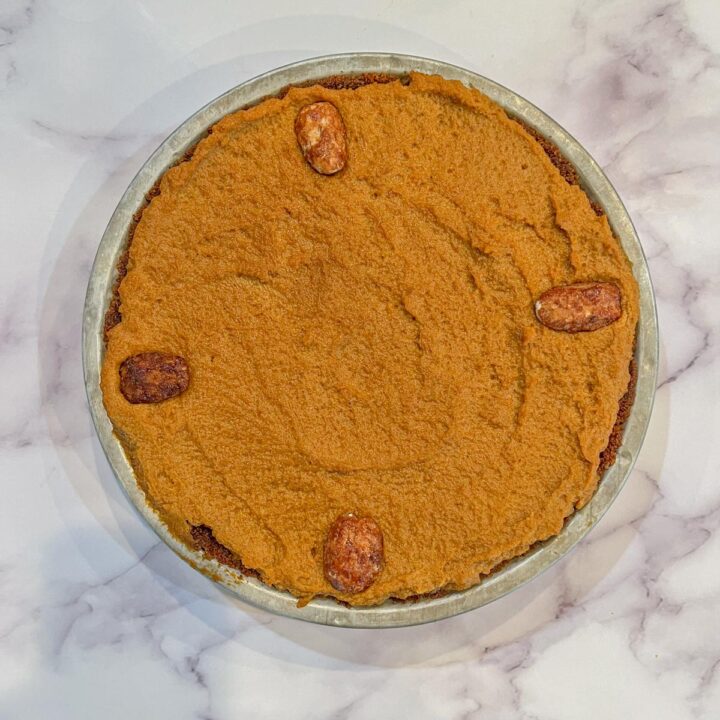

Pro Tip: See the tip at the bottom of the page regarding why not to add the candied pecans until you are ready to serve the pie.
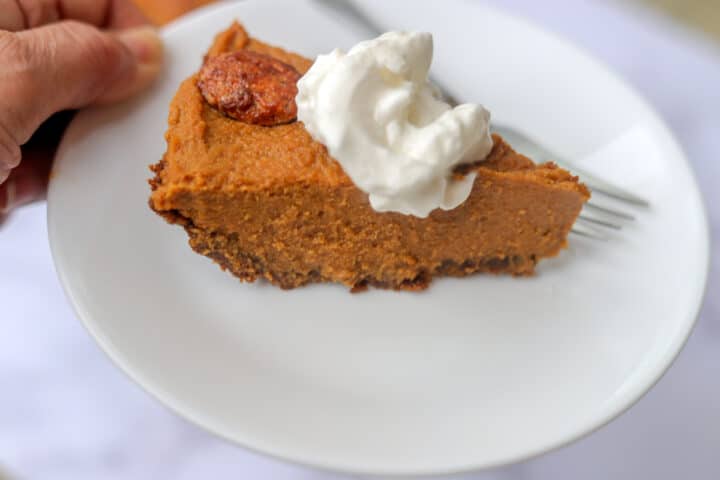
Top each piece of pie with whipped cream before serving.
🤷🏻♀️ Recipe FAQs
Since pumpkin pie filling has eggs in it, it needs to be cooked before it can be eaten. Baking the pie is usually required before you can eat the pie unless you make a no-bake pumpkin pie. The filling for a no-bake pumpkin pie is cooked on the stovetop and then chilled in the crust.
Canned pumpkin contains pure pumpkin that has been processed until smooth. Pumpkin pie filling also has processed pumpkin, however, the pumpkin is pre-flavored.
You can freeze pumpkin pie, even if it has a graham cracker crust. First, make sure the pie is completely cool, then wrap it in foil. Finally, place the pie in a freezer bag and press the air out before sealing the bag. Store the pie in the freezer for up to one month.
👩🏼🍳 Pro Tips
- To eat previously frozen pumpkin pie, defrost the pie in the refrigerator overnight.
- The molasses makes the color of the pie a little darker. If you prefer a lighter-colored pumpkin pie, you can leave out the molasses.
- If you can't find ginger snap cookies, do what I did, and use this crispy Ginger Snaps recipe to make some. It took approximately 10 large cookies to make a 1-⅓ cup of cookie crumbs.
- If you decide to add the candied pecans, wait until you are ready to serve the pie. The sugar glaze will run and pool around the pecan. To avoid this, you can use plain pecans instead.
- Be sure to try my pumpkin biscotti too, they're to die for!
🥧 More Pie Recipes
Love pies? Here are some delicious pie recipes you should try!
🥮 More Fall Recipes
📖 Recipe
Easy No-Bake Pumpkin Pie Recipe (Ginger Snap Crust)
Equipment
- 1 Whisk
Ingredients
Ginger Snap Crust
- 1⅓ cups ginger snap crumbs
- ¼ cup butter (softened)
- 2 tablespoon brown sugar
- ¼ teaspoon cinnamon powder
Pumpkin Pie Filling
- 1 15 oz canned pure pumpkin
- 1 14 oz sweetened condensed milk
- 2 large eggs (beaten)
- 1 teaspoon vanilla extract
- 1 tablespoon molasses (optional)
- 1 teaspoon cinnamon
- ½ teaspoon freshly ground nutmeg
- ¼ teaspoon ginger powder
- ¼ teaspoon clove powder
- ¼ teaspoon sea salt
- ¼ oz gelatin (1 packet, or 1 tbsp)
- 12 candied pecans (optional)
- whipped cream (for topping)
Instructions
No-Bake Crust
- Break ginger snap cookies into smaller pieces and add to a food processor. Pulse until crumbly. Add butter, brown sugar, and cinnamon. Pulse a few times more until the ingredients are incorporated.
- Pour the ginger snap crust crumbs into a 9" pie plate and press the mixture into place using the bottom of a glass or your palm to compact the bottom and the sides of the crust. Refrigerate the crust for at least one hour so it can set.
Pumpkin Pie Filling
- Meanwhile, combine pure pumpkin, condensed milk, beaten eggs, vanilla, molasses, cinnamon, nutmeg, ginger, cloves, sea salt, and gelatin. Whisk until smooth.
- Cook, over low heat, while continually whisking the pumpkin pie filling for approximately 10 minutes, or until the mixture has thickened.
- Cool pumpkin pie filling, then pour into the chilled pie crust. Smooth out the top using a rubber spatula. Refrigerate for 2½ to 3 hours to allow the pie to set. Decorate with candied pecans (optional) just before serving.
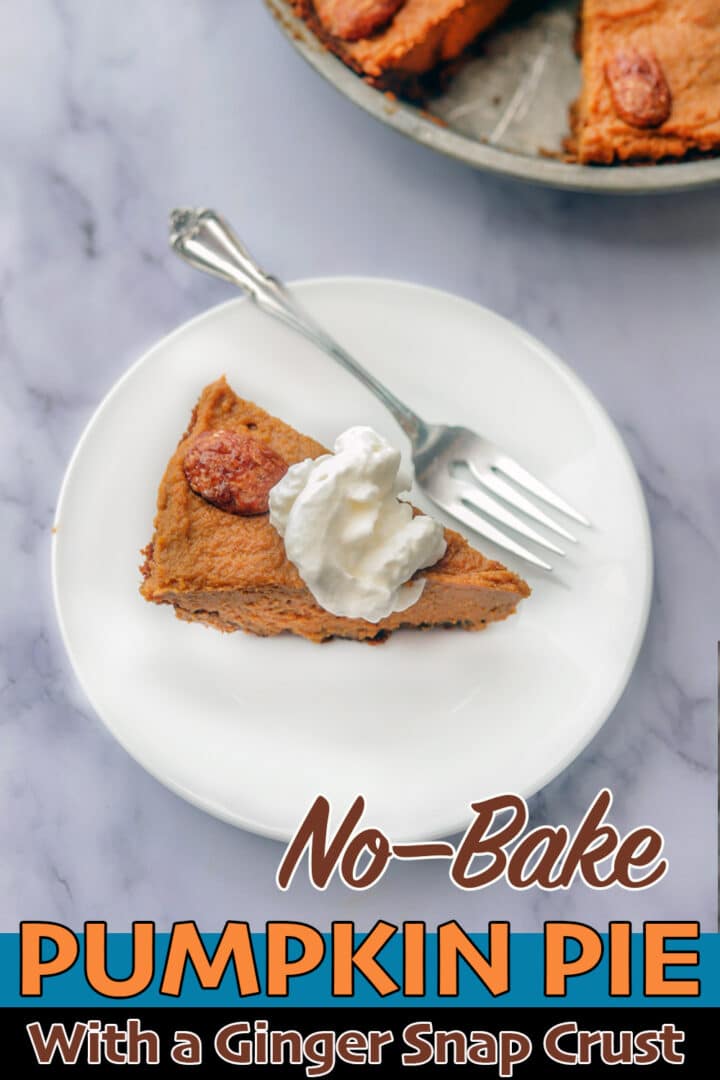
- Top each piece of pie with whipped cream and serve.
- * See tip in the notes below regarding why not to add the candied pecans until you are ready to serve the pie.
Notes
- To eat previously frozen pumpkin pie, defrost the pie in the refrigerator overnight.
- The molasses makes the color of the pie a little darker. If you prefer a lighter-colored pumpkin pie, you can leave out the molasses.
- If you can't find ginger snap cookies, do what I did, and use this crispy Ginger Snaps recipe to make some. It took approximately 10 large cookies to make a 1-⅓ cup of cookie crumbs.
- If you decide to add the candied pecans, wait until you are ready to serve the pie. The sugar glaze will run and pool around the pecan. To avoid this, you can use plain pecans instead.


Lori Ross says
Sometimes I feel like a broken record because I just love Hilda’s Kitchen Blog! Her recipes are easy to follow and get a lot of positive comments when I serve them.
I made this for my life group and it was super yummy! People even wanted to take some home. I did take the easy way out and used a prepared crust but the filling was excellent!
I will be making this again! Thanks Hilda💙
Hilda Sterner says
Thank you, Lori! You are a good student and it's evident that your cooking skills are constantly improving!