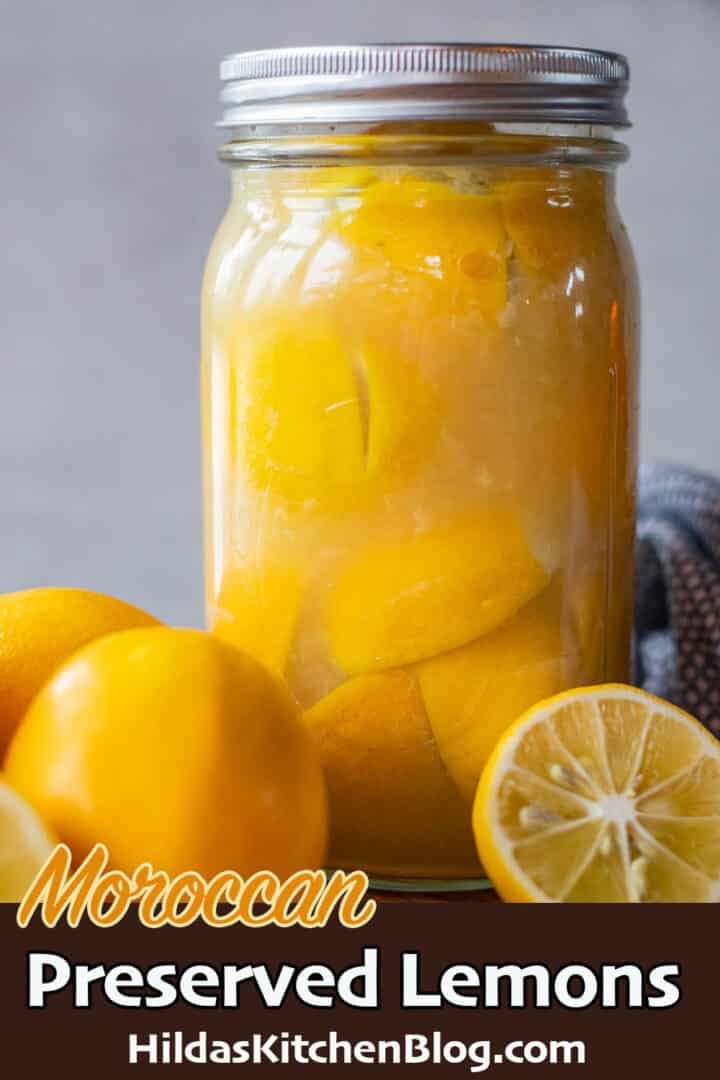
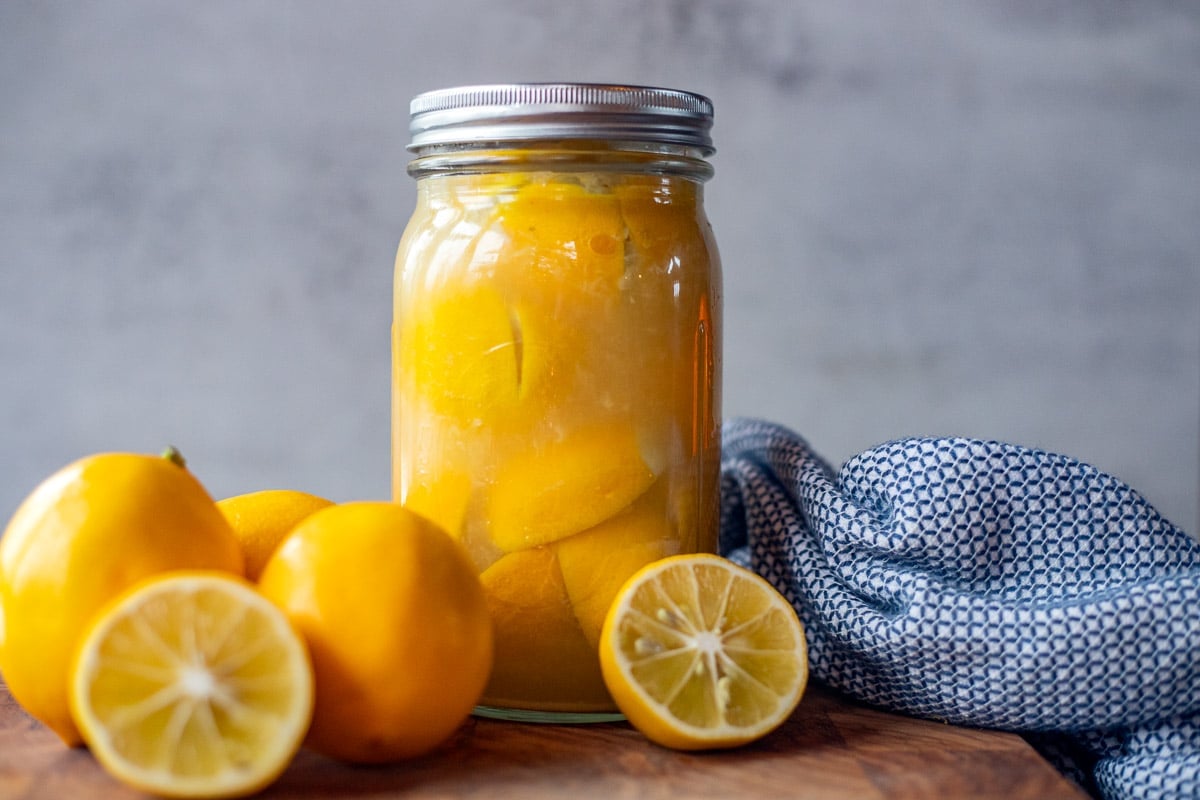
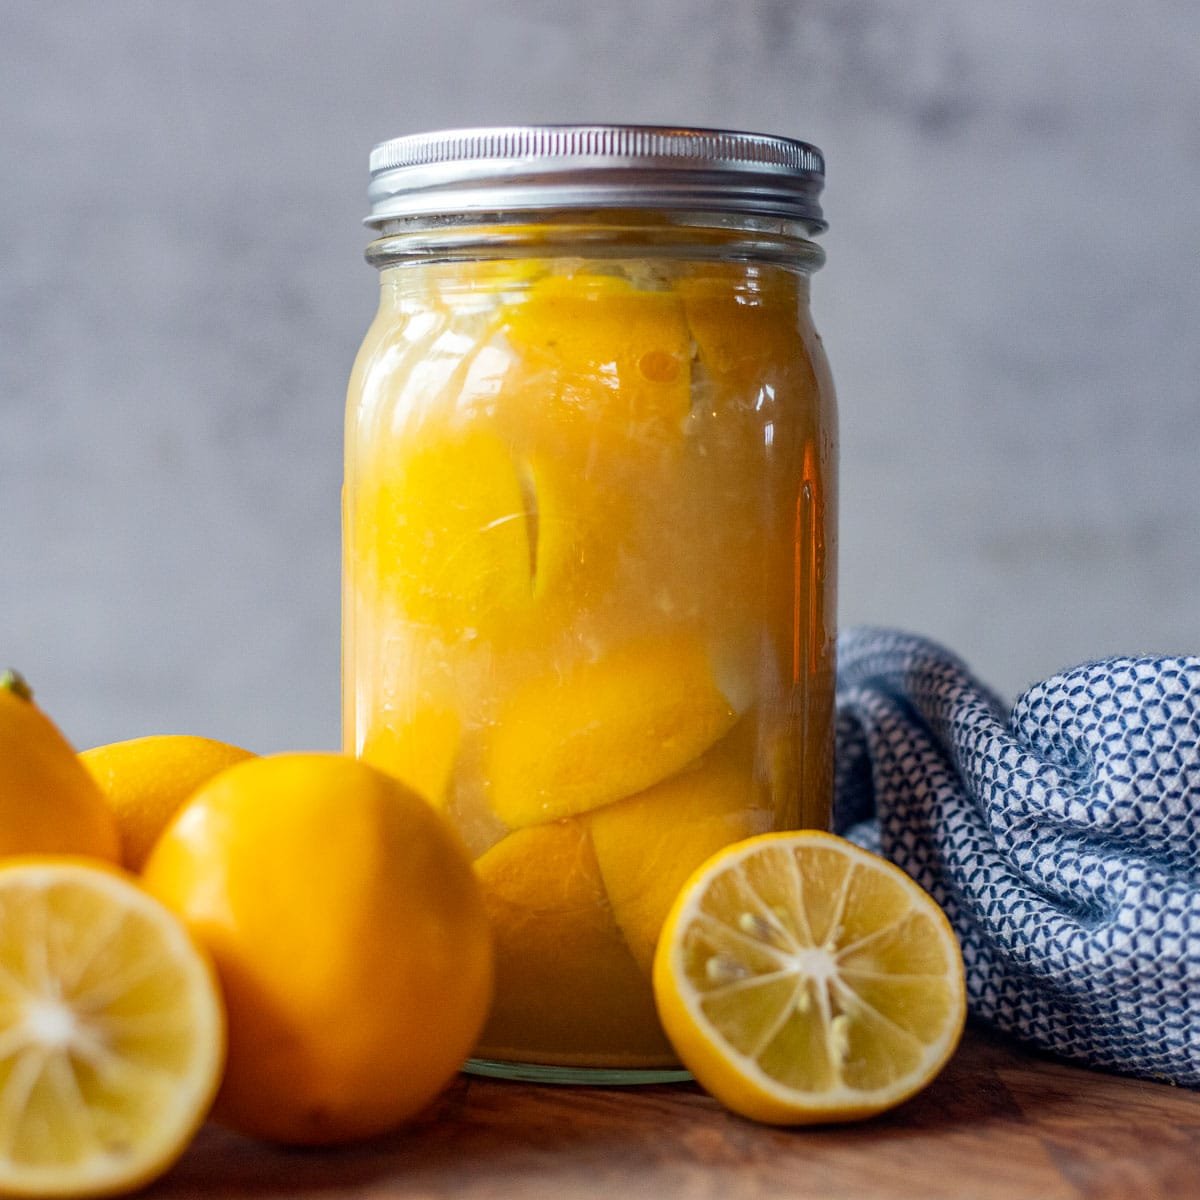
Preserved Moroccan Lemons are popular in North African Cuisine. They are not only beautiful to look at, but a delight to taste! Use Moroccan Preserved Lemons to enhance the flavor of lamb stew, soups, and even cocktails like this Limoncello Spriz recipe!
Would you like to save this recipe?
Marinating lemons in salt and their natural juice has been done for thousands of years! This was done as a way of preserving the lemons to be used during the months when they were no longer in season.
The wonderful thing about this method is that not only are the lemons preserved, but the flavor of their peel is greatly intensified. In fact, the rind tastes like lemons on steroids! The lemon pulp isn't usually used, it's the preserved peel that makes a great addition to most savory recipes where lemon is needed.
Jump to:
😍 Why This Recipe Works
- Fermenting lemons is a great way to make use of excess lemons.
- Preserved lemon peels taste great and add complex flavor and tartness to stews, soups, roasted vegetables, dips, and so much more!
- It's so easy to make preserved lemons; anyone can do it!
- You only need 2 ingredients, unless you want to add spices for additional flavor.
🔖 Ingredients & Substitutions
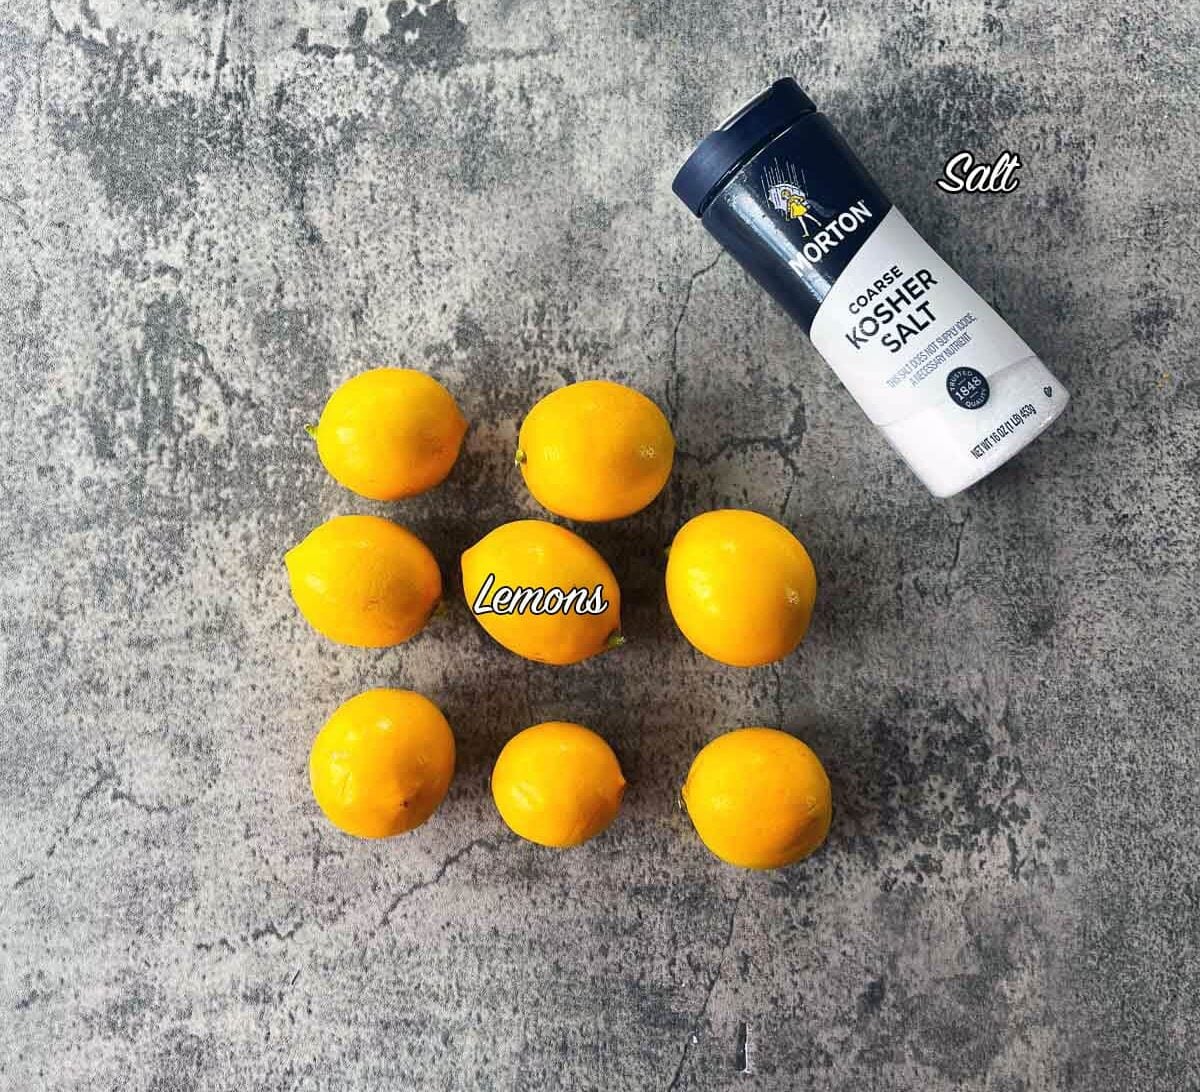
- Lemons: Fresh lemons. I prefer Meyer lemons, but Eureka lemons are a great substitute! You can use what you have on hand, just make sure they're blemish-free!
- Salt: Use either sea salt or kosher salt.
- Optional Ingredients: You can add any of the following to enhance the flavor: cardamom pods, cinnamon sticks, black peppercorns, whole cloves, and bay leaves.
🍋 How to Make Preserved Lemons
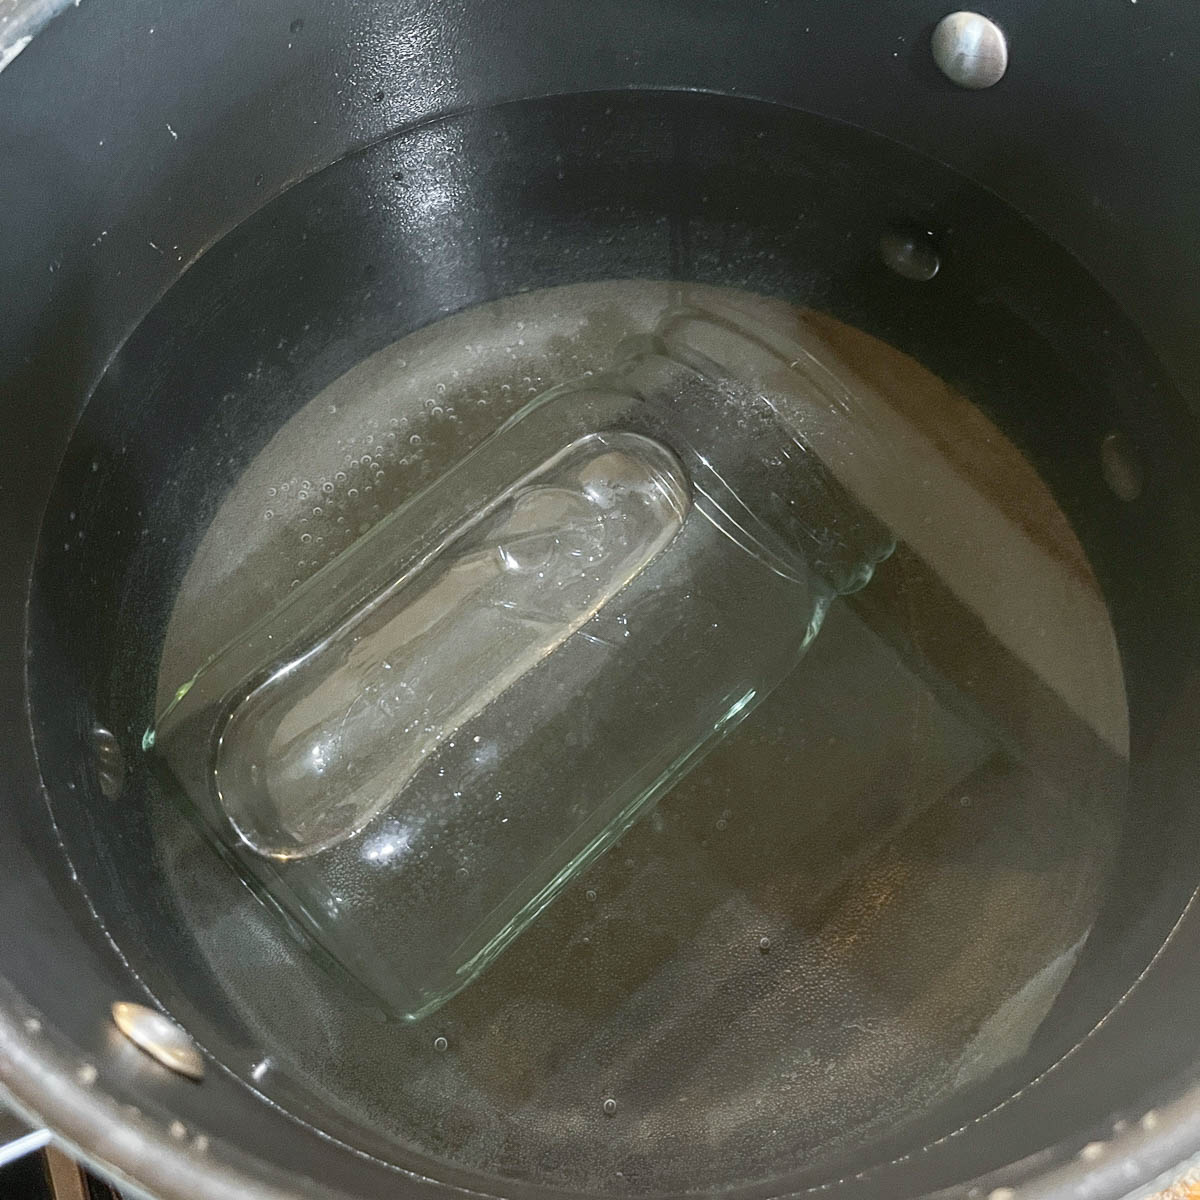
Step 1: Before you begin, sterilize your canning jar for 10 minutes in boiling water.
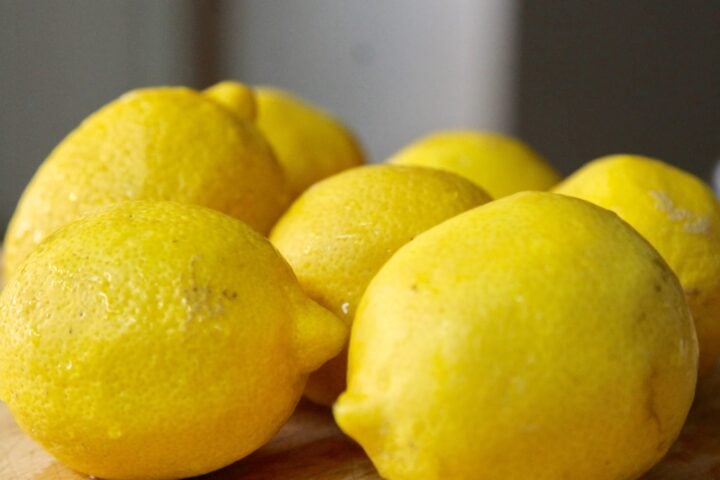
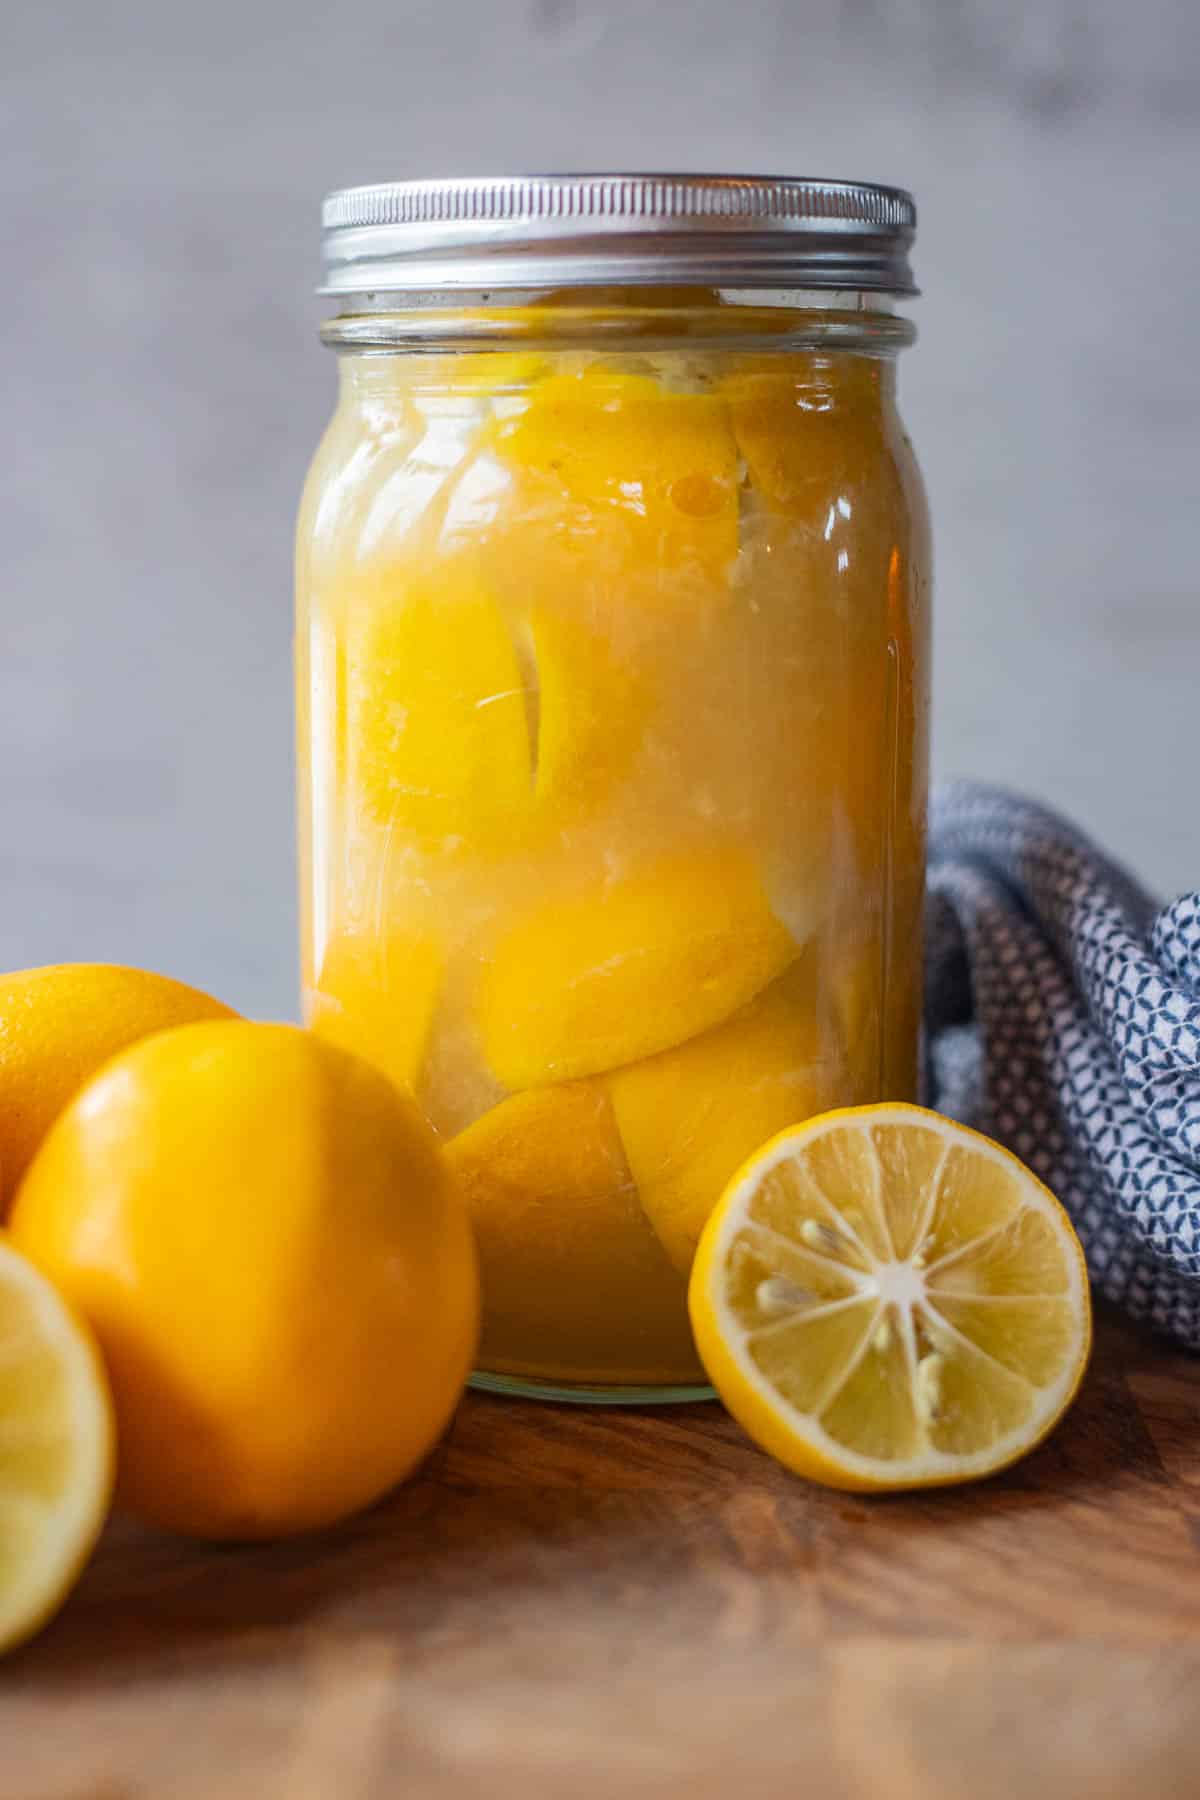
Step 2: Start by selecting 8 to 10 small organic lemons, and wash under cold running water.
Step 3: Slice off the pointy ends, then slice into quarters, but not all the way through. You want to be able to pull the sections apart in order to salt them, without the sections coming off.
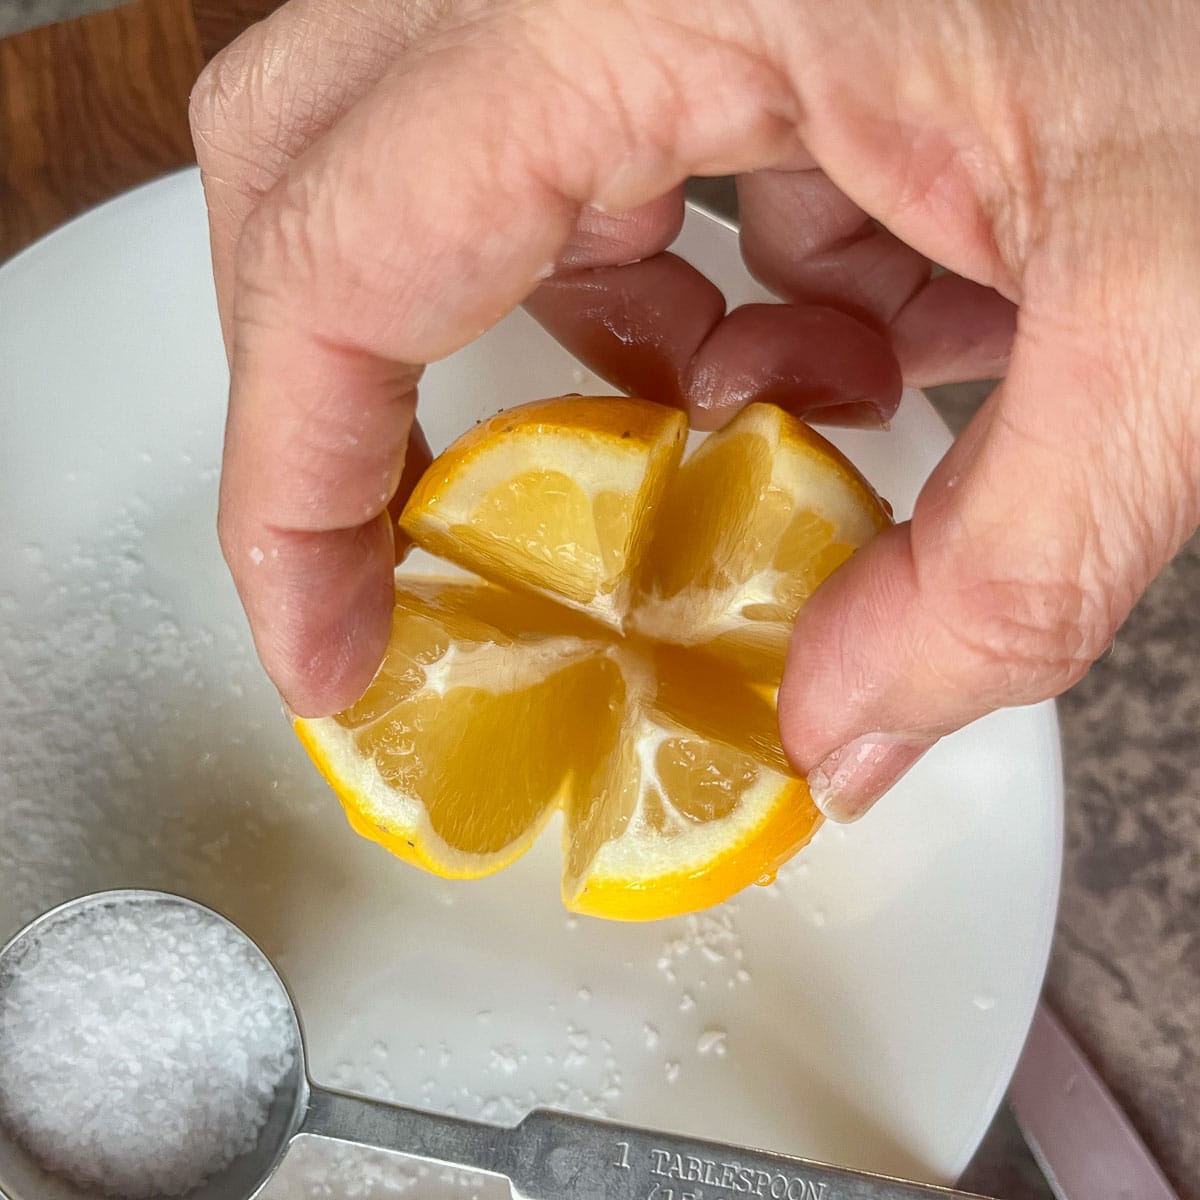
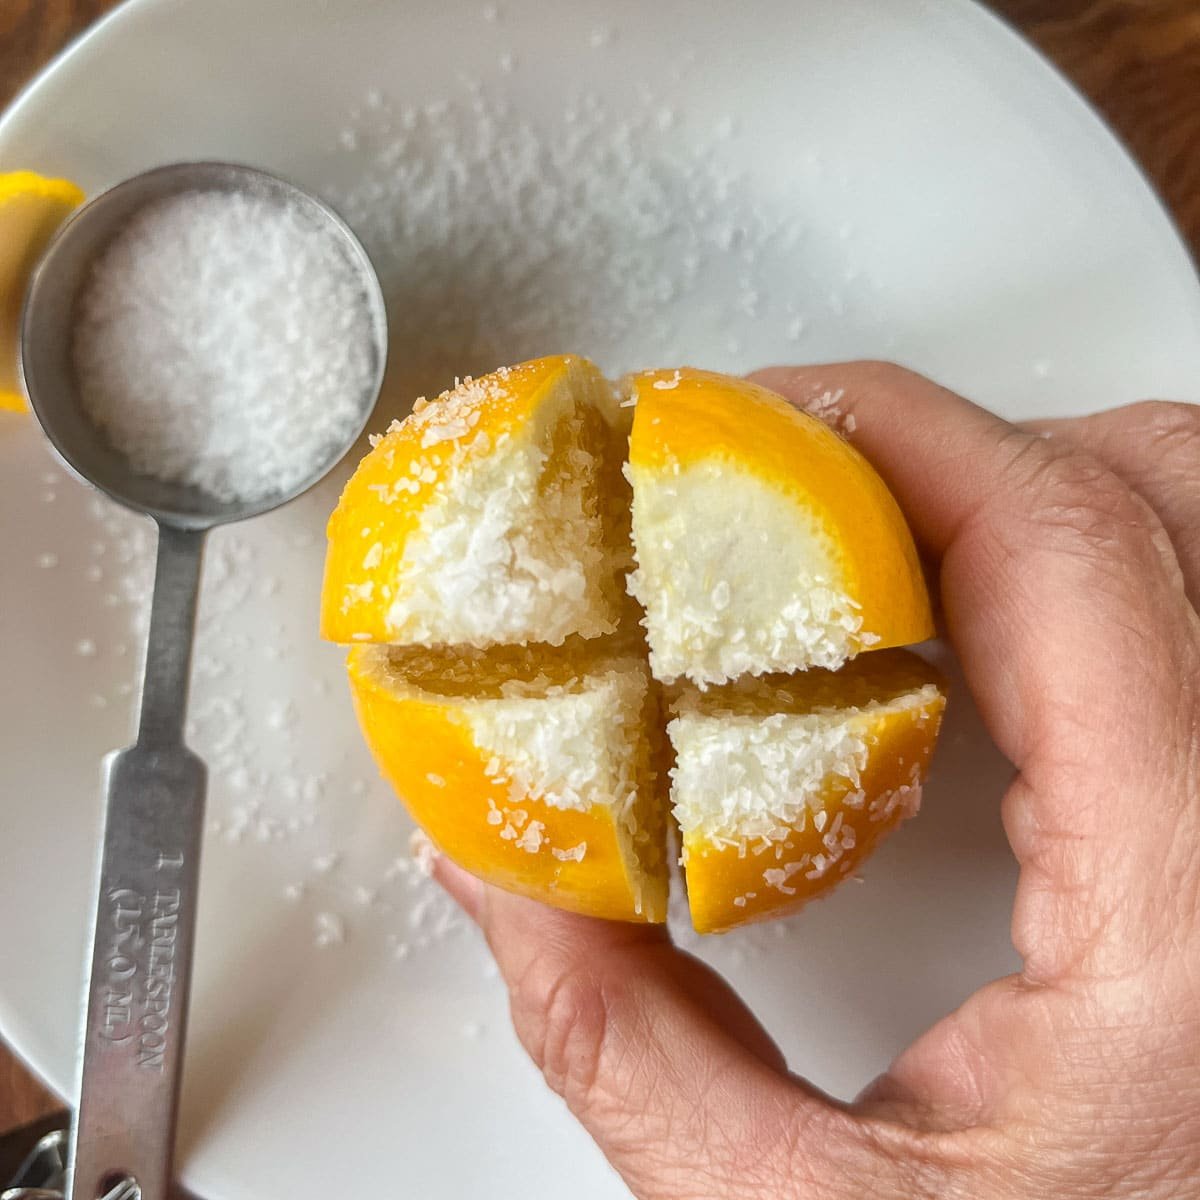
Step 4: Generously salt the inside of each lemon with approximately 1 teaspoon of salt, making sure to get the salt into every section.
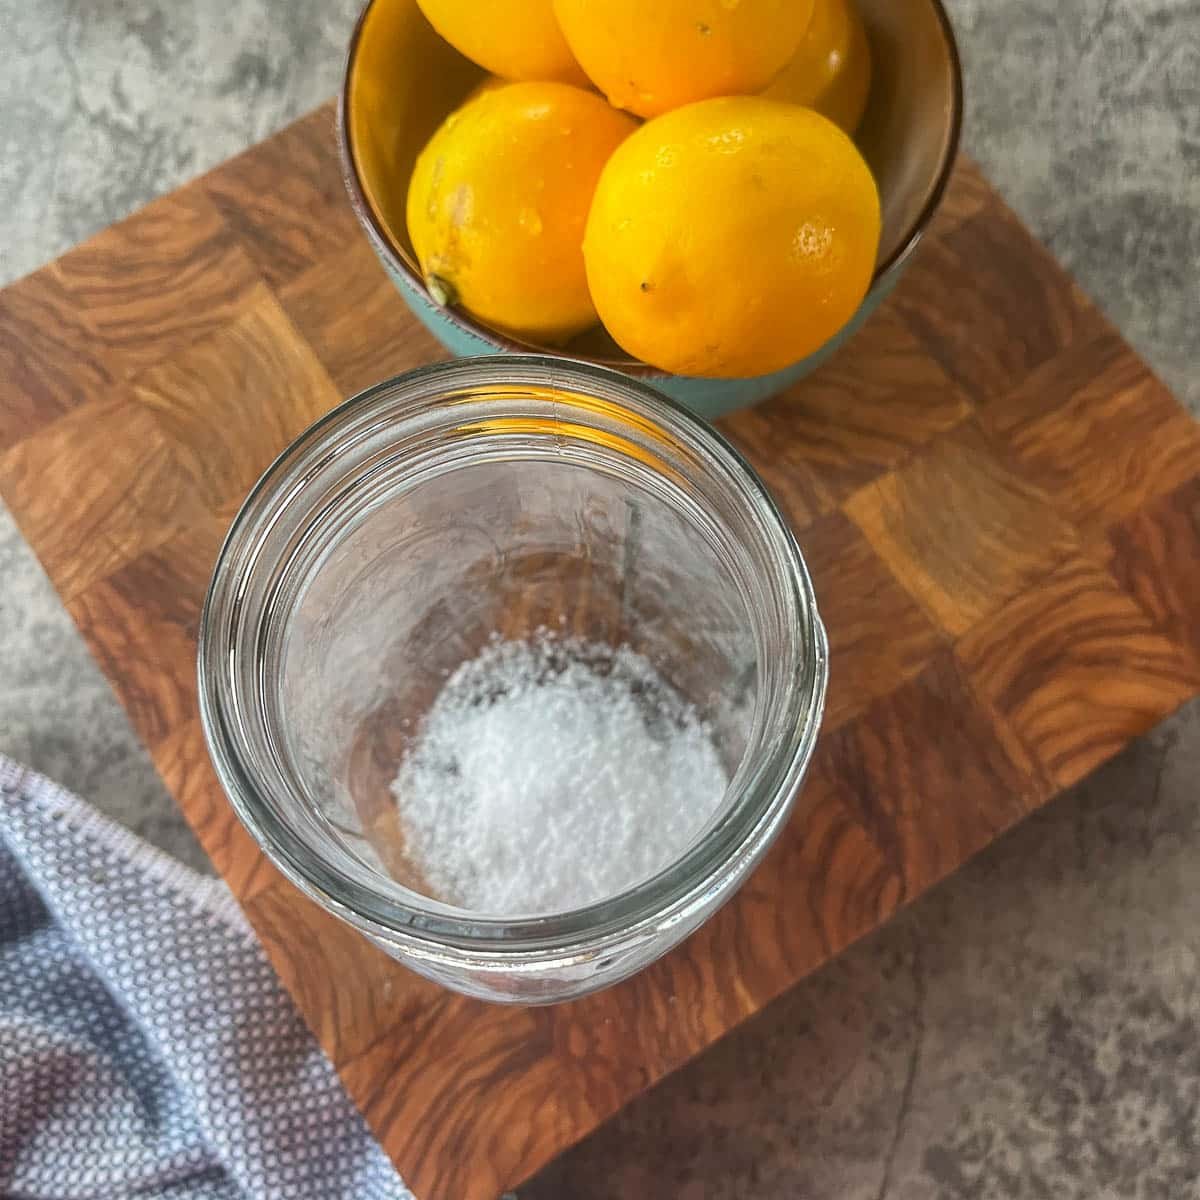
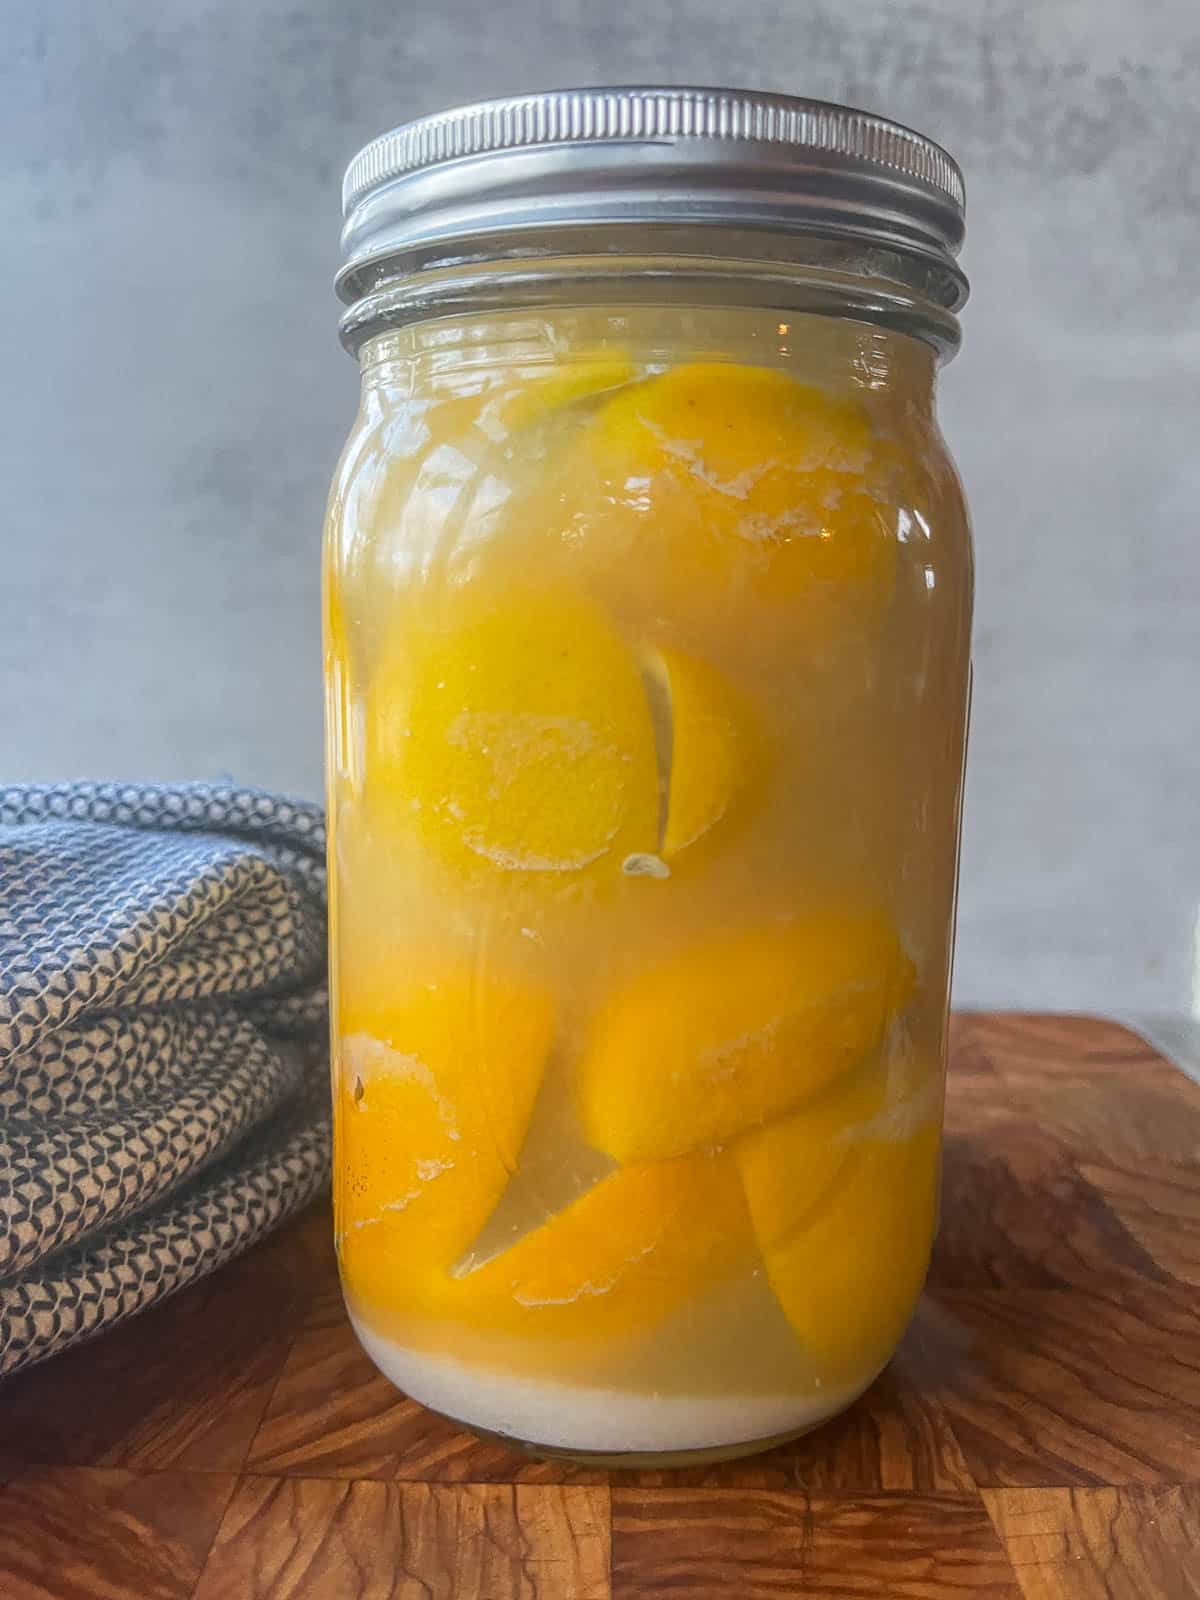
Step 5: Remove the sterilized jar and add approximately 1 tablespoon of salt to the bottom. Start adding the salted lemons inside the jar. Squeeze the lemons to release their juice as you pack them in.
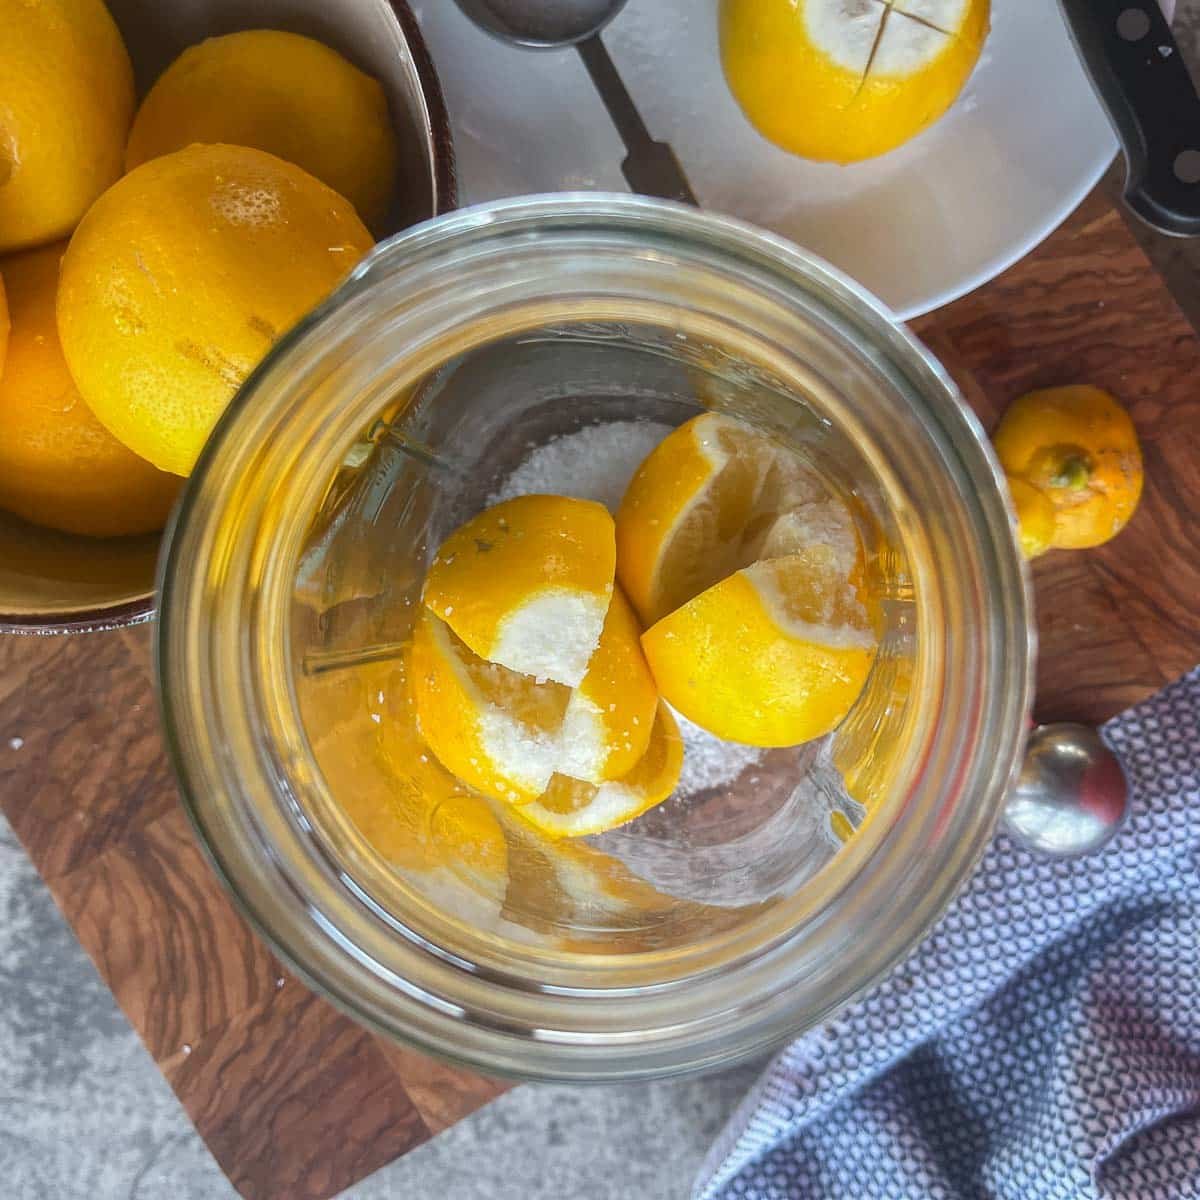
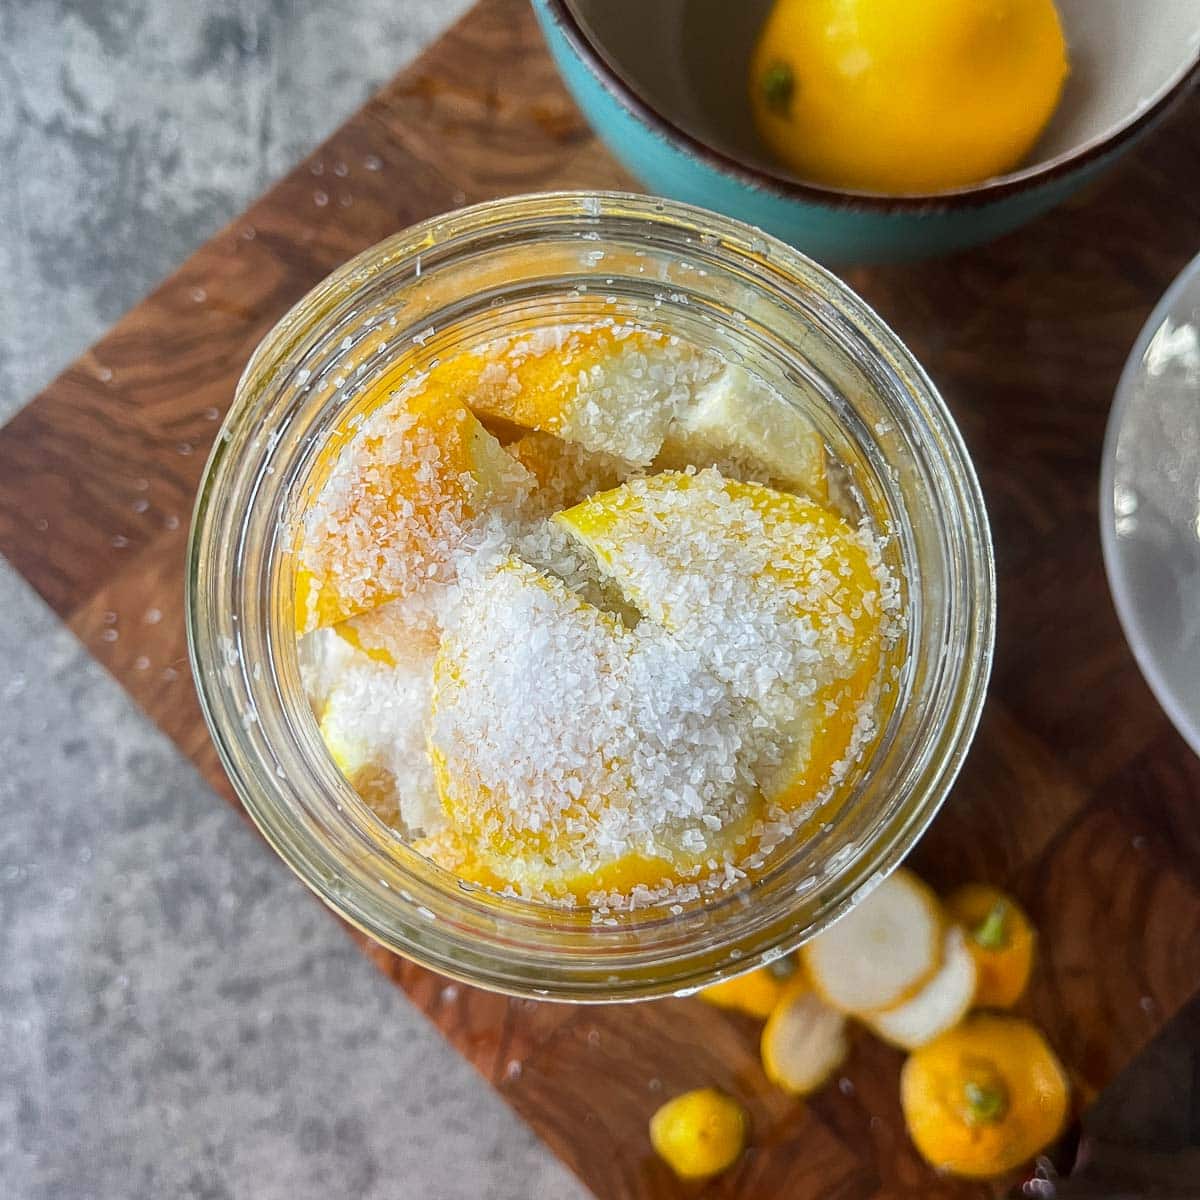
Step 6: After each lemon is added, sprinkle approximately one teaspoon of salt over it. If you are adding the optional ingredients, you will want to layer them throughout the jar as well.
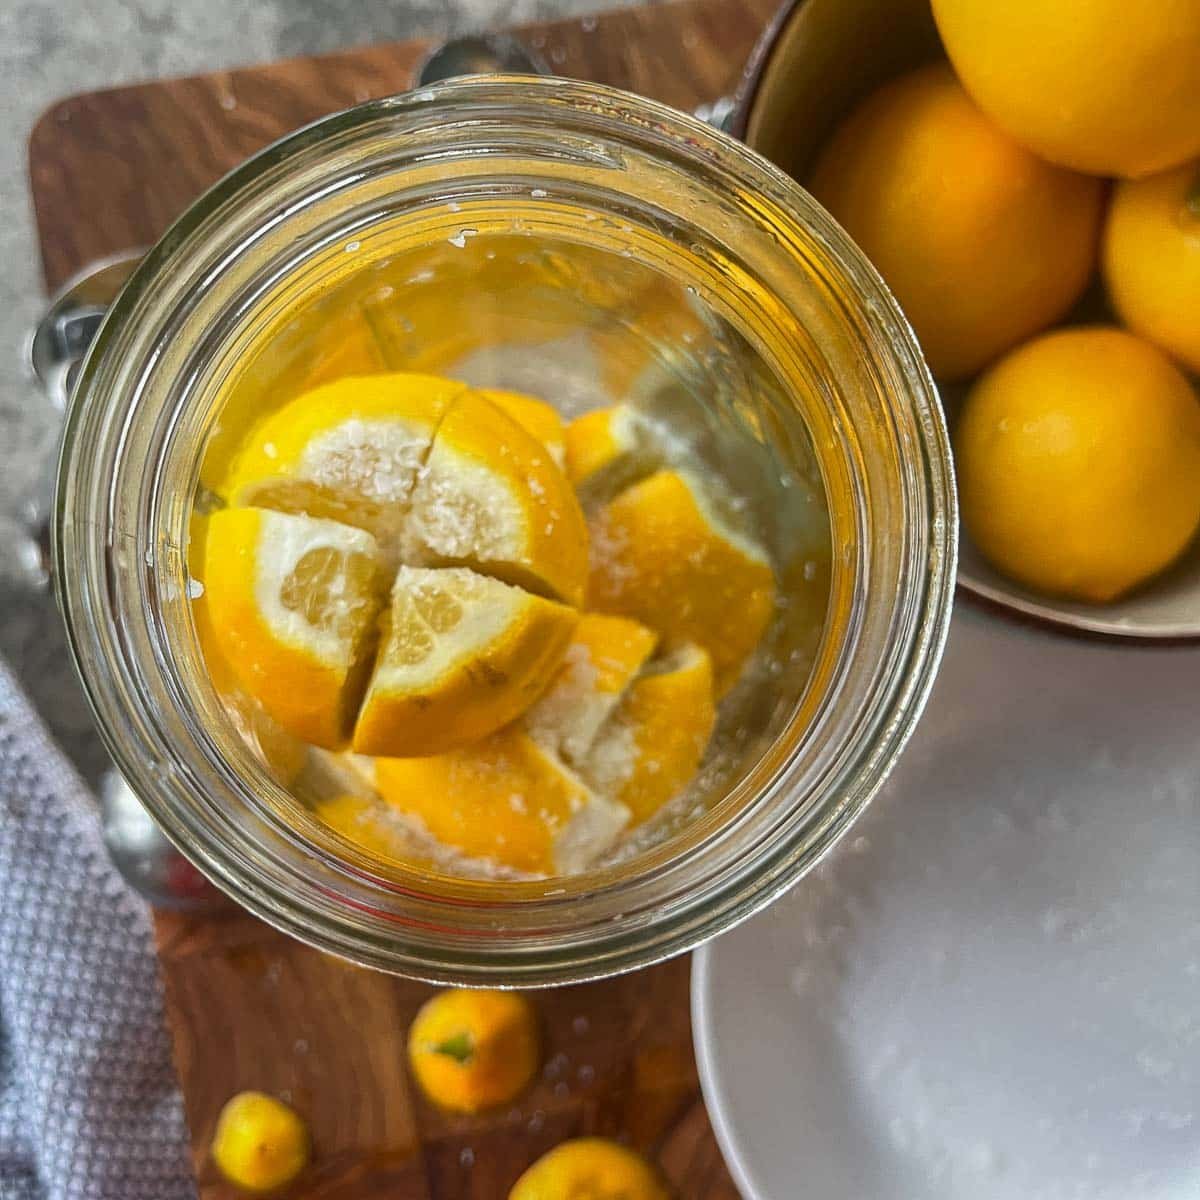
Pro Tip: Make sure to push down on the lemons as you add them, to crowd them into the jar as much as possible.
Step 7: If the liquid released from the lemons does not cover them entirely, you can add more fresh lemon juice or boiled water. Finish by adding 1 tablespoon of salt on top.
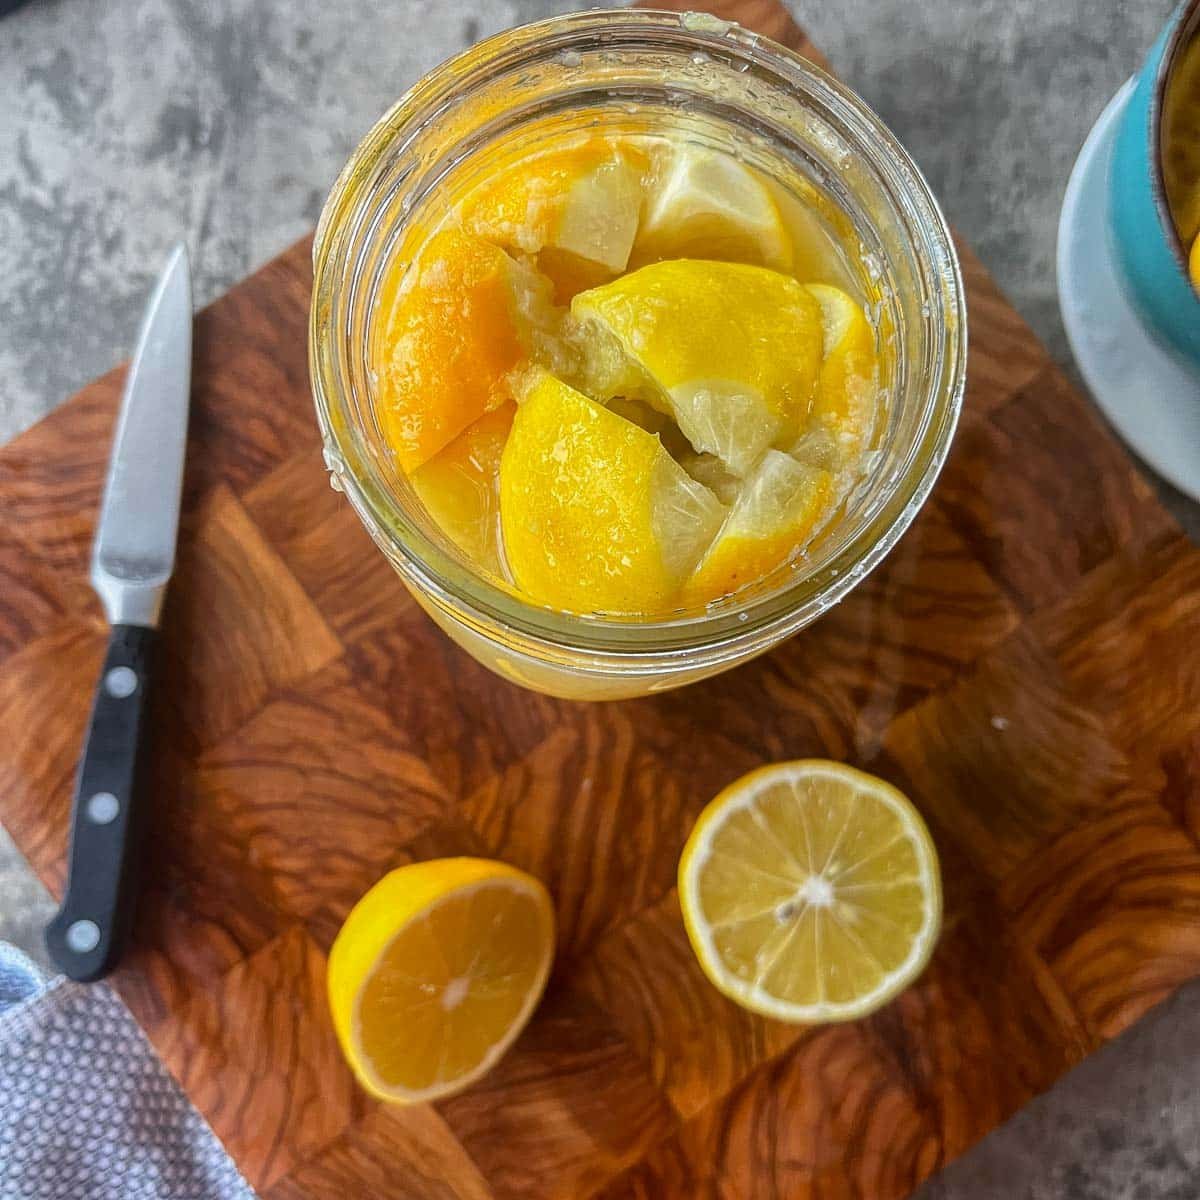
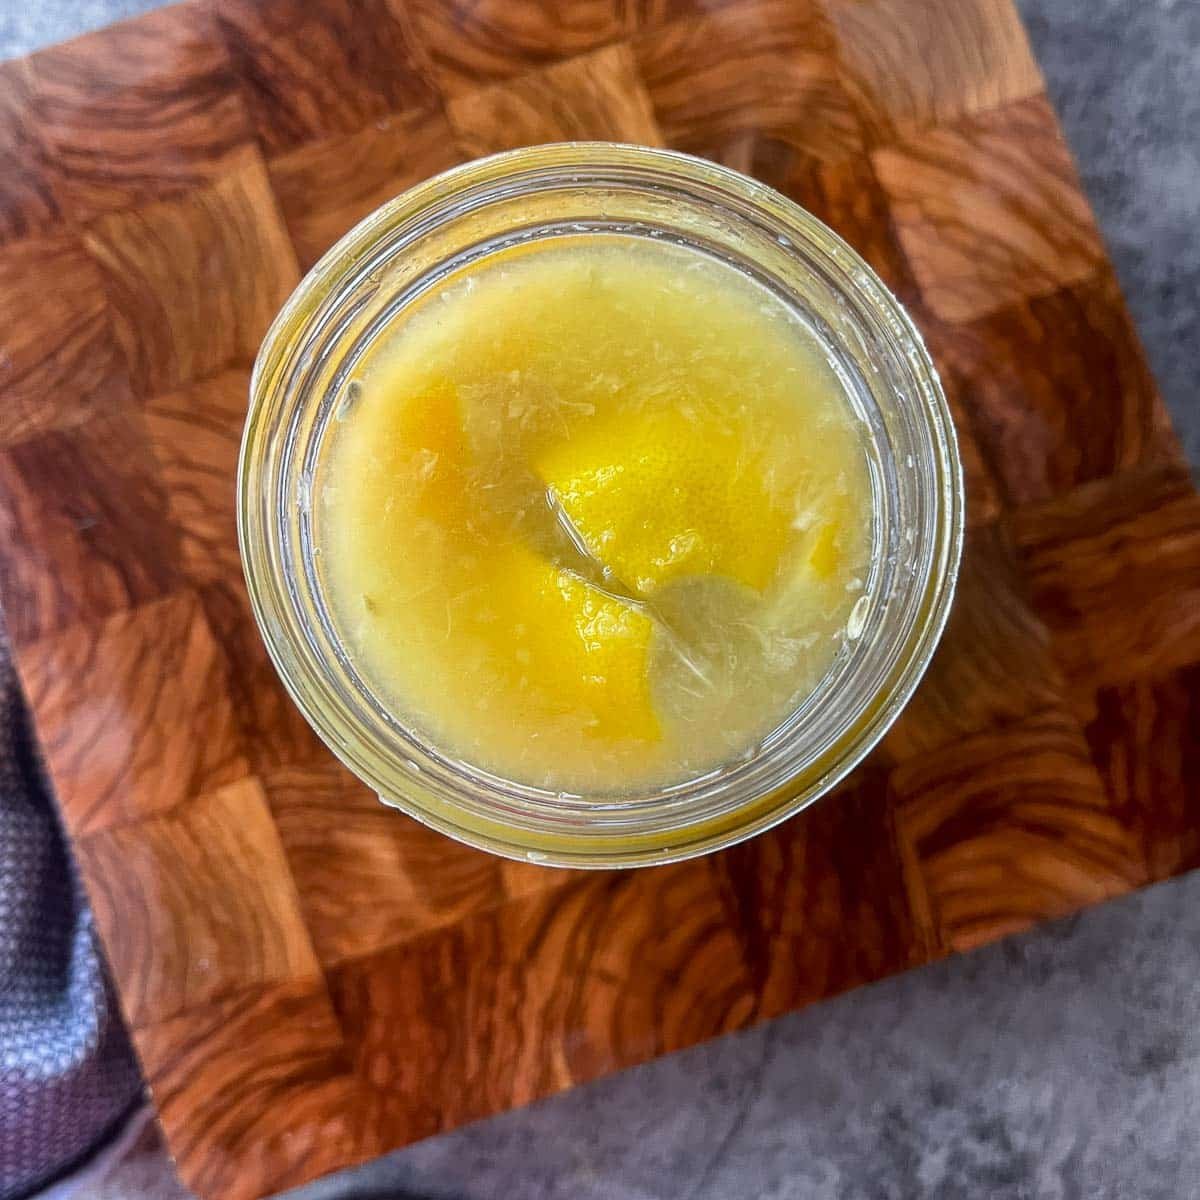
Step 8: Tighten the sterilized lid over the jar to seal, then give it a few good shakes. Leave the jar in a cool, dark location, shaking every couple of days to redistribute the juices. After the two week period, store in the refrigerator and use as needed.
🥘 How to Use Preserved Lemons
As mentioned earlier, preserved lemons are a staple in Moroccan cuisine. They are a prominent part of a popular dish named "Tagine" or "Tajine" (it is spelled both ways).
Chicken Tagine is a Moroccan chicken that is traditionally prepared with the rind of preserved olives and lemons, which give it a wonderful flavor!
Although the lemon flesh is a great addition to soups, sauces, and stews, the best part of the preserved lemons is the rind. To eat, simply rinse the excess salt off the lemons, dice them, and use them in pasta dishes, salad dressings, sauces, and soups.
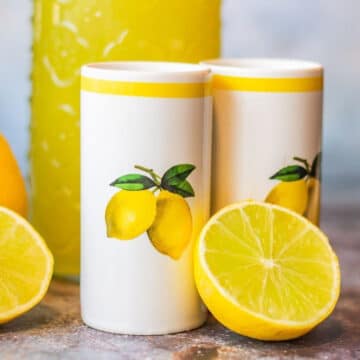
Not enough options? How about adding it to your limoncello martini, or blending some in Lebanese hummus?
🤷🏻♀️ FAQs
You need to allow the preserved lemons to pickle in a dark, cool location for a few weeks before refrigerating for longer storage.
Preserving lemons extends the length of time that they are usable. Their intense flavor is an excellent way to add lemony flavor to so many dishes and even cocktails!
👩🏼🍳 Pro Tips
- Your preserved lemons should be good in the fridge for at least six months!
- Expect the brine to be cloudy, but if you see mold growing in your jar, discard it.
- If using larger lemons, you may need to use a larger jar.
- You can easily adjust the batch size of this recipe.
- If this is your first time making preserved lemons, I recommend making some with just salt and some with added spices and see what you prefer!
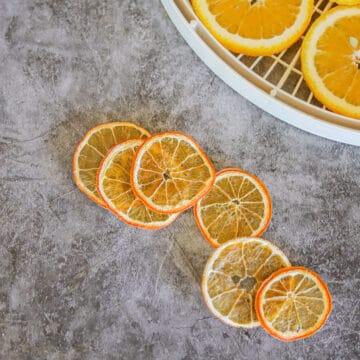
🍊More Citrus Recipes

Did you make this recipe?
📖 Recipe
Would you like to save this recipe?
Moroccan Preserved Lemons
Ingredients
Equipment
Method
- Before you begin, place 1 quart-sized mason jar in a Dutch oven and cover with fresh water. Bring to a boil and sterilize for 10 minutes, while you prepare the lemons.
- Start by selecting 8 to 10 small organic lemons, and wash under cold running water.
- Slice off the pointy ends, then slice into quarters, but not all the way through. You want to be able to pull the sections apart in order to salt them, without the sections coming off.
- Generously salt the inside of each lemon with approximately 1 teaspoon of salt, make sure to get the salt into every section.
- Remove the sterilized jar and add approximately 1 tablespoon of salt on the bottom. Start adding the salted lemons inside the jar. Squeeze the lemons to release their juice as you pack them in.
- After each lemon is added, sprinkle approximately one teaspoon of salt over it. If you are adding the optional ingredients, you will want to layer them throughout the jar as well.
- If the liquid released from the lemons does not cover them entirely, you can add more lemon juice or boiled water. Finish by adding 1 tablespoon of salt on top.
- Tighten the sterilized lid over the jar, and give it a few good shakes. Leave the jar in a cool, dark location, shaking every couple of days to redistribute the juices. After the two week period, store in the fridge and use as needed.
Nutrition
Notes
- Your preserved lemons should be good in the fridge for at least six months!
- If using larger lemons, you may need to use a larger jar.
- Make sure to push down on the lemons as you add them, to crowd them into the jar as much as possible.
- You can easily adjust the batch size of this recipe.
- If this is your first time making preserved lemons, I recommend making some with just salt and some with added spices and see what you prefer!
tidbitsbytaylor says
Wow I didn't know preserved lemons were a thing, although you could probably preserve almost anything! The lemons sound like they would be delicious though, thanks for sharing 🙂
HildaSterner says
Thanks for stopping by, Taylor! You are right, you probably can preserve anything with enough salt! 😉 Hope you give this recipe a try. Preserved lemons have so many uses!
Moondancer says
We have a similar one in the Maldives. We add turmeric to the salt and add some black seeds to the jar. Leave the jars in the sun for several days and it’s done. Lasts for several months without refrigeration.
HildaSterner says
That's very cool, thanks for sharing! I love learning about other cultures and how they tackle the same recipes with a different angle!
anastaciast says
Hello, Hilda! This looks lovely. I am curious as to how these were historically stored without refrigerators? Shlama!
HildaSterner says
Shlama, That is a good question. I know back in the old days in Iraq, they buried things to keep them cool, like "buried cheese." Maybe they did something similar? I think these would still last a long time unrefrigerated, since they are so well preserved with salt. Just as long as the lemons are submerged under the liquid. But, since we do have the technology, I figure we might as well use it!
Aisha says
This sounds great and I'm looking forward to trying it. But aren't the lemons ubrë salty!? Don't you have to adjust your recipe to no salt??
Hilda Sterner says
Aisha,
The salt is needed to preserve the lemons. You can't preserve them without the salt. 😉 They are great for cooking and should be rinsed first, removing the excess salt.