
This Sun-Dried Tomatoes in Oil recipe is the perfect answer for those times when you have a bumper crop of tomatoes and want to preserve some for later. Sun-dried tomatoes go great in most pasta dishes, but I especially love them in my easy marry me chicken!
Would you like to save this recipe?
I just love sun-dried tomatoes, don't you? I love the rich, tangy flavor they impart to so many dishes, especially pasta! But you don't have to stop there, sun-dried tomatoes can also be added to a gourmet grilled cheese sandwich, cheesy scrambled eggs, and as a topping on your smoked pizza!
Jump to:
😍 Why You'll Love This Recipe
- This homemade sun-dried tomatoes recipe is very easy to make.
- You can prepare this recipe in a variety of ways, including in the oven, in a dehydrator, or outside, in the sun.
- Sun-dried tomatoes can be frozen for long-term storage.
🔖 Ingredients & Substitutions
- Tomatoes: I prefer to use grape or cherry tomatoes; however, other types of tomatoes can be dried in the same way by slicing them into thin slices.
- Fresh Herbs: Besides basil and oregano, you can use thyme, rosemary, or your favorite herbs.
- Olive Oil: Use a good quality extra-virgin olive oil. It makes all the difference!
- Garlic: Fresh garlic is added to each jar for additional flavor.
🍅 How to Make Sun Dried Tomatoes
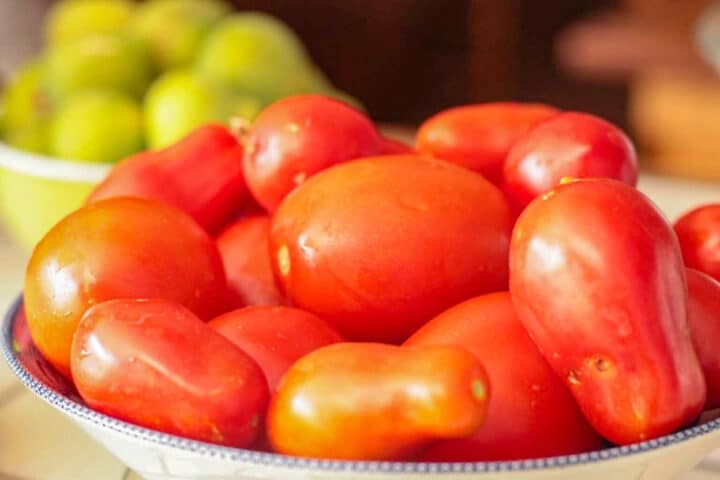
Step 1: Pick tomatoes, then wash and dry them.
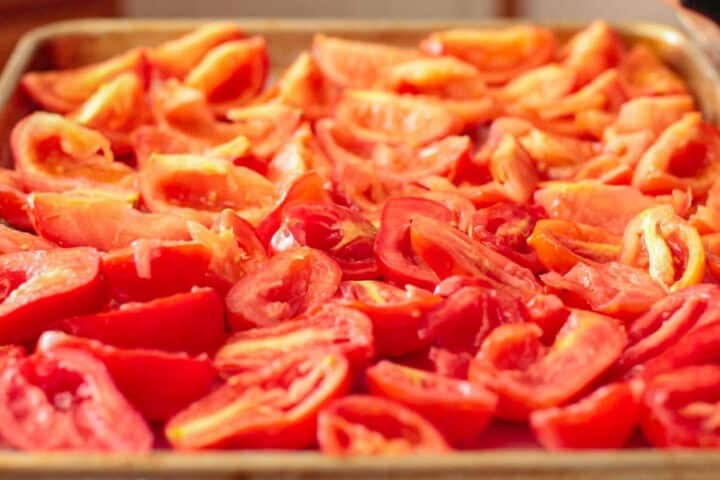
Step 2: Slice the tomatoes in half. Carefully remove the seeds without removing the pulp in between the seeds. Arrange the tomatoes on a cookie sheet lined with parchment paper.
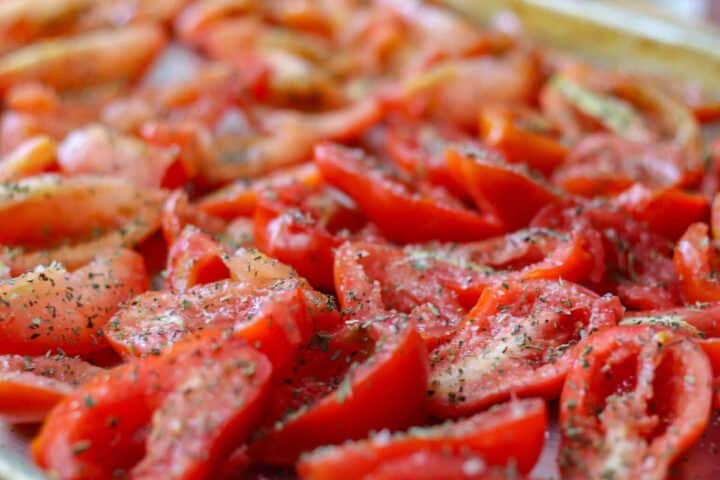
Step 3: Sprinkle the tomatoes with sea salt, basil, and oregano.
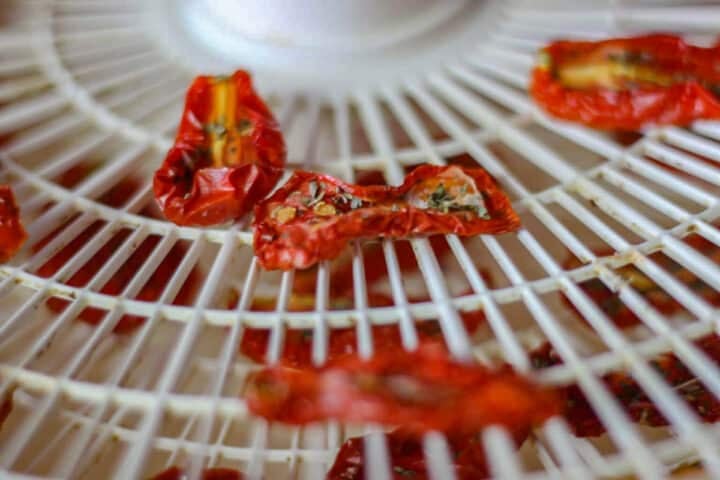
Step 4: Place the tomatoes on the dehydrator trays, allowing some room between the tomatoes for air circulation. Follow the temperature and times suggested by your dehydrator. It took my dehydrator eight hours to dehydrate the tomatoes to the right consistency. You want the tomatoes to still be soft and pliable and not crispy.
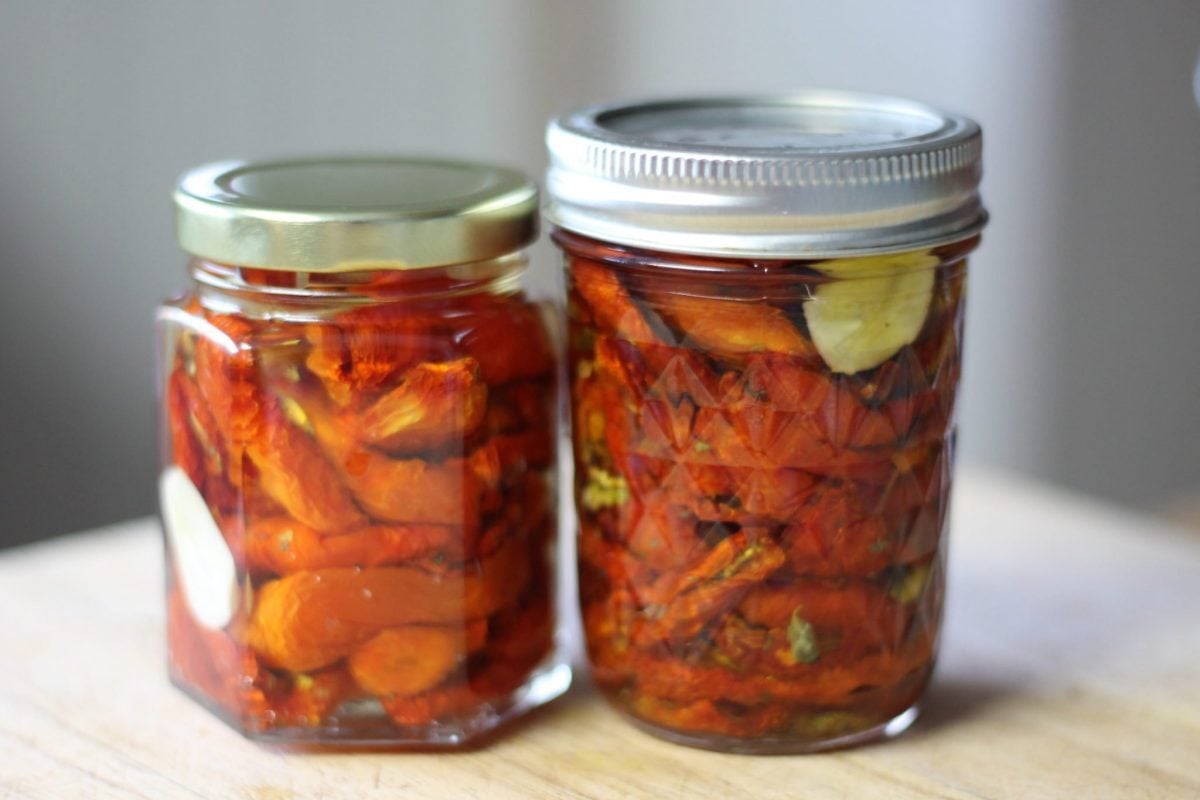
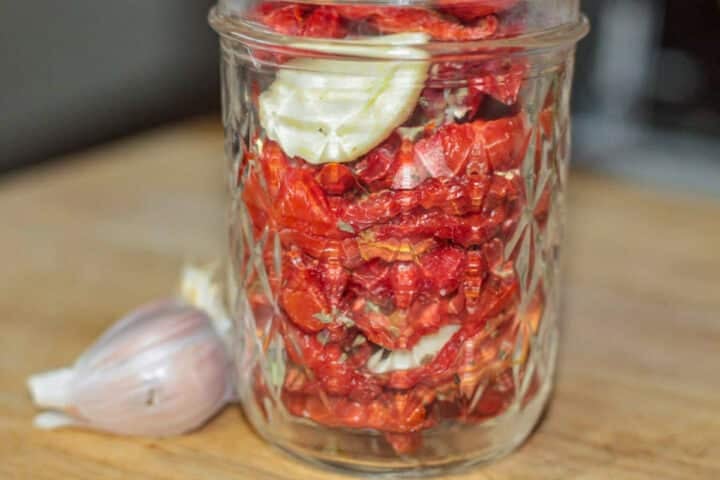
Step 5: Divide the tomatoes between two sterilized jars. Peel the garlic and cut it in half, then divide it between the jars.
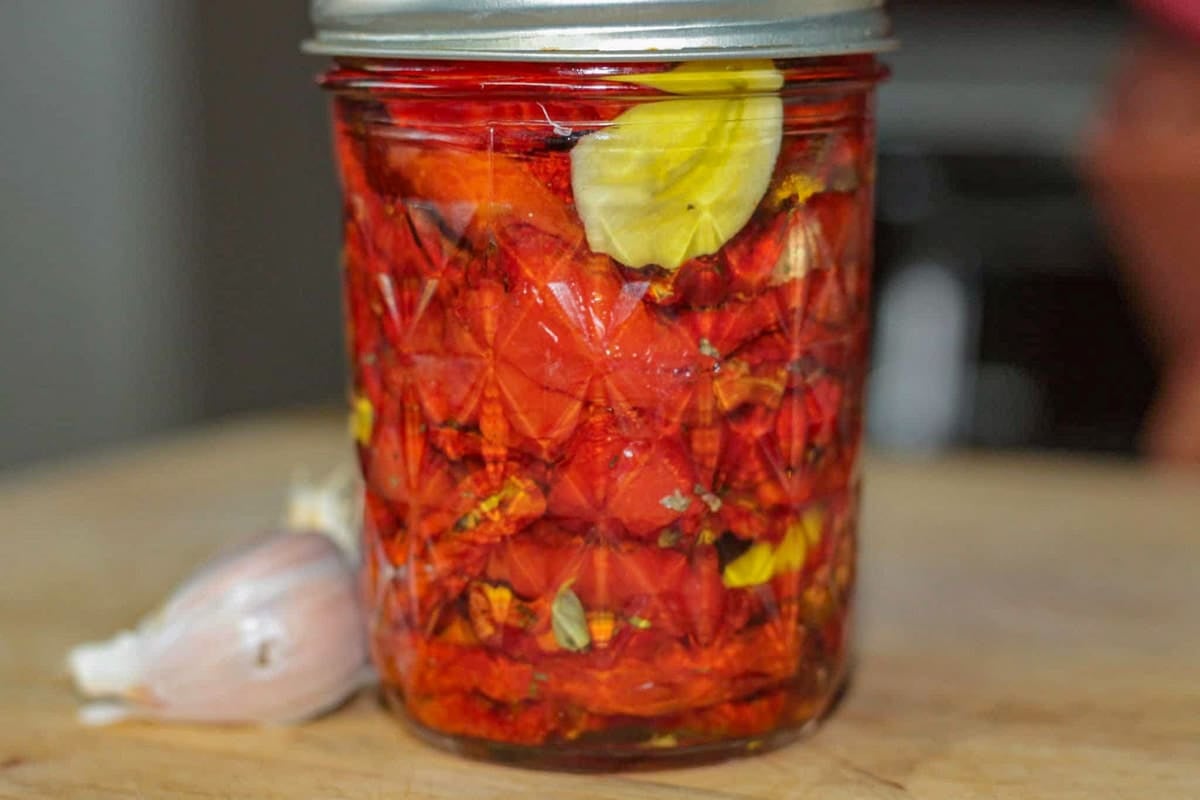
Step 6: Pour the olive oil over the tomatoes, making sure they are completely submerged. Seal the jar and store in the refrigerator.
🤷🏻♀️ Recipe FAQs
If you don't have a dehydrator, you can simply roast the sliced tomatoes in the oven at 200 degrees for 6-8 hours (depending on the size of the tomatoes).
To dry tomatoes outside, place sliced tomatoes on a baking sheet and cover them with cheesecloth. Leave them outside for 2 to 3 days, or until completely dry. The length of time it takes until the moisture is eliminated will depend on the weather conditions including the humidity.
Sun-dried tomatoes can be used in all kinds of recipes! You can add sun-dried tomatoes to pasta dishes, soups, stews, dips, and pizza! You can also add sun-dried tomatoes to sandwiches and pestos. You can even blend them with mayo and other ingredients to make a sun-dried aioli!
🍍 More Dehydrated Recipes
Dehydrators come in a variety of styles and prices. Besides making this recipe, you can use the dehydrator to make many other things like pineapple chips and jerky. You can also learn how to dry basil and other herbs or make apricot fruit leather!
👩🏼🍳 Pro Tips
- Try sprinkling the tomatoes with other herbs that you may prefer, such as rosemary or thyme.
- Be careful not to over-dry the tomatoes. They should still be somewhat pliable and have a chewy texture.
- You might also consider adding a tablespoon of lemon juice to each jar prior to sealing them. The acid helps to preserve them even further.
- To avoid spoilage for longer storage, don't add garlic.
- Sun-dried tomatoes should last a month or more when refrigerated.

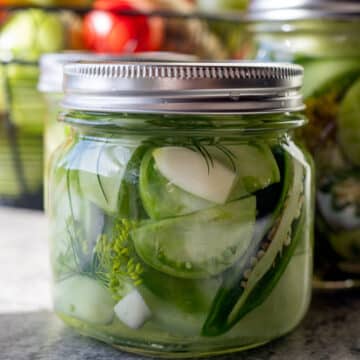
🥒 Other Pickling and Canning Recipes


Did you make this recipe?
📖 Recipe
Would you like to save this recipe?

Dehydrated "Sun-Dried" Tomatoes in Oil
Ingredients
Equipment
Method
- Pick tomatoes, then wash and dry them.
- Slice the tomatoes in half. Carefully remove the seeds without removing the pulp in-between the seeds. Arrange the tomatoes on a cookie sheet.
- Sprinkle the tomatoes with sea salt, basil, and oregano. Place the tomatoes on the dehydrator trays, allowing some room between the tomatoes for air circulation.
- Follow the temperature and times suggested by your dehydrator. It took my dehydrator eight hours to dehydrate the tomatoes to the right consistency. You want them to be still soft and pliable, not crispy.
- Divide the tomatoes between two sterilized jars. Peel the garlic and cut in half, then divide between the jars.
- Pour the olive oil over the tomatoes, making sure they are completely submerged. Seal and refrigerate until ready to use.
Nutrition
Video
Notes
- Try sprinkling the tomatoes with other herbs that you may prefer, such as rosemary or thyme.
- Be careful not to over-dry the tomatoes. They should still be somewhat pliable and have a chewy texture.
- You might also consider adding a tablespoon of lemon juice to each jar prior to sealing them. The acid helps to preserve them even further.
- To avoid spoilage for longer storage, don't add garlic.
- Sun-dried tomatoes should last a month or more when refrigerated.
Dianna says
What do you do with the olive oil when you have used all the tomatoes?
Hilda Sterner says
Hi Dianna,
I use it like I would use olive oil. I cook and sauté with it.
Tracie says
Do you actually can the tomatoes, like in a hot water bath?
Hilda Sterner says
Hi Tracie, It's not recommended to water bath sun-dried tomatoes. It's best to make them in smaller batches and store them in the fridge, or freeze them for longer storage.
Teresa Evers says
Hilda, my family just loved this recipe. I have never had sun dried tomatoes before. My husband and I served it over pasta, with Pecorino Romano cheese on top. Such a delicious recipe. All these ingredients I always have on hand. Thank you Hilda.
Hilda Sterner says
Thank you, Teresa! So glad you guys enjoyed them. And yes, they're so easy to make!
Karla L Cole says
When you say vacuum seal, are you talking about canning them in water like with pasta sauce?
Hilda Sterner says