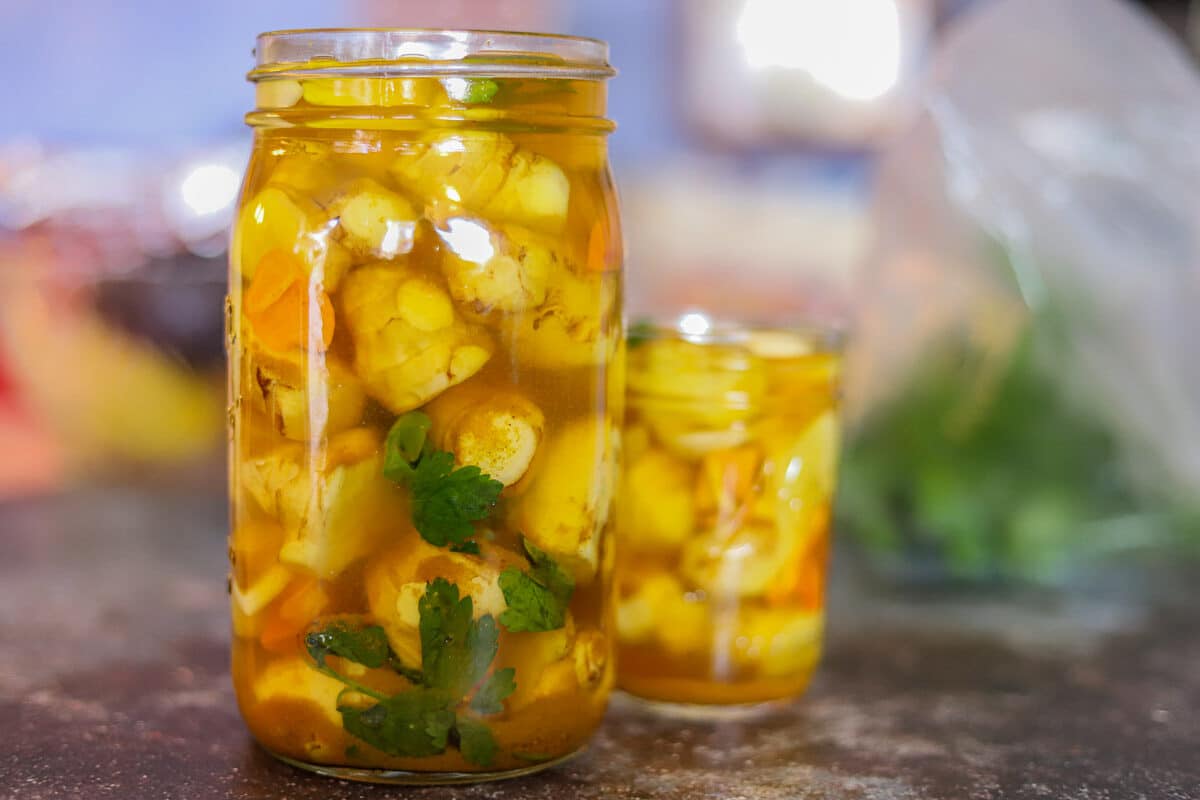
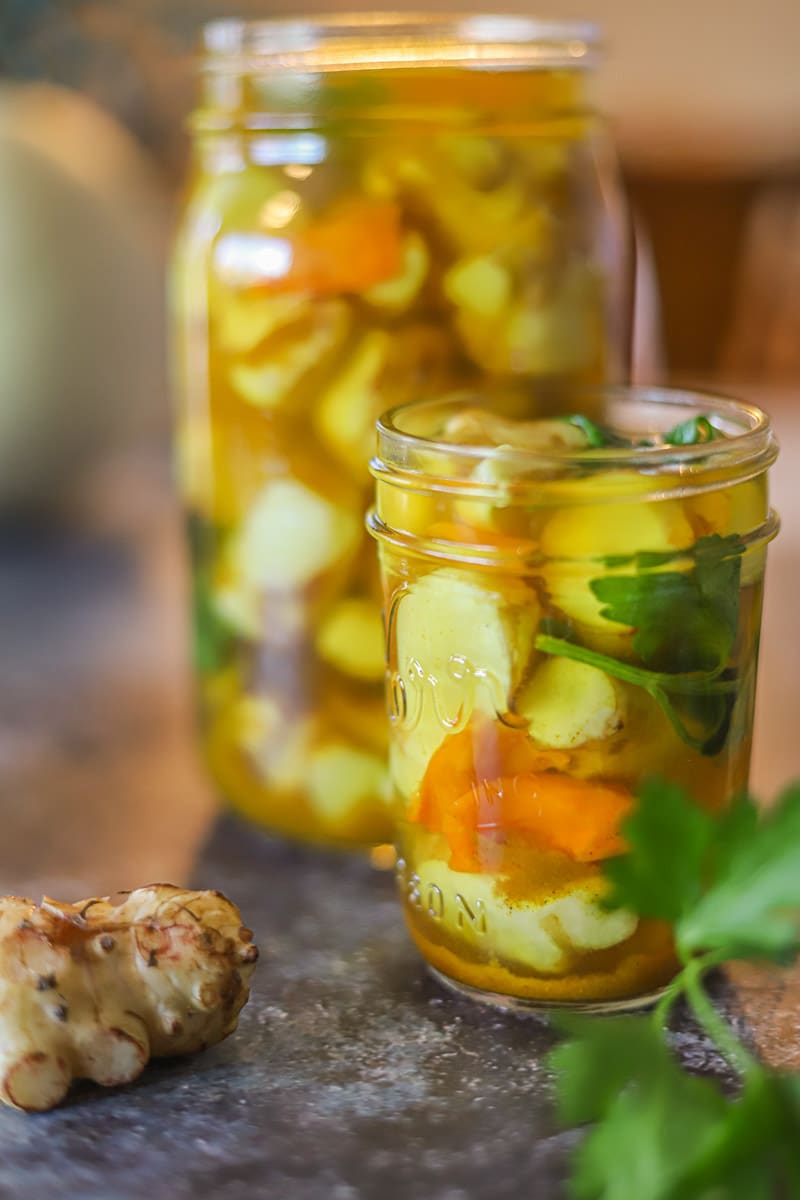
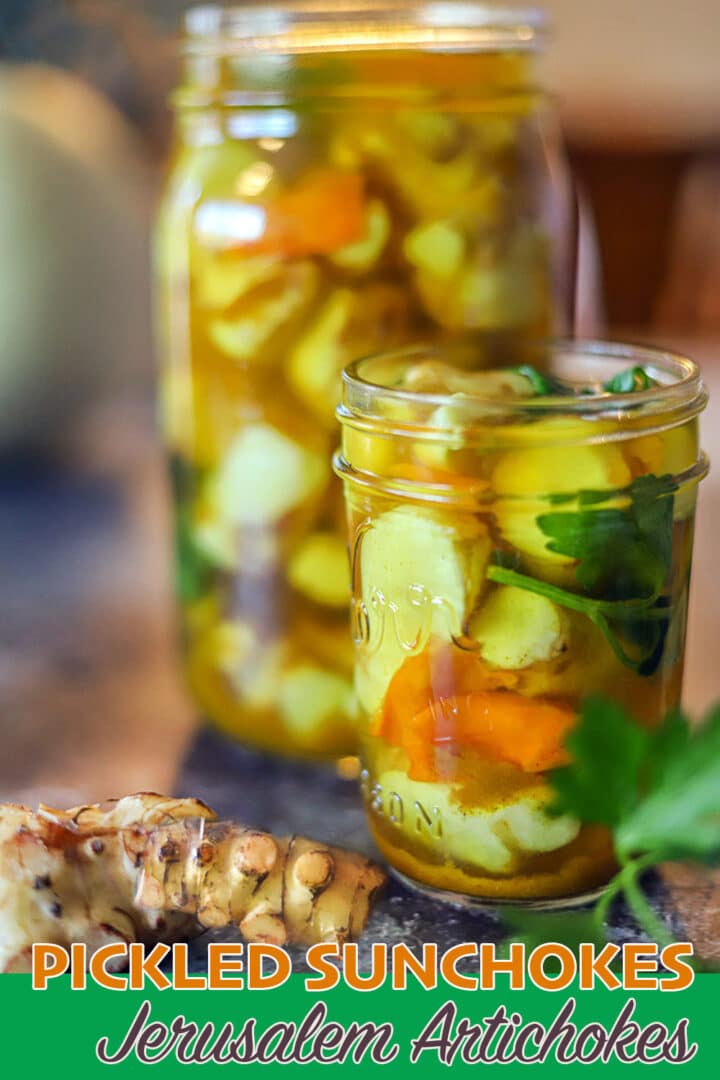
In this Jerusalem Artichokes Recipe post, I'll be sharing my favorite way to enjoy these surprisingly sweet and nutty tubers, pickled! There are many Sunchoke Recipes online, but this is by far my favorite! Torshi, including pickled sunchokes, are served on the side with Assyrian meals, especially with stew and rice.
"Sunchokes" are called "
Jump to:
🧐 Why This Recipe Works
- Pickled sunchokes have a way of taking over the garden so pickling them is a great way of preserving them to enjoy throughout the year.
- Fermented vegetables contain lots of healthy gut bacteria.
- This is an easy-to-follow recipe and only requires a handful of ingredients.
🛒 What You Need For This Recipe
🔖 Recipe Ingredient Notes
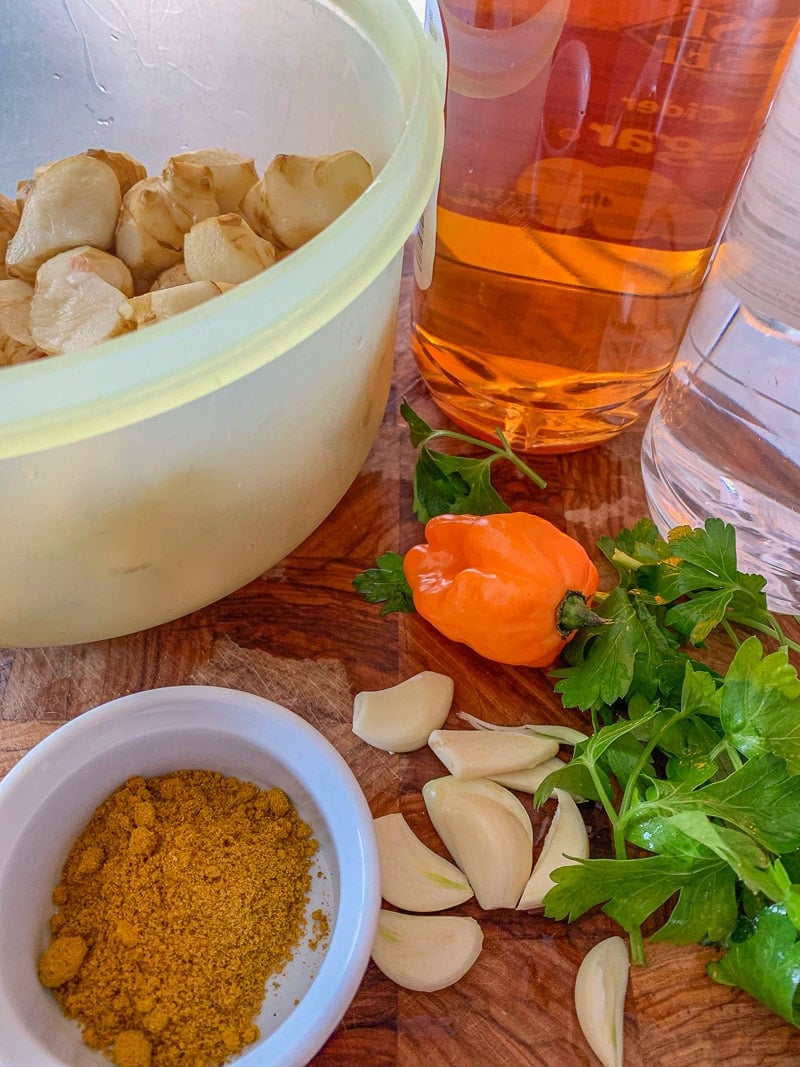
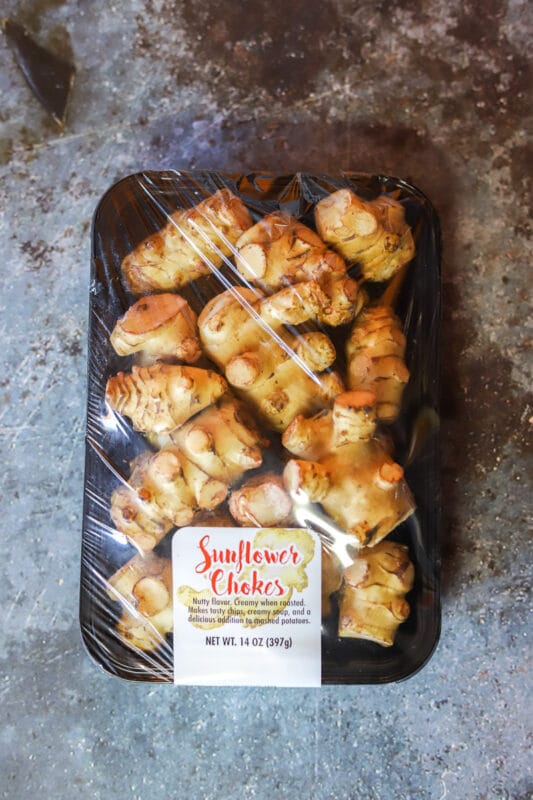
- Sunchokes — Sunchokes can be found in the Fall in some health food stores or ethnic markets. They can be listed as "Sunflower Chokes" or "Jerusalem artichokes" They can also be grown by sticking the tubers into the ground. Once planted, the tubers spread and multiply in number and can be harvested in the Fall.
- Curry — Curry powder comes in both hot and mild, either may be used in this recipe.
- Vinegar — I like to use a combination of apple cider vinegar and distilled white vinegar. However, you can either one.
- Peppers — Spicy peppers like habaneros are not added traditionally, but I like to add them. Feel free to leave them out.
🌻 How to Make Pickled Sunchokes
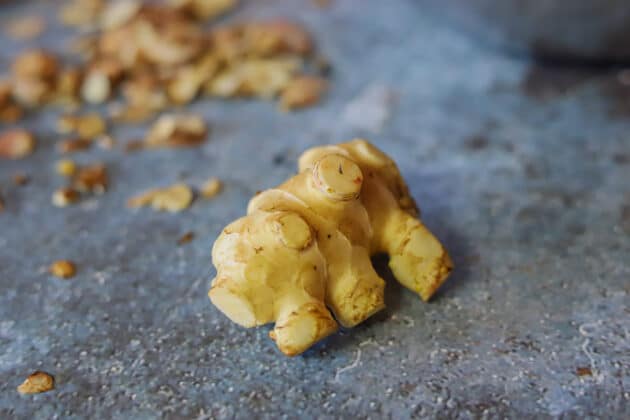
STEP 1: Thoroughly clean sunchokes to remove all the soil and dirt. Trim any dark spots or knots off, and peel if needed.
STEP 2: Stir half of the salt into one quart (4 cups) of cold water, and mix until the salt is dissolved.
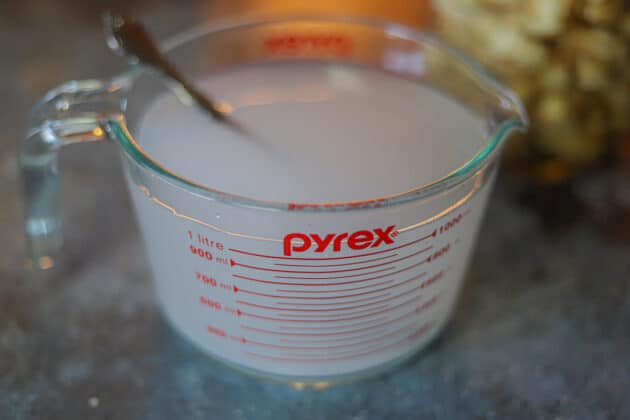
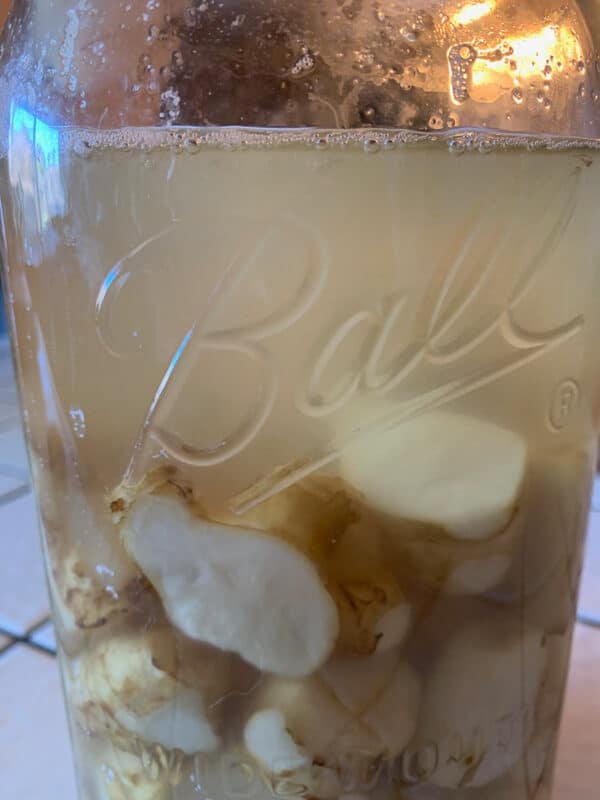
STEP 3: Place sunchokes in a large sterilized jar. Cover with the brine solution.
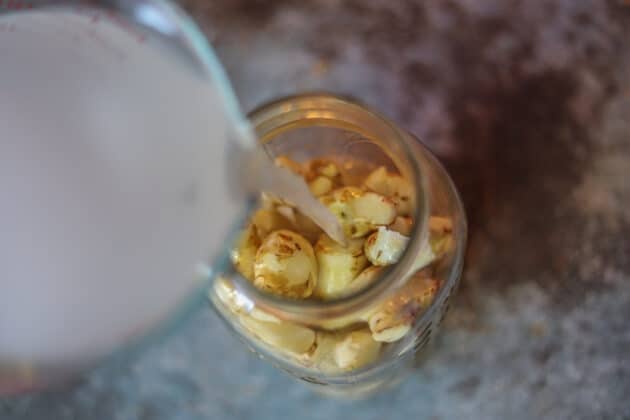
STEP 4: Leave the lid untightened to allow the gases to escape.
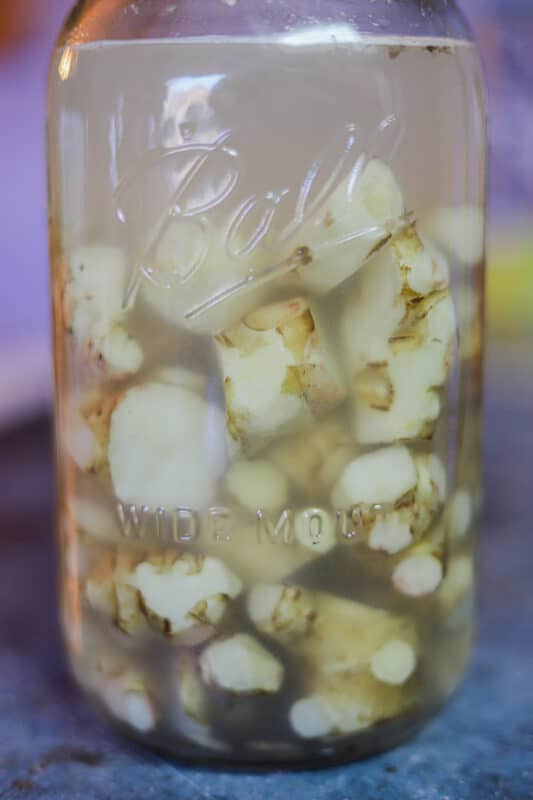
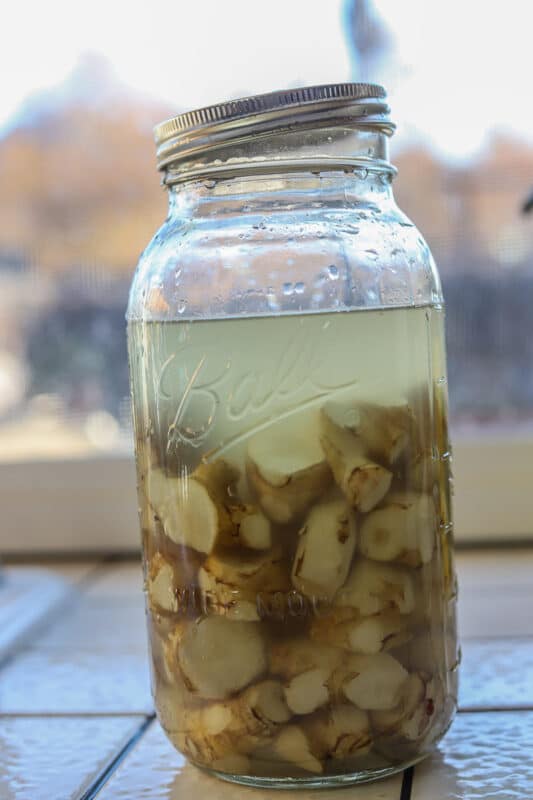
STEP 5: Place the bottle in a dark location for one week. Check the bottled sunchokes after three days. There should be a build-up of gases. If not, be patient, it will happen.
STEP 6: When the brine does get murky and the gases float to the surface drain the old brine and make a new batch. Brine the sunchokes for approximately four more days.
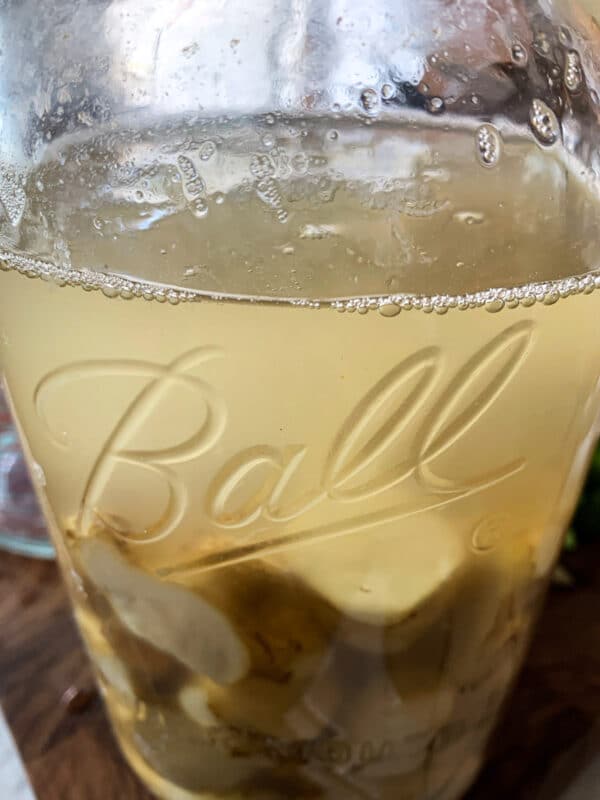
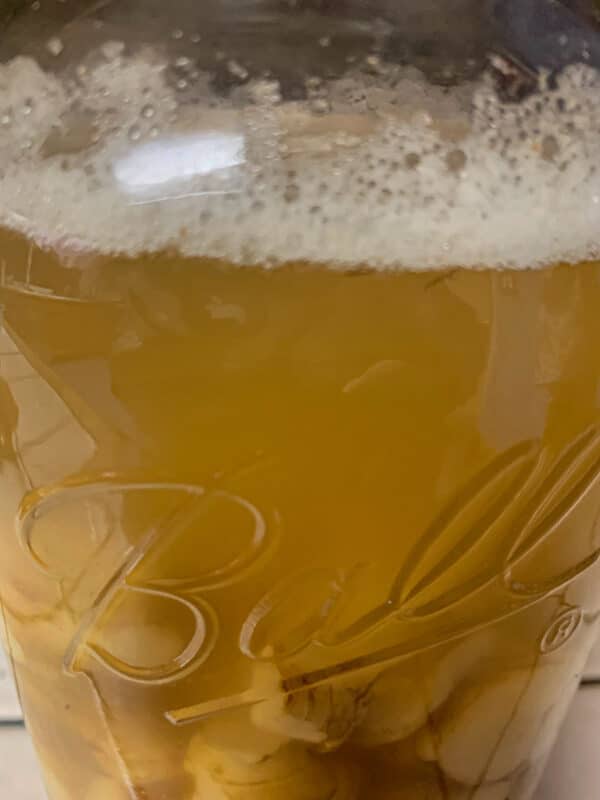
STEP 7: Once the sunchokes have been brined for one week, remove them from the brine and rinse them with fresh, cold water.
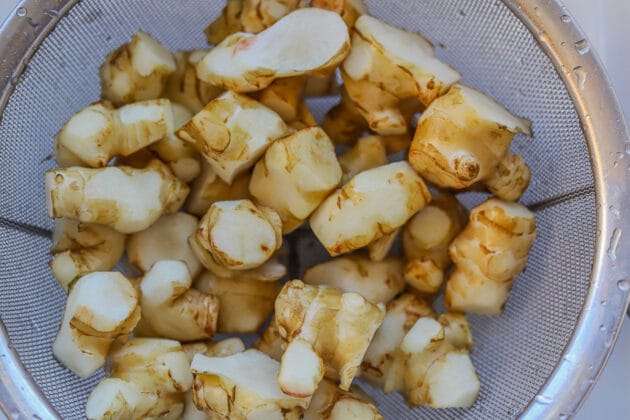
STEP 8: Pour vinegar into a saucepan and bring to a boil. Remove from heat and stir the curry into the vinegar until combined. The curry will still settle to the bottom, which is ok.
STEP 9: Allow the vinegar to cool for approximately five minutes. Add sunchokes, garlic, parsley, and chilis (if using).
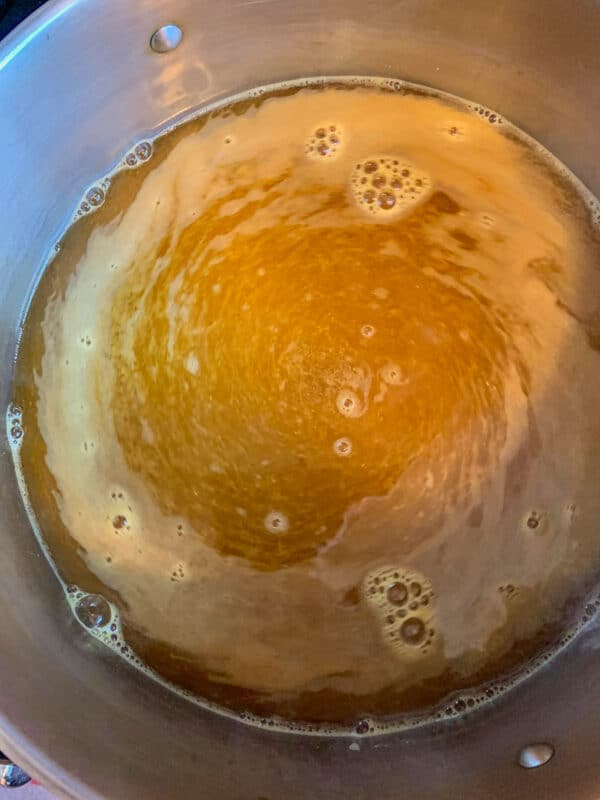
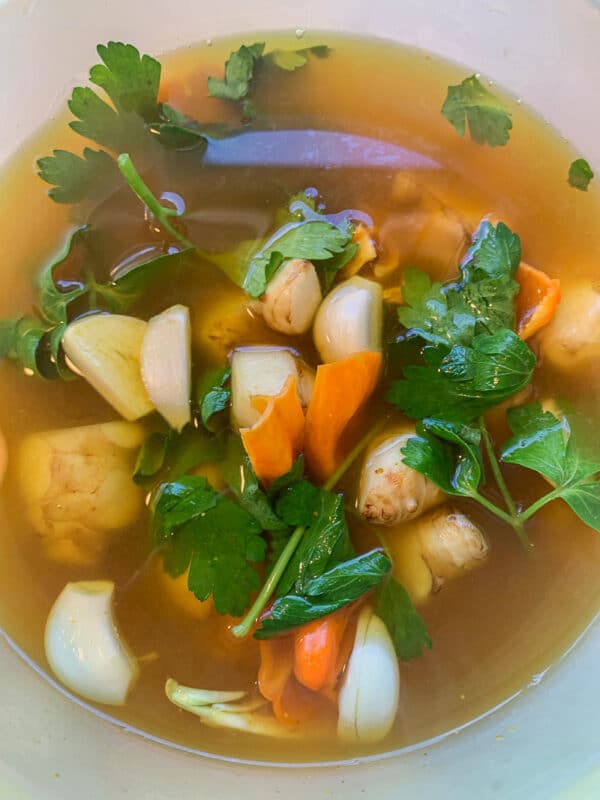
STEP 10: Add the contents of the pot to sterilized jars and store in the refrigerator. Mine yielded two jars (one quart-sized jar and an eight-ounce jar).
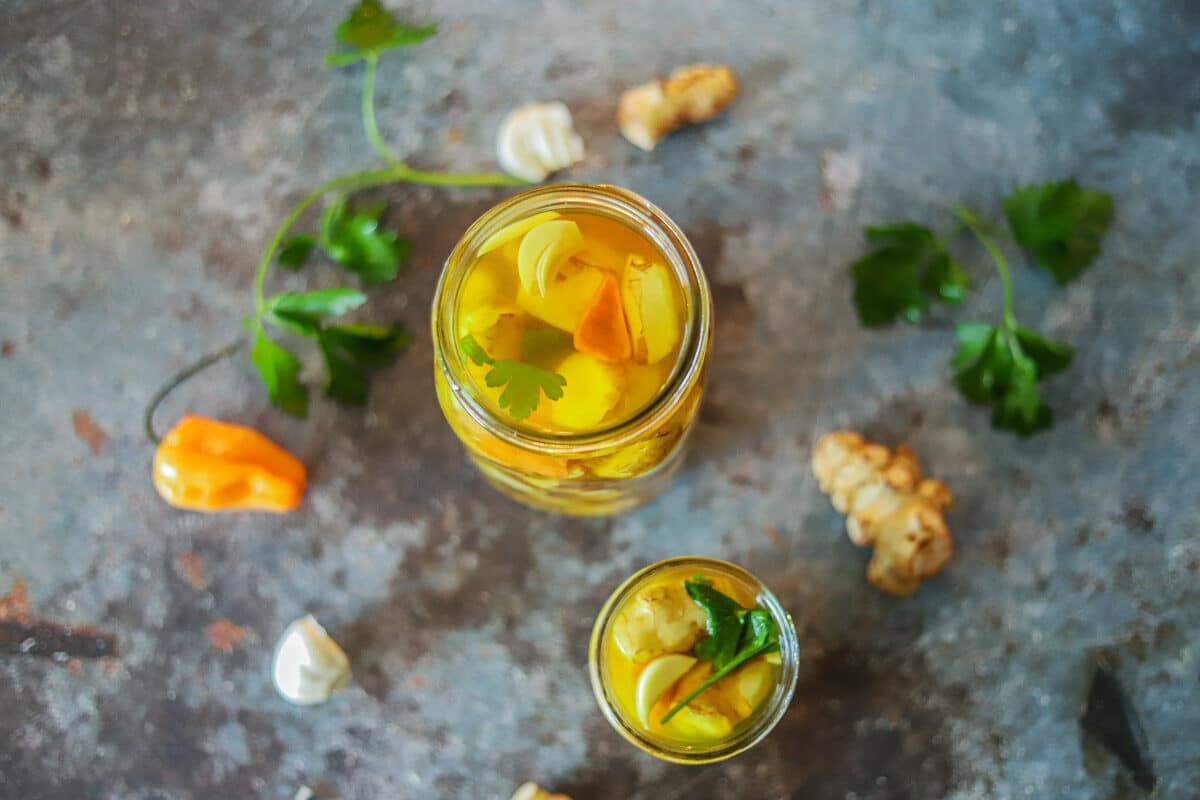
The pickled sunchokes will be ready to eat after three days but will taste better the longer they're allowed to pickle.
Note: Mom always kept her mix of pickles in a large plastic ice cream tub. You know, the kind with the red handle? She made a lot of pickles and added more when the tub got low.
🤷🏻♀️Recipe FAQs
Jerusalem artichokes are neither artichokes nor are they from Jerusalem. Sometimes they're referred to as "sunchokes."
Jerusalem artichoke is a perennial weed that can grow to be around 7' tall. A species of sunflowers, the plant has beautiful yellow flowers, 2"— 4" in diameter.
The flowers resemble sunflowers, which is why this plant and its tubers are also referred to as sunchokes. I will be using both names interchangeably in this post.
Although considered an invasive weed, the plant does have one delicious benefit; the edible tubers that grow beneath it.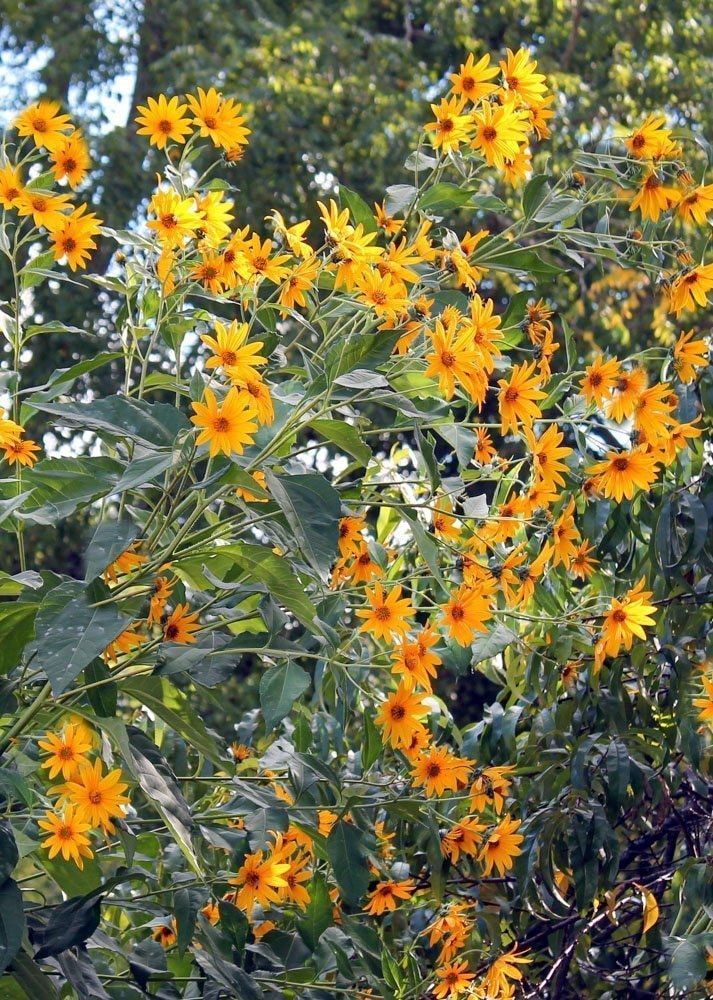
Similar to potatoes in taste and texture, but sweeter, sunchokes are healthier than potatoes and lower on the glycemic index.
The 3"— 4" long tubers can be used in recipes that call for potatoes and are a great option for diabetics.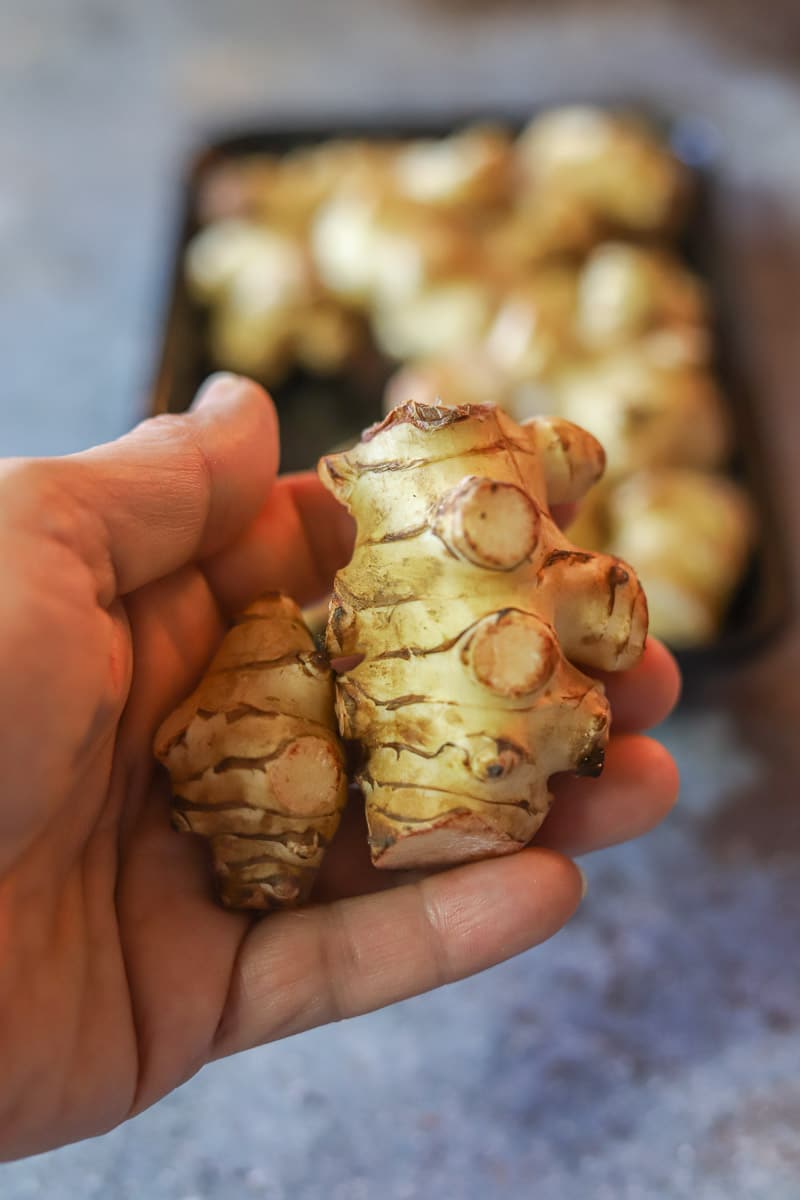
Jerusalem artichokes can be enjoyed both peeled and unpeeled. For the purpose of this pickled Jerusalem Artichokes Recipe, you can do either.
Personally, I only peel the areas that are either dark or knotty. If you plan on eating them unpeeled, be sure to scrub them thoroughly with a potato scrub brush.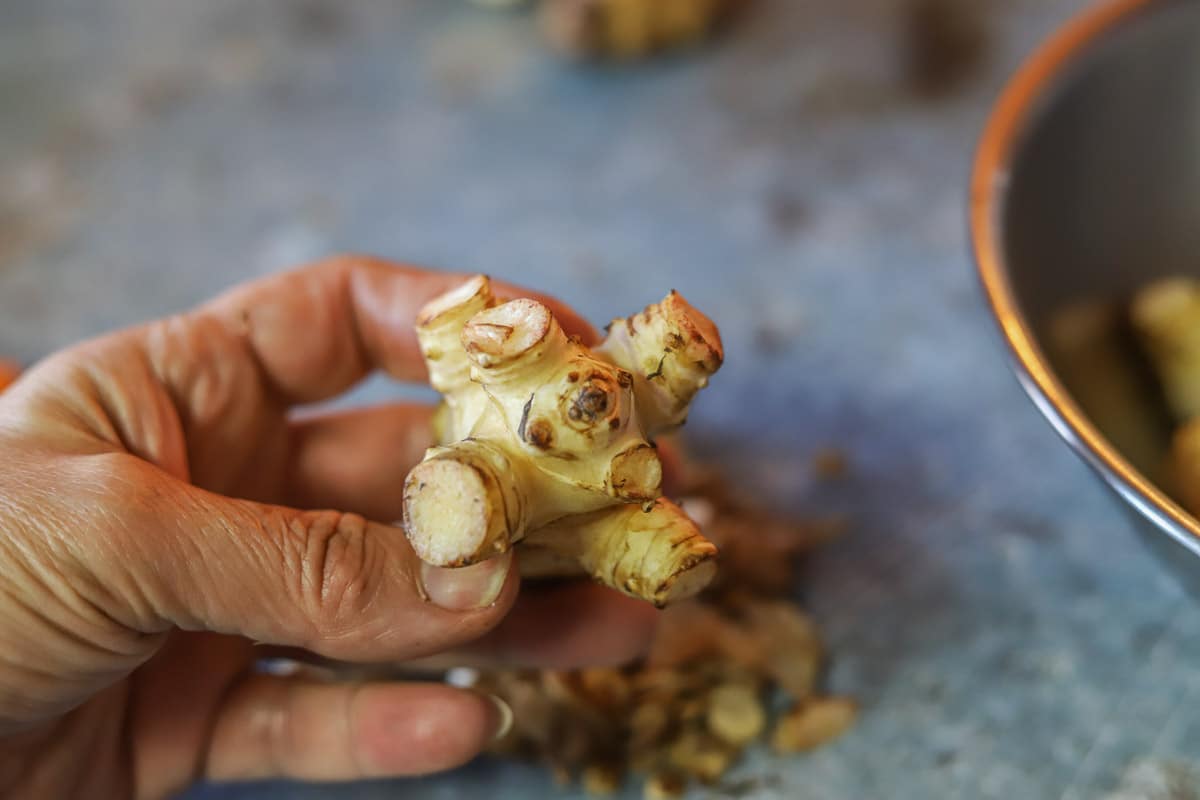
Unlike potatoes, you can eat sunchokes raw. They have a crunchy texture and a mild flavor. Some people slice or julienne the sunchokes and add them to salads for added flavor and crunch.
A word of caution, however. Some people experience stomach distress and flatulence from eating raw sunchokes.
Sunchokes can also be roasted, mashed, fried, and scalloped.
In my immediate family, Jerusalem artichokes were only eaten pickled. Mom also pickled green tomatoes, eggplant, and turnips. However, pickled sunchokes have always been my favorite, probably due to their crunchy texture.
In the United States, Jerusalem artichokes usually make their appearance in a few grocery stores in late Fall, or early Winter. They are harvested after the first frost.
Since they are so hard to find in stores, another option is to grow them yourself. The tubers can be purchased from catalogs.
If you can find them locally, you can try planting a few and see how it goes. Just make sure you have plenty of space to grow them because they are very invasive.
To learn more about growing your own sunchokes, check out this informative article about Growing Jerusalem Artichokes.
"Jerusalem Fartichokes" can indeed cause flatulence. This is due to the high content of inulin found in these tasty little tubers.
Gerard's Herbal, printed in 1621, quotes the English Botanist, John Goodyer, on Jerusalem artichokes:
"The inulin cannot be broken down by the human digestive system but it is metabolized by bacteria in the colon. This can cause flatulence and, in some cases, gastric pain."
When I first saw all the information on the internet regarding the flatulence-causing effects of the Sunchokes I was really surprised.
I don't remember experiencing this issue when eating pickled Jerusalem artichokes. After doing a little research on the matter it all began to make sense.
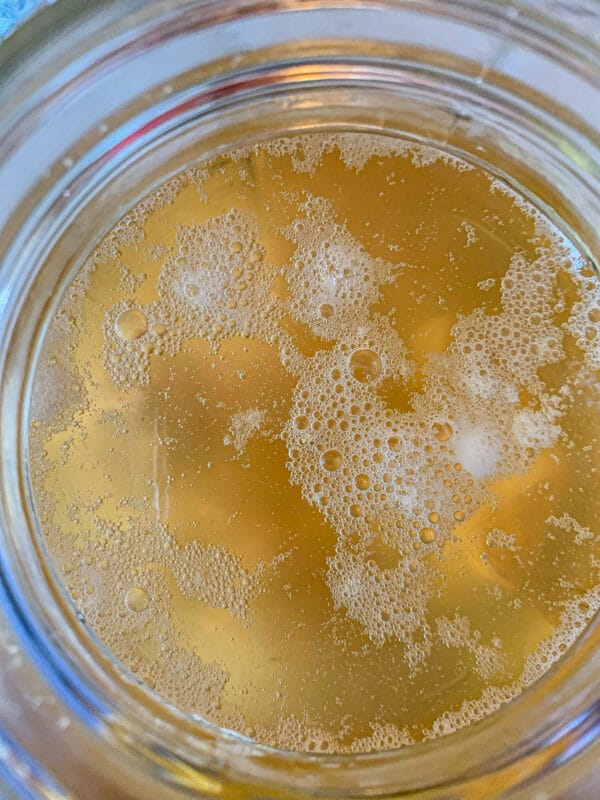
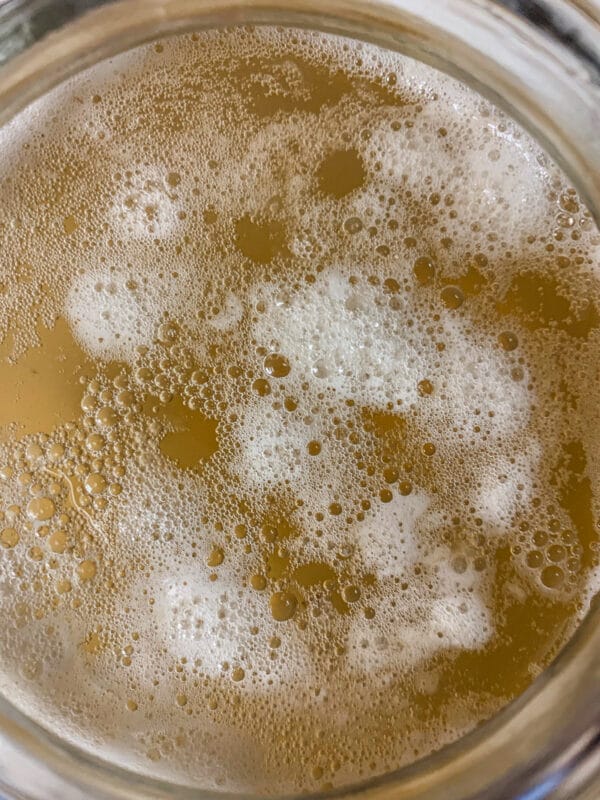
I recall mom brining the tubers in large containers after harvesting them. The liquid would become very cloudy and gaseous. It would need to be replenished with fresh brine a few times a week.
This went on for a few weeks, up to a month. Mom said that this process was necessary to release the gases from the sunchokes.
In the back of my mind, I thought this was an unnecessary step and wanted to hurry the process along, but mom didn't budge.
However, my recent research led me to the following information that validates mom's methods of preparing sunchokes:
During this pickling process, lactobacillus bacteria gorge on the inulin and convert it to gas, which manifests as bubbles in the pickling jar, rather than your intestines.
By the time the pickles are ready to eat, the inulin has already been mostly consumed, and the “bacteria farts” float away painlessly when you open the jar.
(Modern Farmer)
It turns out that this brining process, also known as lacto-fermentation, has many health benefits. This explains why foods like sauerkraut and kimchi are known for their nutritious value and their ability to aid in the restoration of gut health.
Why did I ever doubt my mom? Without knowing the fancy terminology, or the science behind it, my mom, and her mom before her, knew how to overcome the gassy effects of sunchokes. Quite impressive, don't you think?
👩🏼🍳 Pro Tips
- Never tighten the jar lid during the brining process, the bottle can burst as a result of the gases being released from the sunchokes.
- Pickled sunchokes will be ready to eat in as little as three days after pickling them in the vinegar solution. However, the longer they pickle the more flavor they will absorb.
- If you prefer canning the pickles instead of storing them in the refrigerator, be sure to pack the sunchokes in jars that have been properly sterilized. Boil sealed jars in a water bath for at least five minutes before storing them in a cool, dark location.
- If you find the pickling solution too strong, you can replace some of the vinegar with salted water. Use the ratio found in my pickled carrots recipe.
- Plastic or glass containers are perfect for storing pickles. For longer, unrefrigerated storage, use the following sterilization/canning directions.
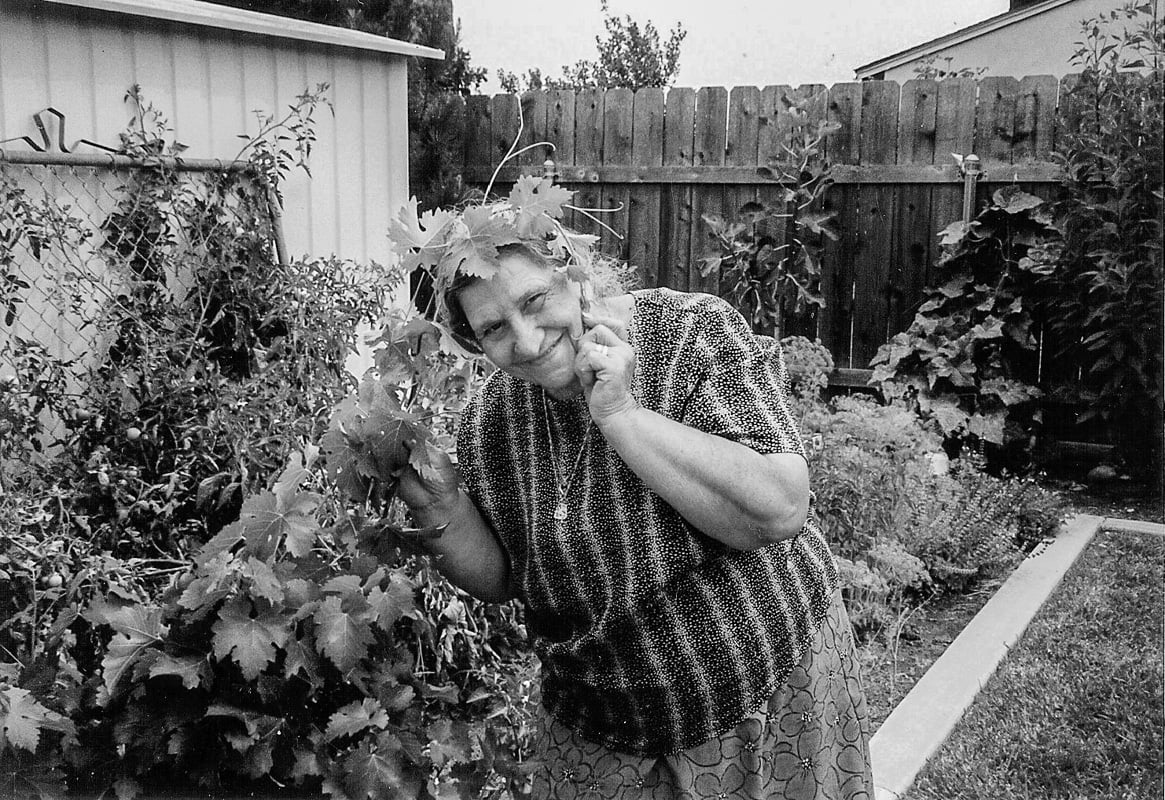
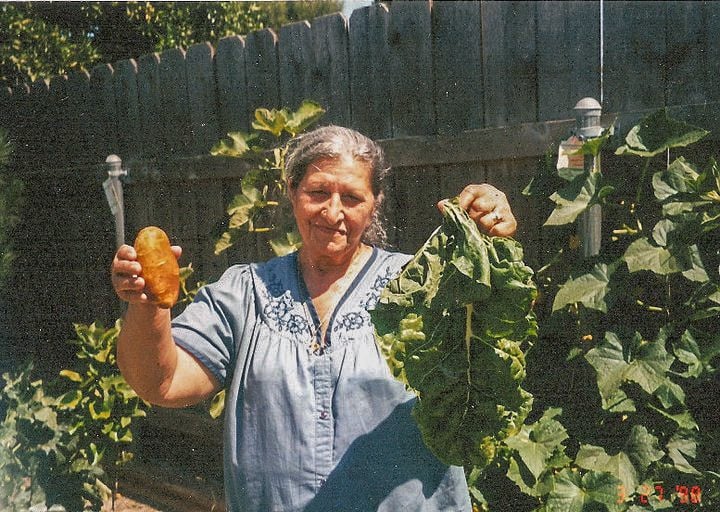
This Jerusalem artichoke recipe will forever remind me of my mom. Not only because she made the BEST pickled sunchokes. No, it’s because sunchokes were partially responsible for her developing lymphedema.
Mom wasn’t supposed to do anything strenuous with her arm after her lymph nodes were removed (due to breast cancer.
Unfortunately, mom, who loved working in her garden, single-handedly pulled many sunchoke plants from their roots, so she could pickle the tubers.
Her arm swelled almost immediately and it never went back to normal. So if you enjoy this Jerusalem artichokes recipe, give mom a little nod, would you?
🥒 Related Recipes
Love this recipe? Please leave a 5-star 🌟🌟🌟🌟🌟rating in the recipe card below & a review in the comments section further down the page.
Stay in touch with me through social media @ Instagram, Pinterest, TikTok, and Facebook. Don't forget to tag me when you try one of my recipes!
📖 Recipe
Jerusalem Artichoke Recipe (Pickled Sunchokes)
Ingredients
Brine
- 2 quart water (divided)
- ½ cup sea salt (divided)
Other Ingredients
- 2 pound sunchokes/Jerusalem artichokes (cleaned, cut into chunks)
- 1½ cups apple cider vinegar
- 1½ cups distilled white vinegar
- 3 cloves garlic (sliced)
- ¼ cup Italian parsley
- 1 tablespoon hot curry (mild may be used)
- 1 habanero or serrano pepper (optional)
Instructions
- Thoroughly clean sunchokes to remove all the soil. Trim any dark spots, or knots and peel, as necessary. Cut into 1"-2" chunks
Brining Solution
- Stir half of the salt into a quart of cold water, until dissolved.
- Place sunchokes in a clean, sterilized jar. Cover with the brine solution.
- Leave the lid untightened to allow the gases to escape.
- Place the bottle in a dark location for one week. Check the bottled sunchokes after three days.
- When the brine gets murky and gases float to the surface, drain the old brine and make a new batch using the remaining salt. Soak the sunchokes in the new brine for four more days.
Pickling Solution
- Once the sunchokes have been brining for at least one week, remove them from the brine and rinse them off with fresh, cold water.
- Place vinegar in a saucepan and bring to a boil. Remove from heat and stir the curry into the vinegar until combined.
- Allow the vinegar to cool slightly (for approximately five minutes). Add sunchokes, garlic, parsley, and habanero pepper (if using).
- Add to sterilized jars and store in the refrigerator.
- The pickled sunchokes will be ready to eat after three days but will taste better the longer they’re allowed to pickle.
Notes
- Never tighten the jar lid during the brining process, the bottle can burst as a result of the gases being released from the sunchokes.
- Pickled sunchokes will be ready to eat in as little as three days after pickling them in the vinegar solution. However, the longer they pickle the more flavor they will absorb.
- If you prefer canning the pickles instead of storing them in the refrigerator, be sure to pack the sunchokes in jars that have been properly sterilized. Boil sealed jars in a water bath for at least five minutes before storing them in a cool, dark location.
- If you find the pickling solution too strong, you can replace some of the vinegar with salted water. Use the ratio found in my pickled carrots recipe.
- Plastic or glass containers are perfect for storing pickles. For longer, unrefrigerated storage, use the following sterilization/canning directions.

Lydia B says
This is one of the best recipe for pickling Jerusalem Artichokes that I’ve ever tasted but since I like them extra spicy I’ve added extra of sliced fresh habaneros , sliced fresh ginger and fresh curry leaves . I made 40 of 24 oz jars so I can share with families and friends that has never heard of it or ever tasted before. The longer you let it sit in the refrigerator the better it tasted. Thank you ever so much
Hilda Sterner says
Hi Lydia,
Thanks for reminding me to dig mine out and pickle some. The ground is just starting to thaw here in Montana. Enjoy!
Jenny says
Hi,
I prepared the artichokes according to the recipe and after a week in the brine (with one change of brine during that week) one of the jars grew mold in it.
whay would this happen? and is it just to throw it away now?
Hilda Sterner says
Hi Jenny, It's possible some bacteria managed its way into the jar. Personally, I would dump the brine, rinse the sunchokes with cold water and proceed with the recipe, but you should do whatever you are comfortable with!
Adi says
My coworker from years ago made delicious spicy pickled sunchokes - unfortunately her English was not good enough for me to get a recipe, but I recall there were cauliflower and carrots, maybe onions in the mix as well. Can additional vegetables be added to your recipe as long as the ratio of liquid to solids remains the same?
Hilda Sterner says
Hi Adi, yes they can, but you may want to check out my Torshi recipe instead and add the sunchokes to that mix! https://hildaskitchenblog.com/recipe/torshi-assyrian-pickled-vegetables/
Kimberly says
Is it possible to pickle previously dehydrated Jerusalem artichoke slices? I have bags and bags of them from last season and am struggling to find a way to eat them without severe gassiness.
Hilda Sterner says
Hi Kimberly, I've never tried pickling previously dehydrated Jerusalem artichokes but I know they won't have the nice, crunchy texture of fresh ones. I guess it can't hurt to try.
Steve Beucler says
I am interested in the exact type of curry you used since their are so many, powder, or the canned Thai curry's Green, Yellow, Red, panang.
Hilda Sterner says
Hi Steve, I like this one. There is also a mild version if you don't want them to be spicy.
Cindy D. says
I made these and they taste great! I’m wondering how long they will keep in the refrigerator?
Hilda Sterner says
Hi Cindy,They will last just as long as most pickles last in the fridge, for many months!
Ludwig says
I've only just realised that I forgot to add the distilled white vinegar during the pickling solution and only used the apple cider vinegar. My artichokes have been in the fridge for a week now, could I create a new solution and use that instead or am I fine?
Hilda Sterner says
Hi Ludwig,
It might taste a little different than intended but it should be fine. I'm not sure how many jars you have but you can always pour some of it out and add distilled vinegar. The distilled vinegar doesn't affect the color, but in this case it does not matter since you should have curry in the solution. The other thing about distilled vinegar it has a more mellow flavor and can be more acidic. All this to say that it should be fine. 🙂
Lisa says
I have one if the Ball pickling kits with the airlock and glass weights. Would those be good to use for this? Thanks!
Hilda Sterner says
Hi Lisa,
I guess you could, but I usually save those for recipes that you leave to ferment for a while without touching them where as with this recipe you will be swapping out the water when it gets murky. Ultimately it's up to you!
Brian T says
Was surprised and delighted with the outcome.
BTW, the sunchokes retained a nice golden colour and good crunch .
Plus I read about Assyrians, and learnt things I had not known before. Sad history.
Thanks
Hilda Sterner says
Hi Brian, I'm delighted that you're happy with the outcome! I'm also excited that you took the time to learn more about our history. Thank you so much for the review!